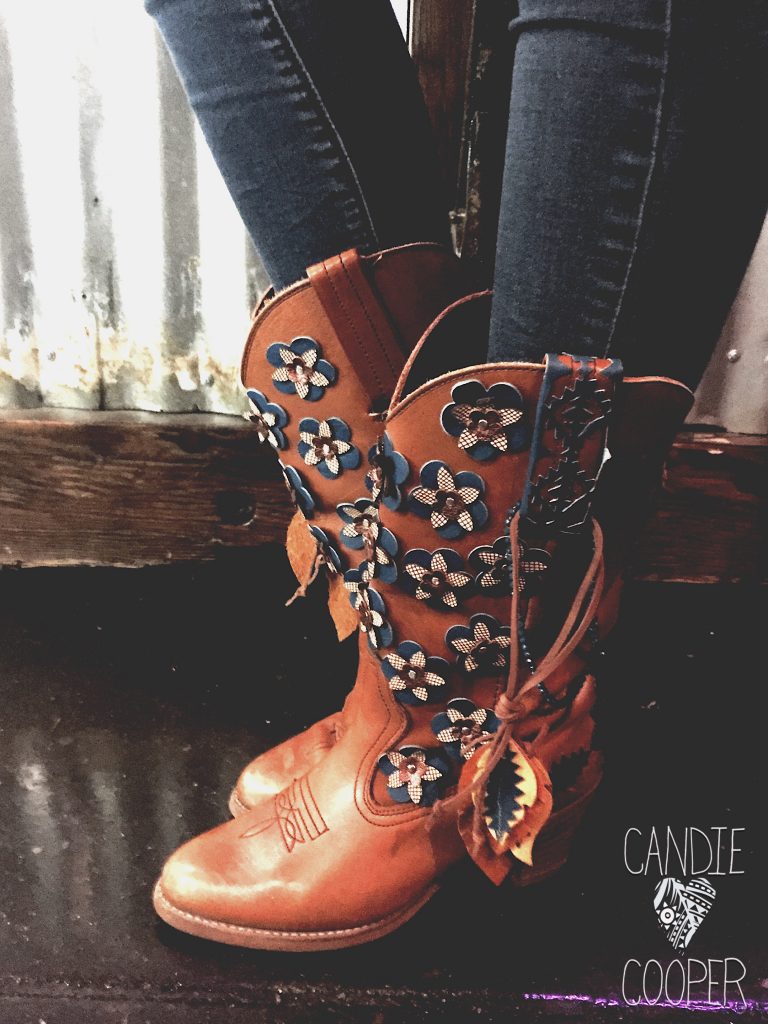
 Over the past few days I have been showing you what I am working on for the CHA runway. Today I am showing you more of the boots that I have been working on. All I can say is that the more I work on these boots the more I see that these boots were made for embellishing. [Read more…]
These Boots Were Made for Embellishing
DIY Earring Ideas with Jesse James Beads
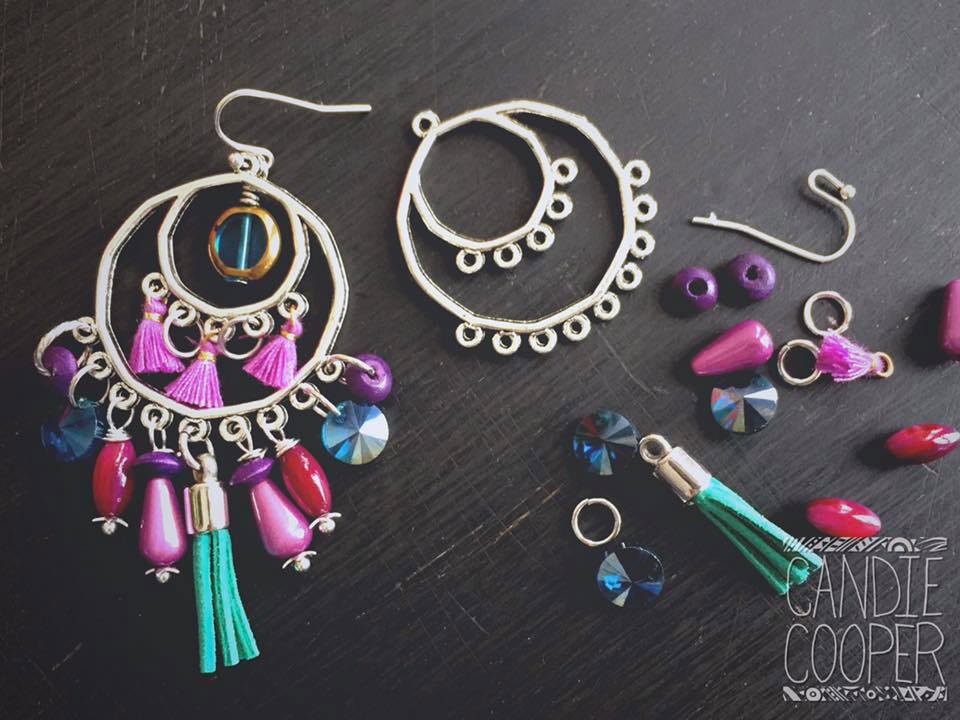 Today on the show I wanted to share with you some DIY Earring Ideas using Jesse James Beads. *Jesse James Beads sponsored the show, all opinions are my own*
I made three pairs of earrings today, two that were simple and one that was a chandelier pair. You can see the full video below of how I made each of these pairs.
To start us off I pulled out some chandelier findings, which you can find at Jesse James Beads or in my Etsy shop. I went for a true boho style on this earring and had fun playing with the turquoise and purple colors.
One of the cool things about using chandelier findings is that you can use them as earrings or alone as a necklace pendant. The first thing that I suggest doing is counting the number of spaces you have to see where the true middle is. This allows you to figure out how you want the piece to cascade down. If you have a chandelier finding like the one that I used that has a lot of loops, you can use chain to connect them to lighten the look.
When starting your design think about what you want in the middle, this is the center of the whole piece. When making earrings, any earrings, make sure you count your beads out. Mak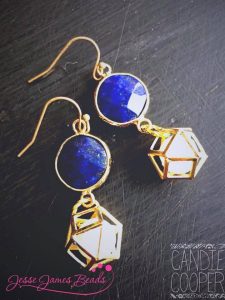 e sure that you have enough to make both sides match. For this project I wanted to use jump rings and the wrapped loop to give it some interest. I also like to mix and match the head pins that I use. I like some that are flat and some that are more decorative, like the ball head pin.
As we worked through the design there were some beads that I wanted to be a little lower. A way to accomplish this is to make the loop larger when doing a wrapped loop or to use multiple jump rings to make the bead hang lower. You can also use jump rings as spacers when you don’t want too many beads close together. I did this on the top ring of the chandelier earrings with the micro tassels.
If I were to sell this pair of chandelier earrings I would make sure to put a little bit of white school glue on the tassels to make sure that they don’t come apart. It will dry clear and you won’t even see it, but you will know it is more secure. A tip when working with multiple colors is to separate the colors with mental findings. This could be with using a metal bead or using the jump rings as I did in this piece.
 After making the chandelier earrings I went with two more that were a little more simple to give you some other DIY earring ideas. For the blue pair I used the Lapis connectors from Jesse Jame Beads and cage beads. This was a quick pair of earrings that look super expensive. They are just a great go to pair of earrings.
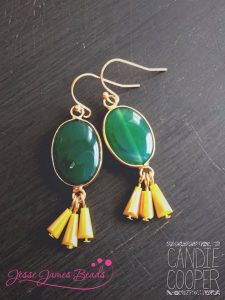
For the third pair I used some of the drop beads that I had been wanting to use and paired them with the Green Agate Stone Connectors. Again another simple pair that look expensive. All I used was the connector and some head pins.
Bead mixes shown in the video:
Mini Mixes-Midnight Dreamscape
Materials List for DIY Earring Ideas:
Beads of choice
Flat Head Pins
Jump rings
Ear Wires
Into the Woods Tassel Necklace
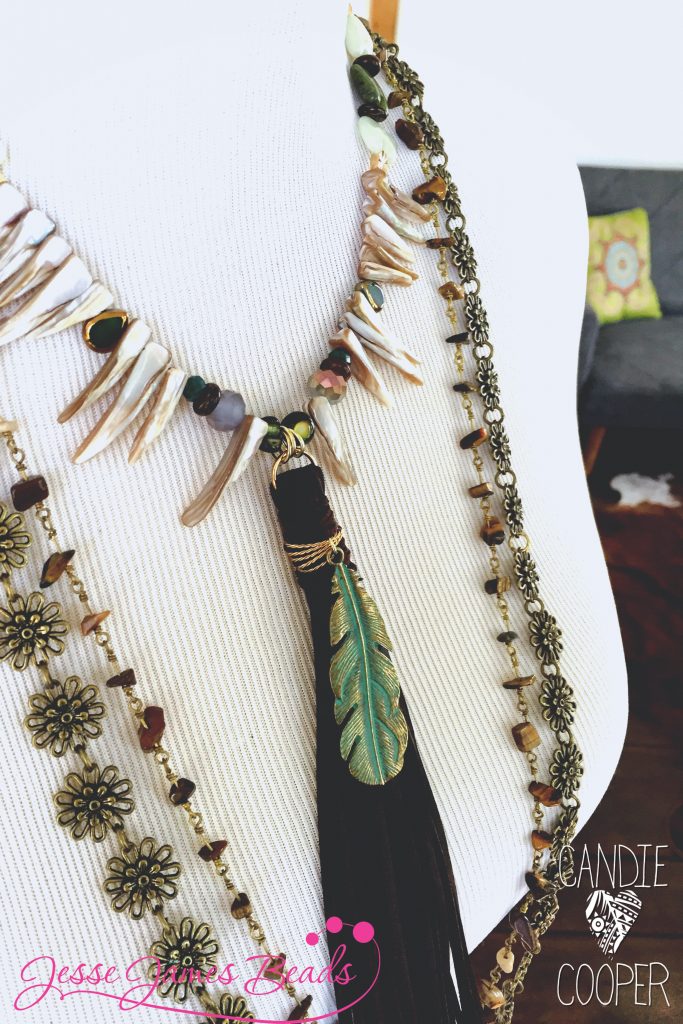 In this Facebook Live Video I showed you how to make the Into the Woods Tassel Necklace.
This video was sponsored by Jesse James Beads and Beadalon, all opinions are my own.
In the video I show you how to layer a pendant with a tassel and how to do some basic wire wrapping. Tassels have been a hot trend for a while and something that I love to add into my jewelry. Tassels can be made from a lot of different materials but today I will be showing you a chain tassel.
This necklace features Jesse James Beads’ new collection, Into the Woods. This is a beautiful earthy collection that you could use in so many ways. This necklace could be made with any beads but the Into the Woods collection really gives the piece a unique edge.
Keep reading to see where you can purchase the other supplies for this project.
When you make this project you can select any color pallet that you like. You can try to mix different pallets to get a different look each time with the same technique. If you make this project head over to my Facebook page and post a picture so we can all be inspired! While you are there be sure to turn on the notifications to see the LIVE Facebook videos. There is a new video almost every weekday at 2:30pm EST.
Supplies:
We already talked about the beads needed for this tassel necklace but there are a few other items you will need to finish the project.
You can find wire and chain for this project on Beadalon’s website. If you need a bail making plies to complete the project you can pick up the bail making plier with your Jesse James Beads order or you can see the full selection of jewelry making pilers on Beadalon’s website.
Boho Jacket Pin – DIY Jewelry
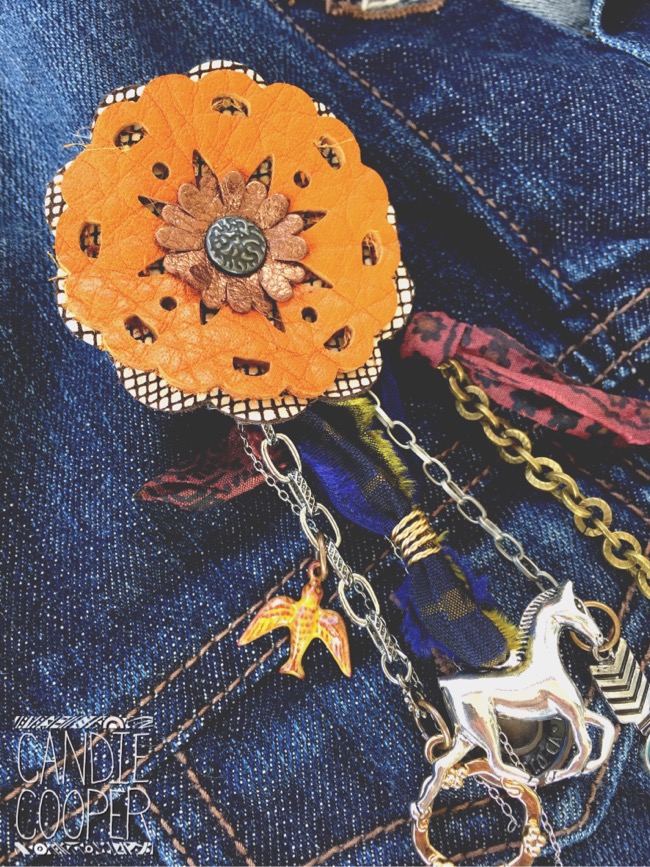
Fall is here. Let’s make a pin about it. Bust out your leather scraps….(way more fun than raking leaves). Today we are making a Boho Jacket Pin – DIY Jewelry.
Full disclosure: I work with Sizzix on creative projects like this. All opinions shared in this post are mine.
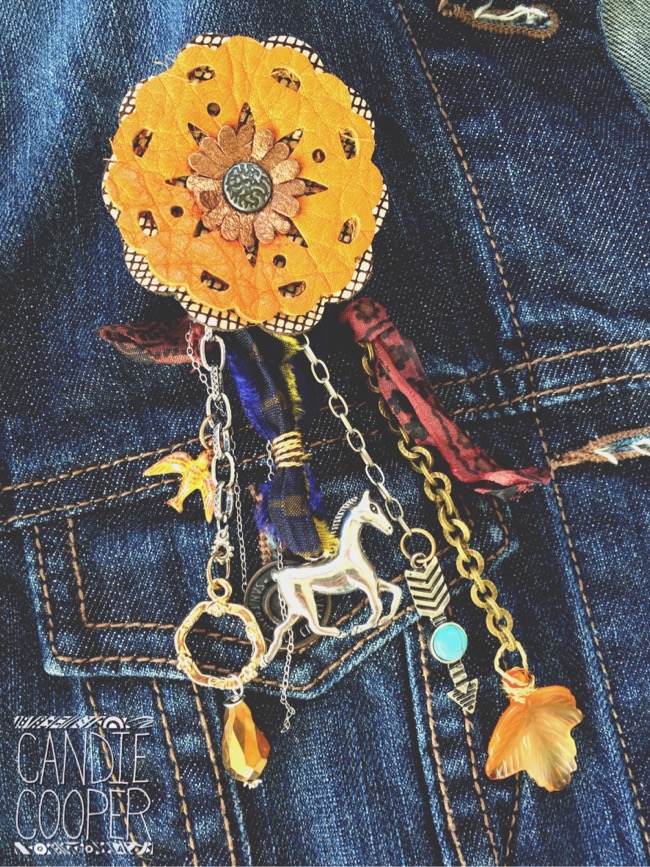 I’ve got charms, ribbons, chains and more coming out my ears. These things are my love language. It only made sense to add them to this leather pin I created with Sizzix’s Jewelry Studio Tool (see source list at the end of this post).
You can make your pin out of felt, paper and more… This one is layers of leather conchos cut with this die and riveted together with a rivet from Tandy Leather.
How to open and close jump rings-for DIY jewelry
Here is a quick project to show you the ins and outs of using a jump ring.
This post is brought to you by Beadalon–thanks Beadalon for sponsoring my blog posts and supporting my love of DIY jewelry.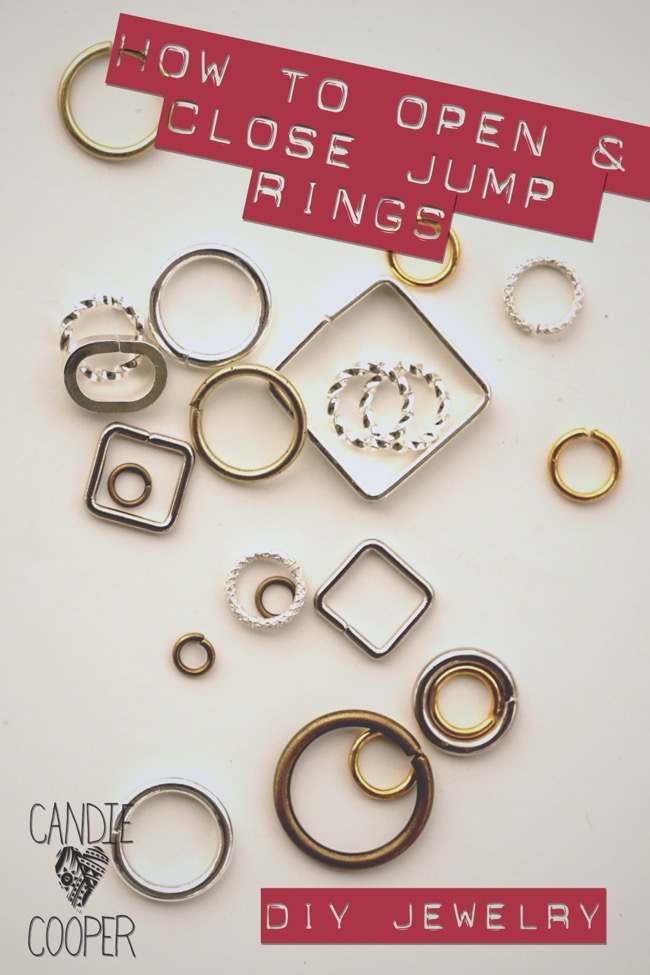
One of the very first things I show people how to do when making jewelry is how to open and close a jump ring. It’s such a simple act and you can make so many things by knowing this technique for making connections in DIY jewelry. That’s how I made this sweet moth necklace.
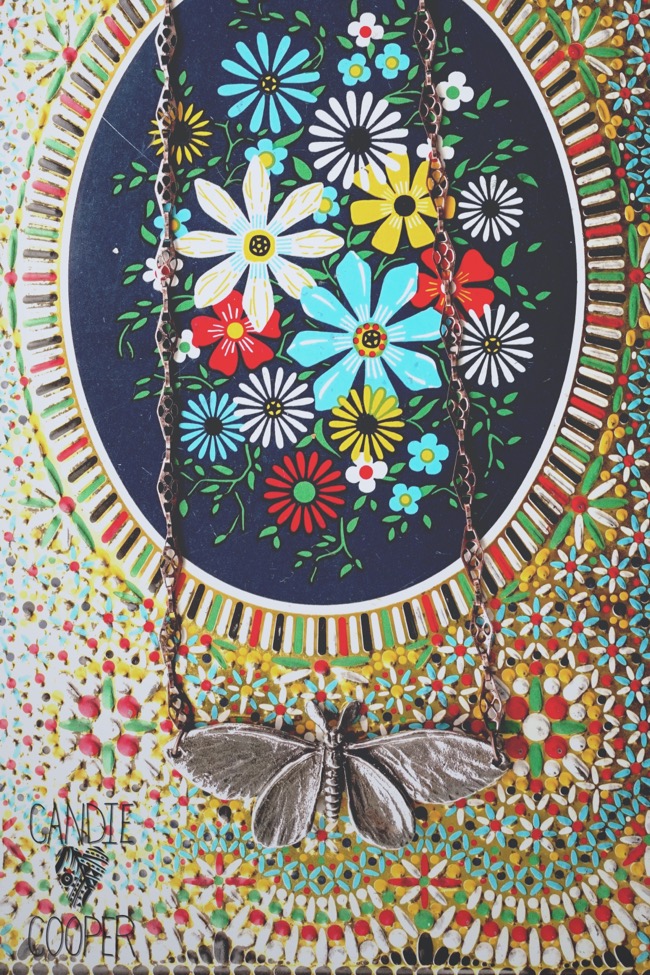 The jump rings at the tip of the wings connect the moth to the chain. In about 5 minutes, you can have yourself an over the head layering necklace (and a really good time). Check out the tutorial and video at the end of this post for details on opening and closing a jump ring.
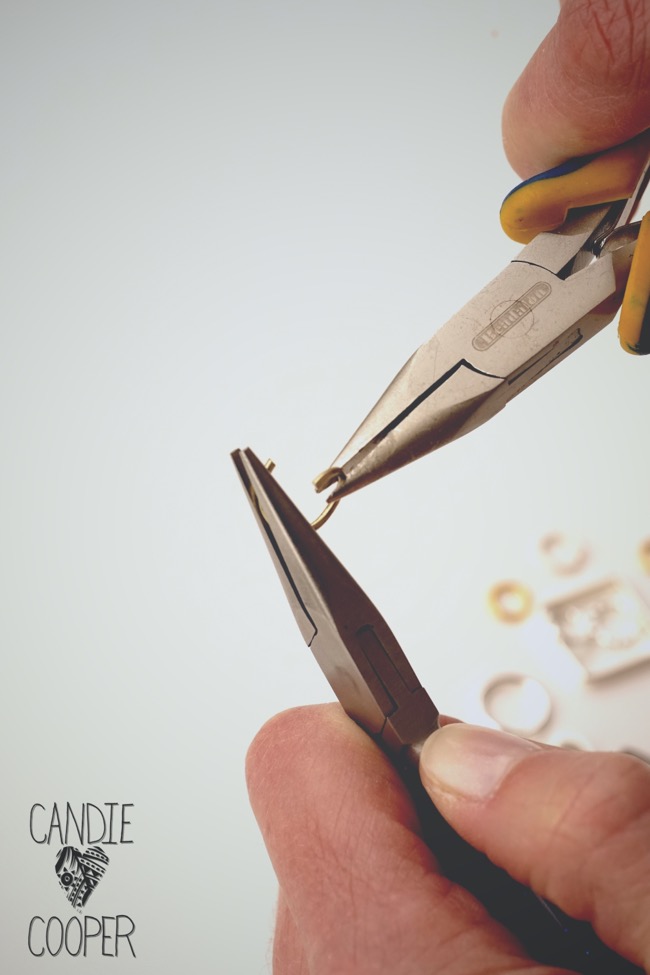 It’s helpful to use two pairs of chain nose pliers (see materials list at the end of this post) when opening and closing rings. Some people like to use a bent chain nose pliers to help hold their jump ring as well. Beadalon also has a super helpful jump ring tool to make opening jump rings much easier. You will still use your pliers to close the ring when you are finished.
Place the ring’s opening at “12 o’clock” and twist the ring open with the two pairs of pliers. Don’t open it so the ring looks like a “C” because it’s super hard to get the ring to go back into a perfect circle after this.
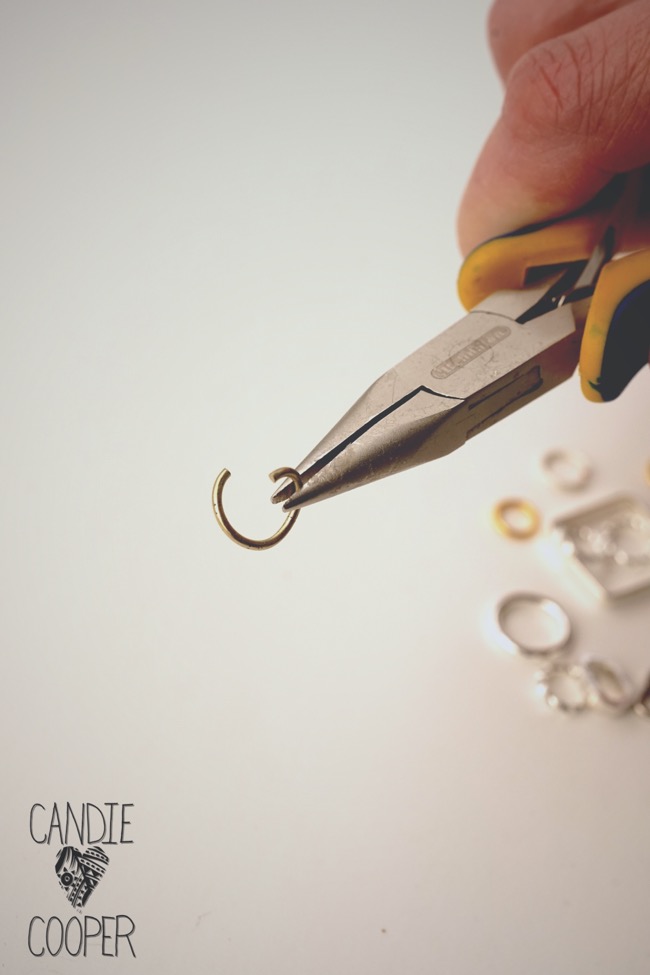 Connect your clasp, chain, moth, etc… and twist the jump ring closed.
This is a super quick project with beautiful results. You can use any pendant that has two holes as the top to complete this project, let your imagination take over.
Supply List:
Beadalon Ergo Pliers
Beadalon Jump Rings
Jesse James Bead’s Moth Pendant
Got Beading Wire? Four Necklace Ideas with Beading Wire
This post brought to you by BEADALON. Thanks Beadalon for helping me to keep the lights on at my work bench. All opinions shared here are my own.
Got Beading Wire?
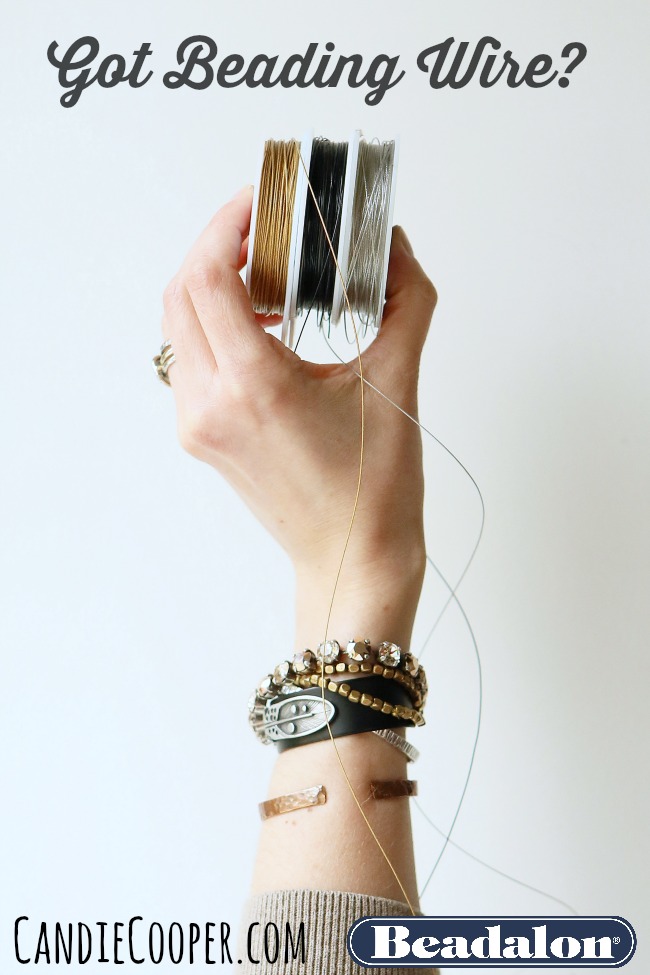 So after the post that explains all the ins and out of how to choose wire for beading, I thought it might be helpful to share some jewelry projects that actually use beading wire. Here are 4 of my favorite DIY jewelry making projects that use various beading wires. All four of these necklaces can be made using Beadalon’s selection of beading wire.
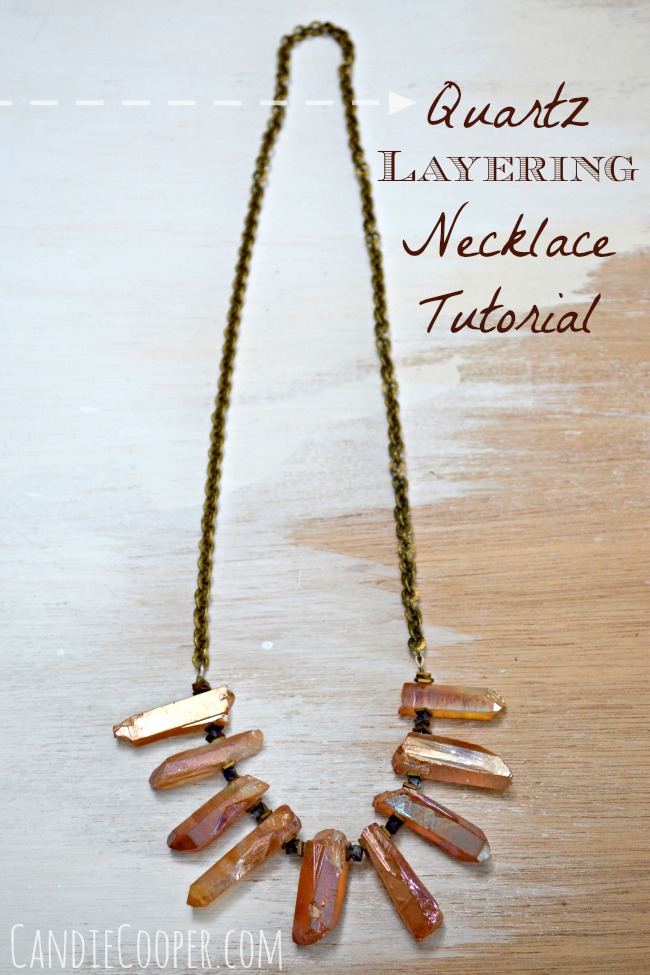
The quartz layering necklace. This jewelry piece has been a staple in my wardrobe with it’s neutral tones and exotic nature.
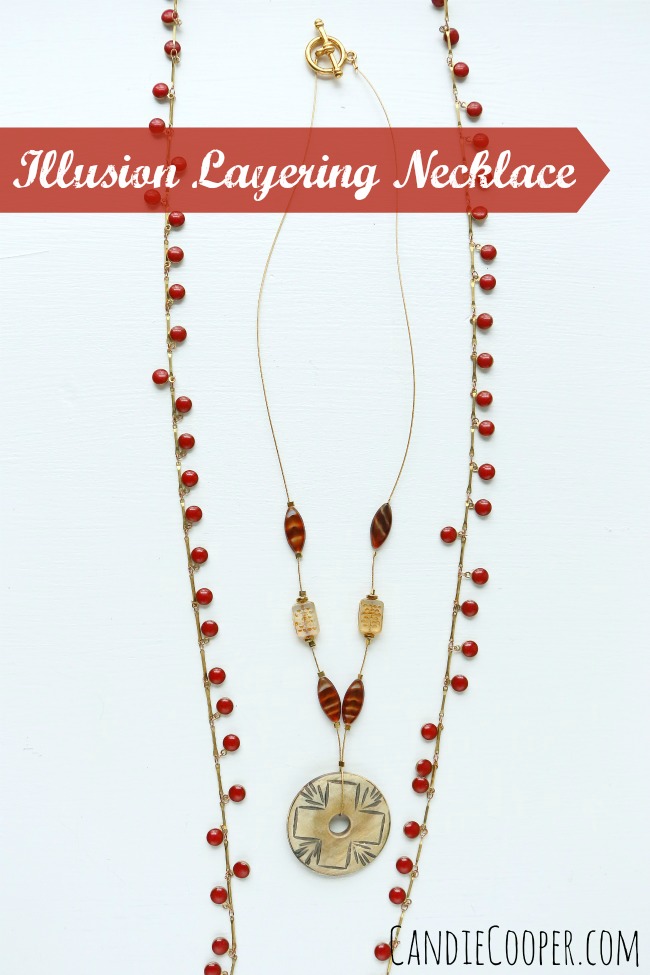 The illusion style necklace with .024in diameter gold, nylon coated wire.Quartz layering necklace–I wore this thing until it fell off!
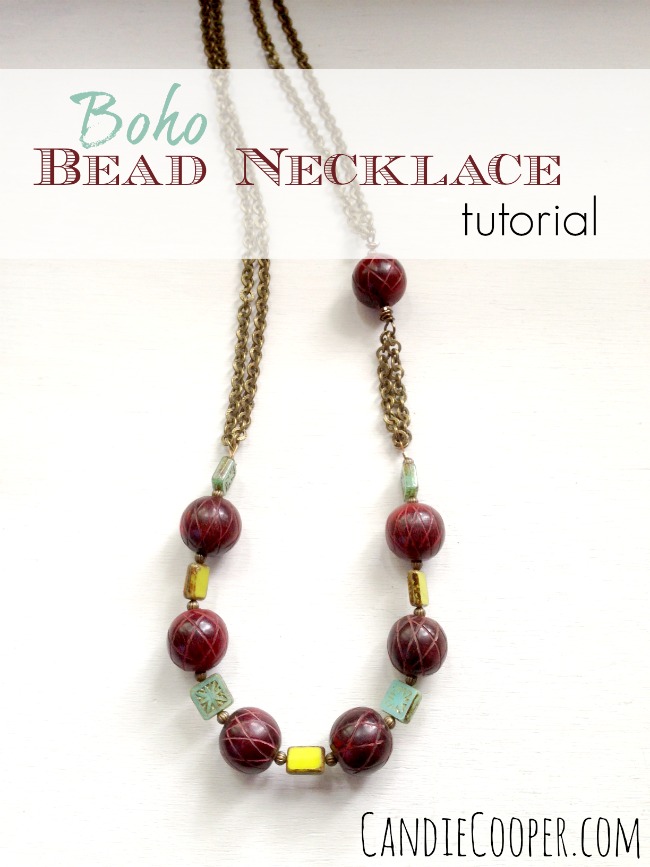 Big chunky beads with Czech glass for the win in this fun necklace!
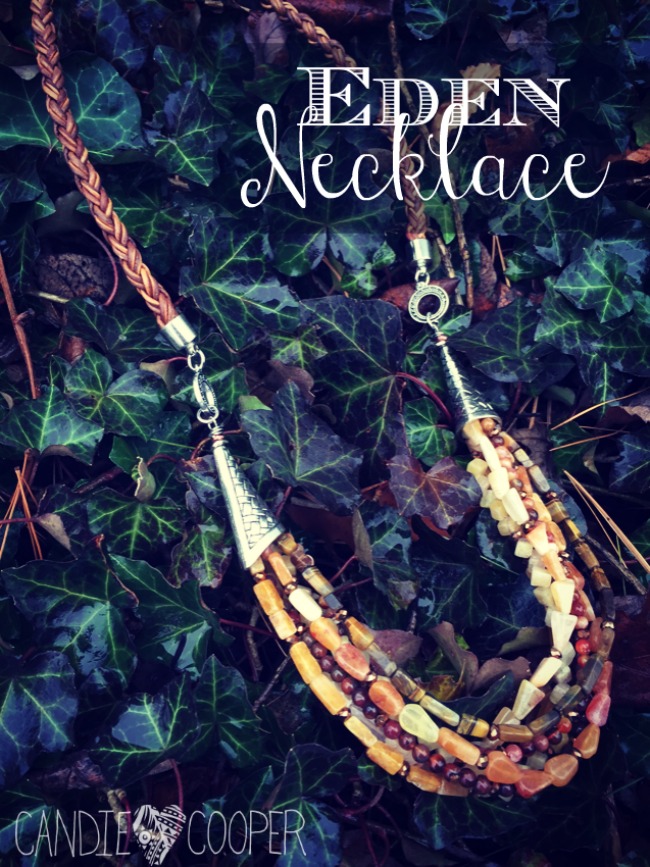
And the multi-strand gemstone Eden necklace to top this post off.
LIVE from Beadalon-Wire Wrapped Cabochon Pendants with Wyatt White
This post sponsored by Beadalon. All opinions are my own. Thanks Beadalon for supporting mine and many others love of DIY jewelry.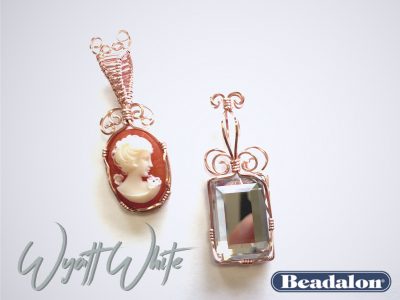 Is anyone else intrigued with pendants like these?
They just. don’t. stop.
Wire turning and twisting, up then down and around and ta daaaa–you’ve got a pendant.
Yesterday on the live show, I had Wyatt White from Beadalon show the basics of making wire wrapped cabochon pendants. He actually shows how to make the wrapped crystal on the right using a Swarovski faceted flat back.
According to Wyatt, you can set lots of things with this technique. He’s a wizard and if you’re curious about wire wrapping and setting cabs, definitely watch this video. He has designed special banding pliers from Beadalon that make the wrapping process really easy. So many comments were expressing excitement about these pliers. We like easy around here so thanks Wyatt!
Materials:
Wire Wrapping Component & Stone Setting Booklet, by Wyatt White
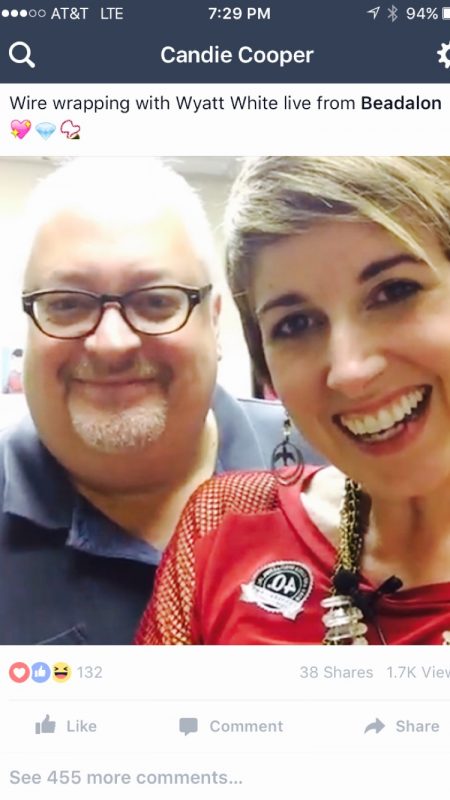 Watch the replay of the live video for how to make amazing pendants like these. And join us daily on my Facebook page at 2:30 EST for fun daily doses of DIY jewelry and mixed media techniques.
 Hi, I’m Candie. I design jewelry and crafts, author books, teach classes and host television programs. I thrive on simple ideas that anyone can achieve. I also love projects made from unexpected materials that stand the test of time. Join me as I lead a creative life!


