DIY Halloween Party Jewelry

DIY Jewelry Making  Halloween Style on Candie Cooper's blogIt’s officially October people, so I’m kicking off the month with a quick Halloween Jewelry project!  I love October.  My husband and I got up super early to go to the store for a few things, including some pumpkins.  We found some with long stems.   Is it me, or is a pumpkin without a stem a little bit sad looking?
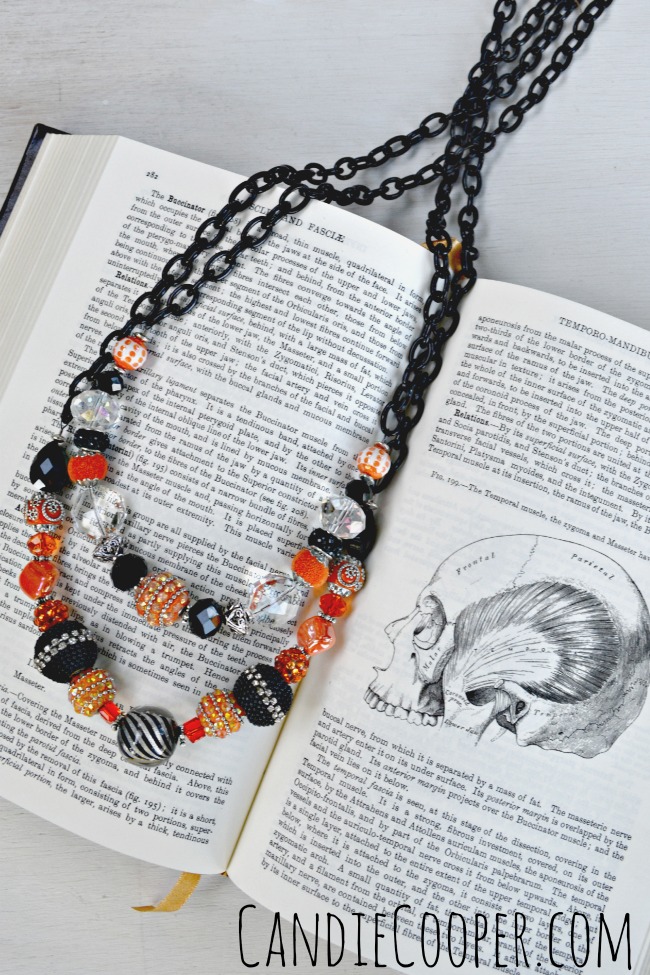
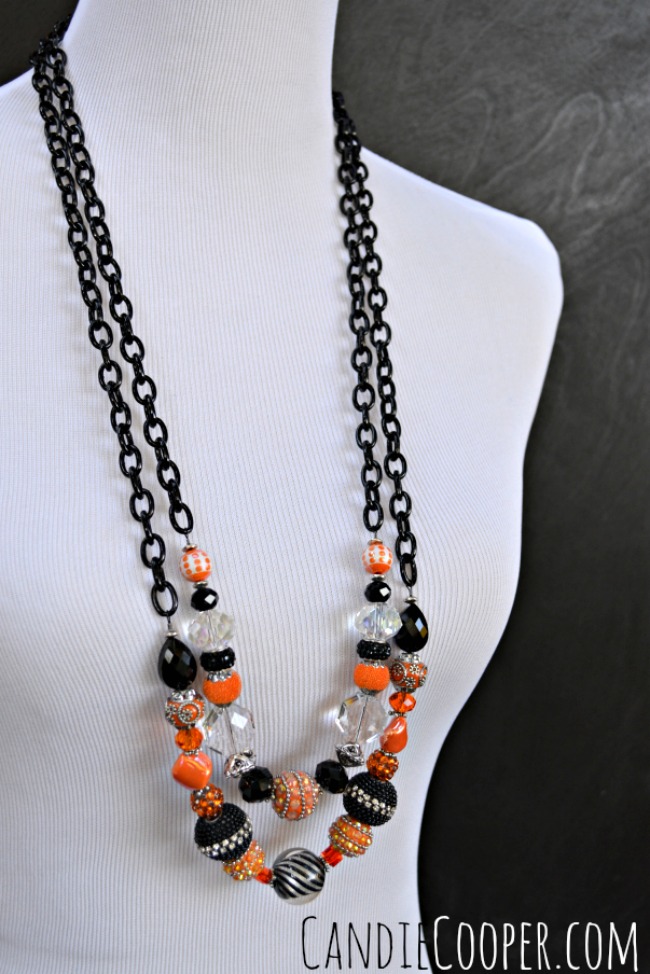
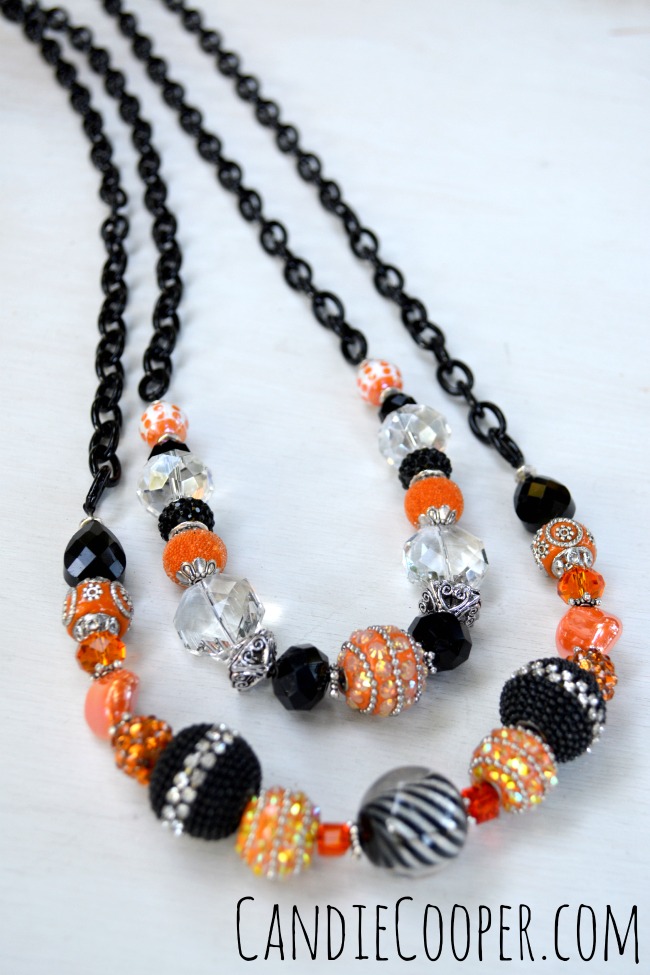
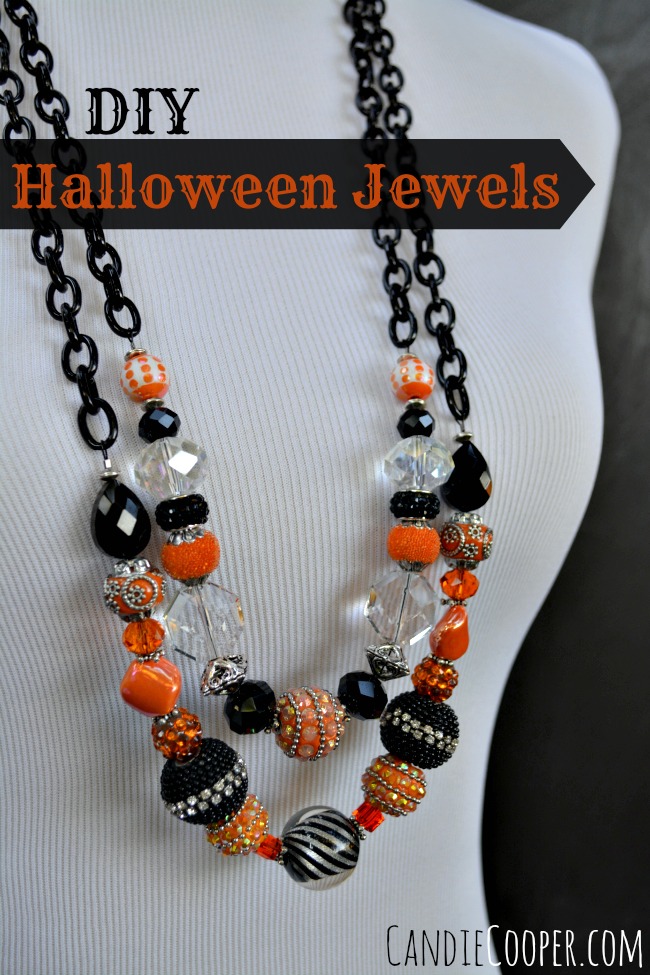
Halloween Jewelry Idea from Candie CooperFor this necklace, I used JesseJamesBeads.com bead mix in strands and funky singles along with that sassy black chain.  The “bones” of the necklaces are connected with black Beadalon wire and gunmetal crimps.  Take a peek!
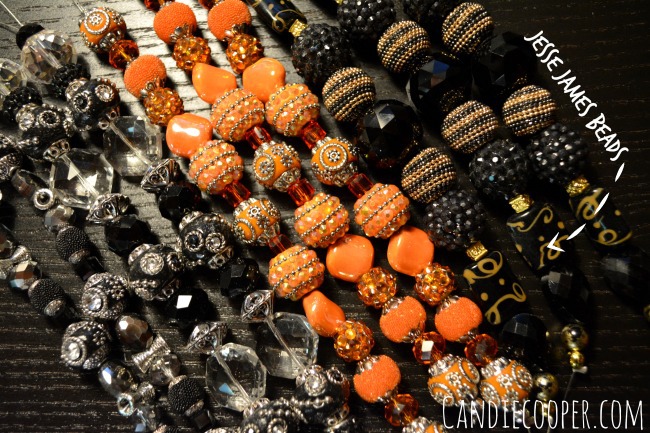
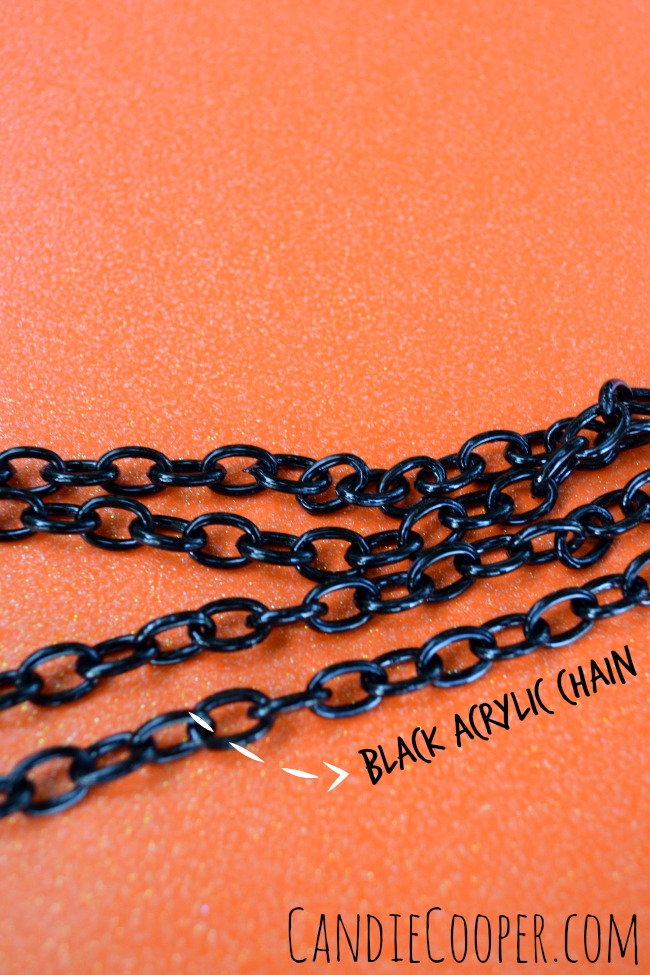
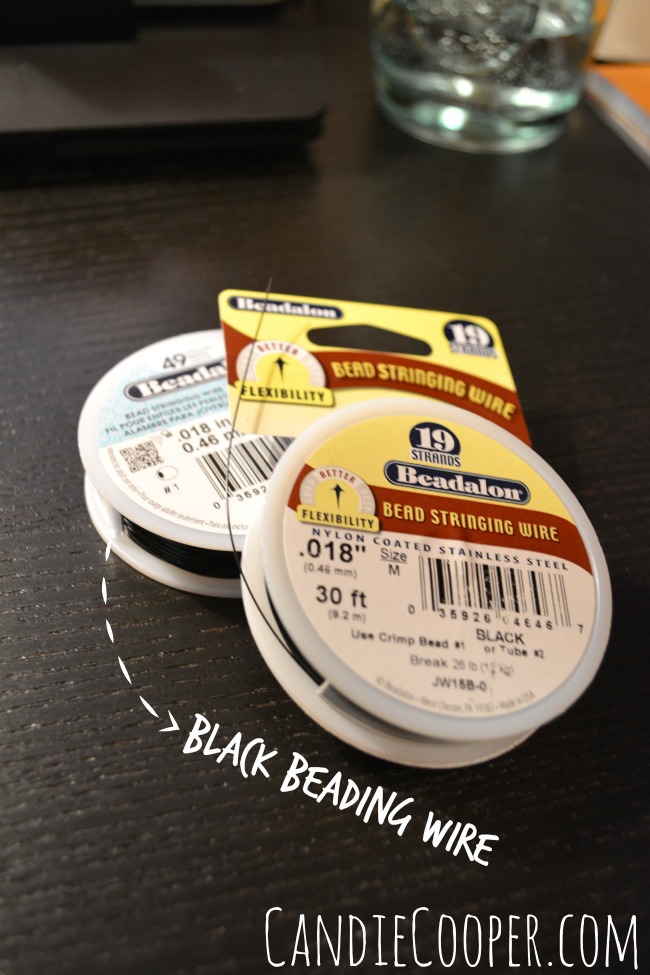
Halloween Beads from Jesse James BeadsBlack acrylic chain from JesseJamesBeads.comBlack beading wire from BeadalonHalloween Party Jewelry from Candie CooperUse this tutorial if you’re new to stringing beads on wire.  It will show you how to crimp, connecting the wire to the chain.

Lately, I seem to be stuck on making slip-over-the-head necklaces and I made them two different lengths so I could wear them together.  This striped bead in the next picture is one of my very favorites.
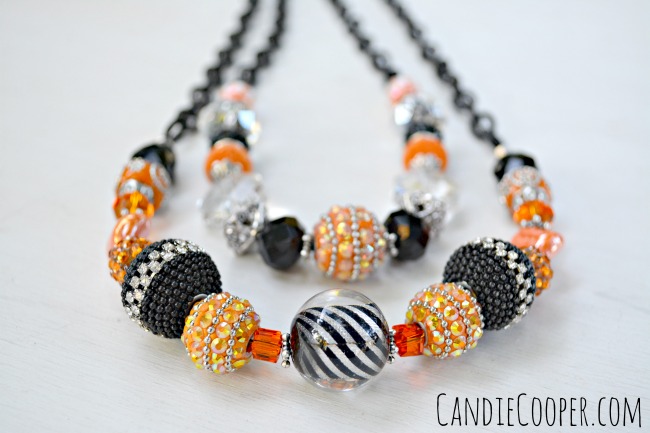
Halloween Jewelry Idea with Jesse James Beads from Candie CooperHalloween Party JewelryHalloween Jewelry Idea from Candie CooperSo, I’ve got a pretty big to-do list that’s calling my name.  Top secret projects await.  Don’t you hate teasers?  😉  You’re going to love this surprise though!  October 3rd at the White House

On another note:  Tomorrow our children’s gallery, the Wabash White House (I know, I still need to post about this special little place!) is open from 5 to 8 pm for First Friday in Wabash.  If you’re local, come get in the Halloween spirit with us!
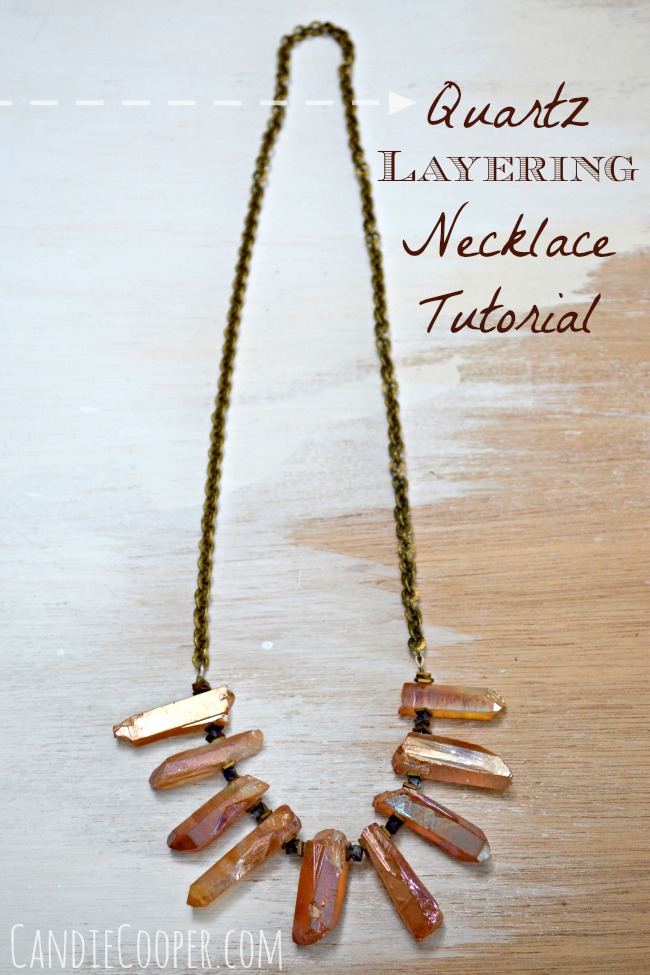
How to Make a Crystal Layering Necklace

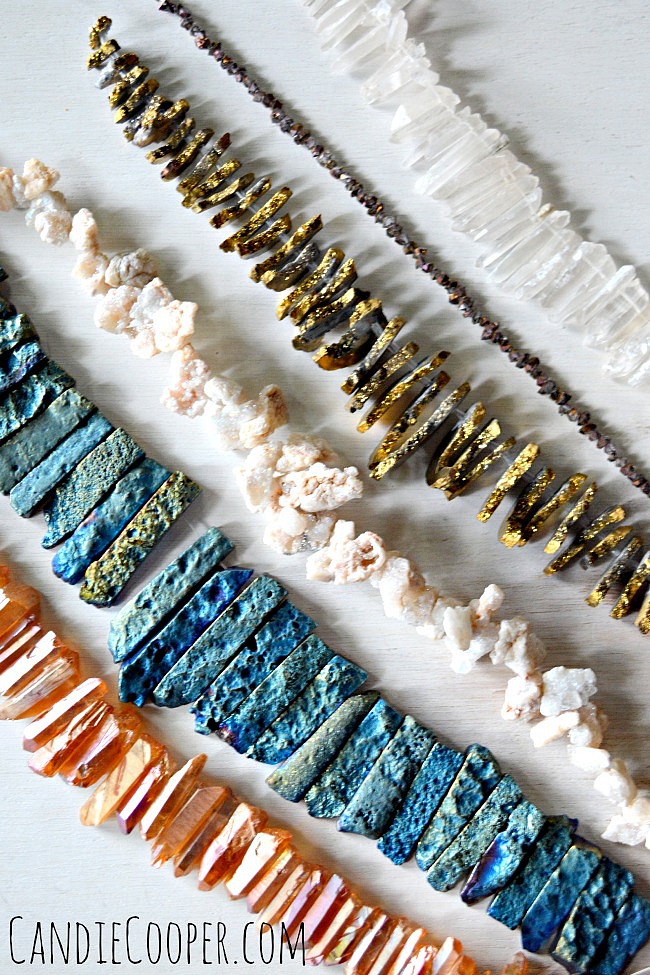
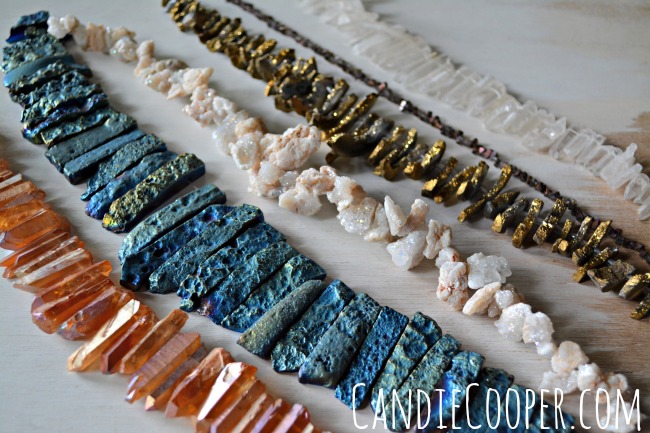
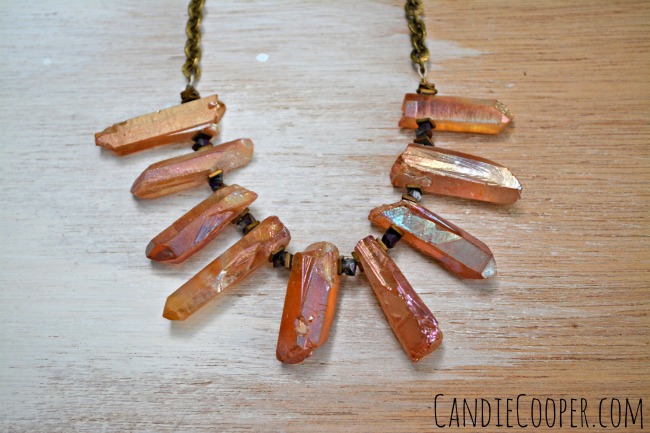
This post is brought to you by Beadalon.com.  All opinions are yours truly.DIY Jewelry Making  Crystal Quartz Layering Necklace from Candie CooperHave you been to a bead show lately?  I have and I can tell you there are so many stunning strands of quartz crystals and druzy beads.  It’s not good for the pocket book.  Take a peek at some of the ones I brought home from Bead Fest Philly Summer.Quartz and Geode Necklace Beads

Quartz and Geode Necklace Beads

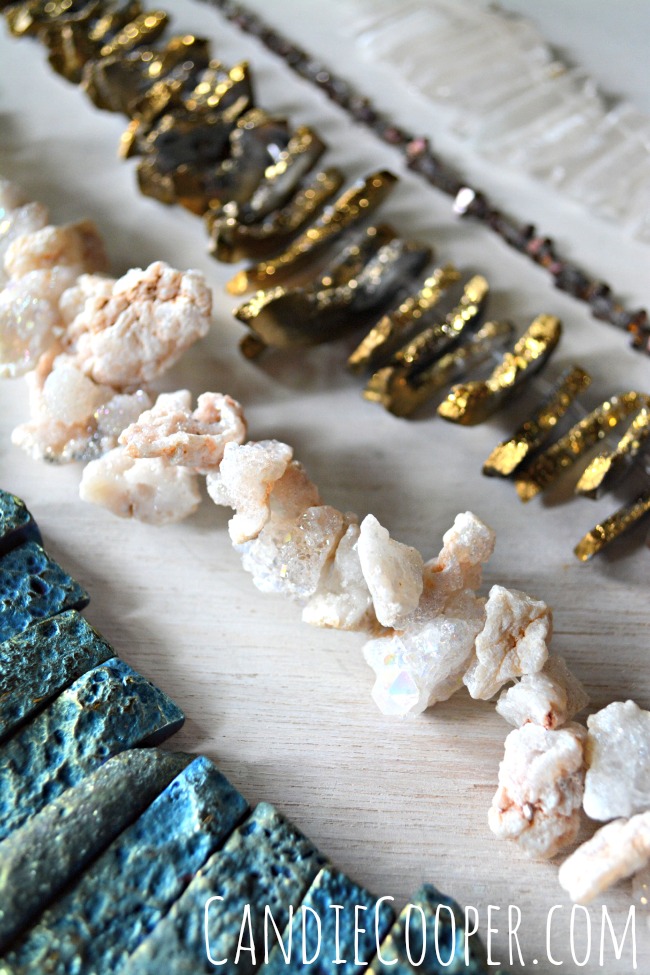
Geode Crystal Beads

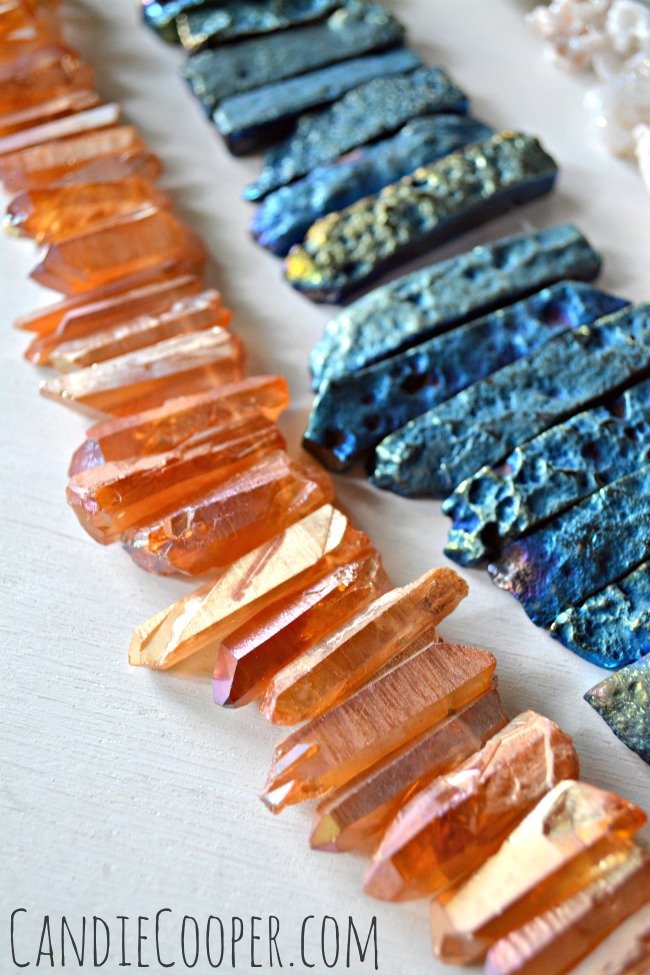
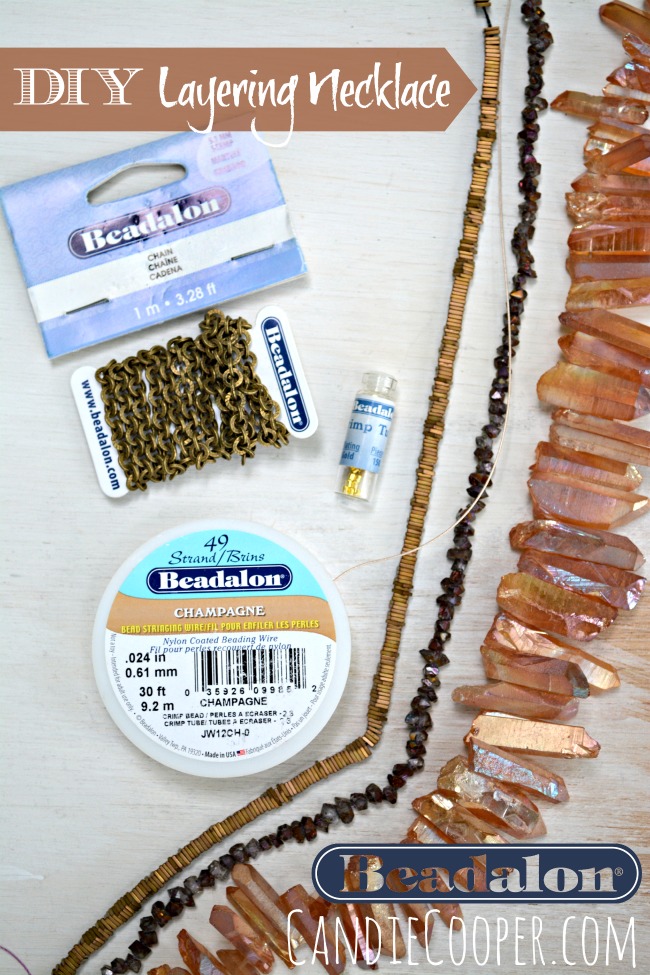
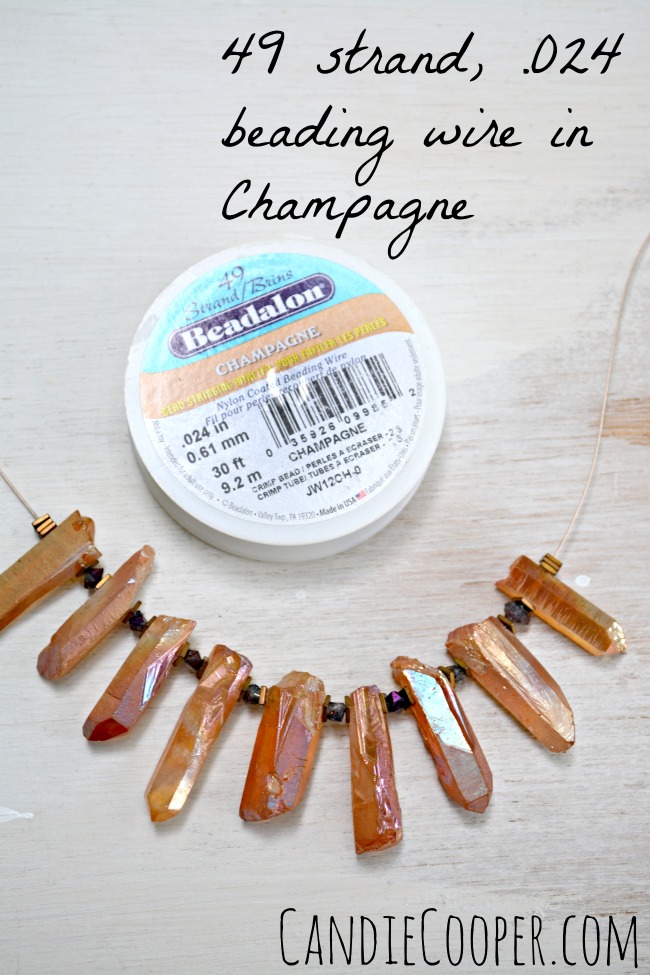
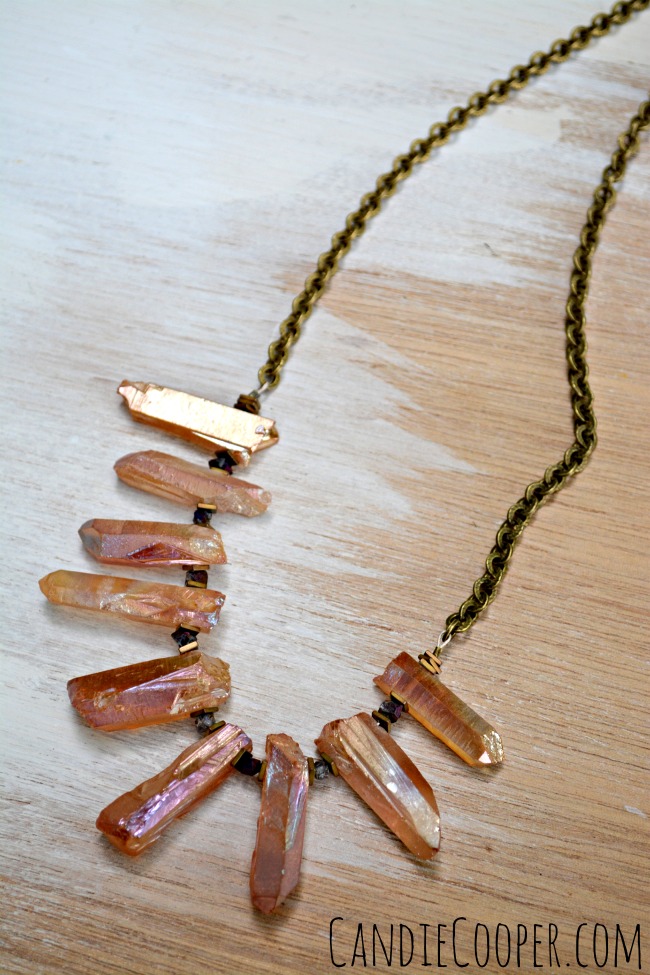
Orange Crystal Necklace BeadsI am especially smitten with, well all of them.  Well.  Except maybe the blue ones.  I don’t know what happens to me when I’ve been around beads too long (it also happens when I’m in Walmart too long), but I inevitably end up with something that I just. don’t. know. why. I. bought.  Sigh.  It’s cool, but is it jewelry worthy?  The verdict is still out and may be for a very very long time.  It’s over indulging I think.  Eating dessert when you’ve already had a slice of pumpkin pie at Thanksgiving.  Just too much of a good thing!Jewelry Making Quartz Layering Necklace Tutorial from Candie Cooper with Beadalon Champagne colored beading wireThe main materials are Beadalon‘s Champagne colored beading wire in 49 strand, .024″, brass stamped chain, #2 or 3 crimp tubes will work and some crimping pliers and wire cutters.

I also worked in some added strands from Dakota Stones–more purplish quartz chips and gold hematite squares.

These colors are all over the Fall look books so I know this necklace is going to get a workout in the next couple of months.String the quartz onto Champagne colored Beadalon WireI was so happy to find I still had 10″ of my very favorite colored Beadalon wire to use for this.  I love champagne anything!  However, Beadalon makes beading wire in pretty much every color in the rainbow!

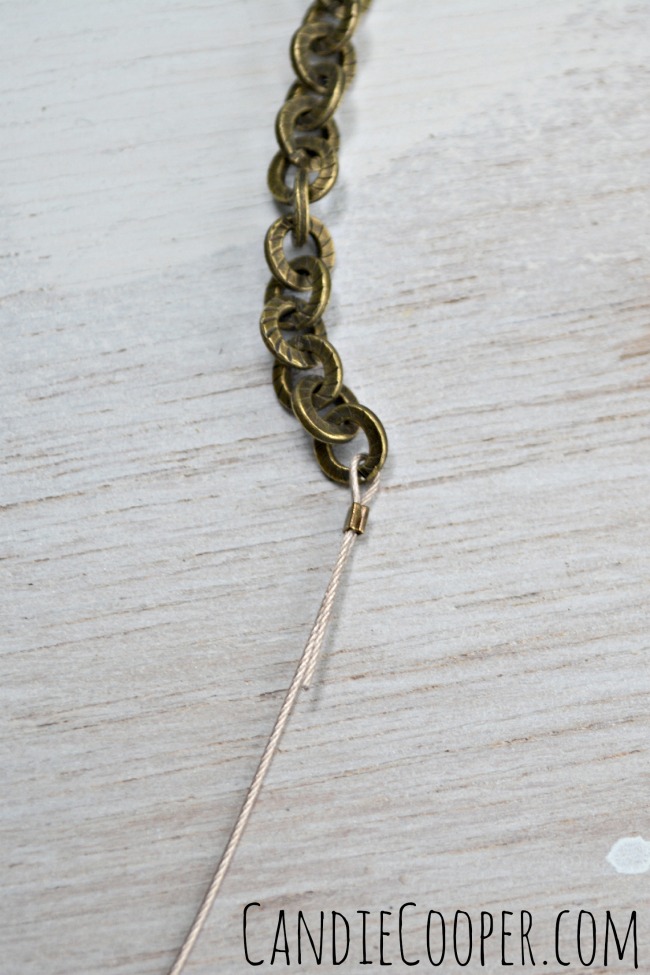
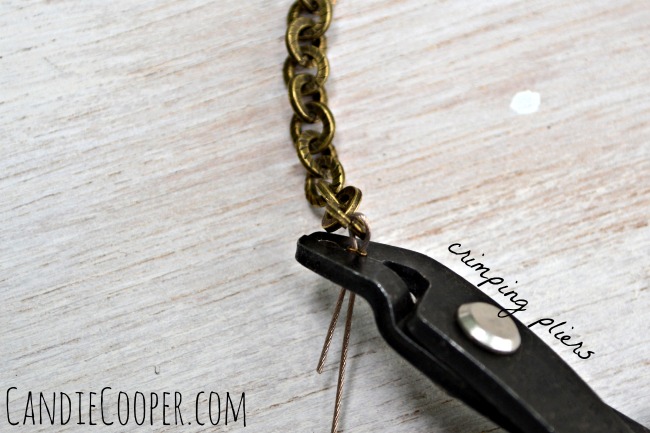
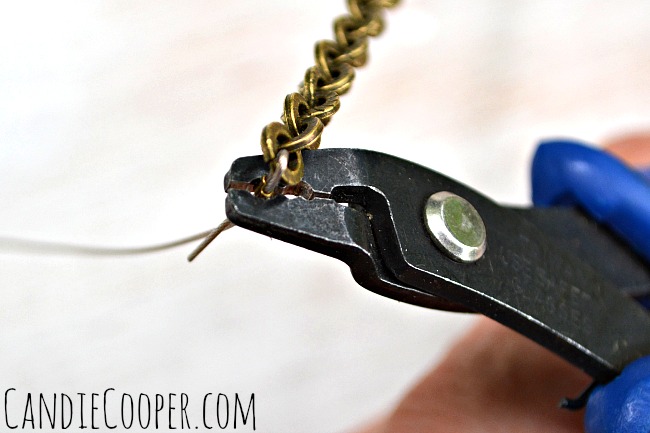
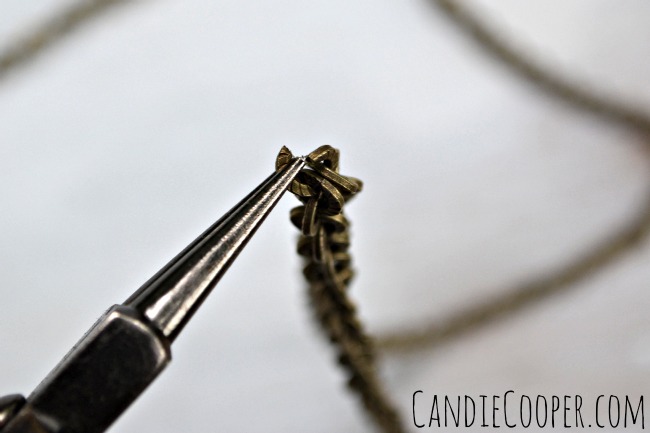
Note! These stones are heavy and have rough edges that can potentially saw through thinner beading wires.  That happened to me once (love learning those lessons the hard way!) so take it from me, get the good stuff!  Beadalon, .024″ 49 strand is the way to go because it’s super embarrassing to say you “make jewelry” and then have gems and beads scattering all over the floor.  Even more humiliating to be on your hands and knees picking them up at a party.  None the less, when using stones like this, it’s always a good idea to take a peek at how the wire is doing and holding up.How to use crimp beadsString the tail of your wire through a crimp bead, the last link of chain and back through the crimp bead.  Grab your crimping pliers!How to Crimp wire to chain in jewelry makingPlace the crimp bead in the opening closest to the handles and smoosh down like so.How to Crimp beads to wire step 2Turn the crimp bead 90 degrees, place in the next opening away from the handles and fold it on over like this:Crimping wire to chain layering necklace tutorialSee how it folds the crimp bead over?How to open a link of chainThis necklace does not have a clasp.  I simply determined how long I wanted the necklace to be so I could slip it on and off, opened a link of chain from side to side and removed the extra which will be used for a rainy day.Layering Necklace TutorialSlide all the beads to the finished end, string a crimp onto the wire and through the last link of chain and crimp again.  Trim the excess wire.Autumn Layering Necklace TutorialBlissfully simple!
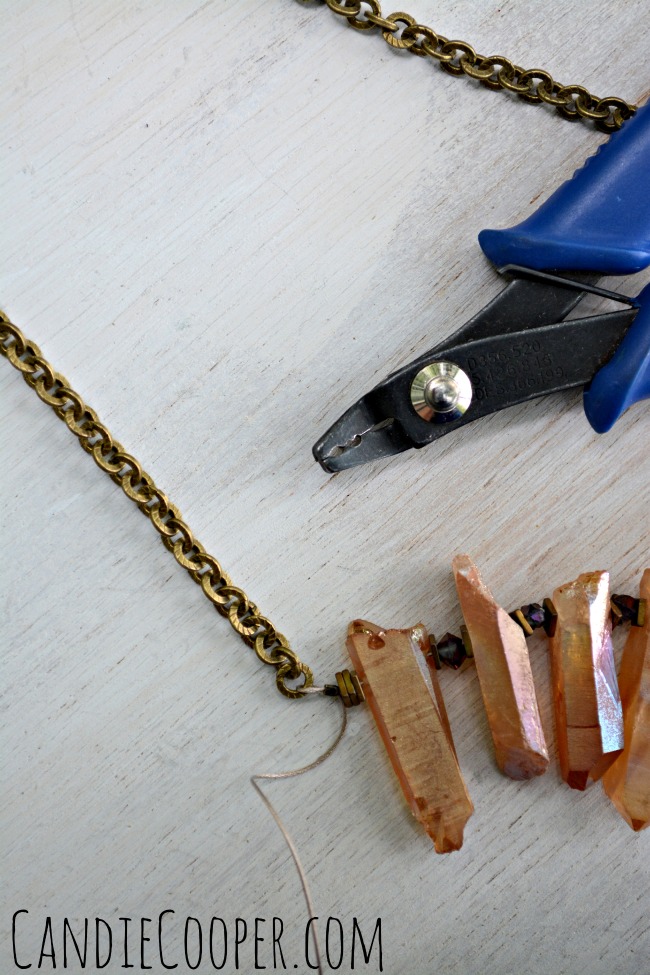
Layering Necklace Tutorial from CandieCooper.comMeet your new favorite necklace!  She can roll solo or party with a few necklaces.

DIY Layering Locket Necklace

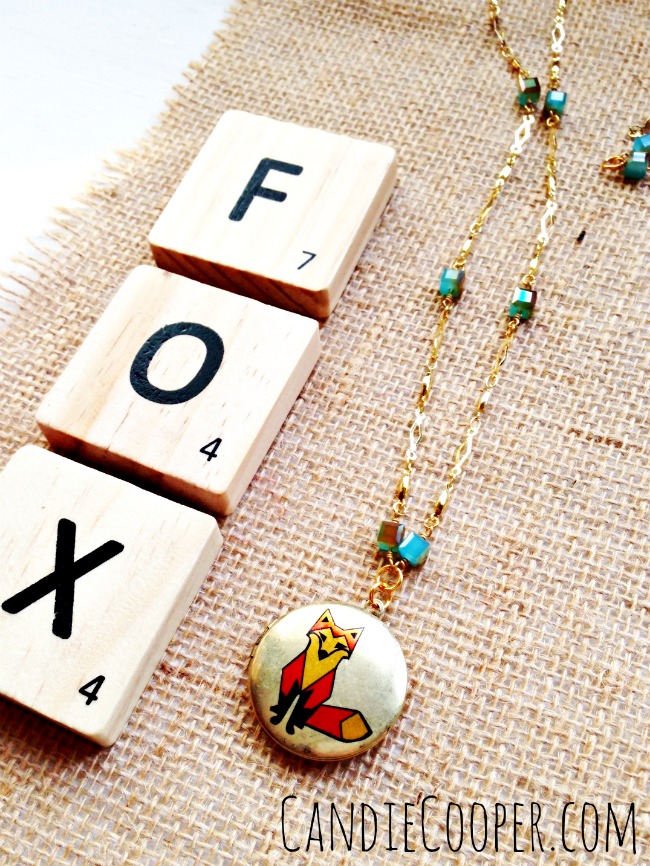
Candie Cooper Fox Locket 2There’s something magical about a locket.  Maybe because you just never know what’s inside.  I have a small stash of these sweet little printed lockets.  Ok, let’s face it–what don’t I have a small stash of in terms of jewelry making supplies?!  They’re perfect for quick necklaces like this one.

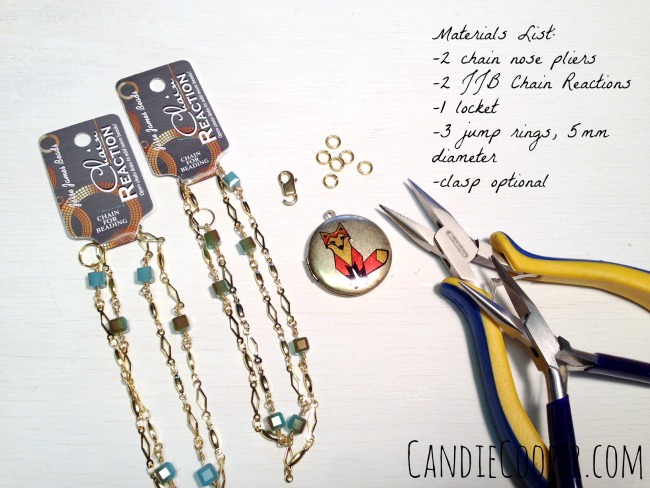
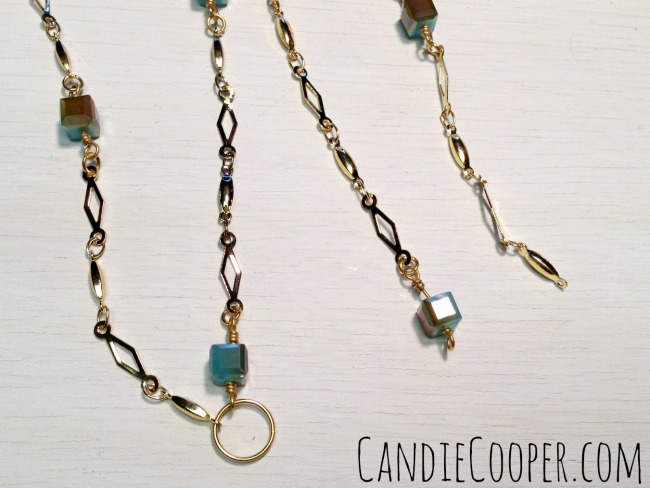
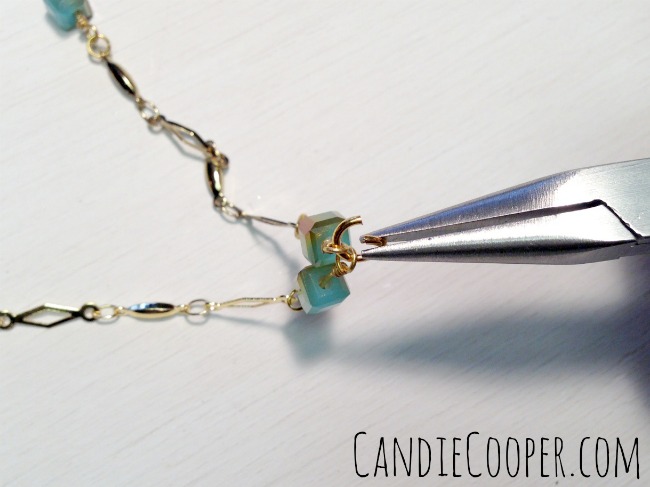
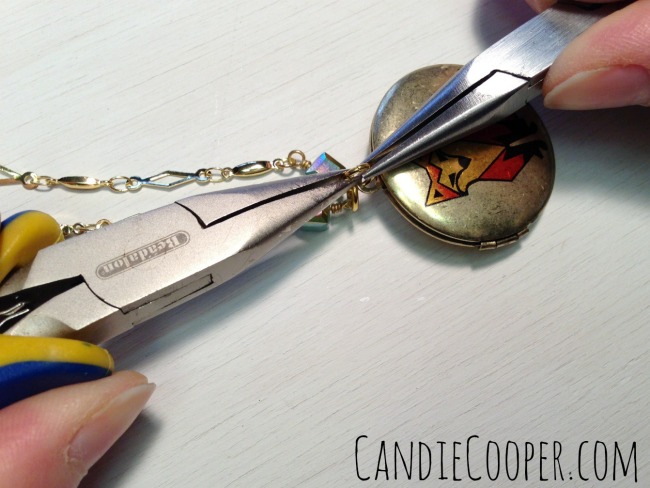
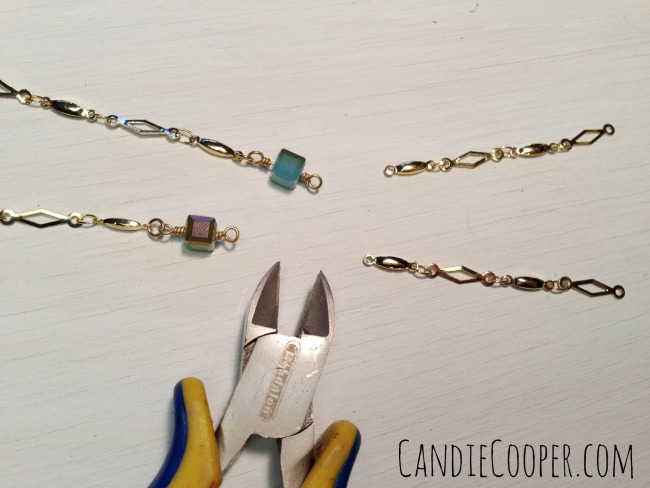
Candie Cooper Fox Locket MaterialsThis locket dangles from sparkly Jesse James Beads chain.  Split Ring on Chain ReactionTo get started, remove the split ring from the ends of chain.Connect the beaded linksConnect the ends together with a jump ring.Connect the locket with a jump ringConnect the first jump ring to the locket with a second jump ring. Close the jump ringClose up the ring.  Almost finished!Break Chain sectionsHold the necklace up around your neck to determine the length.  Trim away excess and link the ends together with a jump ring.
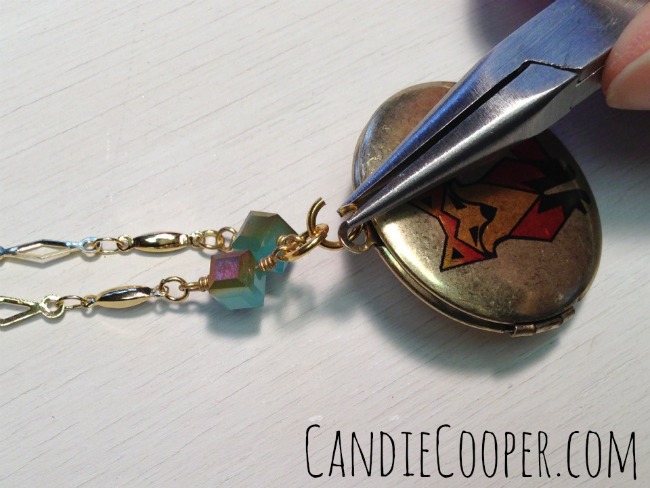
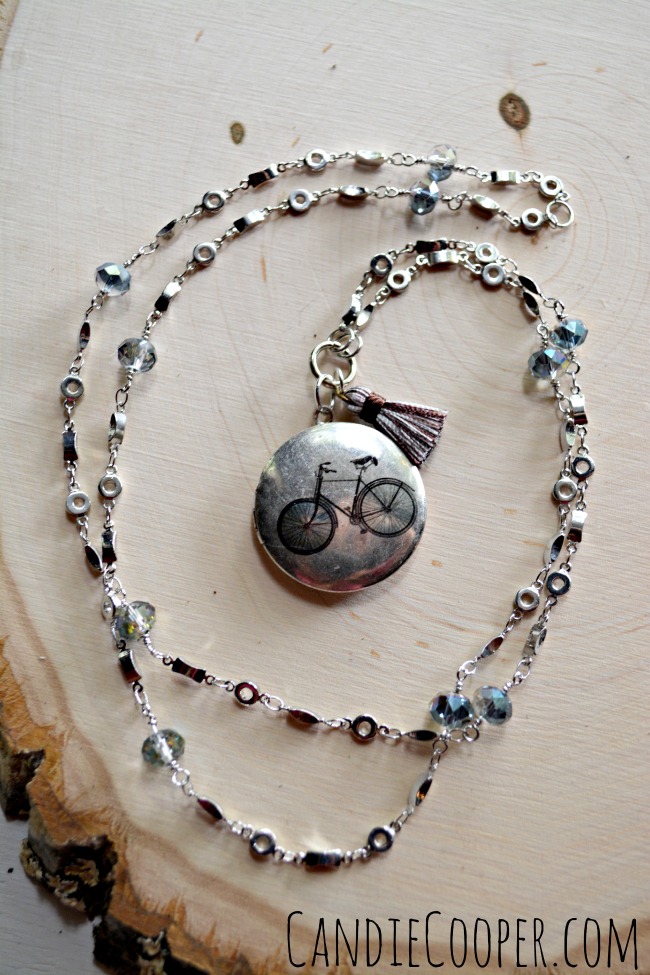
Instant craftification, at your service.Bike Locket from Candie CooperHere’s a bike version I made with an added tassel charm.  Just when you thought a bike locket couldn’t be more sweet, the tassel sends it over the edge of cuteness.

It’s so crisp and cool out today.  I’m loving this Fall weather!  We’ve been without internet and television for almost a week now. Yes, hubs has practically broken out in hives.  Me, I’m embracing Pandora radio and hand stitching.  Now, I’m here at my grandparent’s house using their WIFI.  Gram just made a lunch of the most ooziest grilled cheese sandwich and a side salad.  Delightful.  Now I’m back on the front porch writing with the glow of the lamp nearby and listening to her washing dishes.  Someone is outside mowing.  I could take a nap it’s so peaceful.  But, instead I’m going to post one more tutorial and call it a day!  Our high school homecoming is tonight and my sis is coming down.  I can’t wait to see her.

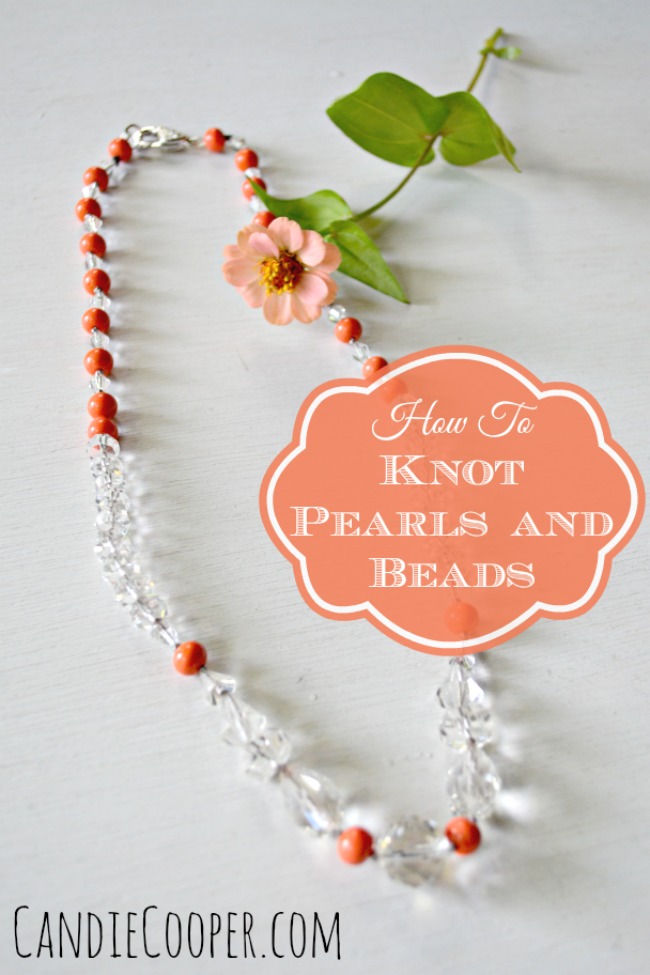
How To Knot a Strand of Pearls or Beads

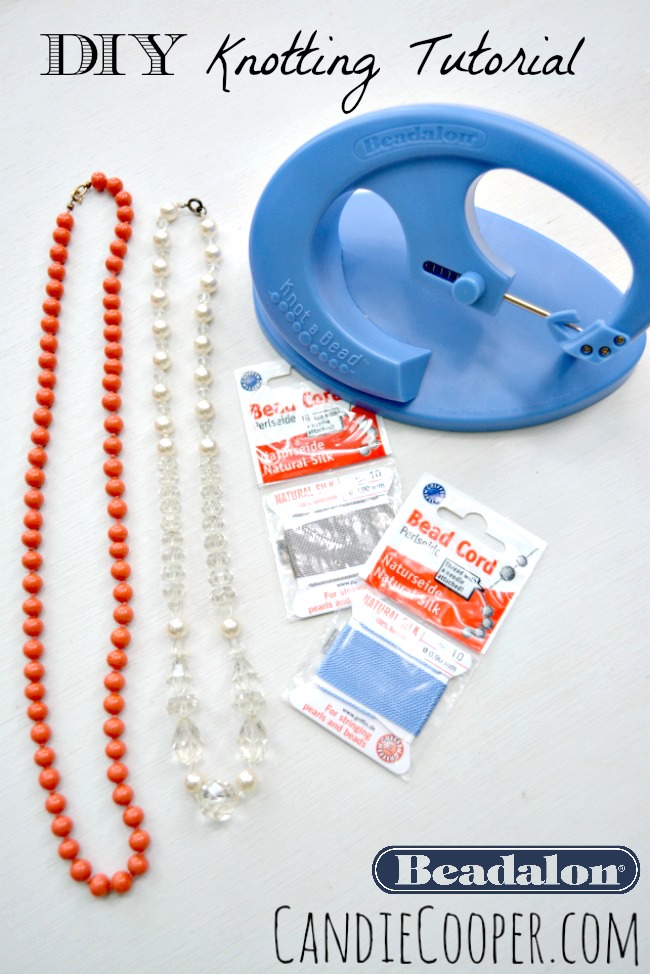
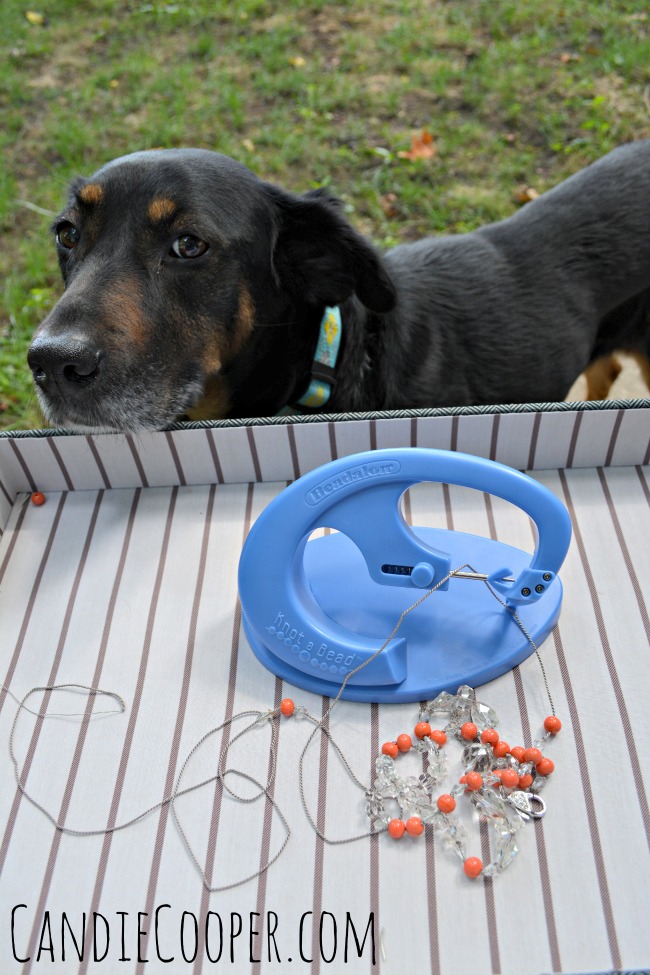
This post brought to you by Beadalon.com. How to Knot Pearls and Beads with Beadalon Knotting Tool from Candie CooperConfession:  I have a hoard of old necklaces with great intentions of re-doing each and every one of them.  Tell me, I’m not alone.
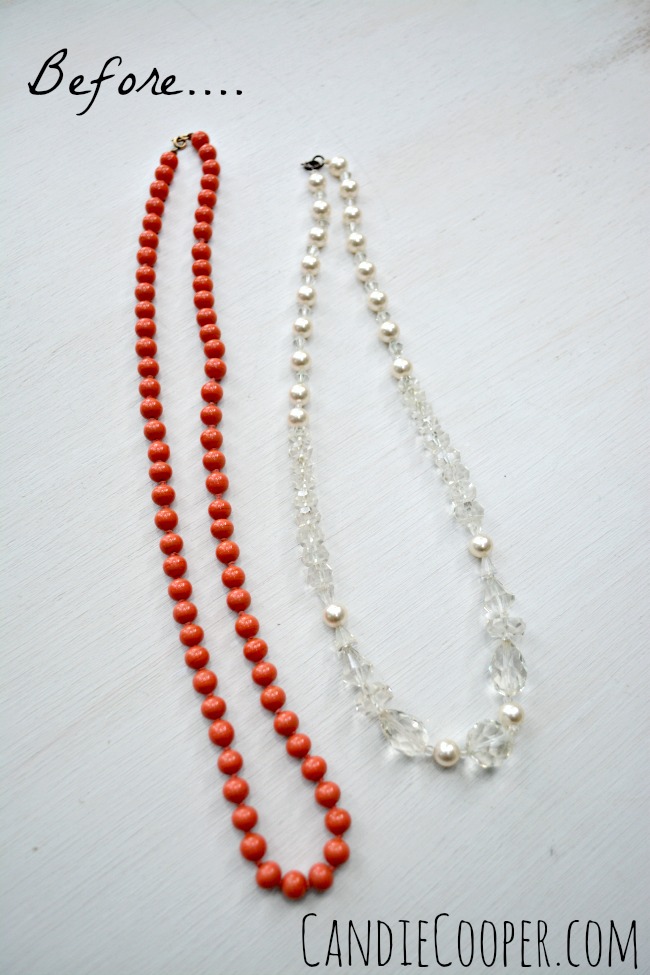
Vintage Jewelry Re-done tutorialHere are two prime examples.  Stunning, heavy glass and crystal beads topped off with a tired clasp that is about to fall off because the original stringing job has done it’s time and then some.  Here is one idea for making over vintage jewelry and giving it new life!

Before I forget, I like to clean beads like this with a soft toothbrush and Dawn dish soap.  I’m always amazed at how shiny and pretty they look after a good bath.
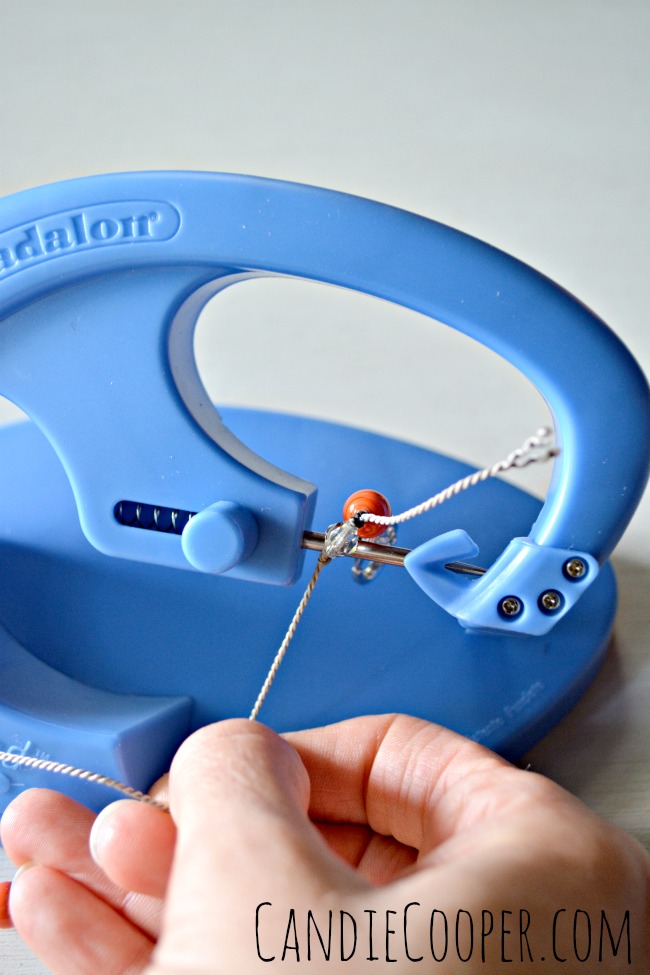
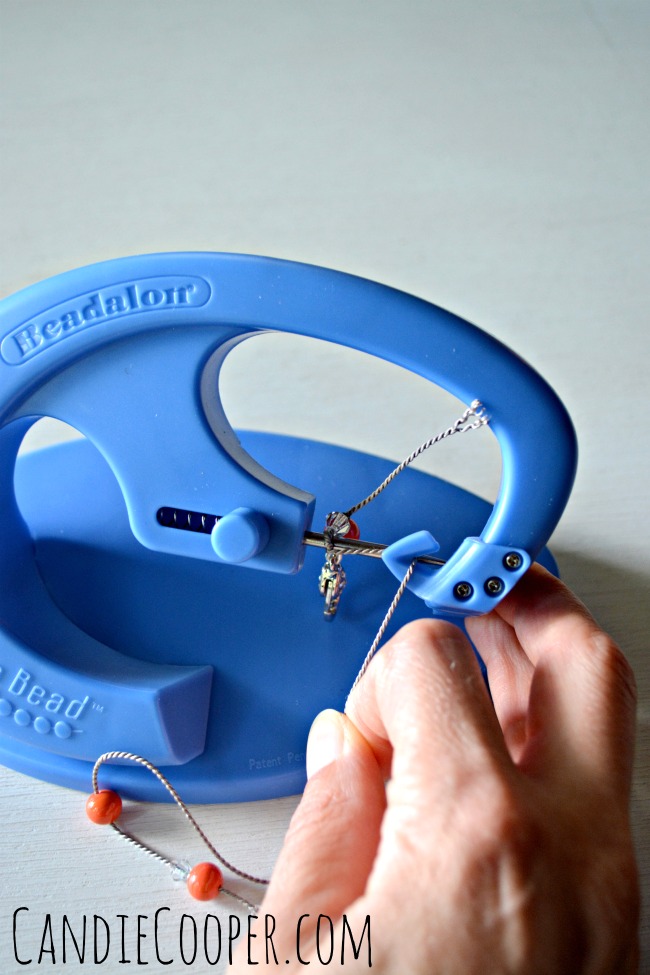
DIY Knotting Tutorial with Vintage Jewelry from CandieCooper.comFor this makeover, I’m using Beadalon’s Knot-A-Bead tool.  In the past, I’ve tried knotting with the traditional wooden hand knotter tool.  My first attempts with hand knotting were scary and disgusting with big spaces between the knots and beads.  I put the hand knotter in a box and haven’t played with it since.  However, after gaining some confidence with this tool, I may give it a go again.

My first attempts with the Knot-A-Bead came out awesome on the other hand and now I’m a believer and am ready to knot every bead in sight!!

I’m also using a sparkly Upper Clasp from Beadalon and #10 Griffin Silk.  These beads have larger holes, so I can get away with using this heavier silk.

So, here’s how it goes…

Unwind your silk from the card and pull to remove kinks and tighten the silk.  I opted to keep the pattern on the crystal strand, removing the plastic pearls and replacing them with the salmon colored glass beads.  The gray silk made for a perfectly vintage and modern fusion which I found to be super appealing.
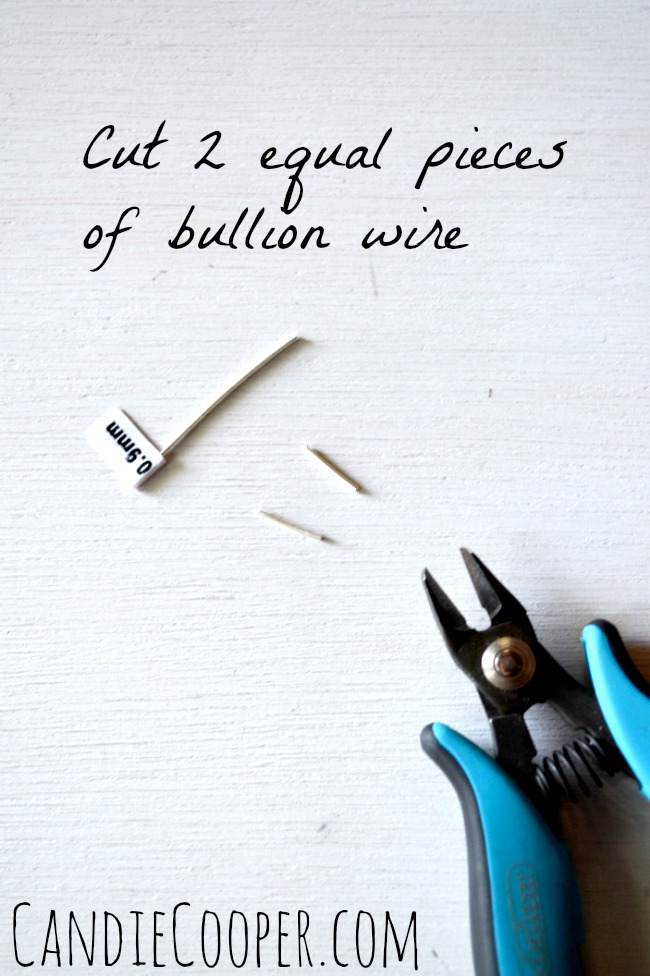
How to Cut Bullion WireCut two pieces of French bullion wire.  This is essentially a tiny, tiny, tiny coil of wire that protects your silk where the clasp will rub.  Make sure to get the corresponding bullion wire to your silk size.
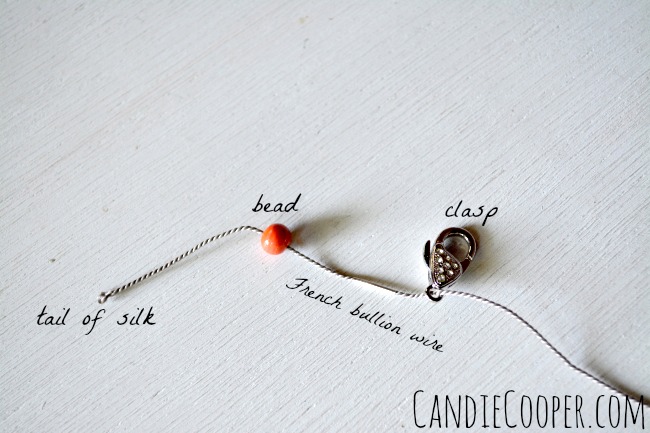
How to Knot Pearls or Beads  Getting StartedString one bead, bullion wire, and clasp end onto the silk.  The silk has a needle pre-attached to it so stringing is extra easy!
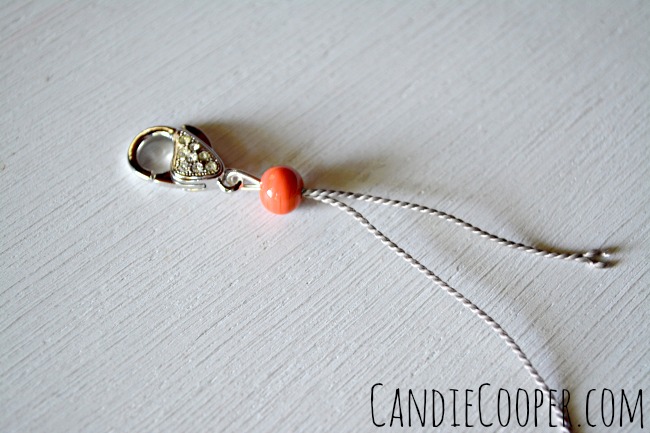
How to knot a strand of pearls or beads from Candie CooperThread the needle end of silk back through the first bead so the bullion wire makes a loop and the clasp sits in the middle.
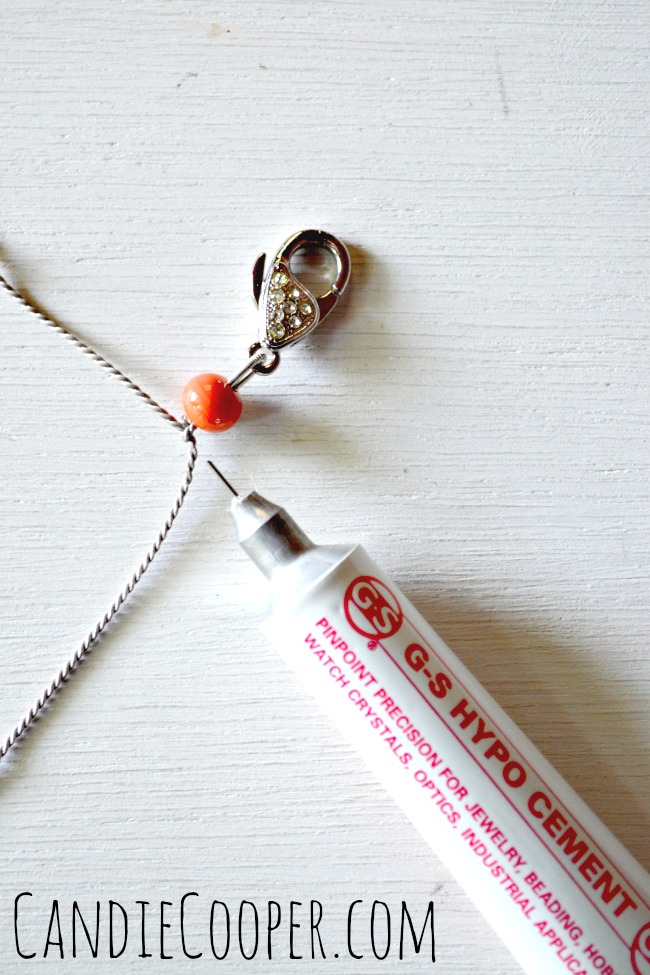
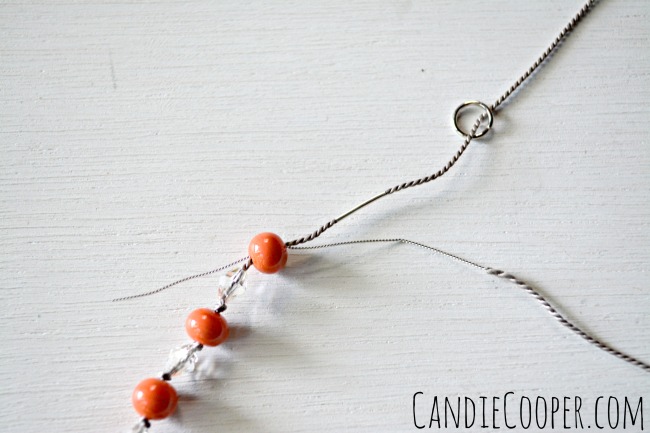
G-S Hypo Cement for fibers and bead knottingKnot the silk just below the orange bead and dot with G-S Hypo-cement.  Leave the tail long until you are done knotting.
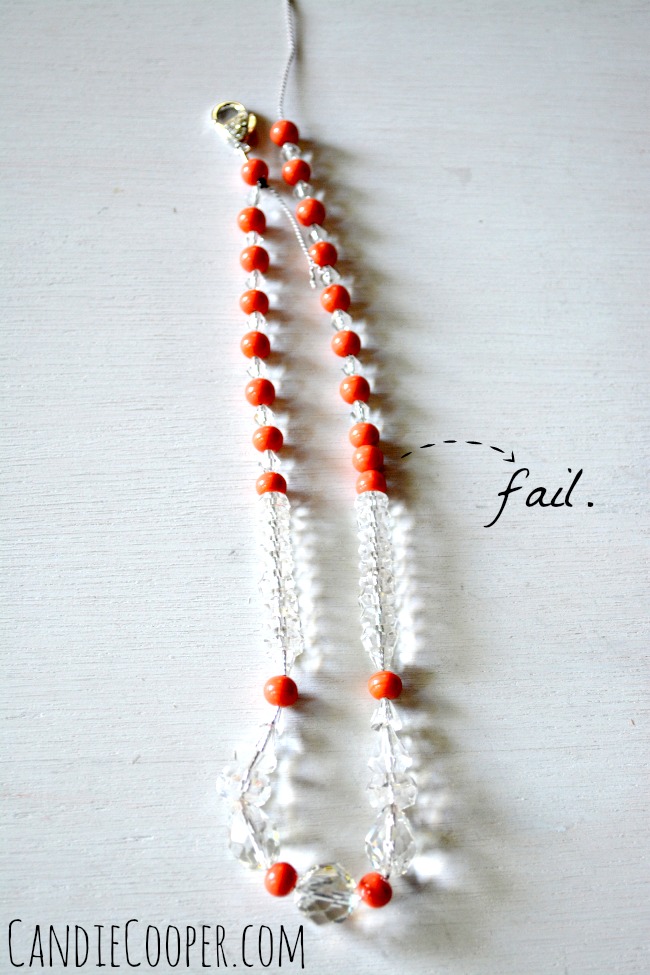
Knotted Bead Tutorial  StringingNow string the rest of your beads in the desired order onto the silk.  Can I just tell you it took me THREE times to get these beads right?!  I first knotted the whole strand and realized I missed a bead.  Cut, cut, cut.  Ain’t no way those knots were budging!  Made me sick to cut it apart, but I did.  SIGH.  Restrung them.  Fail.  See my next mistake?  Three orange beads in a row!?!

Third time was a charm!

Sanity is not overrated.

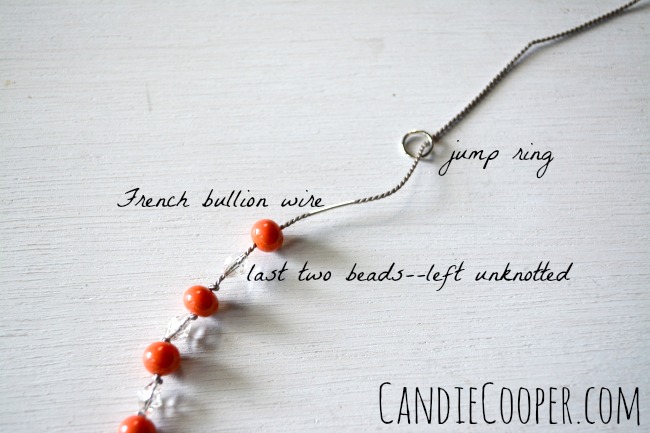
Before I forget, put a tiny jump ring (which will serve as a marker) before the last bead at the end of the strand–you will not knot between these two beads.
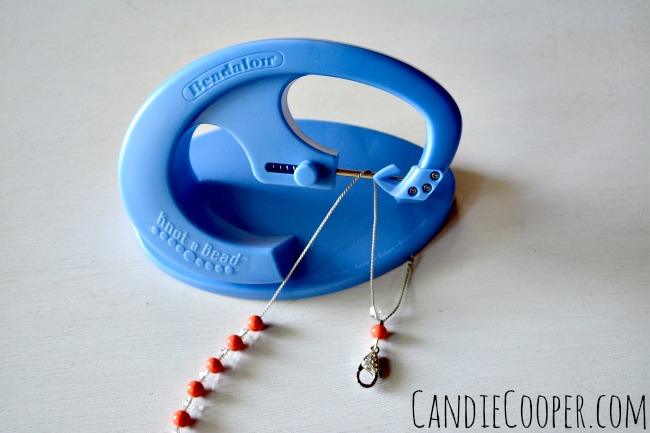
Beadalon Knot-A-Bead Tutorial with Vintage Jewelry from Candie CooperLay the clasp end over the awl so it drops behind.
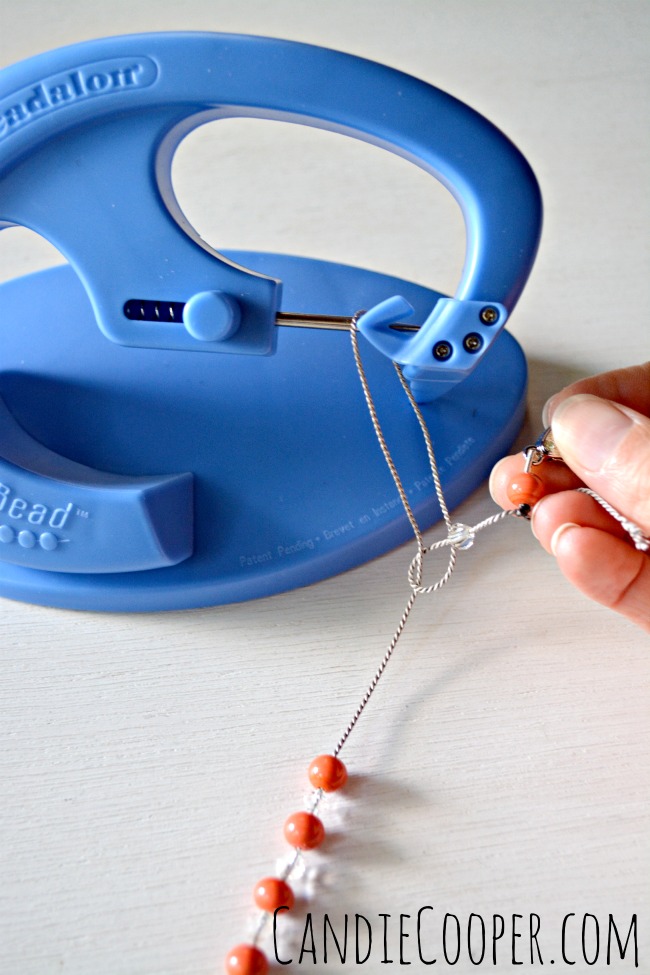
How to Use the Knot A Bead Knotting ToolCross the clasp in front of the long tail/string of beads and through the loop.
Using the Beadalon Knot A Bead Knotting Tool.jpgPull the strung end tight and push the short clasp end back over the top of the awl.
Knot A Bead Bead Knotting TutorialPlace the long tail into the yoke/hook and pull snug.
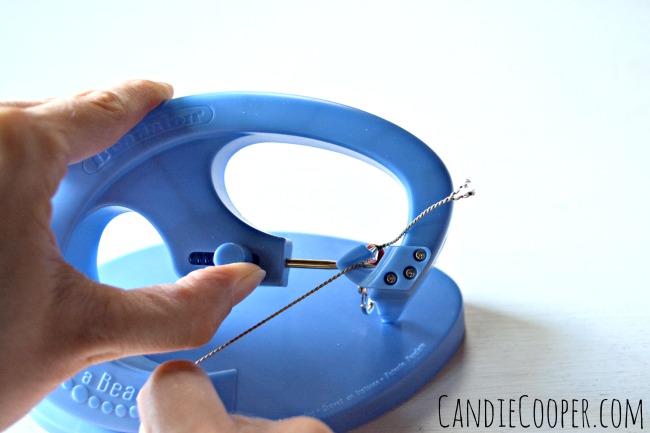
How to Knot a Strand of PearlsContinue to pull snug while sliding the lever on the left to the left.  The awl tapers down the knot and slides it up next  to the last bead perfectly.
Bead and Pearl Knotting TutorialLike this!  Now, go into Zen mode and repeat, repeat, repeat.  I actually found myself day dreaming about chocolate (which I’m trying to back off of) and enjoying the crisp air.  I’ve also watched a lot of movies while working on the Knot-A-Bead in my Lazy Girl chair.
Bebe and the Knot A BeadIf you are working on your lap (I usually do!), find a tray and put a beading mat down.  Just remember–DO NOT knot between the last two beads or you’ll be in a world of hurt trying to undo one of those knots.
P.S.  It’s very hard to explain to your dog that no, she hasn’t been replaced by the Knot-A-Bead and that you’ll pet her when you’re finished with this tutorial.  She stayed by my side through this whole tutorial.  Good girl.  Treats to come.
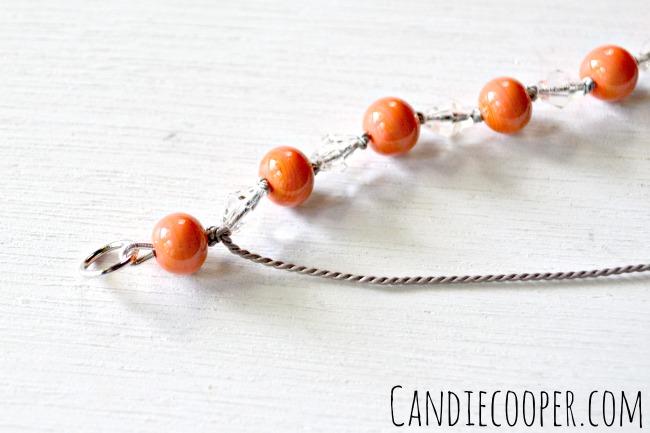
Bead Knotting TutorialWhen you come to final two beads, string another piece of bullion wire and the opposite end of the clasp.Jewelry Making Knotting Tutorial-How to finish the endThread the tail of wire back through the orange bead.
How to Knot a Strand of Pearls or BeadsThis cinches up the bullion wire and makes it ready to knot again between the last two beads.  Dot the knot with G-S Hypo cement and leave to dry.  Trim the ends.
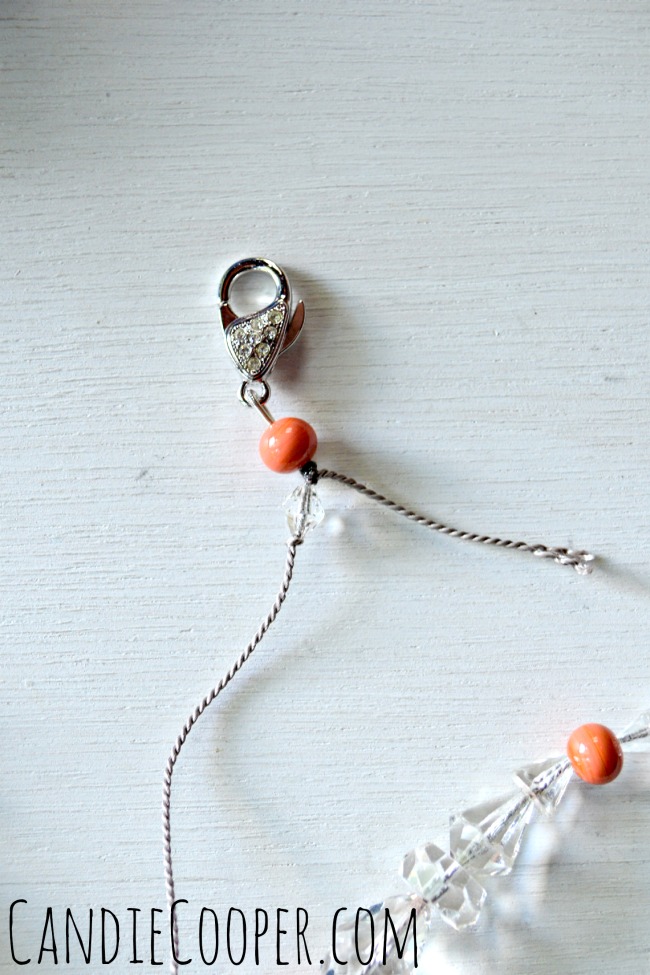
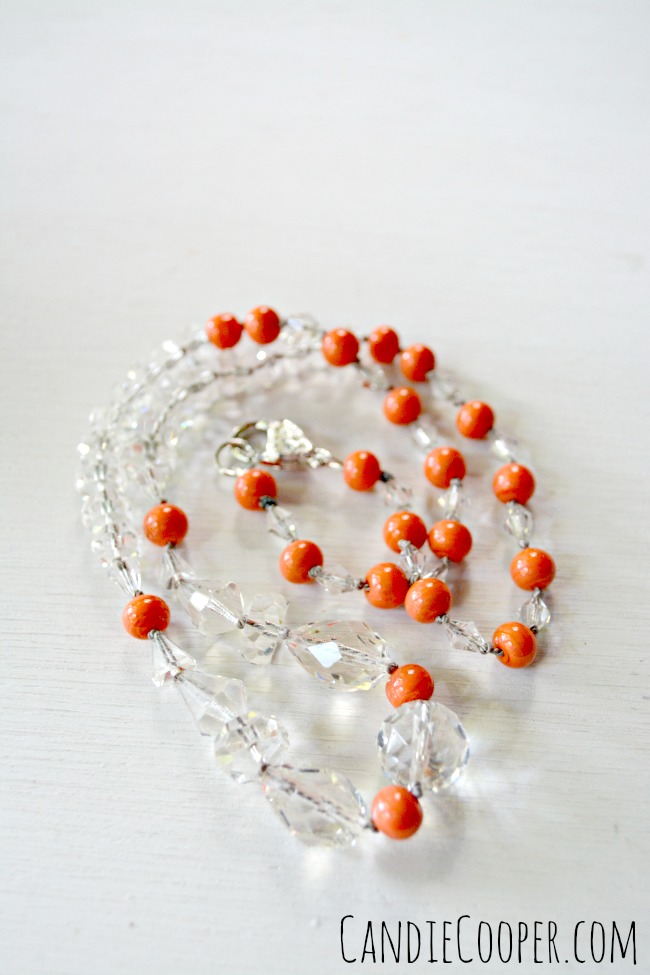
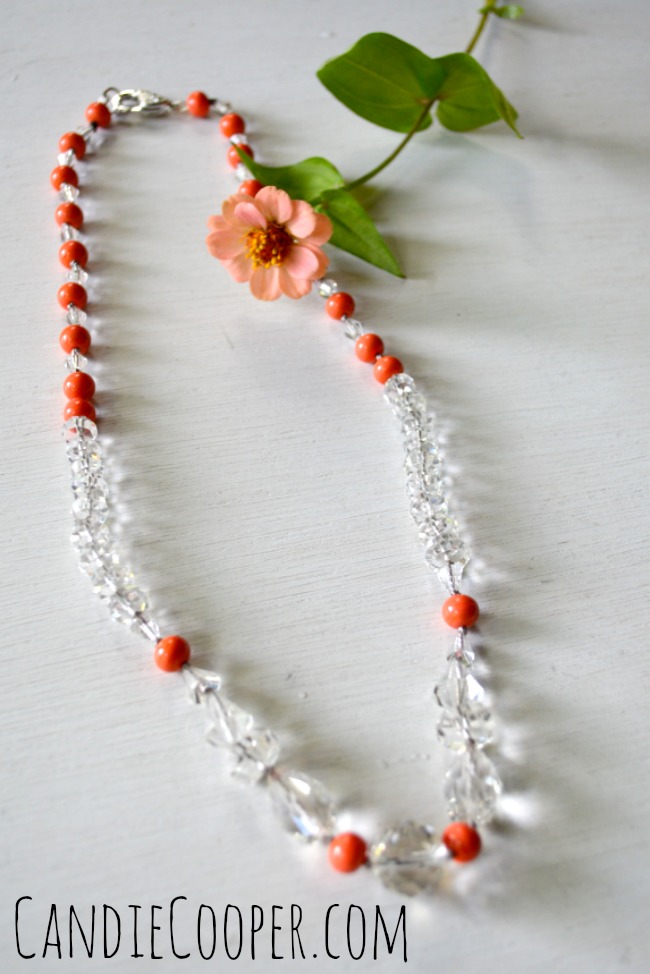
Bead Knotting Tutorial from Candie CooperThe thing I love most about knotted strands is how flexible they are!  Just beautiful!  I love this combo so much!
Vintage Necklace Re-Knotted TutorialHave a stash of your grandmother’s jewelry that’s been waiting for you?  Go forth and knot your heart out!

Hammered Metal Earring Tutorial

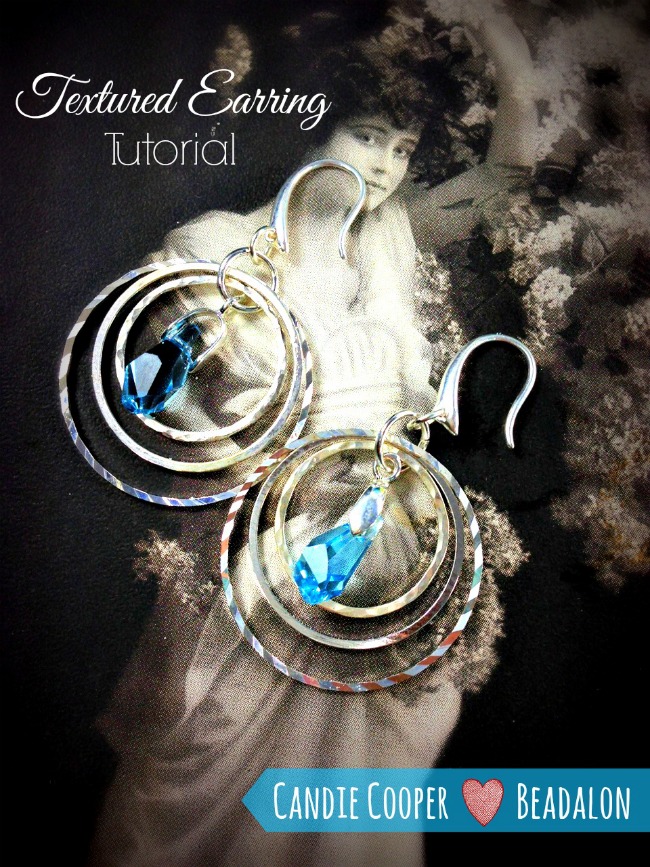
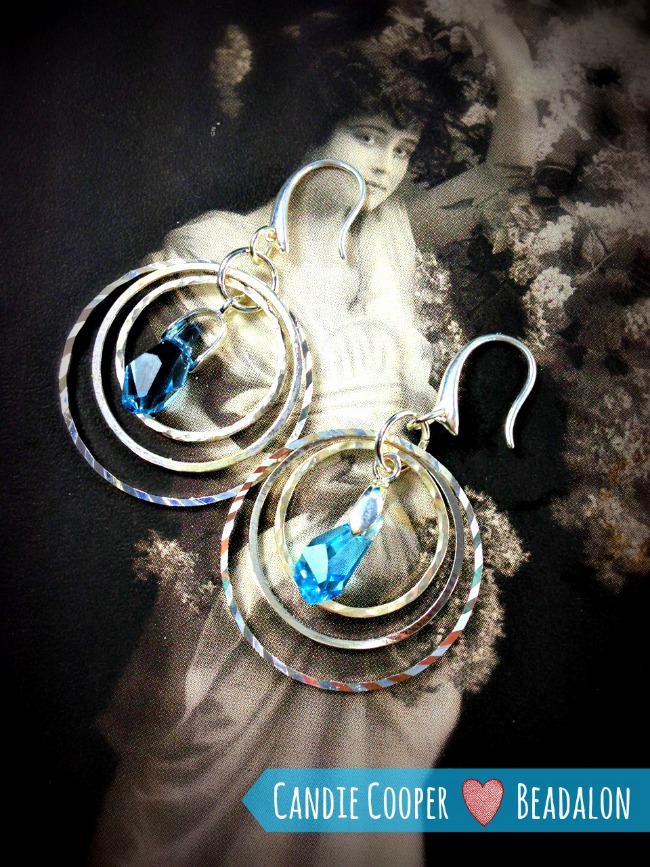
Jewelry Making  Candie Cooper Hammered Earring TutorialThis is a quick tutorial of the earrings I taught on the Country Music Cruise for Beadalon (makers of great jewelry findings) and Jewelry Television.  One of the things I love most about them is that you can take pre-made findings like Beadalon’s Quick Links and alter them with a chasing hammer to make them your own.  Here we go!
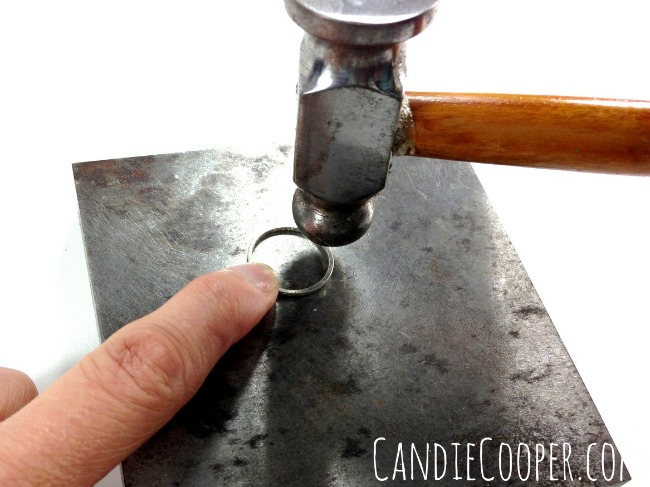
Jewelry Making Texturing with a chasing hammerYou’ll need a steel block and chasing hammer for this step.  The steel supports the metal so that it can take the imprint of the hammer’s round end to make a planished texture.  This is by far one of my favorite things to do in jewelry making!  Just.  Beat. It.  Beat it.
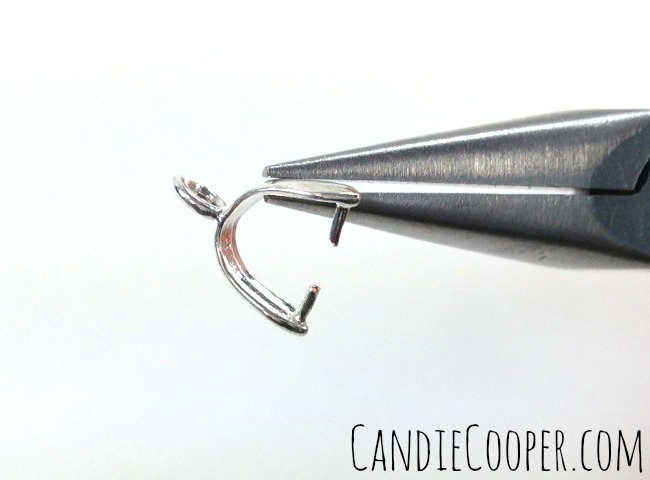
Jewelry Making How to open a pinch bailHere we have a pinch bail.  Use chain nose pliers to open up the bail.
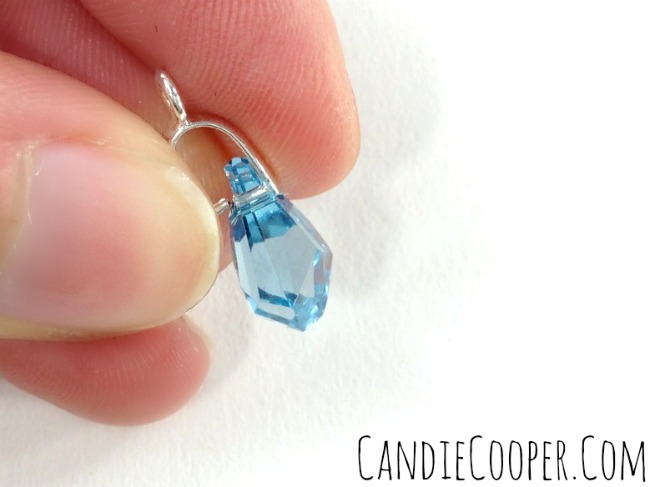
Jewelry Making Closing a pinch bailAttach it to a Swarovski drop crystal so the prongs on the bail go in the holes of the crystal drop and then pinch the bail closed.
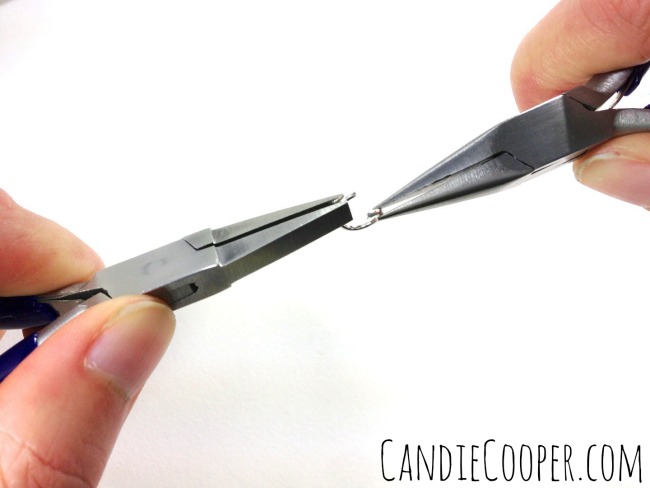
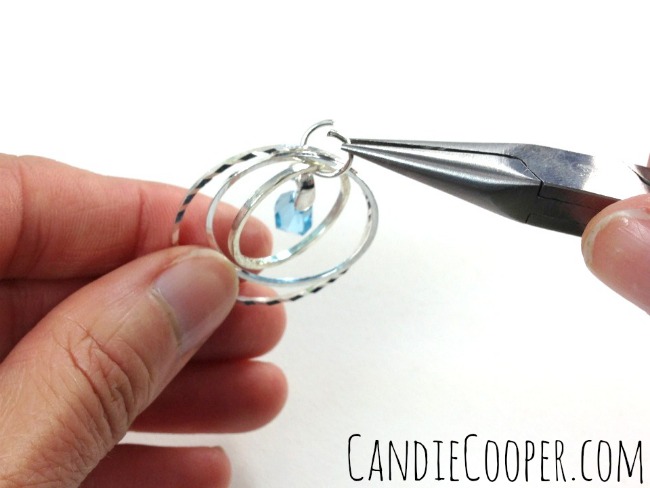
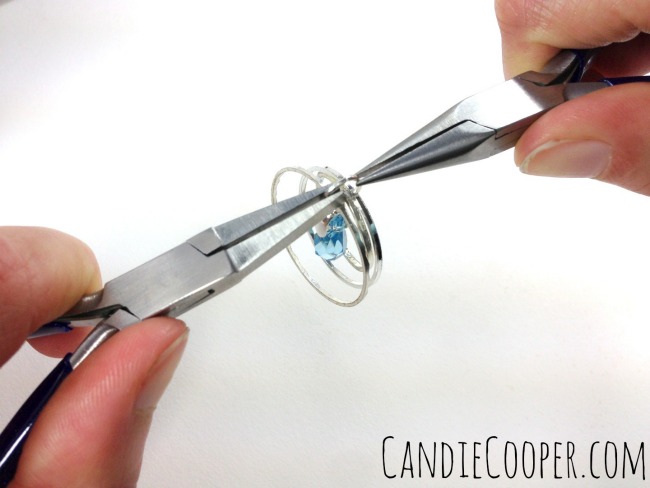
Jewelry Making  How to open a jump ringUse two pliers with flat ends to open a jump ring like so.
Jewelry Making  Connecting with a jump ringConnect all the layers of rings and charms.
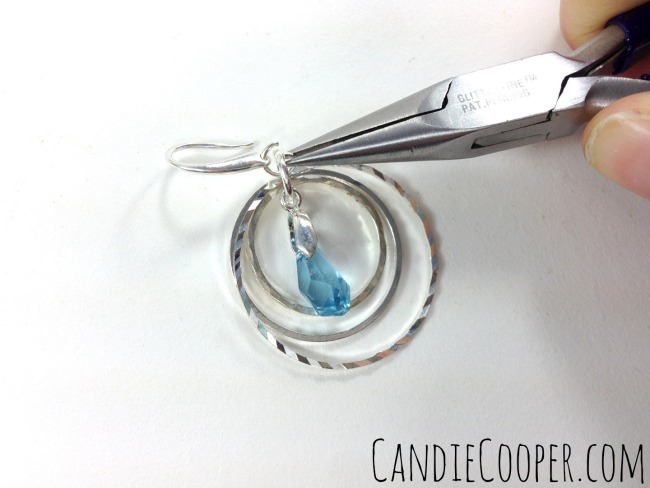
Jewelry Making  Sparkly Earrings with Beadalon FindingsClose the jump ring how you opened it.
Jewelry Making Connect the earwireUse a second jump ring to attach the first jump ring to the ear wire.  SO fast to make!!  Hello, Christmas presents for everyone you know!
Candie Cooper Textured Earrings How ToSweet.  Sassy.  Romantic.  Just the way I like my earrings as you know!

Beginner Jewelry Project

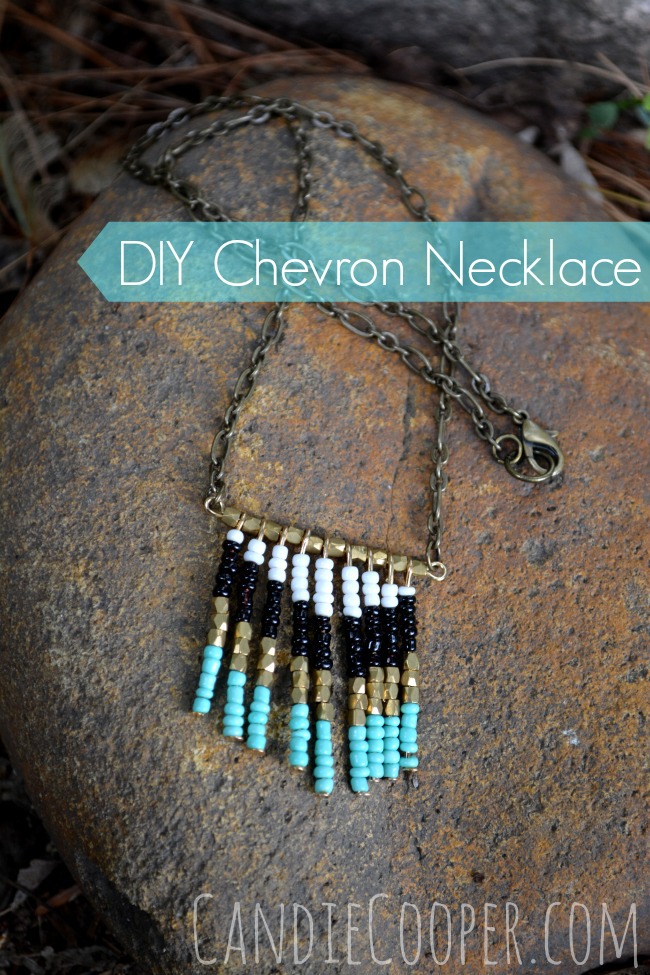
DIY Fringe Necklace from Candie Cooper

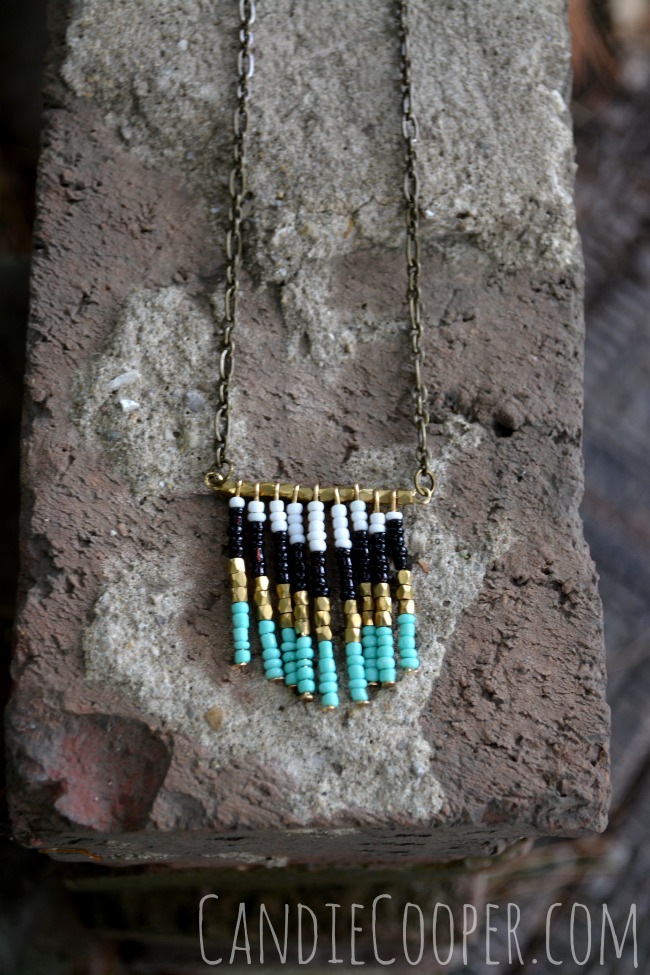
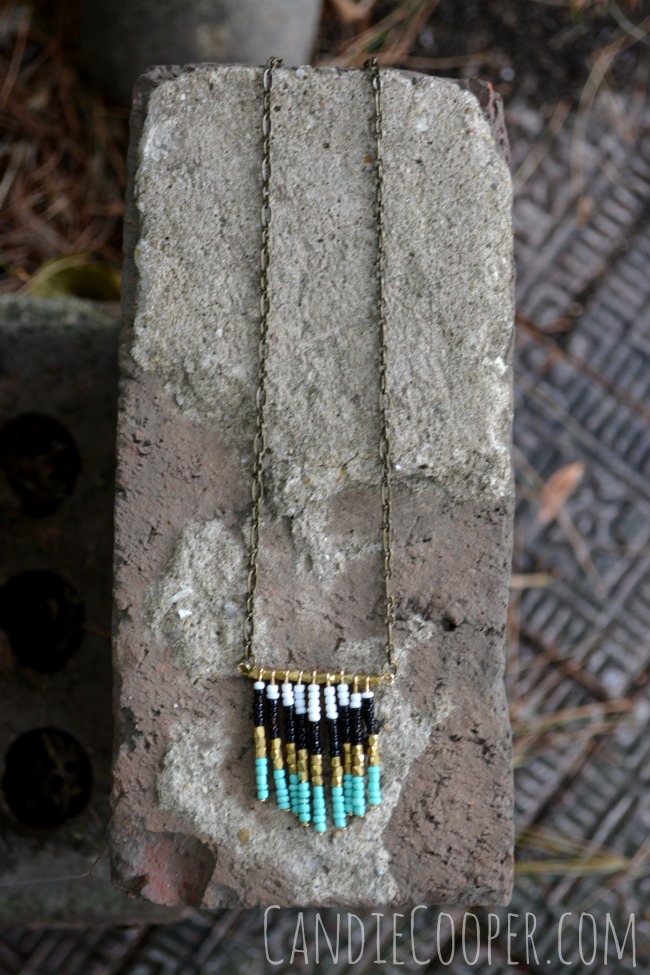
Chevron Fringe PendantMy husband got me an amazing new camera for my birthday.  He even called Amy at Mod Podge Rocks to see what to get.  How sweet is that?  My birthday is in May and I only recently picked it up (I think the owl button bracelet was my first post with it).  It’s big.  It’s powerful.  There are a lot of dials and buttons.  It’s a Nikon d5200.  I have NO idea how to use it.  So, bear with me as I fumble through getting to know this mega machine.Chevron Fringe Necklace IdeaSee this picture?  It looked great on the mini screen of the camera.   Then, I pull it up and……..Oh.  Hello, blurry pendant.  But!  I really loved the shot with the old brick and brick so I’m documenting it.  Someday when I’m taking fabulously focused pictures, I’ll look back at my humble beginnings and say: Candice, you’ve come a long way baby.

Ha.  My hubs just walked in and said, “that looks nice, honey.”  Love is blind.  I love that guy.

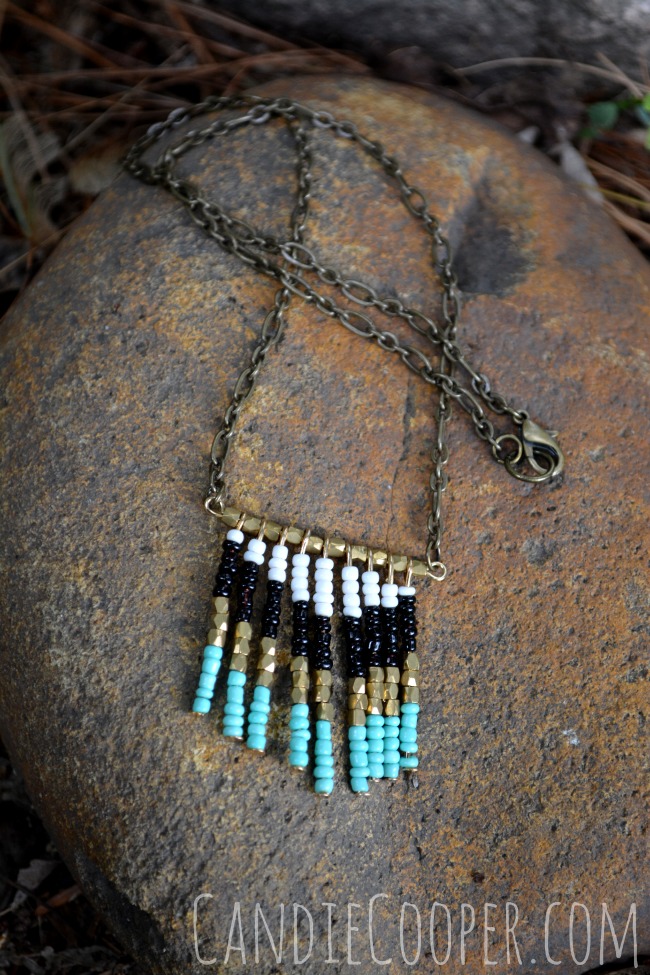
Fringe Necklace from Candie CooperBetter.

Much better (and a lucky shot).

Want to make this necklace?

You might think I strung all the seed beads onto head pins, but I didn’t.  This is actually a very cute pendant from Plaid’s Sea Sparkle line.

I connected each end of the pendant to a piece of chain with a jump ring and finished the end with a little lobster clasp (also connected with jump rings.  It took me about 5 minutes.  Maybe.

This is an especially great project for beginner jewelry makers such as tweens or your friend that wants to make a piece of jewelry with you.  All you need to know is how to open and close a jump ring and you can make the hole thing.  Jump rings are simply round rings with an opening so you can connect all the components together.  You can see opening a jump ring in this tutorial.

Keeping it simple today.  I hope you have a good one!

*Sources

Sea Sparkle components at JoAnn Fabrics and Crafts.
DIY Earring Making: Boho Style

Boho Earring TutorialWhat a dreary day, this day started out to be.  By 6:30 this evening the sun popped out coupled with a cool breeze.  I didn’t see that coming!  Thank you, Mother Nature.  My hubs fixed hot dogs, I made mac and cheese and after we ate (2 hot dogs each I might add), we felt we needed to take the dogs on a walk.

It was a great day.  I got a nice note from one of my Etsy customers first thing this morning.  She lives in Tel Aviv, Israel.  This amazes me.  I moved through my deadline/to-do list nice and easy and topped it off with a walk.   Now we are watching the Outsiders.  Well, I’m 3/4 watching and writing.
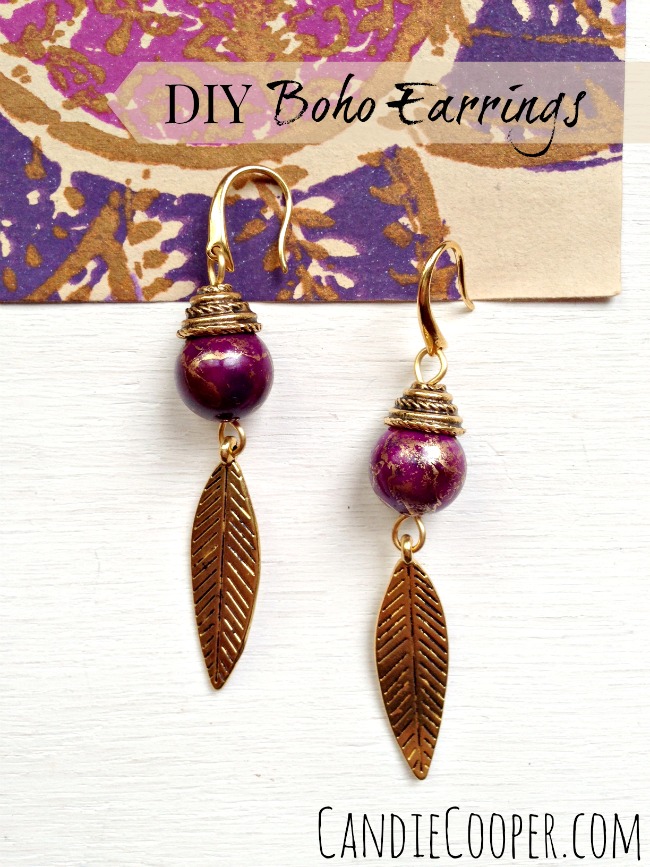
Now about these Boho earrings!  This is the final pair of orchid colored earrings for awhile.  I promise!  This tutorial will show you how to make an eye pin or a bead link.
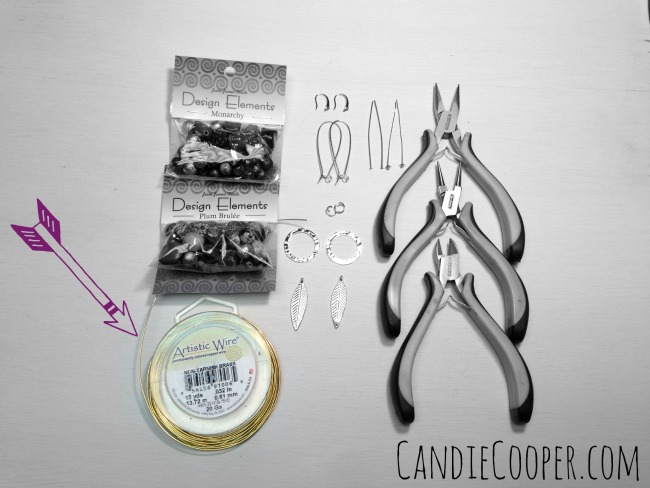
Jewelry Making: DIY Boho EarringsTo do this, I am using Beadalon’s Artistic Wire 20g.  The pictures tell the story.  I’ll chime in from time to time if there’s something specific I want to show you (and also because I’m a babbling brook and just can’t help myself).
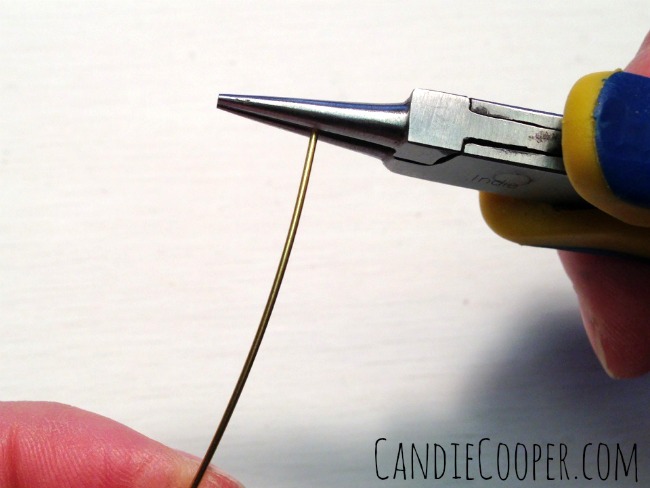
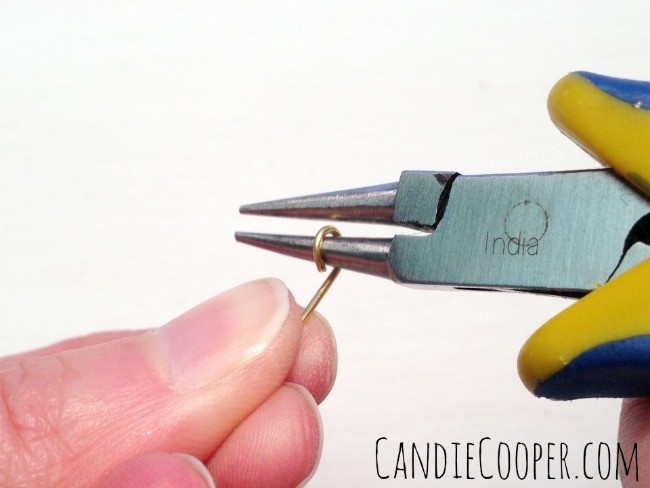
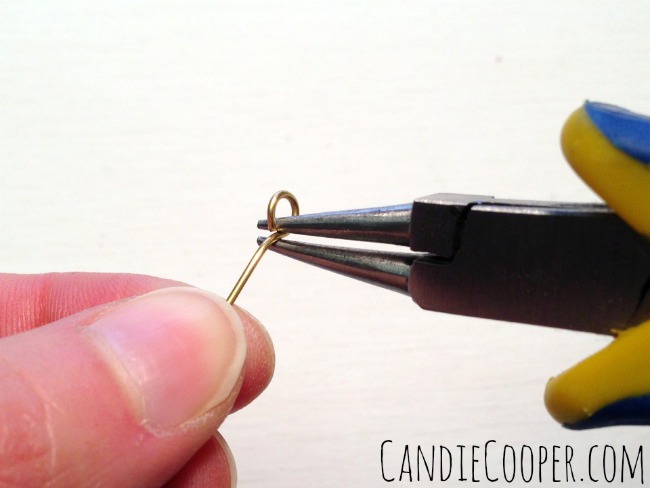
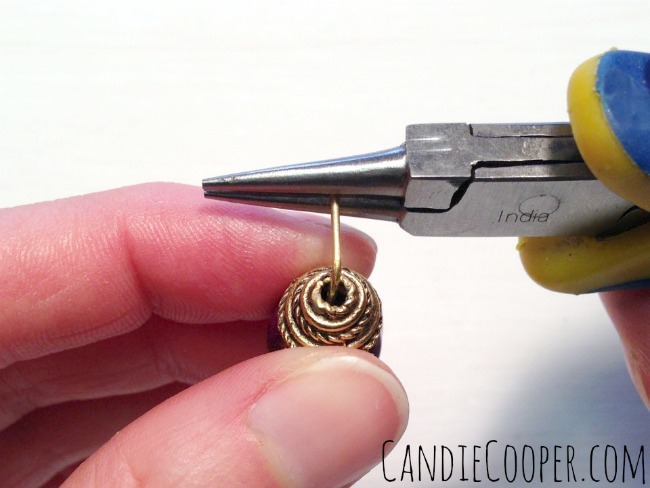
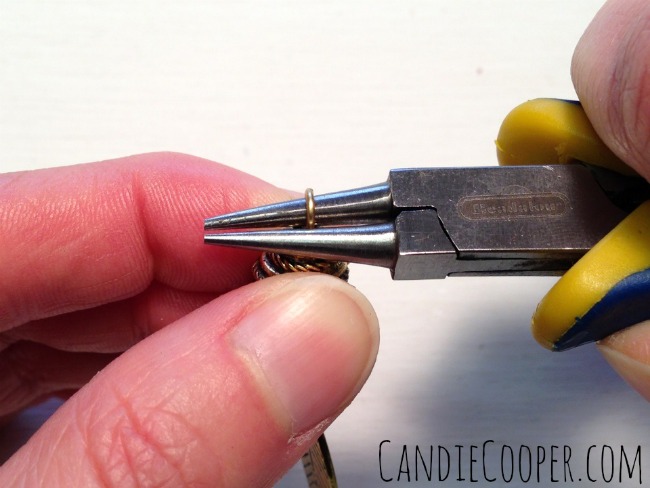
How to make a simple loop at the end of a wire 1Grasp the end of the wire at the point on the round nose pliers where you want that diameter of loop.  Tiny loop at the tip–bigger loop at the back of the jaw.
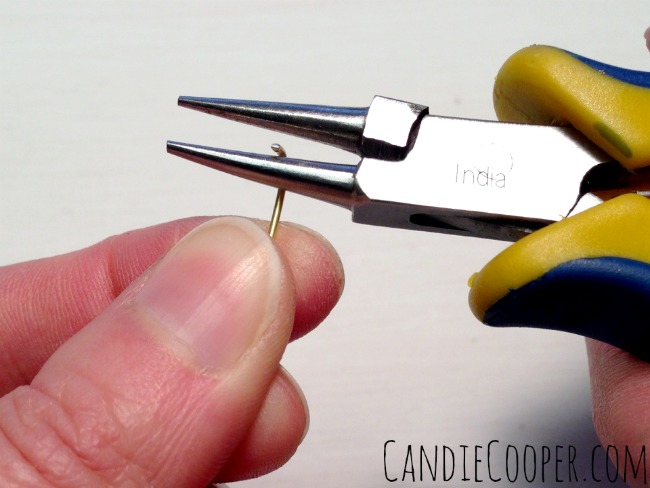
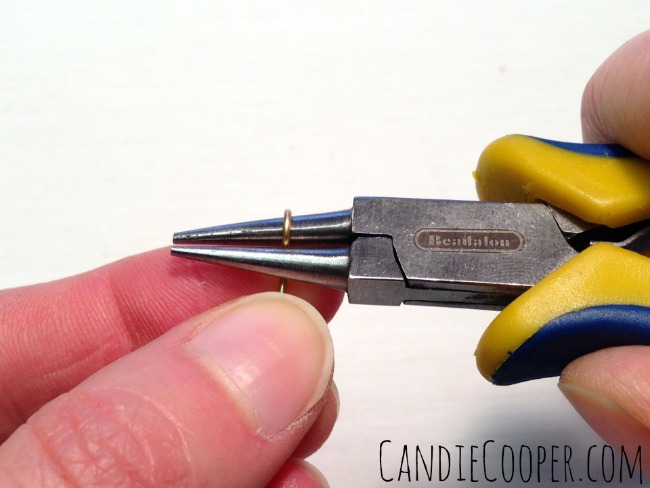
How to make a simple loop on a wire 2
How to make a simple loop in jewelry making
Round out the Simple Loop
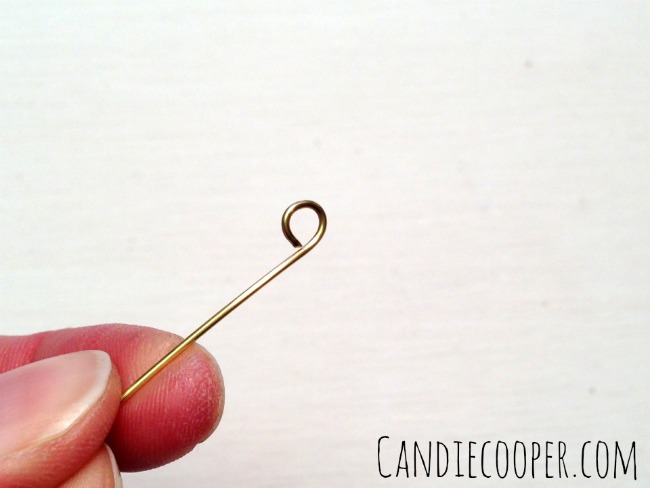
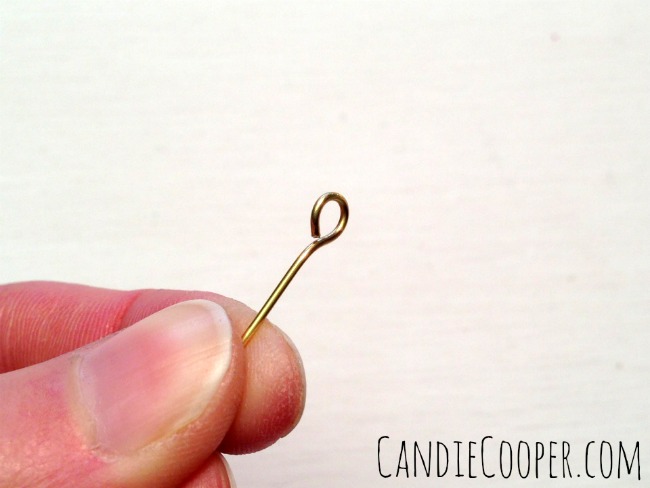
Straighten the loopWhen you get the loop completely formed, it’s going to be wonky.  Here’s how you fix it:
Straighten the eye pin
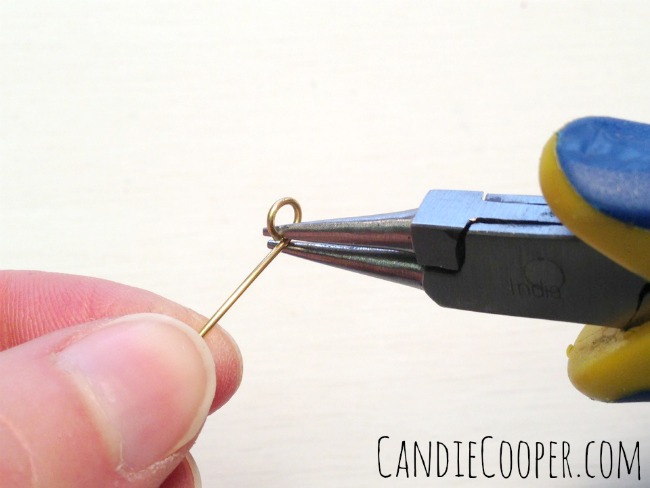
Square up the loopBasically grab the loop at the back side and tweak it backwards.
How To Make A Wire Loop for Jewelry Making
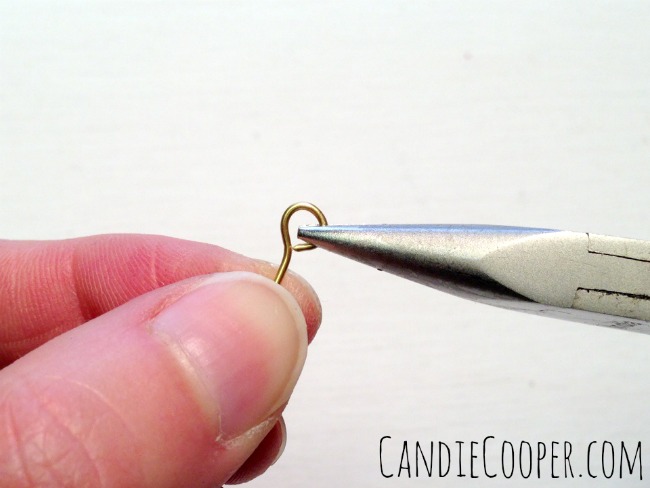
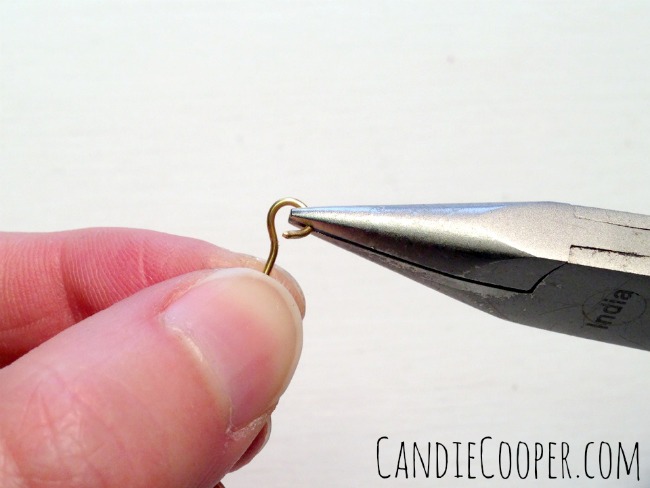
How To Open a simple loop or eye pinTo open an eye pin, switch to your chain nose pliers and open the loop from side to side.
How to open an eye pin
Connect a leaf charm to the eye pin
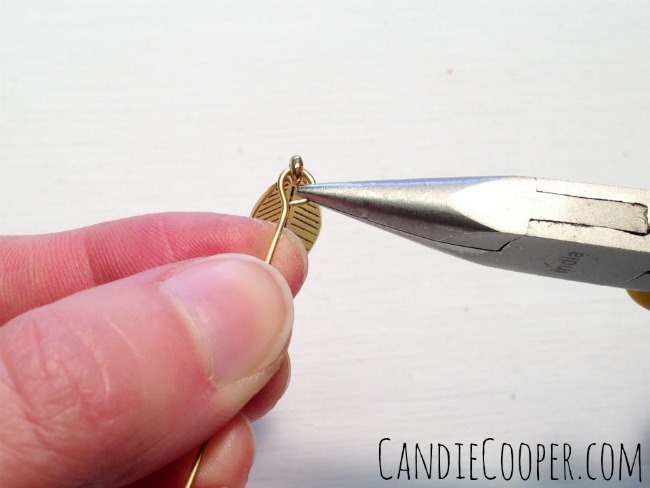
Close the loop to secure the charmClose it in the same fashion.  See how it keeps its shape?
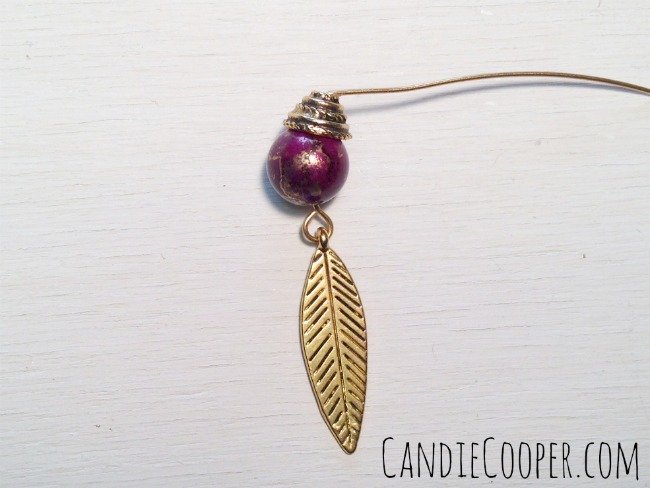
Finish the end of the wire in a loopString your select beads (by the way, those are from a Jesse James Beads Design Pack) and make a 90 degree bend at the top of the last bead.
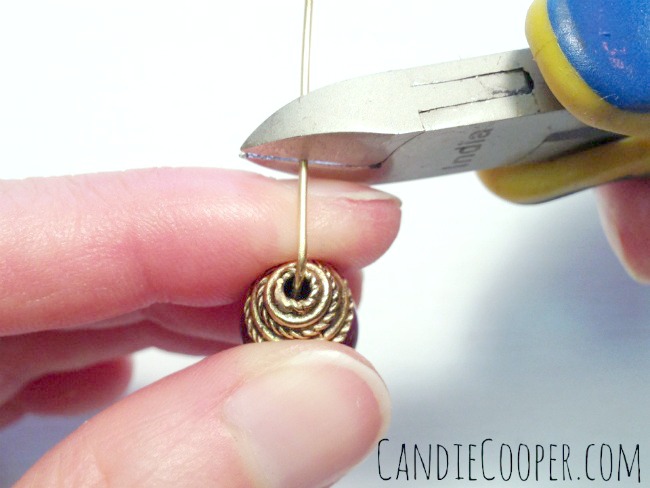
Trim the WireTrim leaving approximately 3/8″ (or the width of the side of your finger like I do).
Jewelry Making  Earring LoopRoll the end of the wire into a loop with the round nose pliers.How to Form a Simple Loop in jewelry making
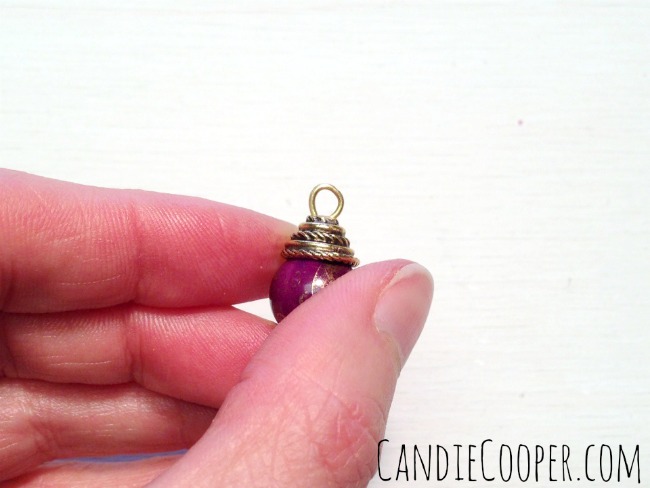
Finished Simple Loop on Earring
Open the loop from side to side
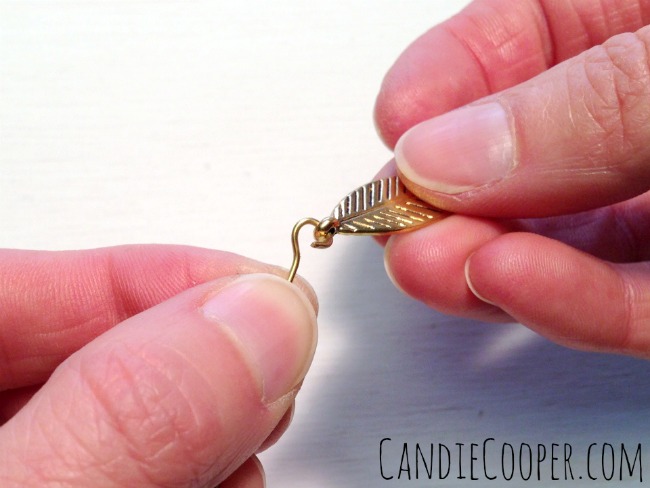
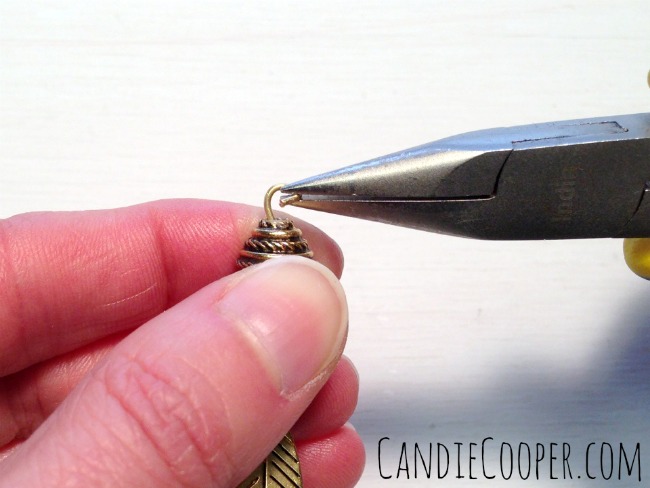
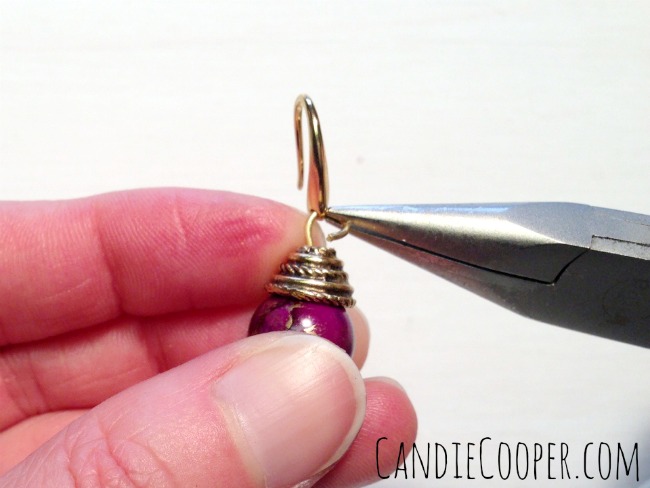
Attaching an ear wire
Boho Earring TutorialThis type of loop isn’t as secure as a wrapped loop, but for earrings, it should be ok since they aren’t in a high traffic area while worn.

On another note, the names in this movie are great!!  Pony Boy, Sodapop, Darry and Two-Bit.  I’m pretty sure we had to read this in school.  My memory is vacant, but Hubs says he actually read it.  Decorating my locker was more of a priority than reading if that tells you anything.

Funny how things change.  These days, I love reading and thankful for that change.

Earringology by Candie CooperReady to get on the earring making train?  May I humbly suggest Earringology, my latest book geared for beginners to enthusiasts looking for some new inspiration.

P.S. Katie Hacker is giving away a copy of Earringology on her blog!  Check it out!

**Earring resources:

Findings from Beadalon.

Beads from JesseJamesBeads.com