For every holiday I enjoy putting together a special table display. It ties together the feel of the holiday and gives everyone something special to look at while we gather around the table. This year for my Thanksgiving table I have made some wire wrap wreaths to put around candles. Learn how to make wire wrapped candle wreaths for your own Thanksgiving or any other celebration.
Into the Woods Tassel Necklace
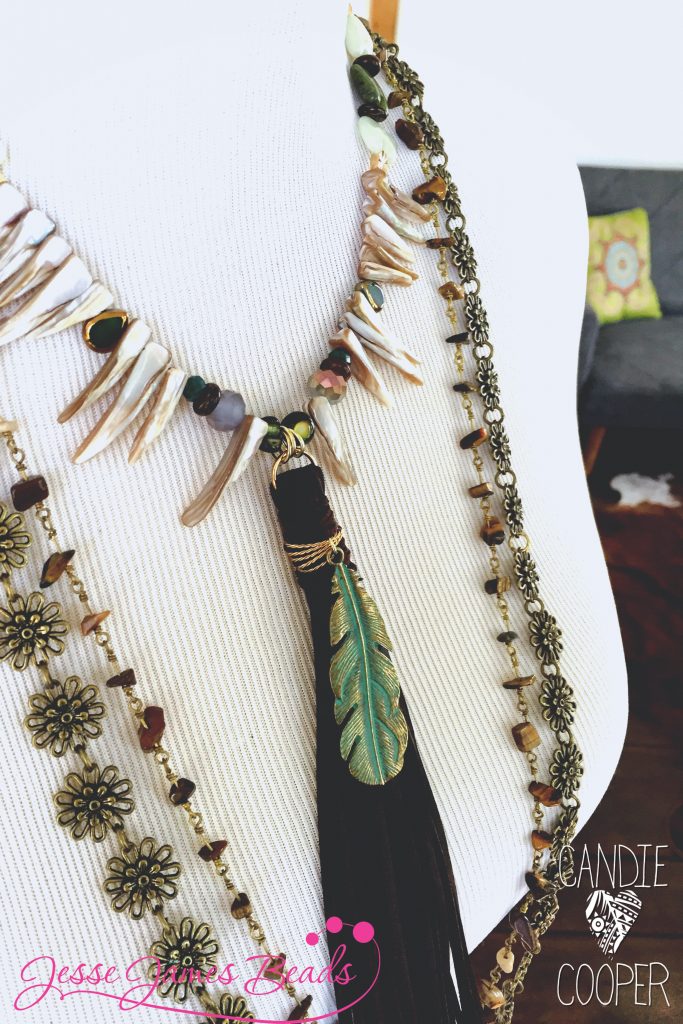 In this Facebook Live Video I showed you how to make the Into the Woods Tassel Necklace.
This video was sponsored by Jesse James Beads and Beadalon, all opinions are my own.
In the video I show you how to layer a pendant with a tassel and how to do some basic wire wrapping. Tassels have been a hot trend for a while and something that I love to add into my jewelry. Tassels can be made from a lot of different materials but today I will be showing you a chain tassel.
This necklace features Jesse James Beads’ new collection, Into the Woods. This is a beautiful earthy collection that you could use in so many ways. This necklace could be made with any beads but the Into the Woods collection really gives the piece a unique edge.
Keep reading to see where you can purchase the other supplies for this project.
When you make this project you can select any color pallet that you like. You can try to mix different pallets to get a different look each time with the same technique. If you make this project head over to my Facebook page and post a picture so we can all be inspired! While you are there be sure to turn on the notifications to see the LIVE Facebook videos. There is a new video almost every weekday at 2:30pm EST.
Supplies:
We already talked about the beads needed for this tassel necklace but there are a few other items you will need to finish the project.
You can find wire and chain for this project on Beadalon’s website. If you need a bail making plies to complete the project you can pick up the bail making plier with your Jesse James Beads order or you can see the full selection of jewelry making pilers on Beadalon’s website.
How to open and close jump rings-for DIY jewelry
Here is a quick project to show you the ins and outs of using a jump ring.
This post is brought to you by Beadalon–thanks Beadalon for sponsoring my blog posts and supporting my love of DIY jewelry.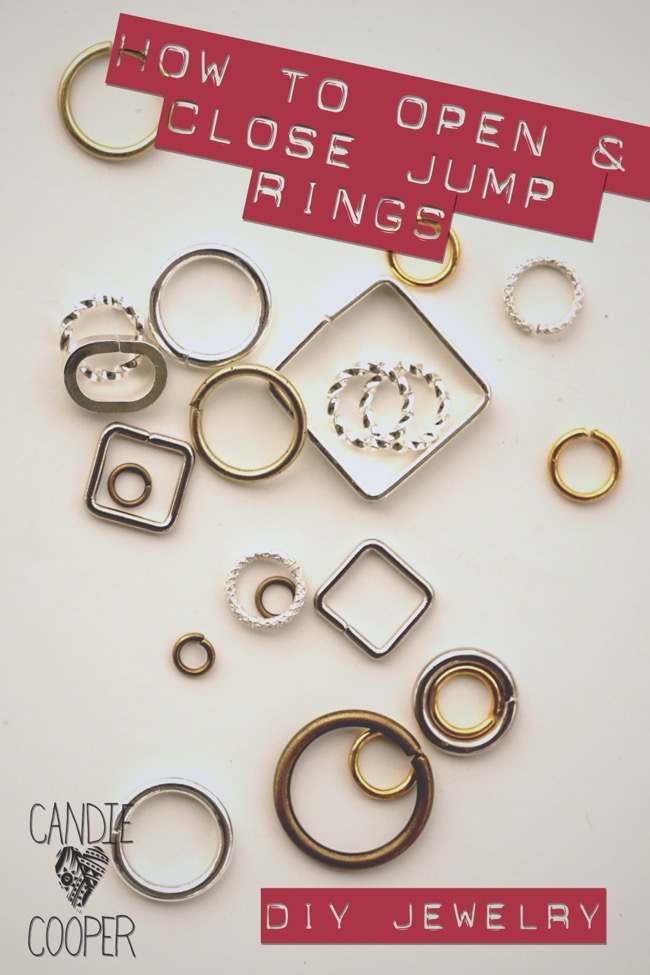
One of the very first things I show people how to do when making jewelry is how to open and close a jump ring. It’s such a simple act and you can make so many things by knowing this technique for making connections in DIY jewelry. That’s how I made this sweet moth necklace.
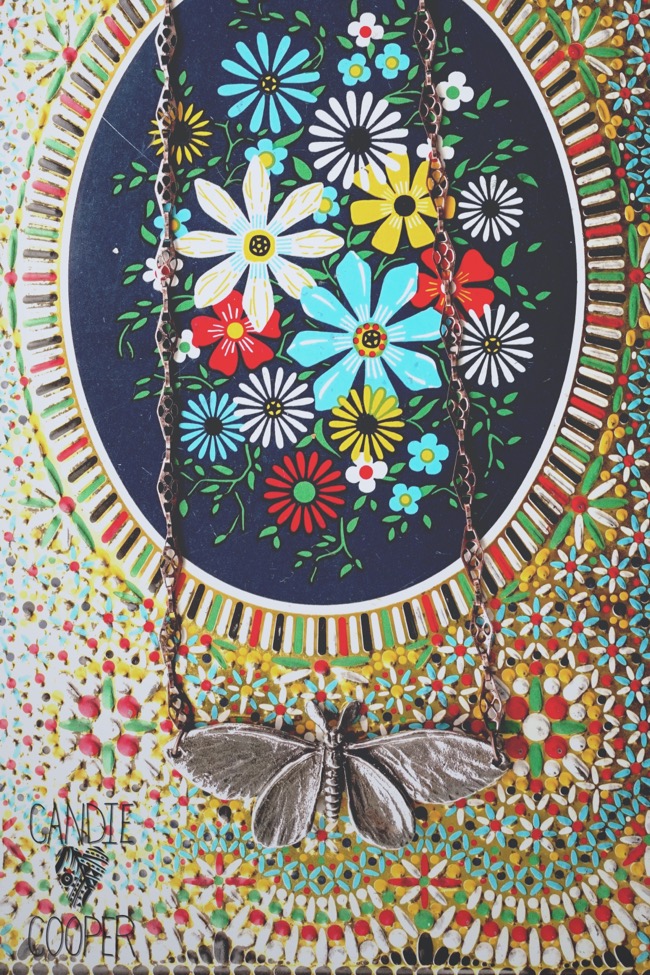 The jump rings at the tip of the wings connect the moth to the chain. In about 5 minutes, you can have yourself an over the head layering necklace (and a really good time). Check out the tutorial and video at the end of this post for details on opening and closing a jump ring.
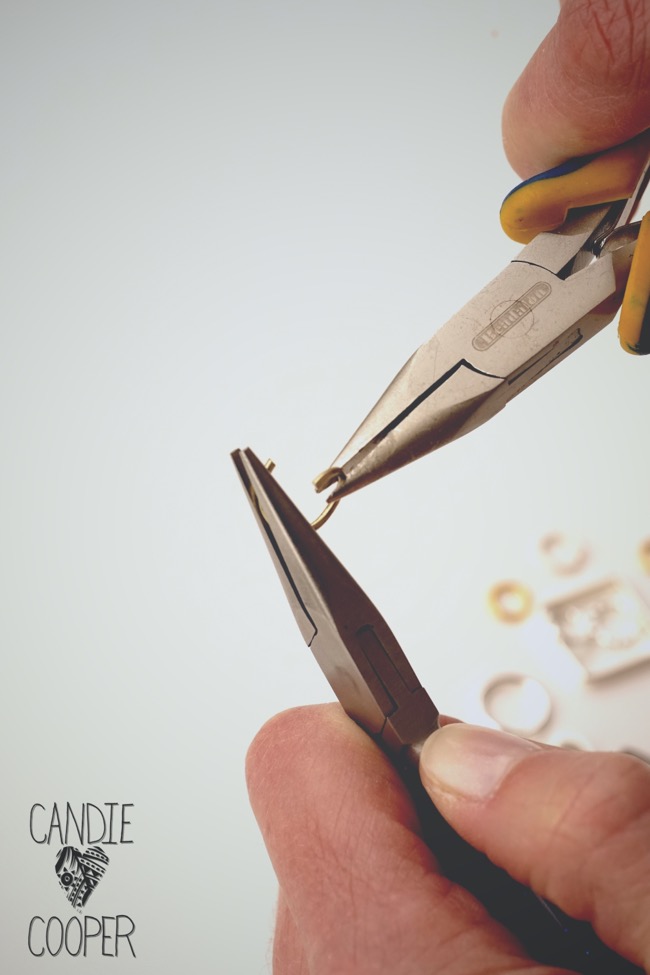 It’s helpful to use two pairs of chain nose pliers (see materials list at the end of this post) when opening and closing rings. Some people like to use a bent chain nose pliers to help hold their jump ring as well. Beadalon also has a super helpful jump ring tool to make opening jump rings much easier. You will still use your pliers to close the ring when you are finished.
Place the ring’s opening at “12 o’clock” and twist the ring open with the two pairs of pliers. Don’t open it so the ring looks like a “C” because it’s super hard to get the ring to go back into a perfect circle after this.
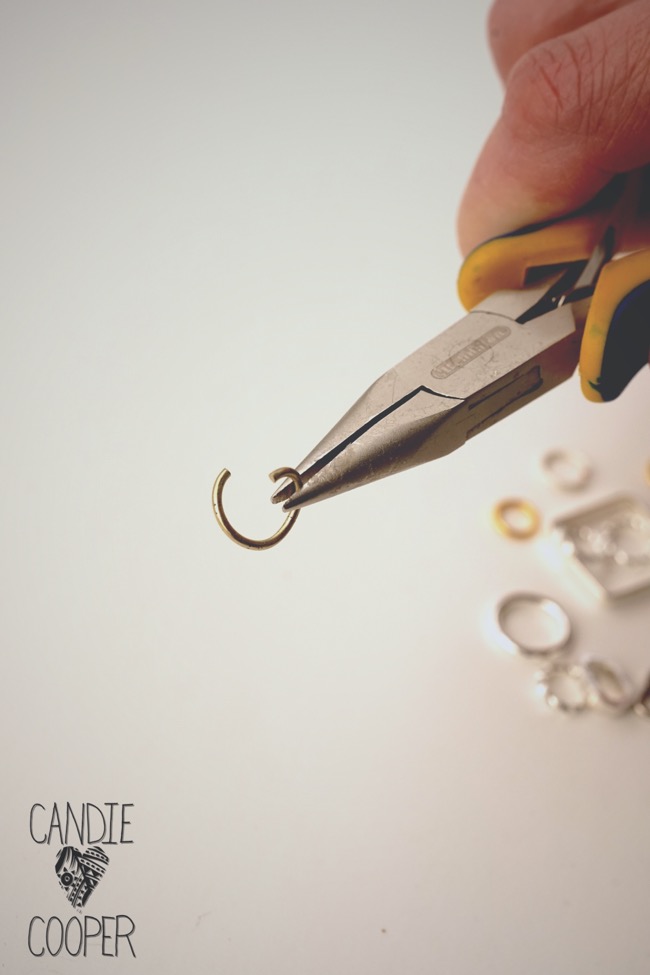 Connect your clasp, chain, moth, etc… and twist the jump ring closed.
This is a super quick project with beautiful results. You can use any pendant that has two holes as the top to complete this project, let your imagination take over.
Supply List:
Beadalon Ergo Pliers
Beadalon Jump Rings
Jesse James Bead’s Moth Pendant
LIVE from Beadalon-Wire Wrapped Cabochon Pendants with Wyatt White
This post sponsored by Beadalon. All opinions are my own. Thanks Beadalon for supporting mine and many others love of DIY jewelry.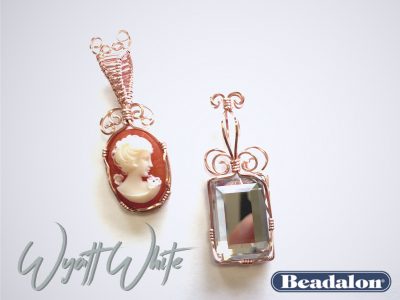 Is anyone else intrigued with pendants like these?
They just. don’t. stop.
Wire turning and twisting, up then down and around and ta daaaa–you’ve got a pendant.
Yesterday on the live show, I had Wyatt White from Beadalon show the basics of making wire wrapped cabochon pendants. He actually shows how to make the wrapped crystal on the right using a Swarovski faceted flat back.
According to Wyatt, you can set lots of things with this technique. He’s a wizard and if you’re curious about wire wrapping and setting cabs, definitely watch this video. He has designed special banding pliers from Beadalon that make the wrapping process really easy. So many comments were expressing excitement about these pliers. We like easy around here so thanks Wyatt!
Materials:
Wire Wrapping Component & Stone Setting Booklet, by Wyatt White
 Watch the replay of the live video for how to make amazing pendants like these. And join us daily on my Facebook page at 2:30 EST for fun daily doses of DIY jewelry and mixed media techniques.
Scenic Drive Stone Slab Necklace
Full Disclosure: I work with Beadalon and LeatherCord USA. They are sponsoring this post. All opinions are mine.
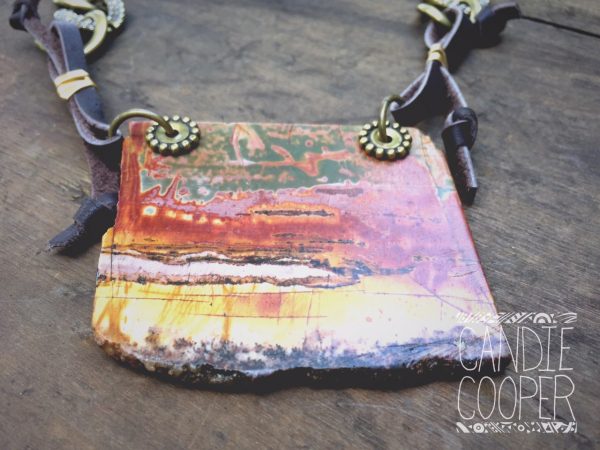
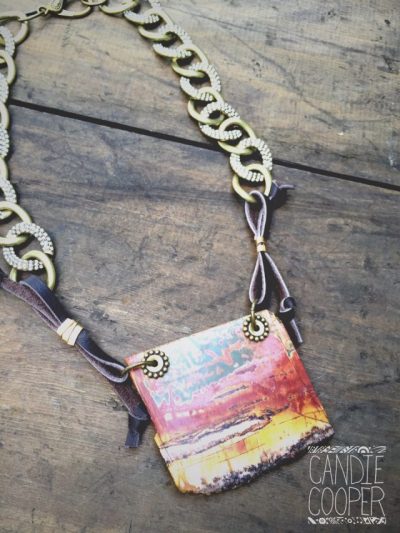 This stone slab pendant (here me sigh a sigh of aw).
One of the women in this week’s Facebook Live video said it was picture Jasper. I believe it because each one is a landscape painting, a forrest, the painted dessert or whatever you see ….
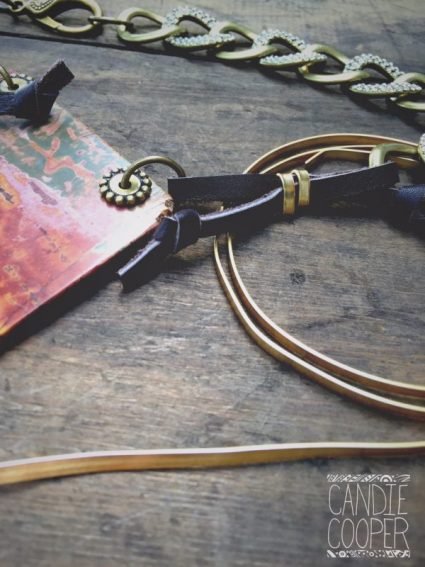 I wire wrapped leather lace with Beadalon’s flat Artistic Wire. So easy! Simply make your leather link, then wrap the middle with the flat wire, crimping it with chain nose pliers in between each wrap to cinch it.
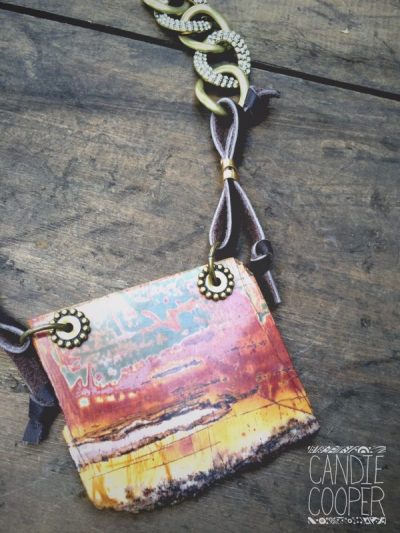 Little knots give the ends of the leather a finished look.
Materials list:
Beadalon flat artistic wire, 3mm width
Leathercord USA deertan lacing, 1/8″ width
Picture jasper pendant: etsy.com/shop/candiecooper
Watch the live video recap here and join me almost daily at 2:30 EST for the Candie Cooper Facebook Live Show featuring easy DIY jewelry making ideas.
Get Aligned! Making Chakra Jewelry
This post brought to you by Dakota Stones. Sponsored posts help to keep the lights on here at CandieCooper.com. Thanks, Dakota Stones!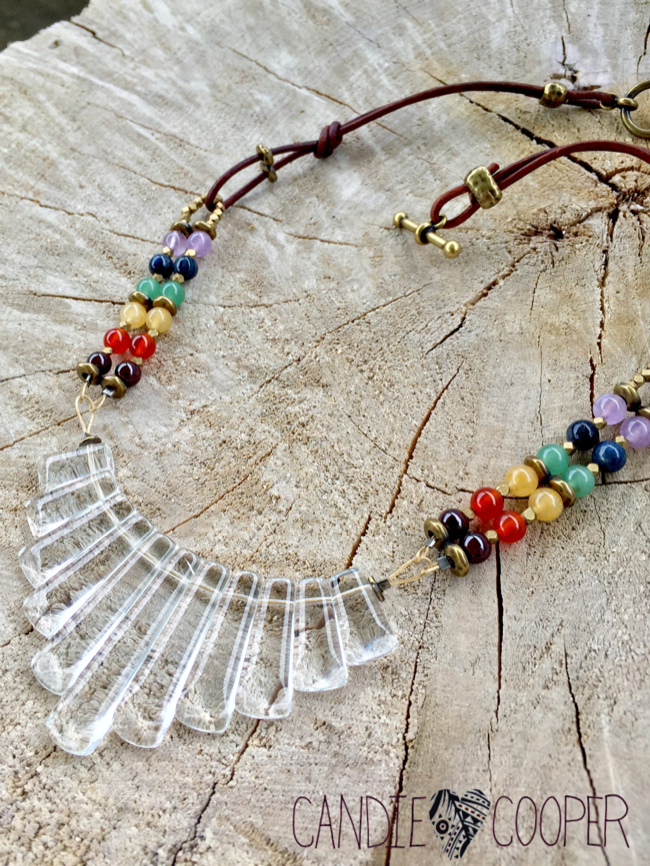 Years ago, a lady brought a piece of Chakra jewelry that she wanted to change around a bit. My younger self had no idea what these little gems represented.
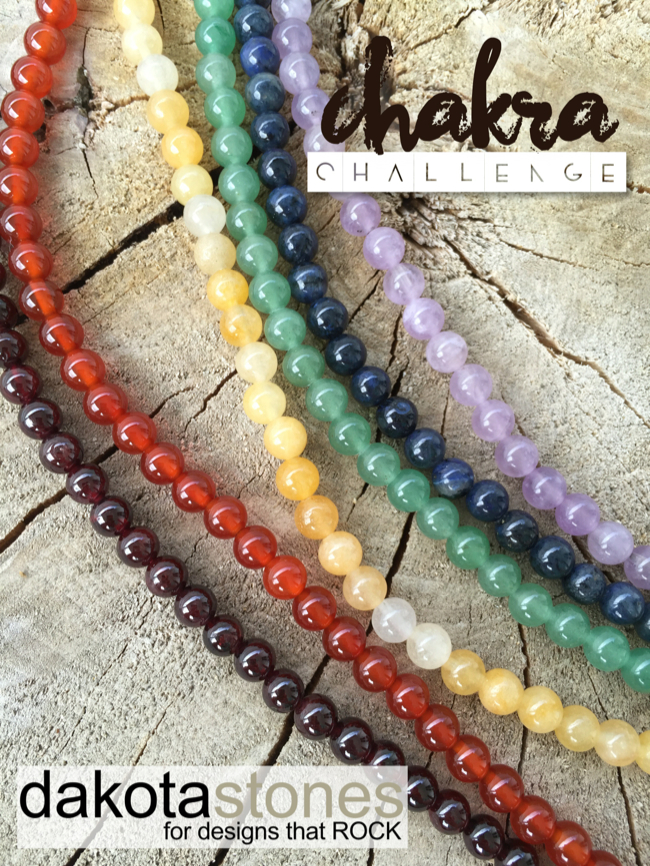 Fast forward ten years and here we are. I’m very much aware of the chakras and the possible power of natural stones. Thank you, yoga, self-help books, Pinterest (the other self-help book). It’s so interesting to learn about the power of natural stones.
It’s so interesting to learn about the power of natural stones.
That’s why when Dakota Stones and I talked about possible projects, I was thrilled when the chakra jewelry idea came up. Happily, I’m taking the chakra challenge with my friend Jess Prill that works at Dakota Stones. Jess is an amazing designer-you might’ve seen her pieces in Stringing Magazine.
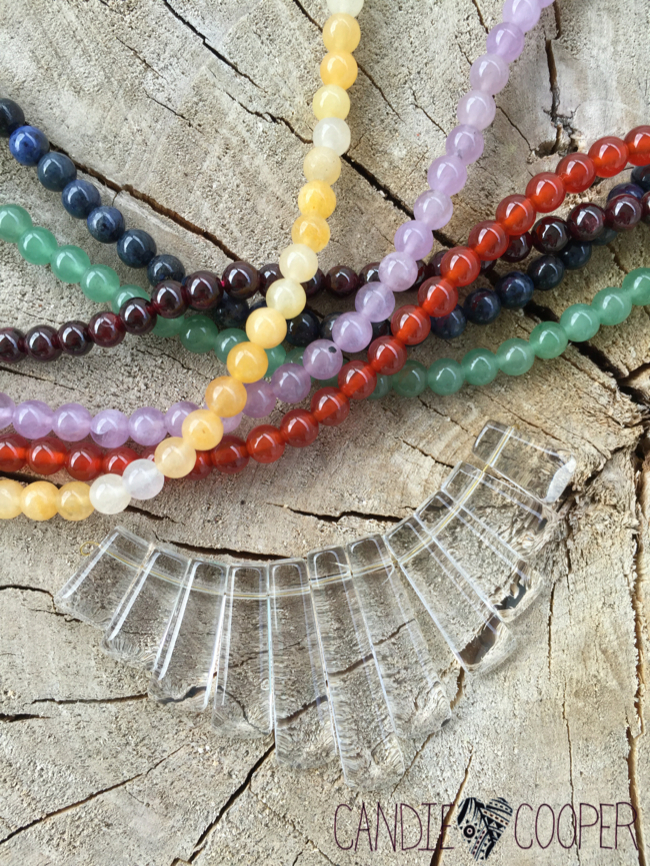 DS sent this beautiful set of gems–If you are curious about what each stone aids in, read the blog post at Dakota Stones here. I’ll put links to each stone on the DS site at the bottom of this post.
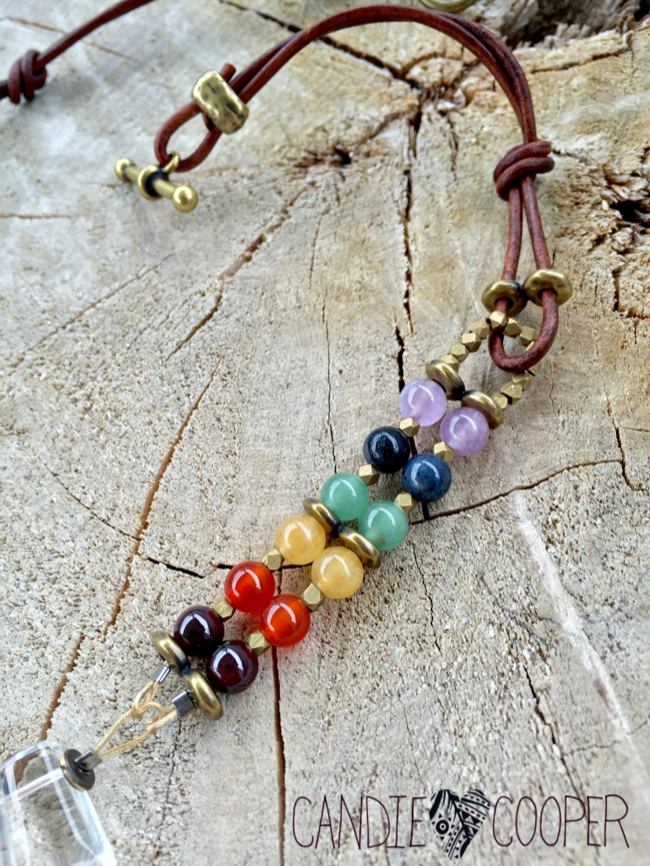
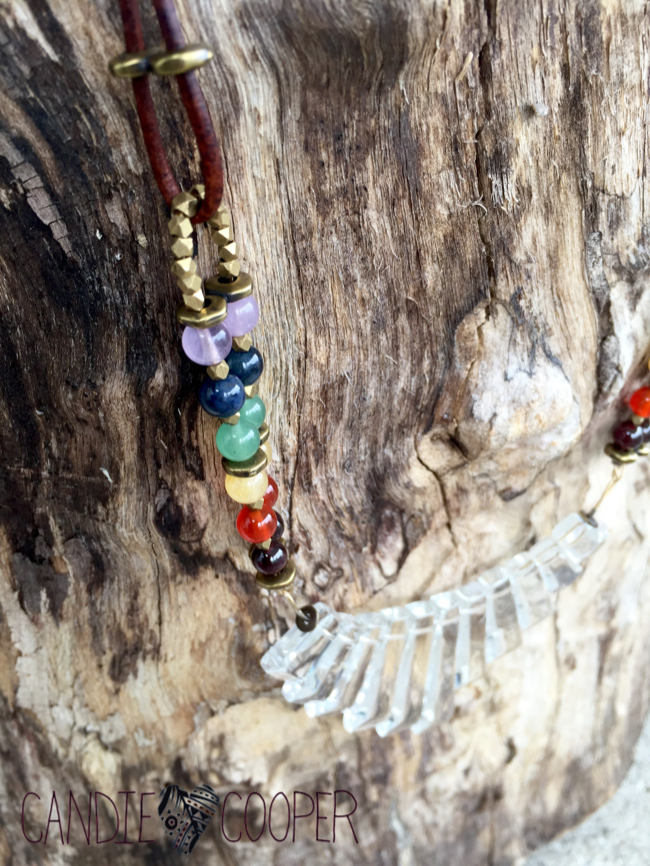
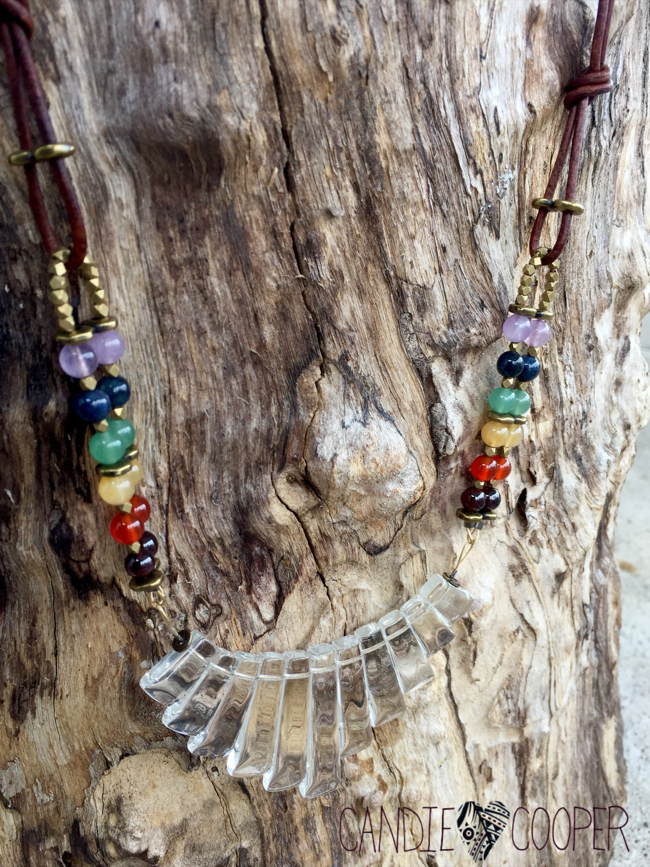
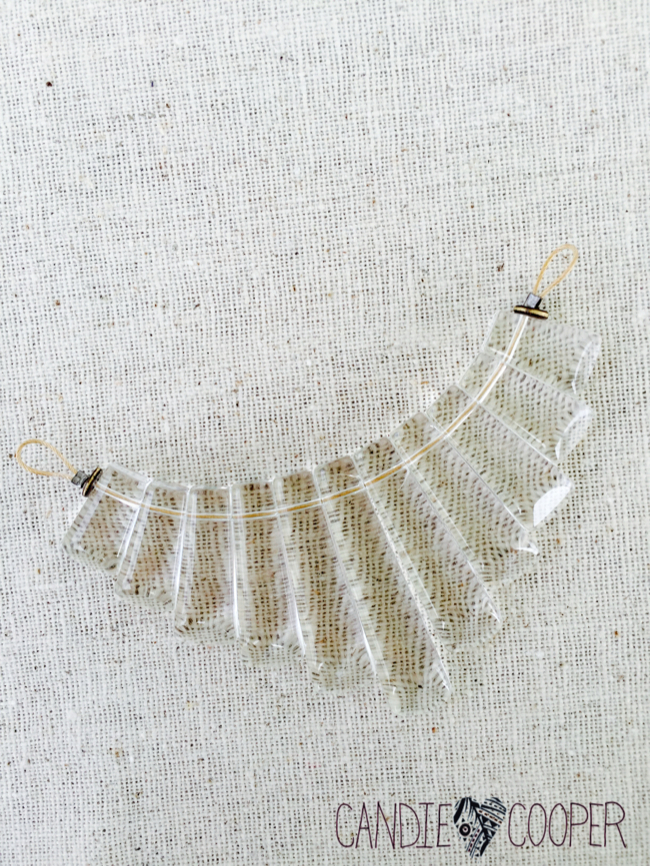 I started with a crystal fan pendant from Dakota. These things are radiant and I love how crystal clear they are. Seems like a good start for aligning those chakras right?
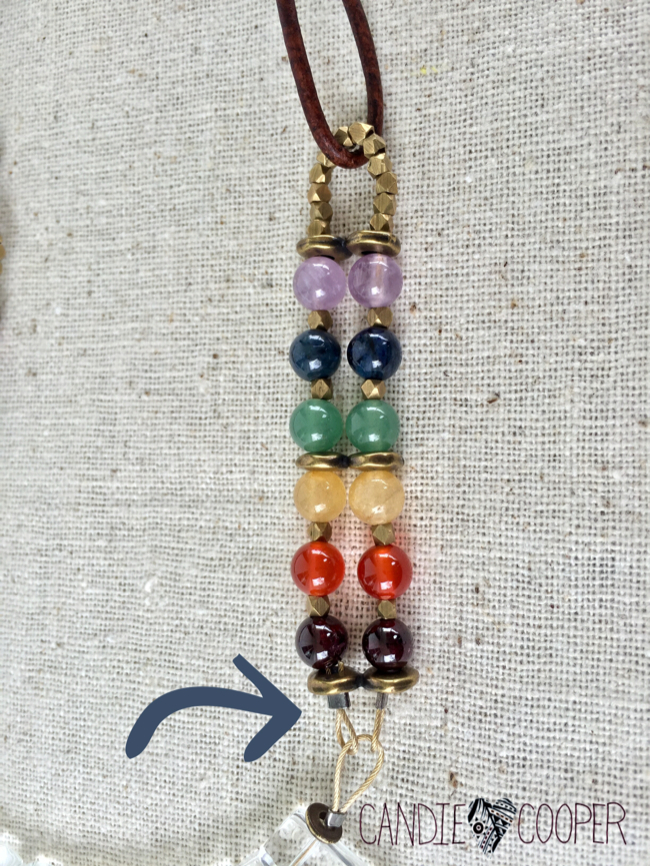 Next I strung the gems in the appropriate order, peppered with Tierra Cast double hole spacer beads. By the way, I’m using .024, 49 strand gold Beadalon wire. When working with gems, it’s a good idea to use thicker wire—plus, I love seeing the thick wire connections.
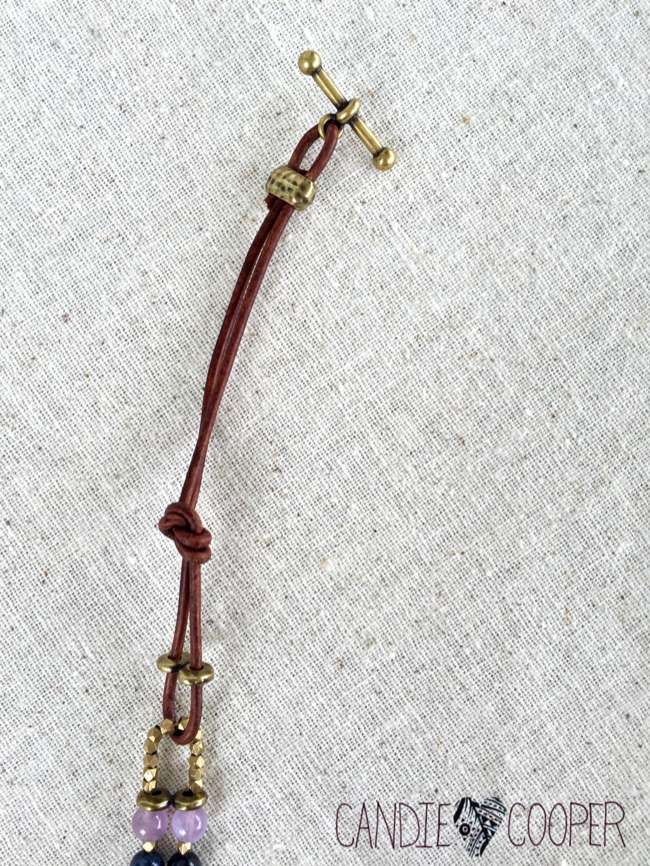 Zip it all up with a little bit of round leather (this is 2mm diameter). Here’s how:
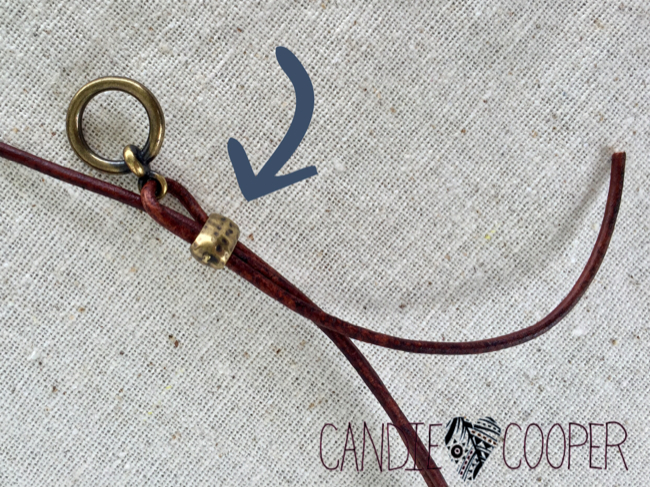 That’s another Tierra Cast bead which is key in holding the clasp in place.
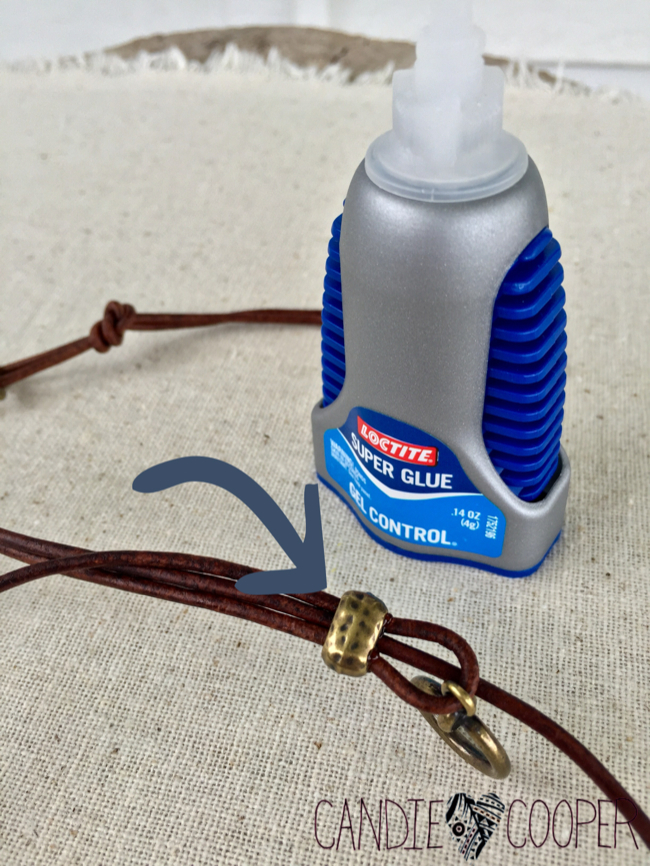 Use a touch of Loctite gel on either side and slide the bead into place. Keep a piece of paper nearby to grab the extra adhesive that oozes out.
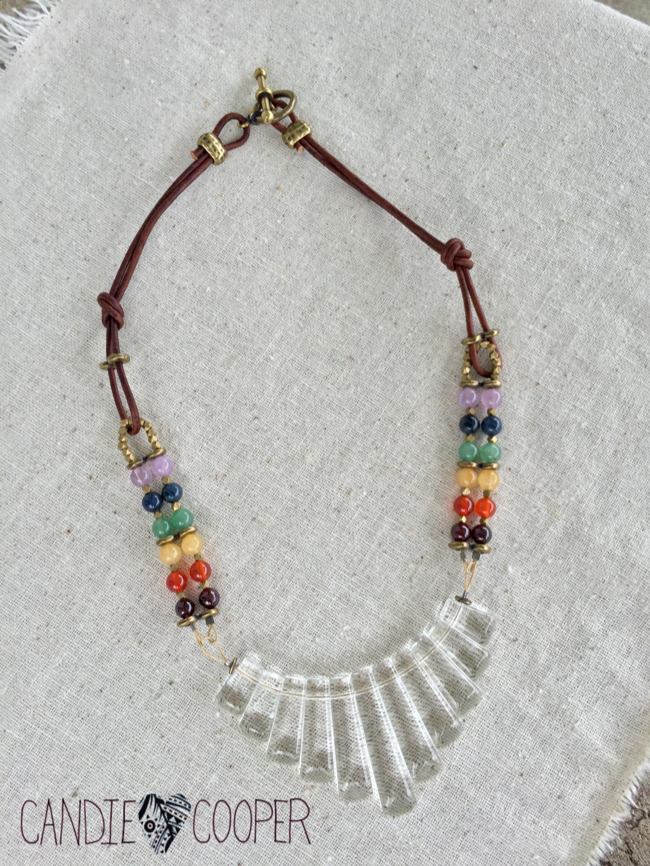 That’s all there is to it. I can’t wait to take it for a test drive. And when I’m not wearing it, I’ll keep it on my dresser where I can see it daily (always a good reminder to take a breath and slow down, be grateful).
 Do you follow CandieCooper.com on Facebook? I’ve been doing live videos there. This week I will feature a quick 5-minute chakra piece and give away the gems to make it.

 Be sure to check out my chakra partner in crime Jess Prill’s piece on the Dakota blog here.
Visit Dakota Stones for the best gems on the web–I’ve been a long time fan of their products and am thrilled they’re going to sponsor a few days here on the blog!
Chakra Stones used above–
Ride ‘Em Cowgirl! Make an Inlaid Leather Cuff Bracelet
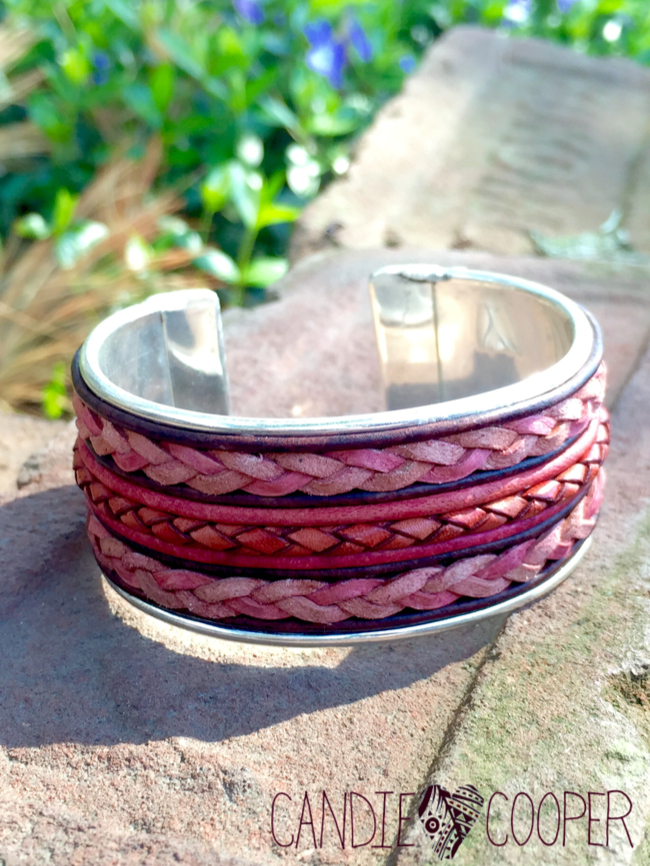
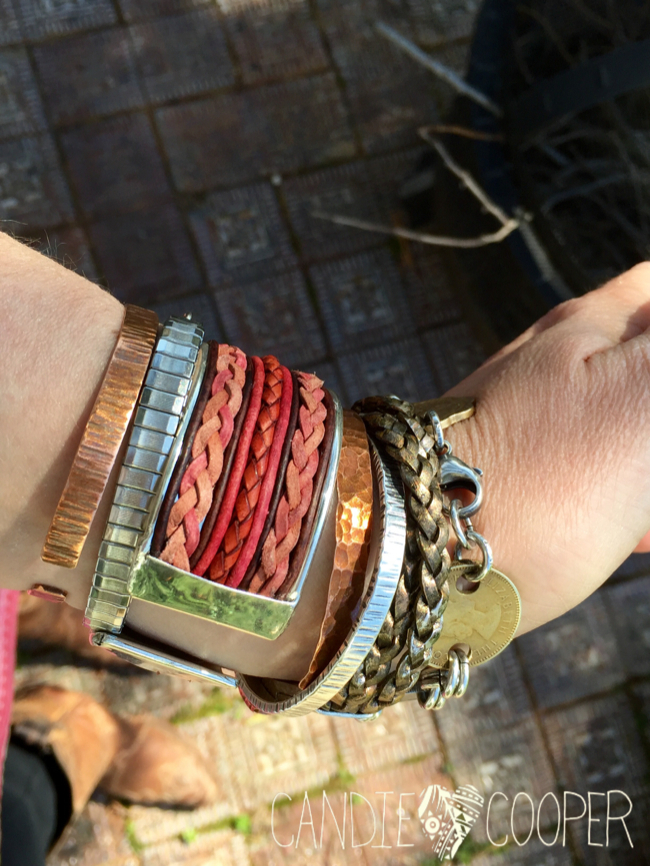
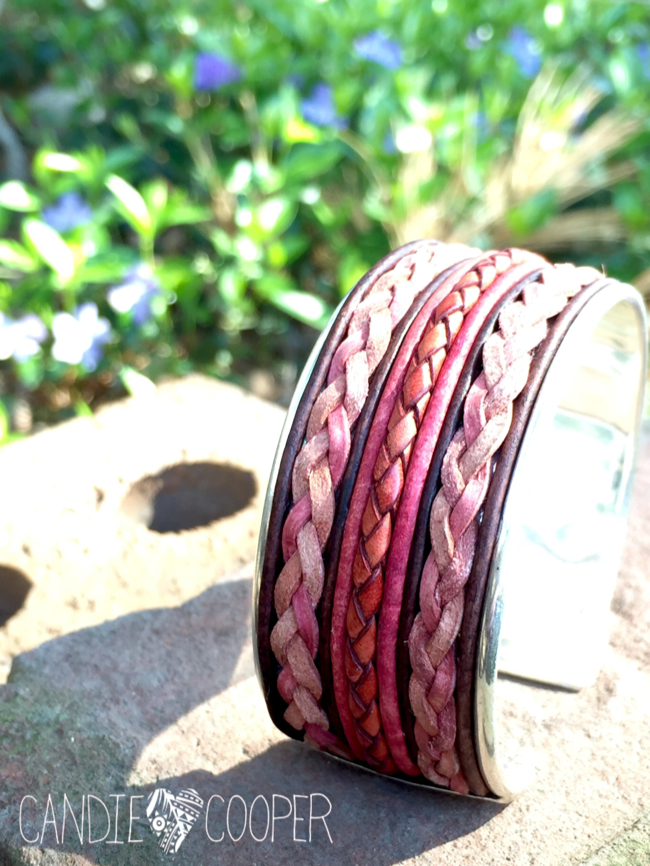
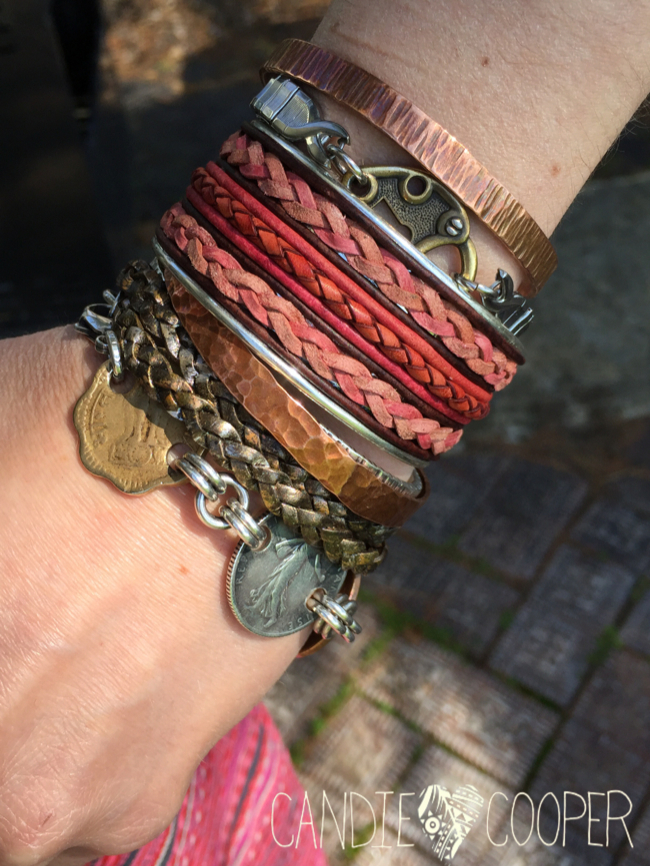
This post is sponsored by leathercord USA–all thoughts and opinions are mine.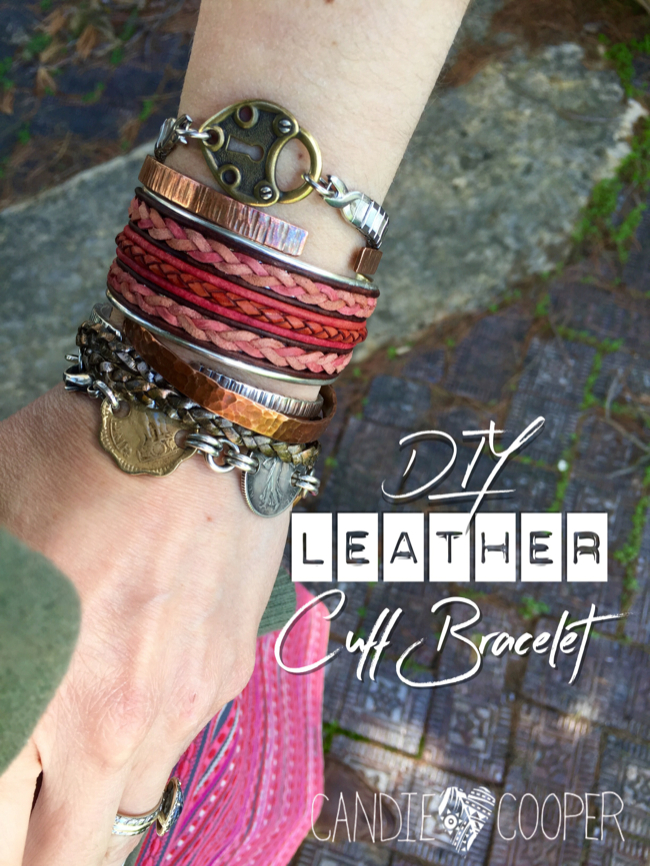 Saddle up, cowgirls and boys because I’ve got a saucy DIY leather cuff bracelet I think you’re going to love. It uses leathercord USA’s braid, round and bolo leathers which are set down in a silver cuff. It doesn’t take too long to make, but you do need a touch of patience because super glue dries fast and there are a lot of cords to keep organized.
Ok? That’s your warning.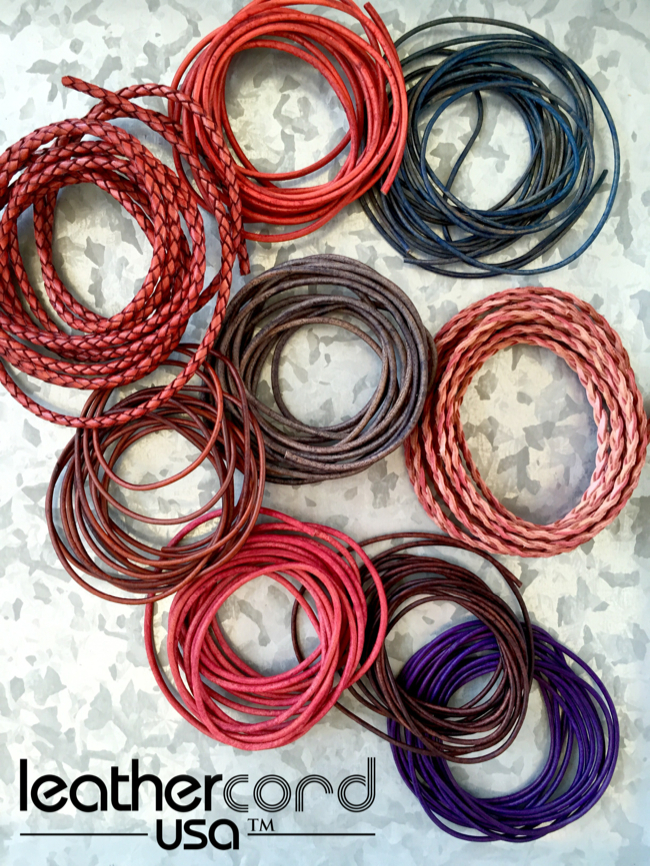 Meet the natural dyed leather look from leathercord USA. It is my very favorite because the dye is more transparent. I always love using earthy brights in my jewelry and these leather cords fit the bill. When you visit the lcusa website, look for the word “natural” in front of the color.
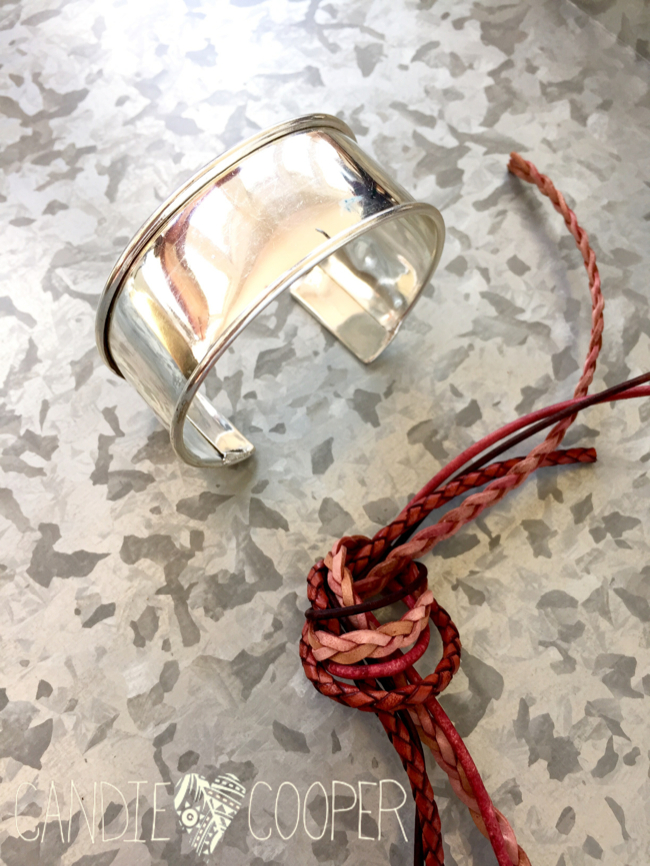 Select a couple round cords (1 to 1.5 diameter), bolo cord (3mm), and flat braid (3 strand-2mm) in colors that make your heart sing. The cuff blank you can get from me–two sizes large and small. Email or comment for details! To prep the cuff, I used my chain nose pliers to open up the little ridge of metal so I could push the cords down in.
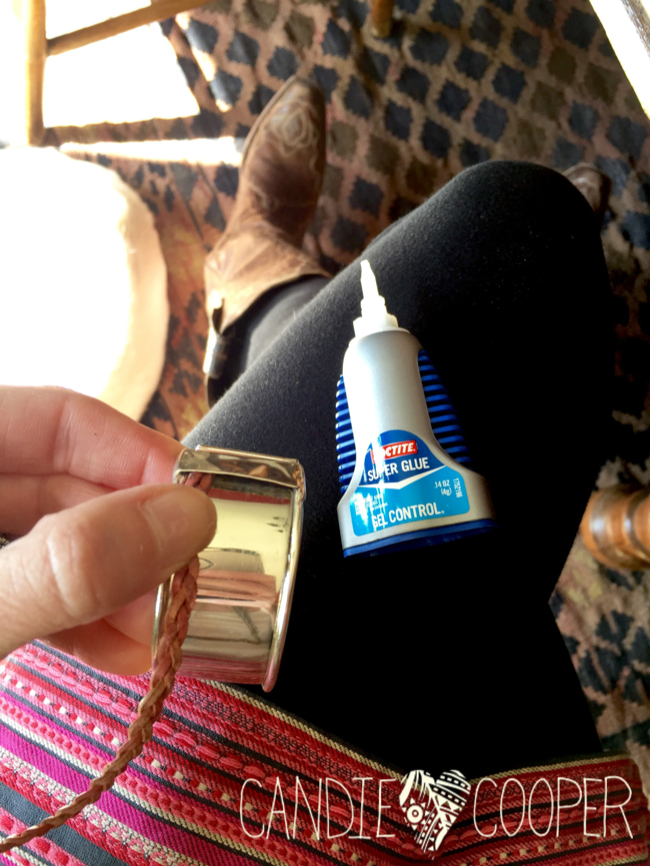 You can lay out your leather cording or you can wing it like I did. I actually think I got very lucky how well these fit down in the recessed silver cuff area. Use your trusty Loctite Gel Adhesive to secure the leather jewelry cords to the silver cuff blank.
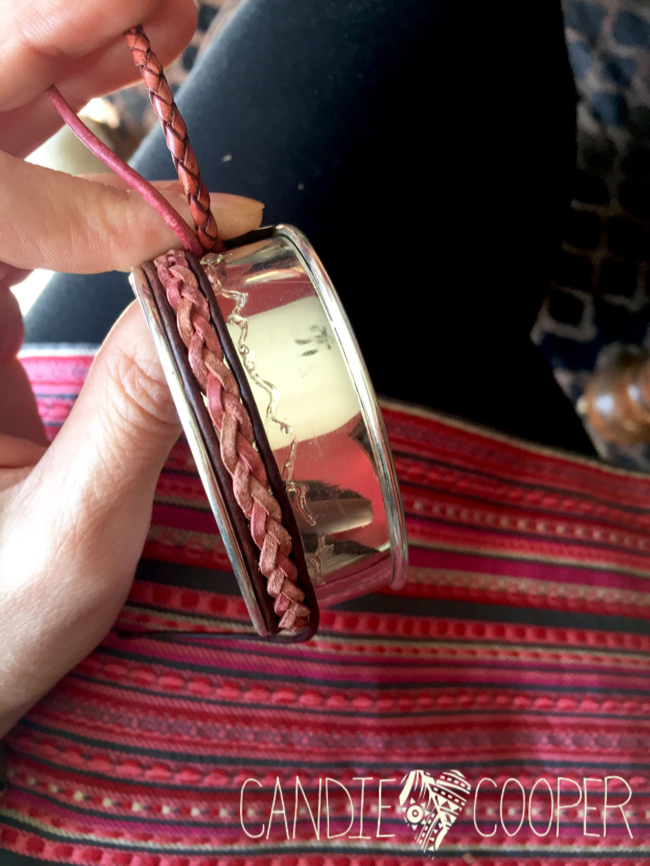 Press and hold the cords down a bit in between–this is where you need the patience because sometimes the glue oozes out and you have to be quick!
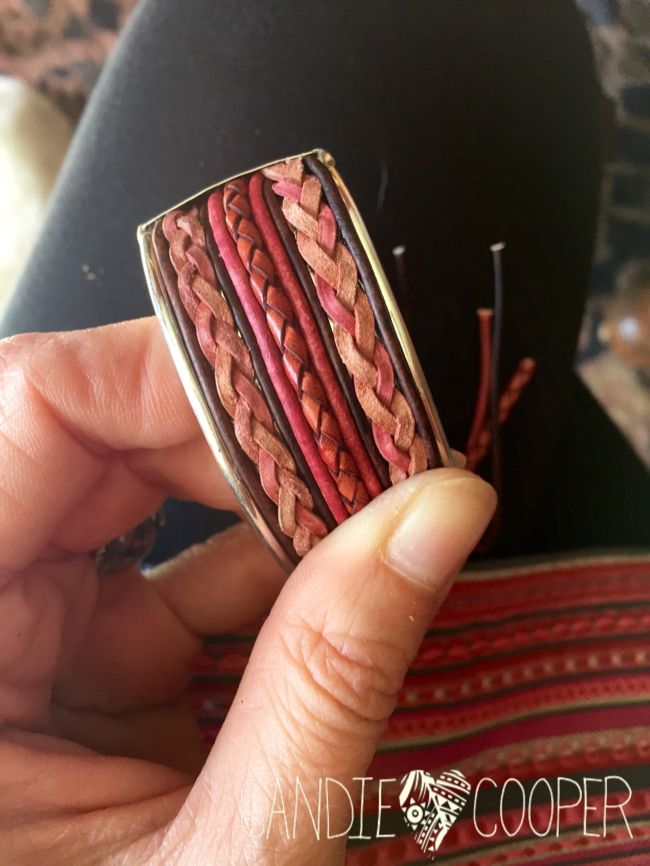 Trim the cords and put some glue down in, behind the silver flap, and tuck them in.
It was at this point where I thought to myself, I think I was a little inspired by my skirt! Haha. And that I have a pink problem–it’s a go to color as of late. This was a super fun project loaded with instant gratification.
Be sure to visit leathercord USA to check out the natural dyed leather lines and style for all your jewelry making needs. leathercord USA to check out the natural dyed leather lines and style for all your jewelry making needs. 
 Hi, I’m Candie. I design jewelry and crafts, author books, teach classes and host television programs. I thrive on simple ideas that anyone can achieve. I also love projects made from unexpected materials that stand the test of time. Join me as I lead a creative life!


