DIY Printed Leather Jewelry Idea

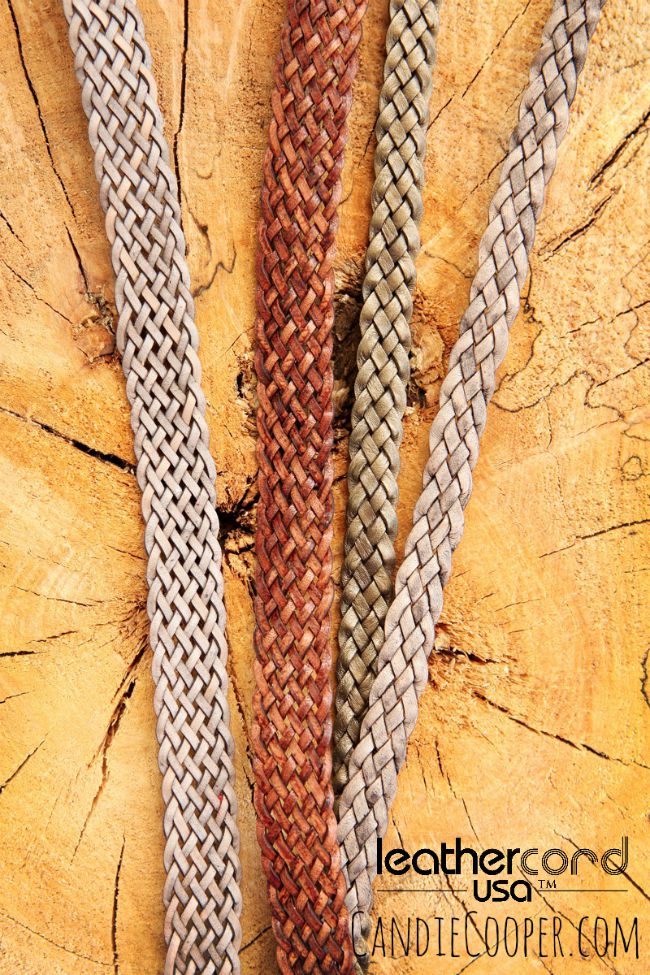
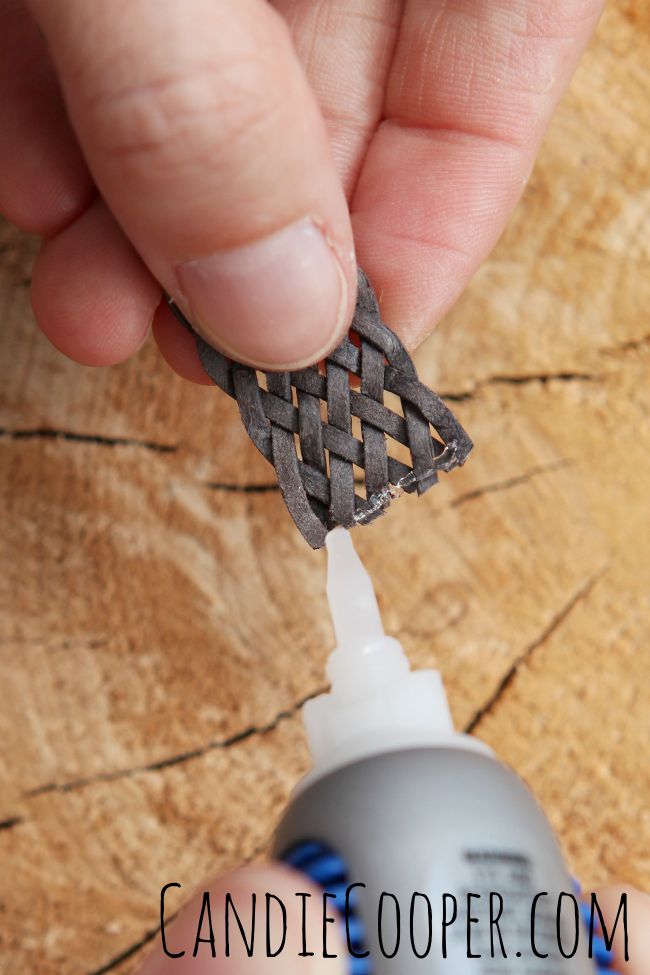
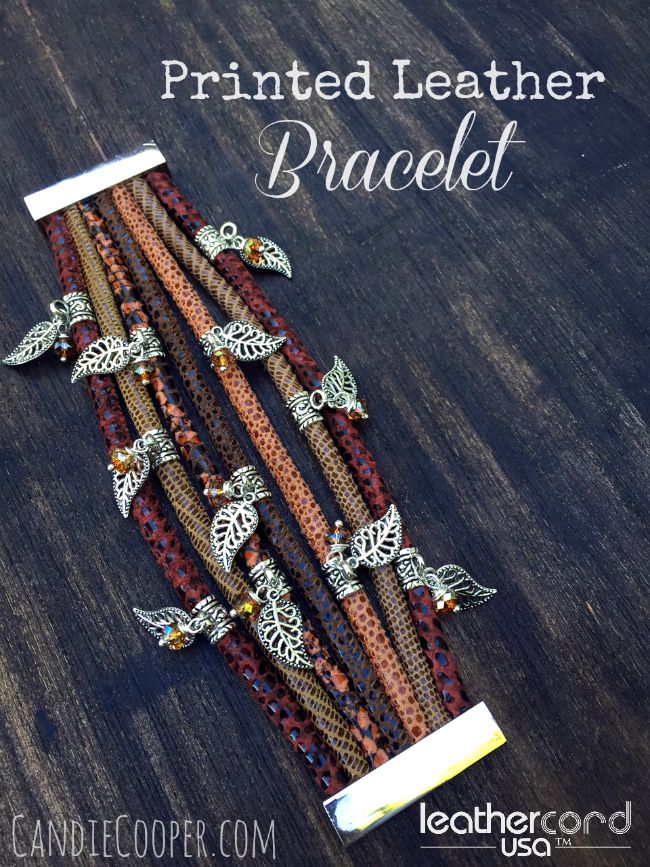
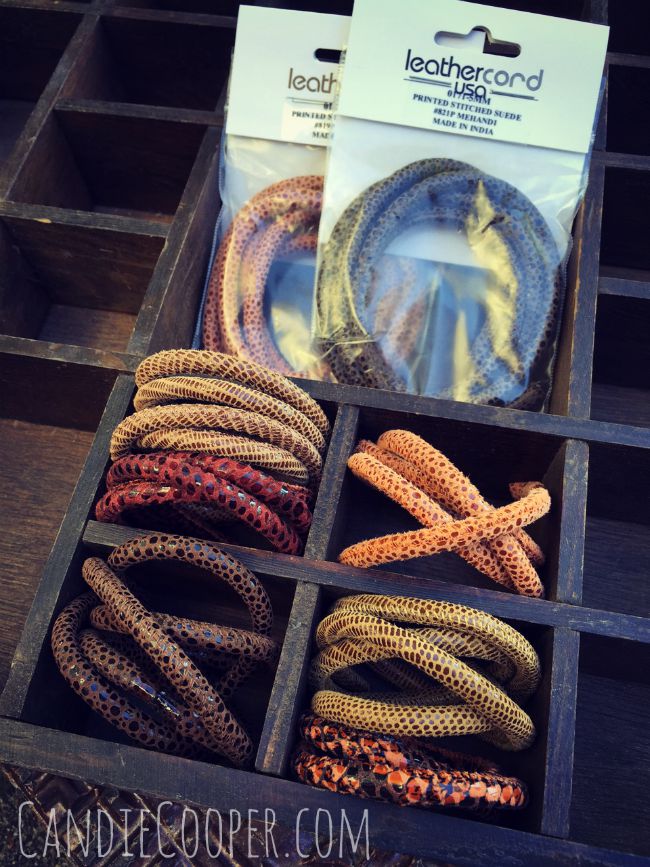
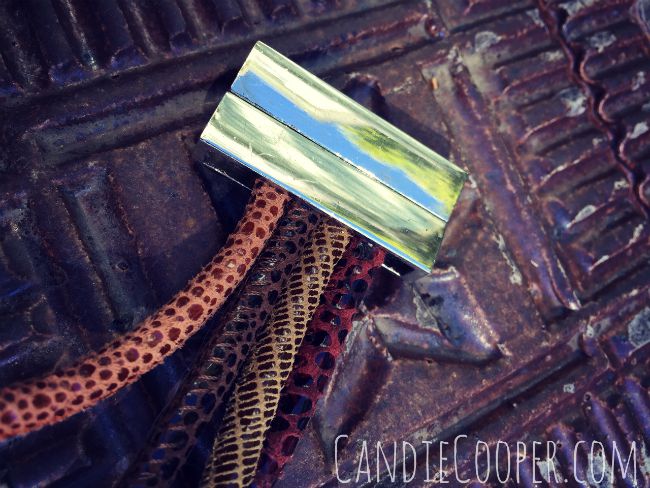
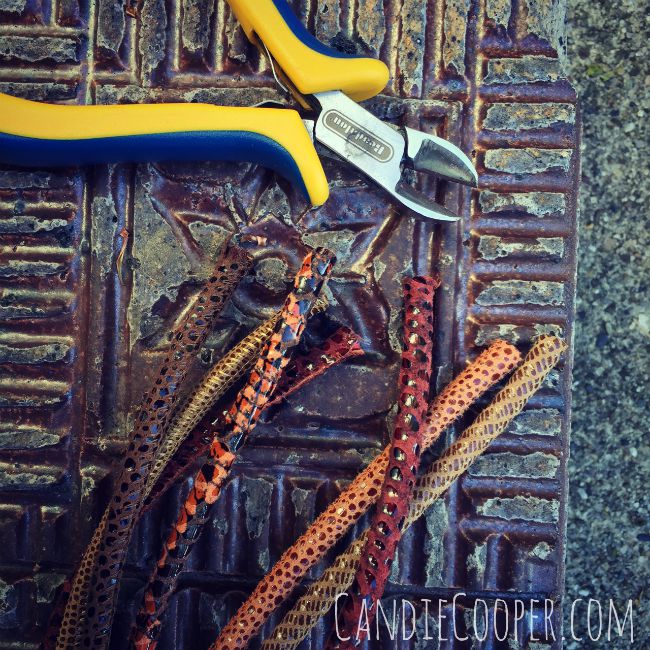
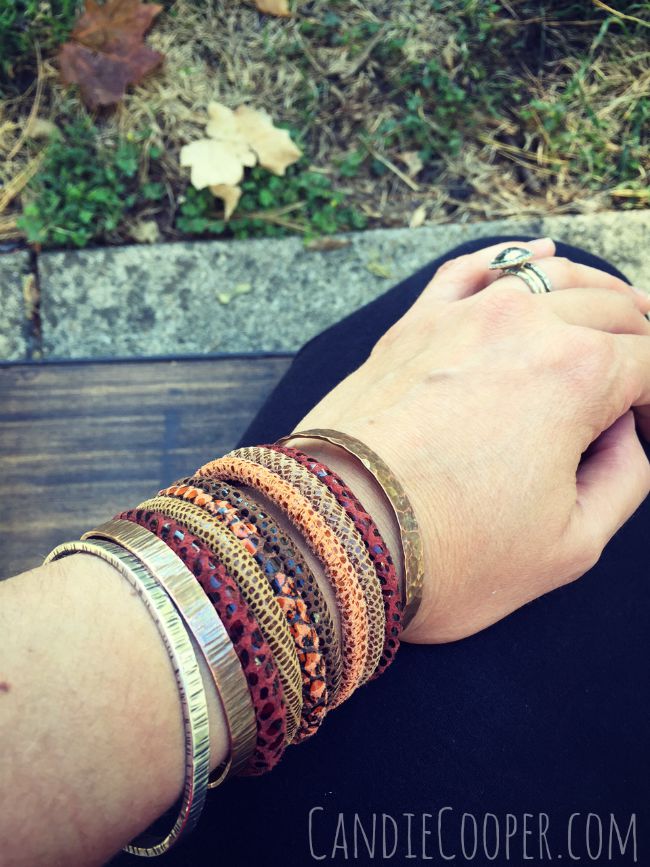
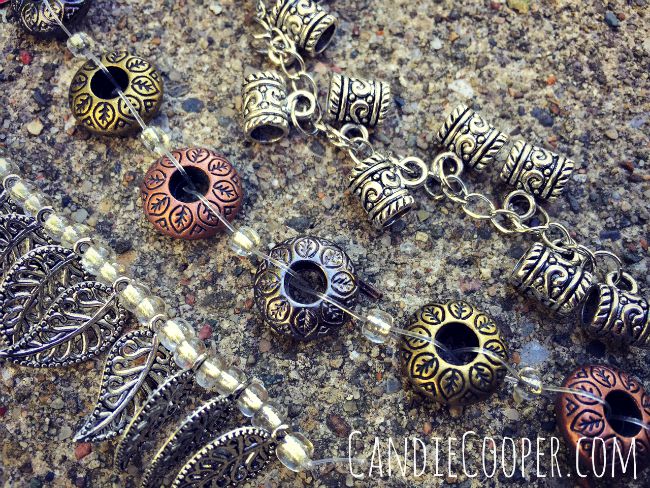
This post brought to you by LeatherCord USA.DIY Jewelry Making Printed Leather Bracelet from Candie Cooper and LeatherCordUSA.comThe other day I was walking out to the car and I heard a new, but old familiar sound—leaves crunching under my feet.  Persimmons are also dropping all over the yard.  They are a really pretty orange color (not so pretty when mashed under your favorite cowboy boots, but….).  The crisp mornings just make that coffee taste better and better and I find myself gearing up for pumpkin decorating and trips to the orchard.  Are you finding yourself inspired by the colors and feelings that fall brings?LeatherCord USA Beautiful printed leather for jewelry makingHere are some printed stitched leather pieces I brought home from my LeatherCord USA visit.  The texture in this stuff.  I LOVE IT!  It also comes in a beautiful palette of colors.  Click the link above to see all of them.Large Clasp from JesseJamesBeads.com for printed leather from LeatherCordUSA.comI’m using an extra wide magnetic clasp so I can fit a whopping seven cords in it.  Play around with the order of your cords so you get it just right.Cutting printed leather from LeatherCordUSA.comDetermine the fit and then cut the cords with wire cutters or a razor blade.  Glue the leather in the magnetic clasp finding like usual using the Loctite Gel adhesive.  Can you tell I really love this technique?!  It’s new to me and I’m ready to take on the world.  For reals.  What else can we glue leather onto?Making Leather Jewelry with printed leather from LeatherCordUSA.comIt’s perfectly beautiful like this, I think.  But, just for fun, I wanted to play with some of these large holed beads I found at Michaels.Large holed beads from @MichaelsStoresI love the metal finishes with the center beads, but felt like it conflicted with all the leather colors.Printed leather from Leather Cord USAInstead, I opted to slide the bead/bail pieces on, one or two per leather strand.Printed Leather from LeatherCord USA with Swarovski charmsI then connected a leaf charm and Swarovski dangle to the bail piece with a jump ring.  This was nice because it added some movement (and sparkle!).DIY Leather Jewelry idea from @candiecooper using printed leatherJust a really beautiful addition to your fall wardrobe and easy to create.
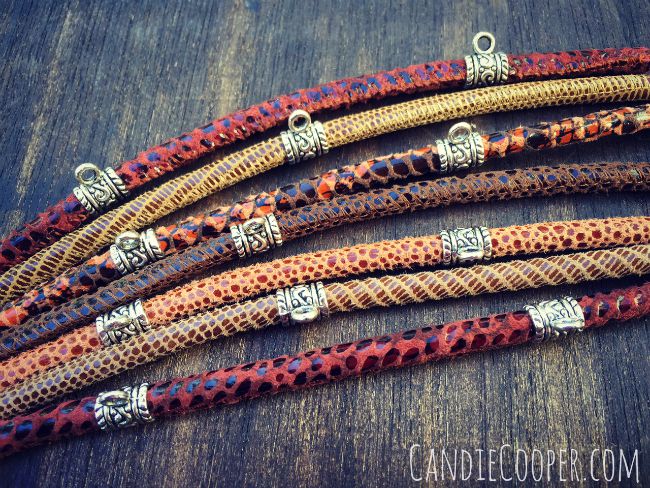
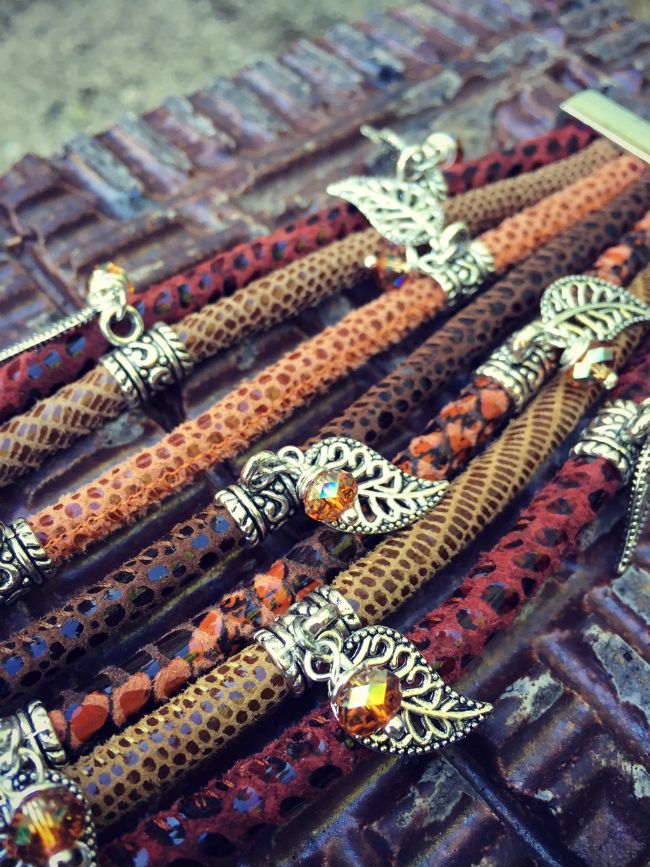
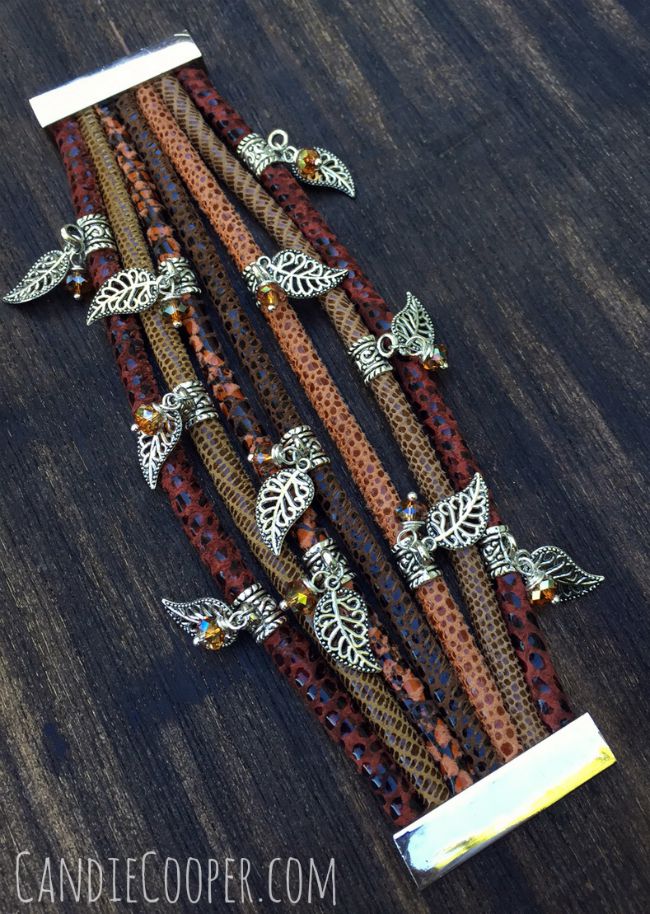
*Leather and adhesive from LeatherCordUSA.com

*Beads and charms from Michaels craft store

*Magnetic Clasp from JesseJamesBeads.com
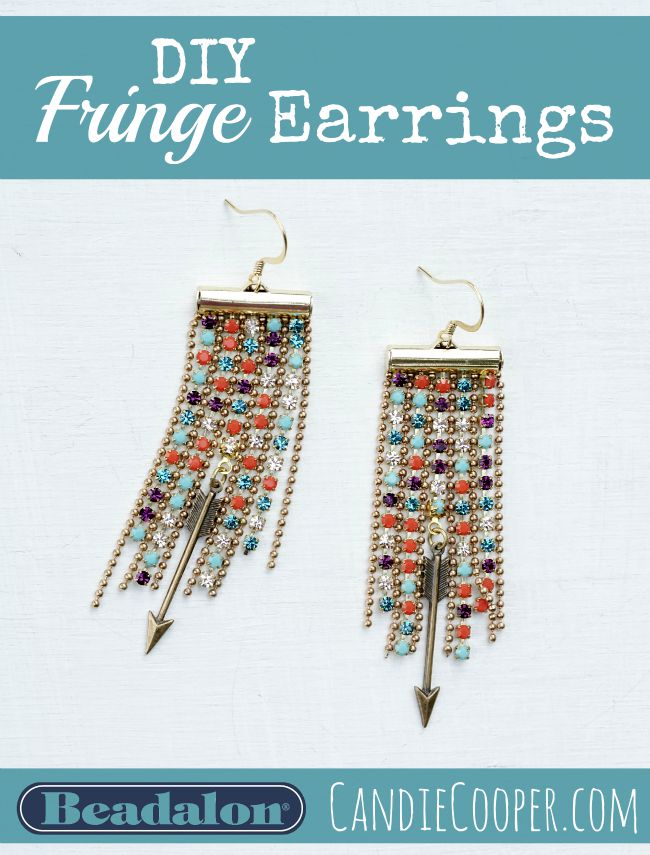
DIY Fringe Earrings

This post brought to you by BEADALON.DIY Fringe Earrings Make them in less than 30 minutes with Beadalon slide connector findingsJ-Lo called….she wants her earrings back.

Ah, fringe.

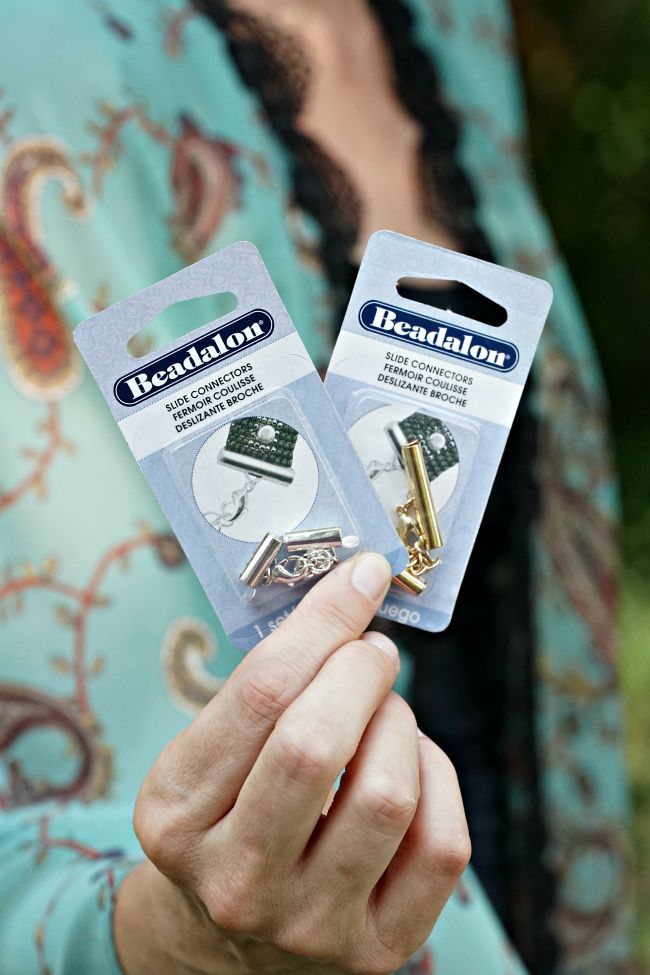
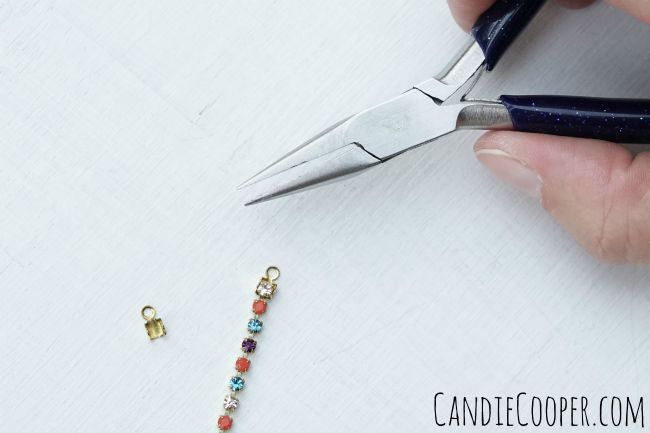
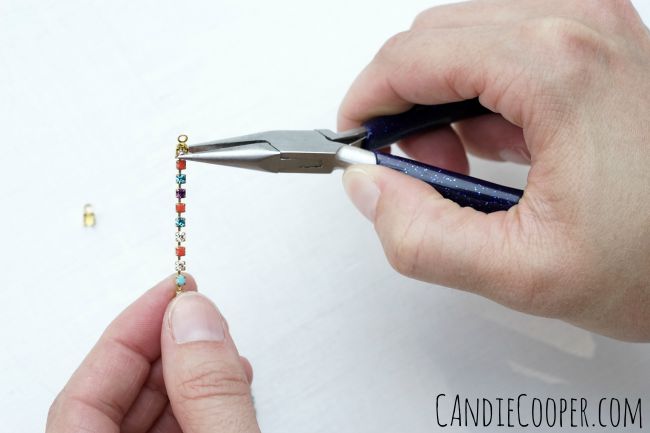
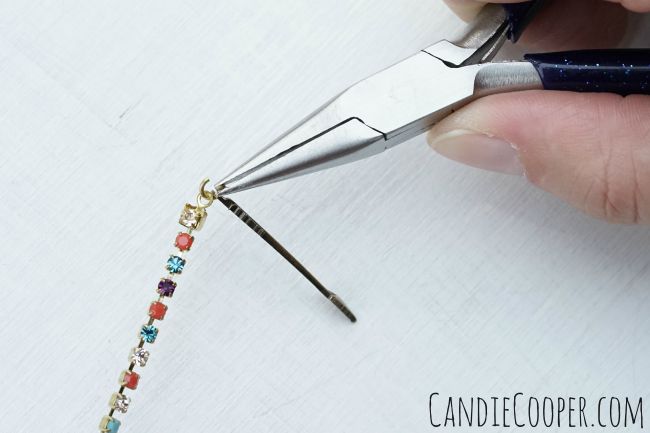
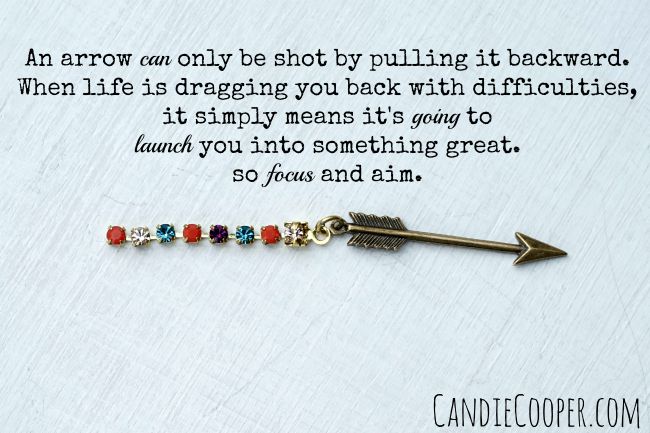
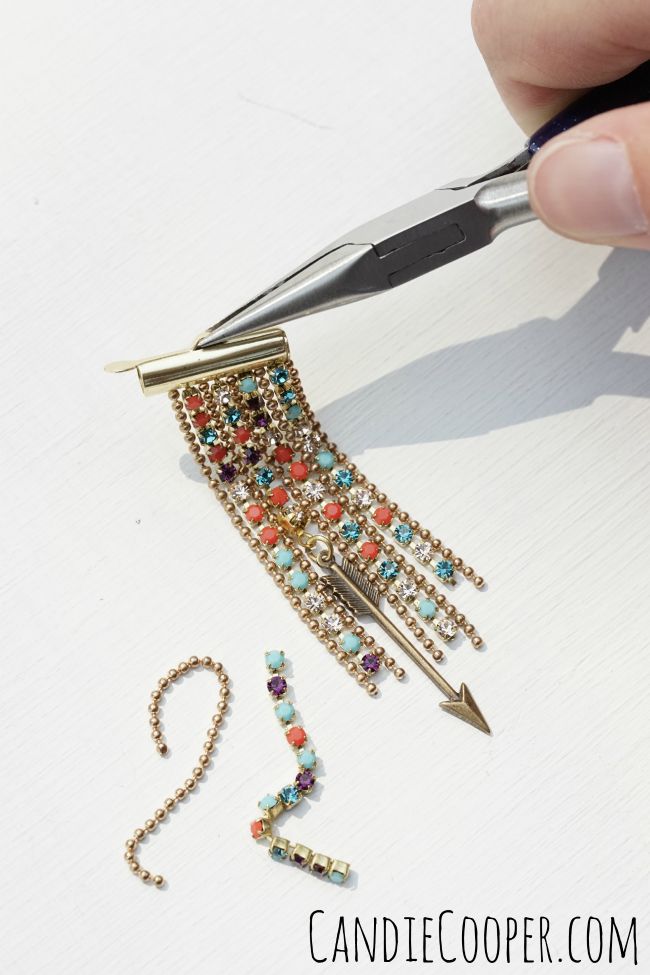
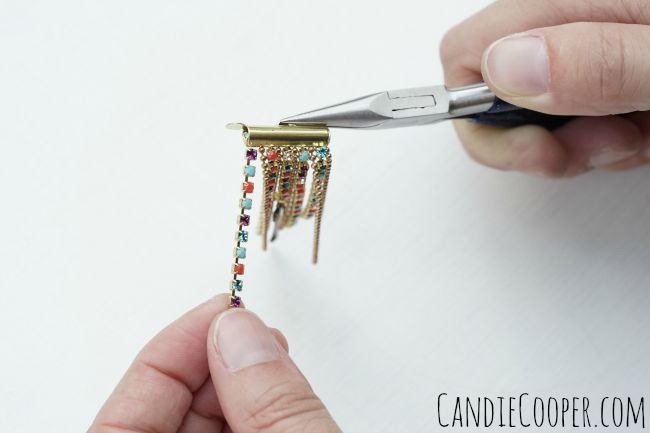
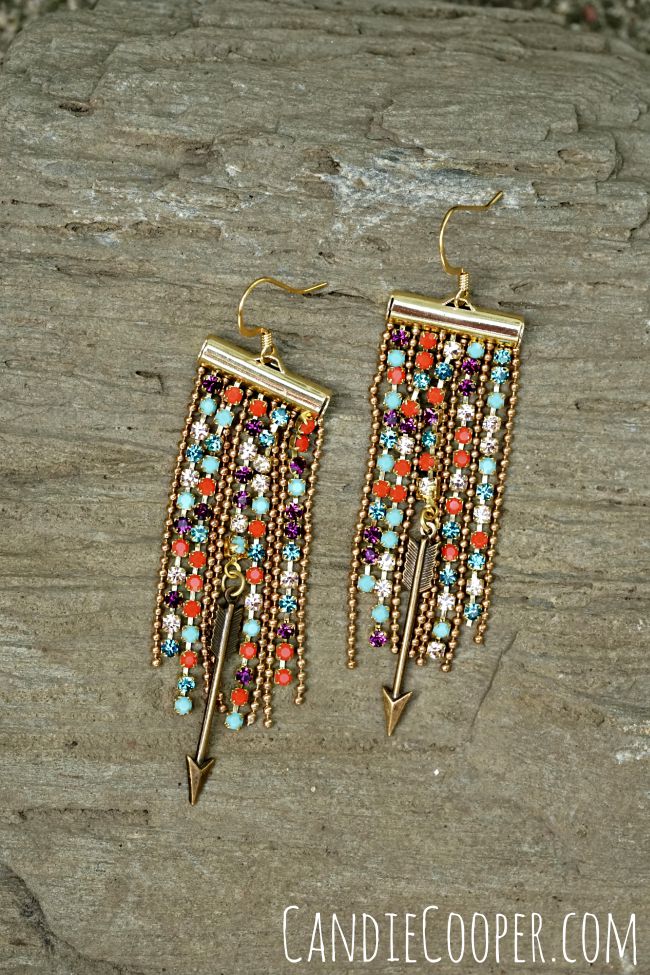
You guys know I’m addicted right?Beadalon Slide Connector findings for cup chain and ball chainHere’s the “gateway” finding:  Beadalon slide connectors.  I think it started with the Statement bracelets I made awhile back.  These earrings have been on my brain since March and I finally finished them.How to attach a cup chain findingI’m using cup chain and ball chain for the fringe and to spice it up, I’ve added an arrow charm to the center.  You’ll need some cup chain connectors in the appropriate size.DIY Jewelry Making Closing prongs on cup chain connectorSet the last link of cup chain down in the finding and roll the prongs over with Beadalon’s sparkly chain nose pliers.  The tapered end of the plier is awesome for working with tiny parts.DIY Jewelry Making Opening and closing a jump ringsNow you can connect your arrow charm.DIY Jewelry Making Arrow charm earringsI found several art pieces with this arrow quote on the internet with no source but really loved the message.

From my experiences, it’s true.  For me, the hard part is remembering to focus and aim when you’re in the thick of it.  It’s something I really have to practice and be mindful about.

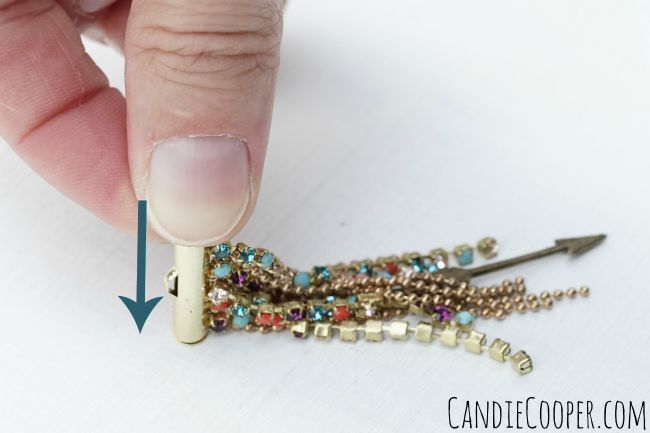
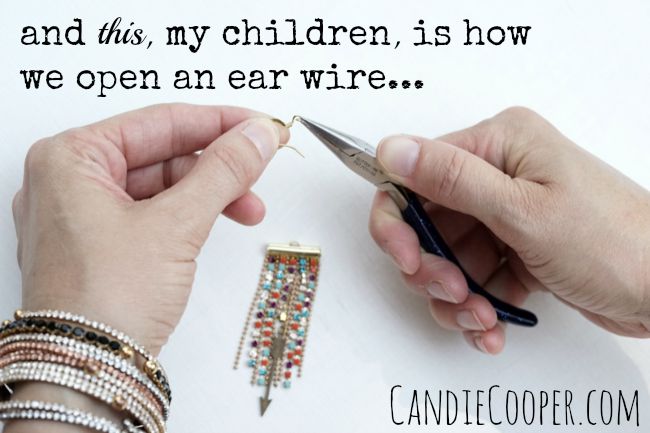
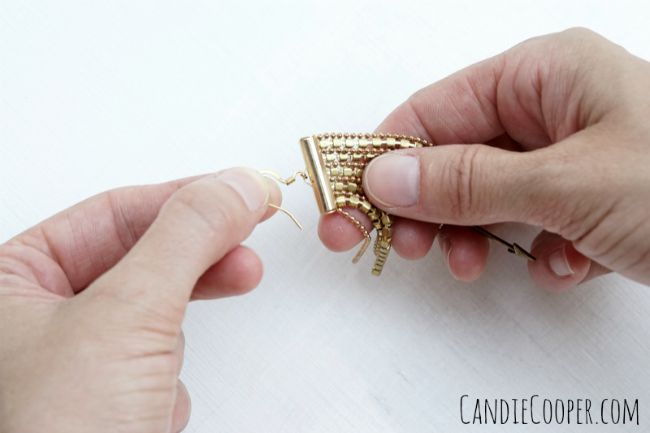
Moving on…DIY Jewelry Making Beadalon connector findingsNow, you can start sliding in your random bits of chain, trimming as you go with wire cutters.DIY Jewelry Making Adding cup chainBefore I forget, these slide connectors come in 3 different widths so you can simplify these if you like.DIY Jewelry Making Closing slide connector findingRoll the cap on the slide connector closed, pushing it against the table top to make sure it’s secure.DIY Jewelry Making Fringe Earrings with Beadalon Findings How to open an ear wireNow, we are to the finish line.  Open the loop on your ear wire from side to side and connect the loop on the slide connector. 
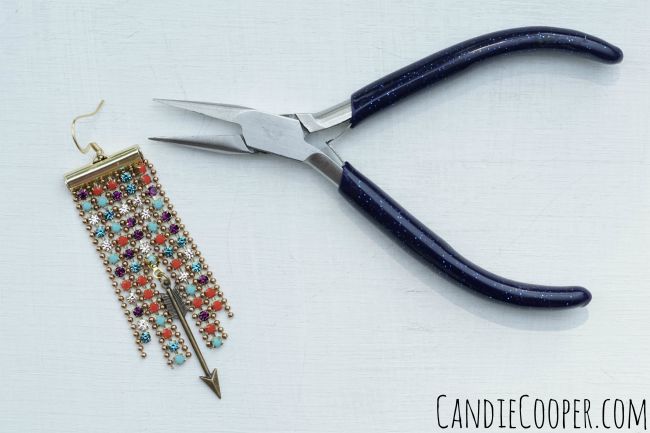
DIY Jewelry Making Fringe Earrings with Beadalon Findings Connecting an ear wiireClose the loop with the chain nose pliers.Fringe Earrings with Beadalon findings and toolsDIY Jewelry Making Fringe EarringsDIY fringe earrings from @CandieCooperEarringology by Candie CooperCheck out my book, Earringology, for more fun ideas!

DIY Leather Jewelry

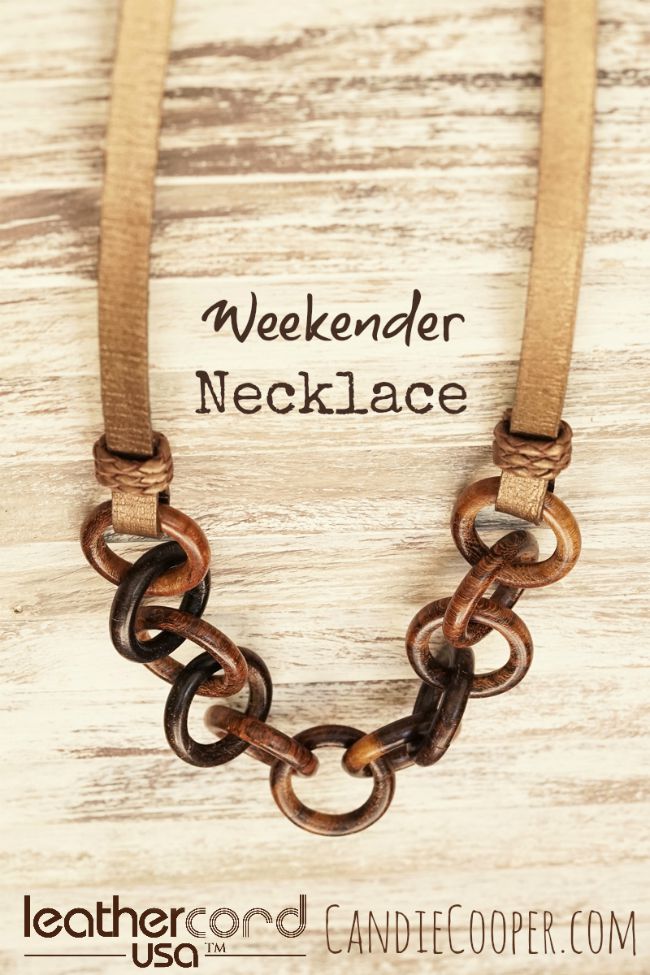
This post brought to you by LeatherCord USA.DIY Leather Jewelry with chunky wood chain  LeatherCordUSA.comLet the good times roll for it is THE weekend!

High fives!  WE made it!

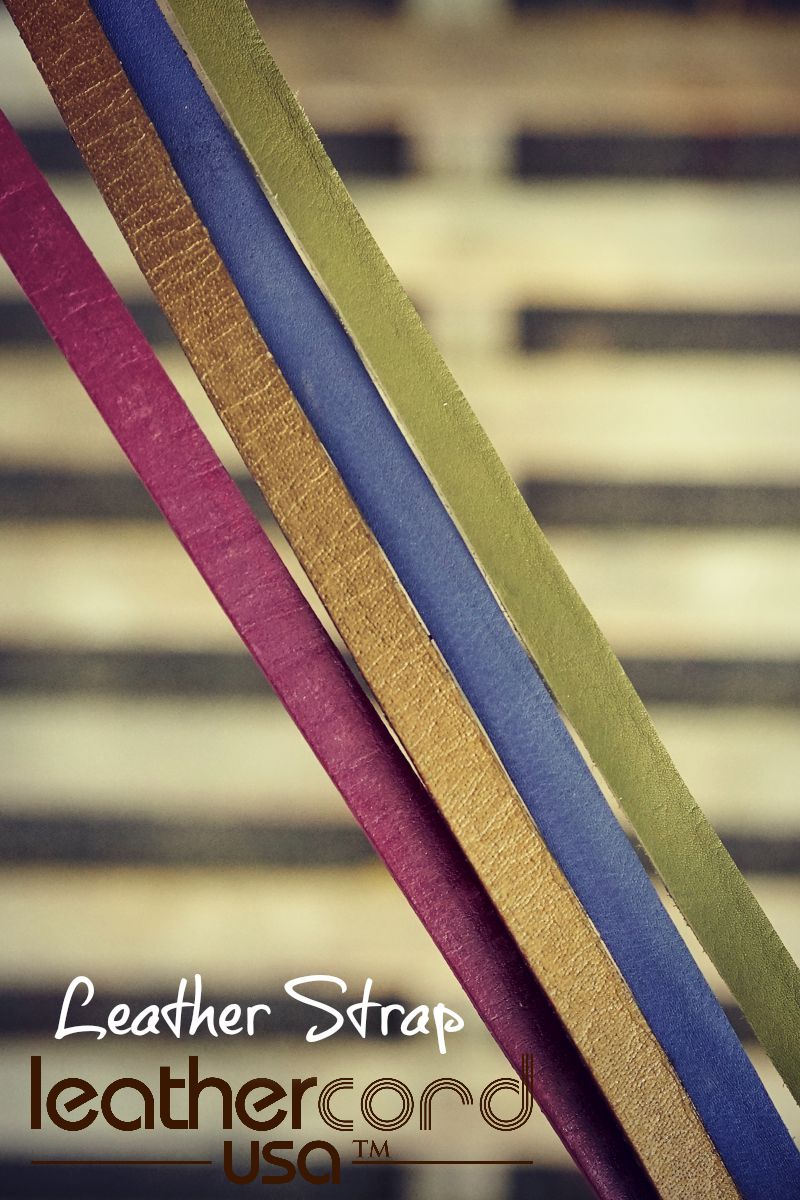
How about another quickie project featuring LeatherCord USA Leather Strap and Bolo cord?LeatherCord USA Leather StrapLeather strap is the main part of this project and LeatherCord USA makes it in a ton of colors.  That’s one of the reasons I love these guys.  For this project I played with the metallic “Kansa” color.  It’s a stiffer leather and softens the more you wear it (like all leather).

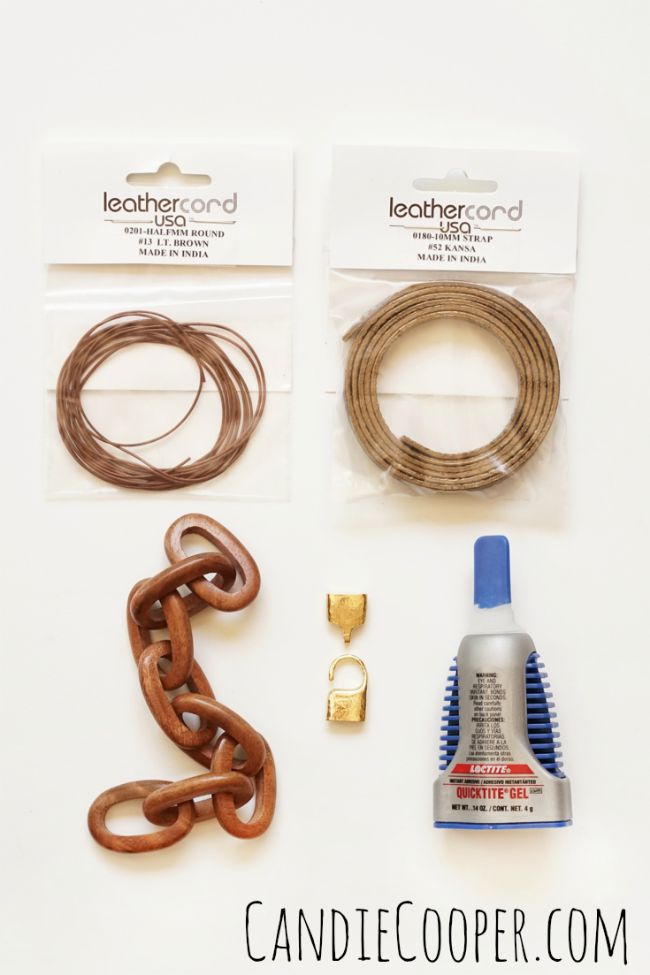
LeatherCord USA DIY Jewelry Making with Leather Strap and Bolo Cord MaterialsThese are the basic materials.  Pretty simple:

Leather Strap in Kansa

4mm Bolo Cord in Kansa

Chunky wood chain (or any large link chain)

Adhesive

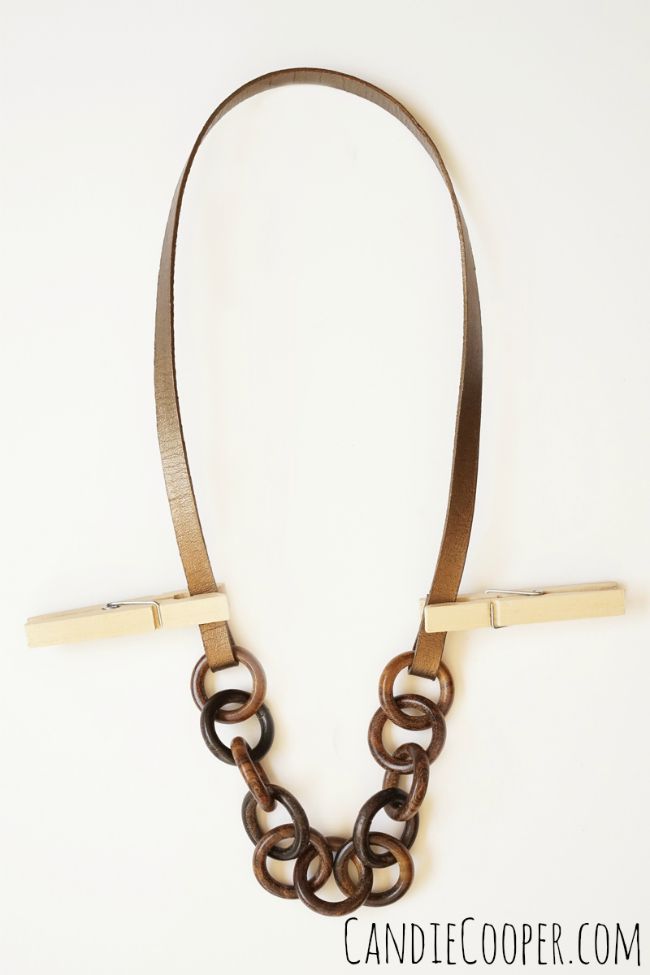
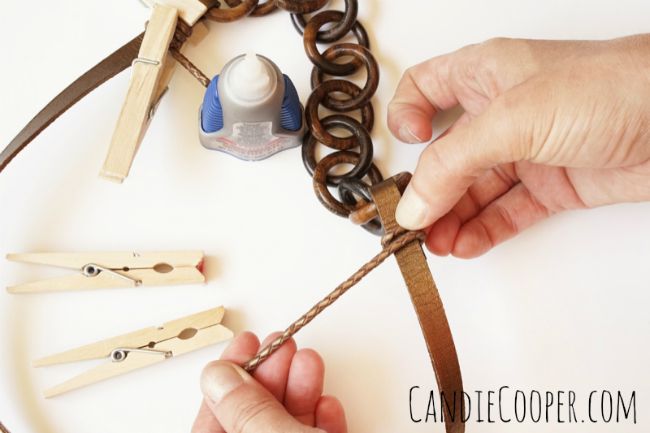
Somewhere in my excitement I forgot to put the bolo cord into the shot.  I used round cord and the Glue and Go clasp pictured for the pink bracelet variation.LeatherCord USA DIY Jewelry Making  Connecting  Strap to Wood ChainThis is so easy.  I think I’m in love.  The first thing you do is cut the chain with heavy duty wire snips to the desired length.  Then figure out how long you want the strap, add a couple inches and cut.

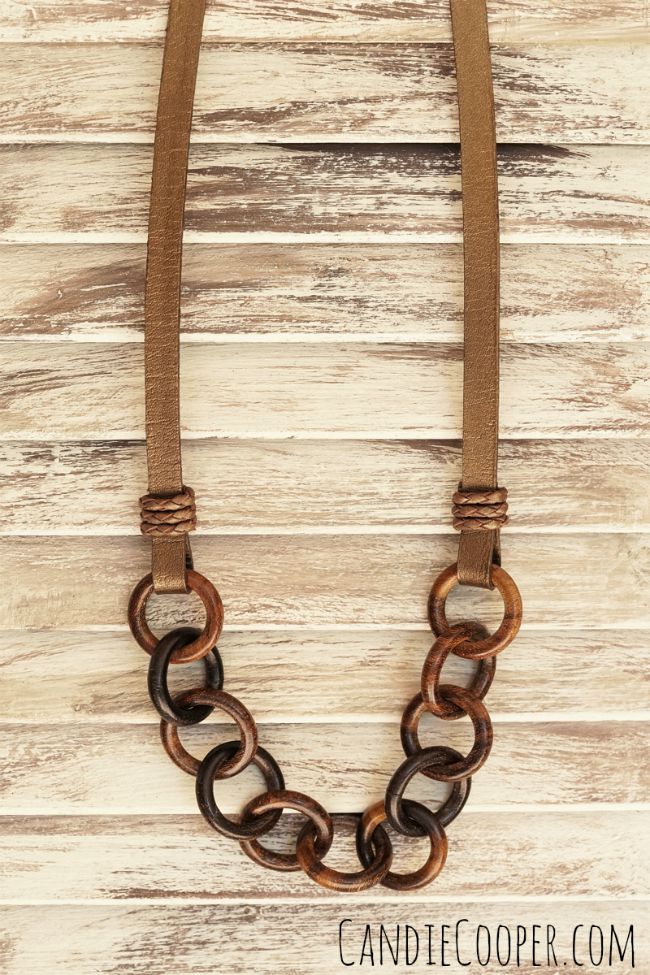
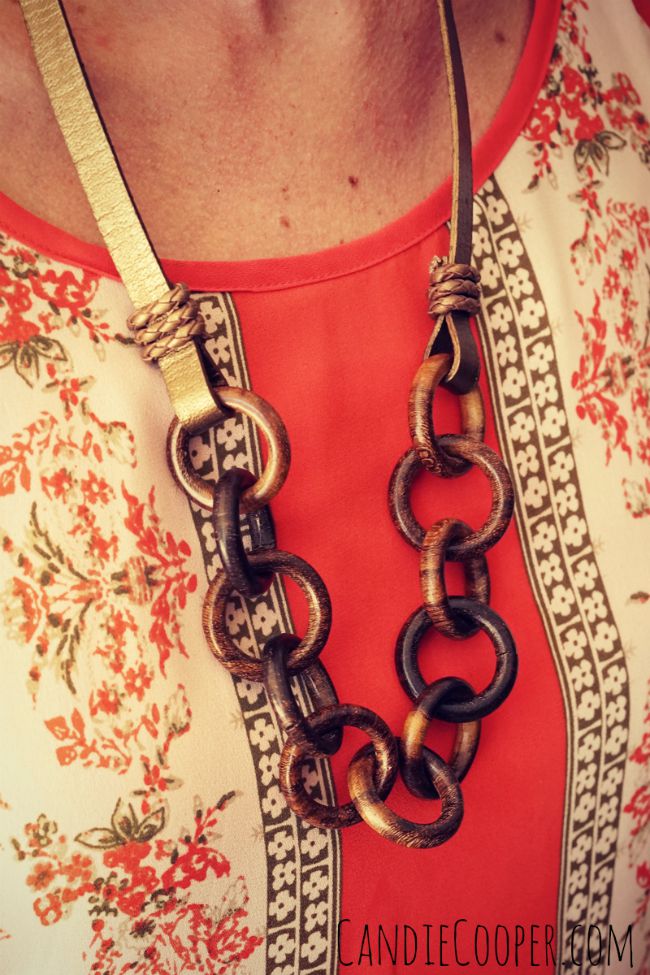
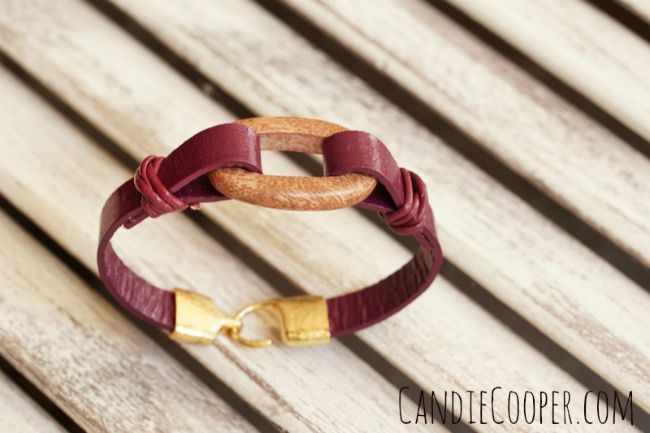
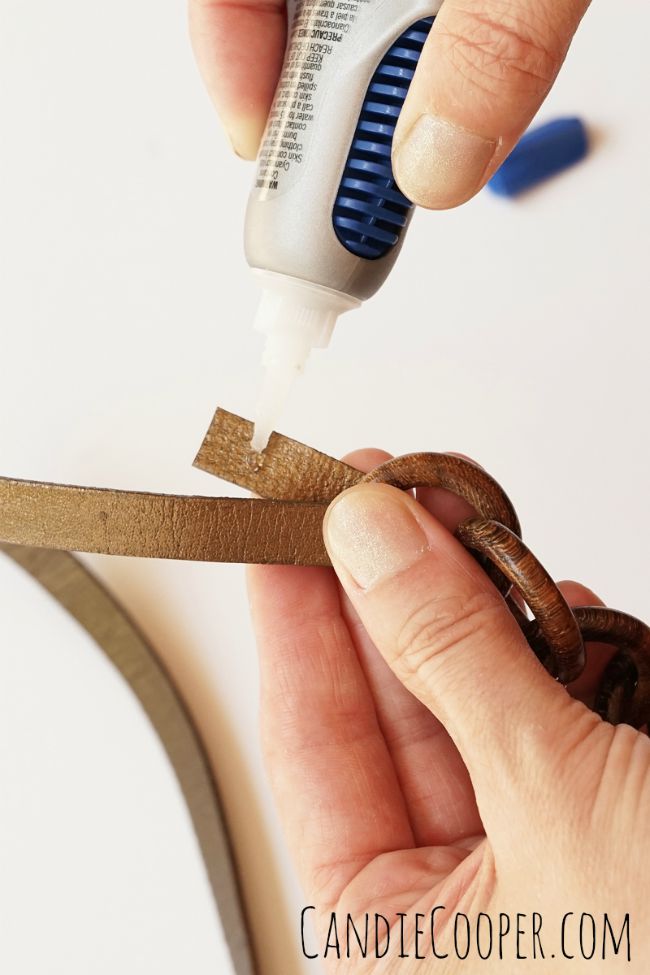
Thread the strap through one end of the chain and fold it over one inch.LeatherCord USA DIY Jewelry Making  with Leather StrapAdd a drop or two of glue and use clothespins to hold it together while the glue sets up (like in the previous photo).LeatherCord USA DIY Jewelry Making  Metallic Bolo Cord and StrapWrap a few inches of bolo cord around the connection area to add a little something.  You know!  Use the same glue and clips to hold it in place while it dries.  Trim any excess bolo cord after it dries.DIY wood and leather chain necklaceDIY Jewelry Making  LeatherCord USA  Leather and Wood Chain necklace from Candie CooperDIY Leather Strap bracelet  LeatherCord USA  CandieCooper.comJust for fun, you can make a bracelet with pretty much this same technique.  I used the round cord to create a spiral knot instead of wrapping it with bolo cord.  Here’s a link to a spiral knot tutorial from LeatherCord USA.  If you love that clasp–there’s a link to it up in the materials.

Happy weekending y’all!

Simple Bead Stringing

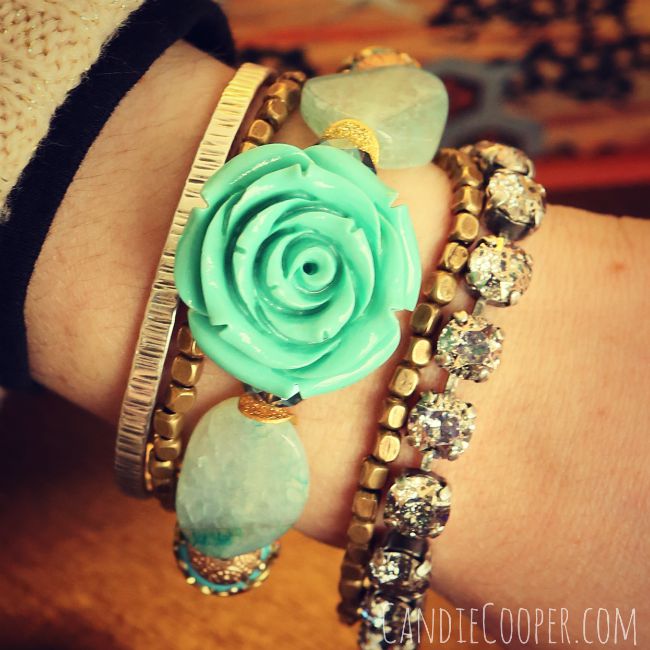
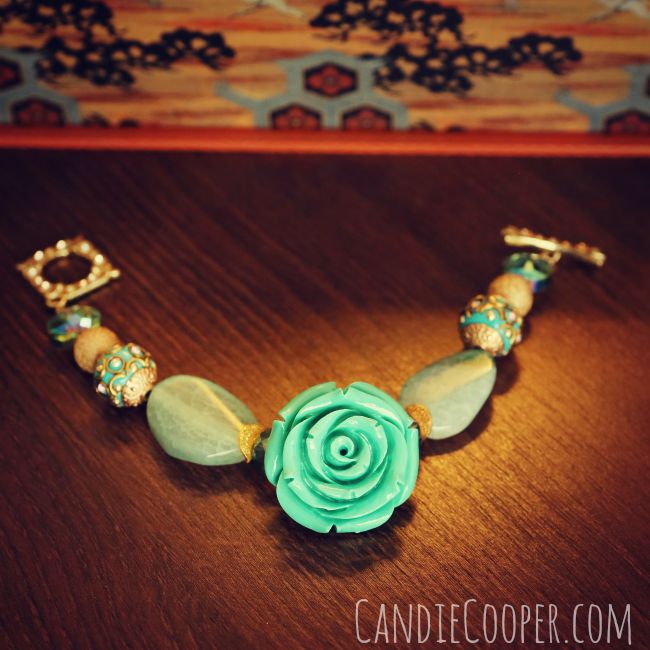
This post brought to you by JesseJamesBeads.comHow to string beads for a bracelet using JesseJamesBeads.comI’ve been coveting these teal beads from JesseJamesBeads.com for a long time.  This is one of my very most favorite colors.  It makes me think of the ocean.  I feel calm just looking at it.  After all, if we can’t be at the beach, we might as well be beading.
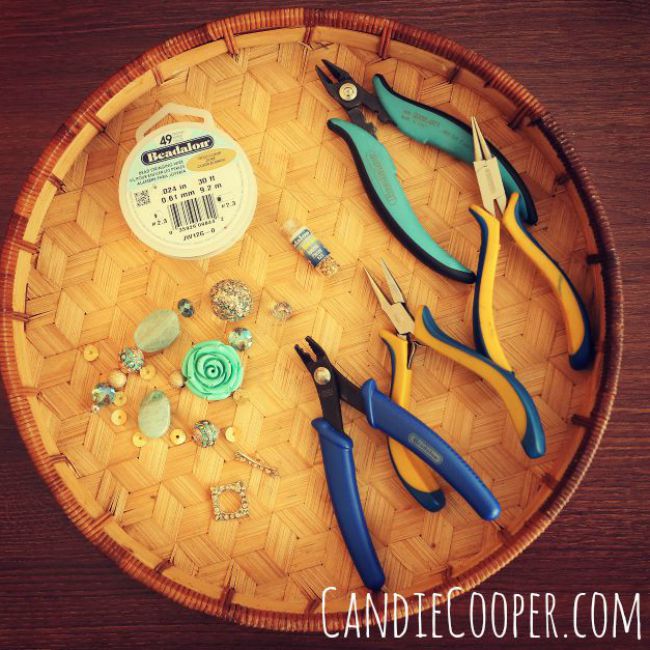
Simple stringing tutorial from Candie Cooper and Jesse James BeadsSupply list:

#2 Crimp Tubes

Acrylic flower bead

7″ Bead Strand in your fave color

Clasp

Beading Wire

Crimping pliers

Wire cutters
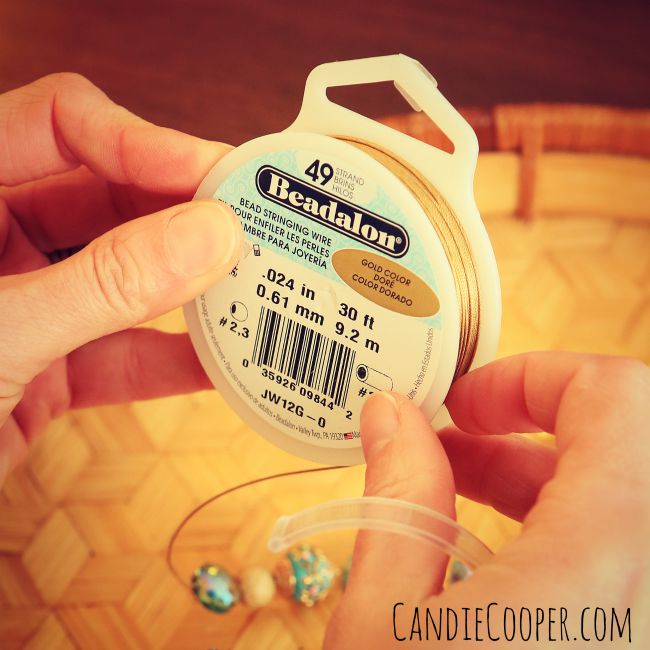
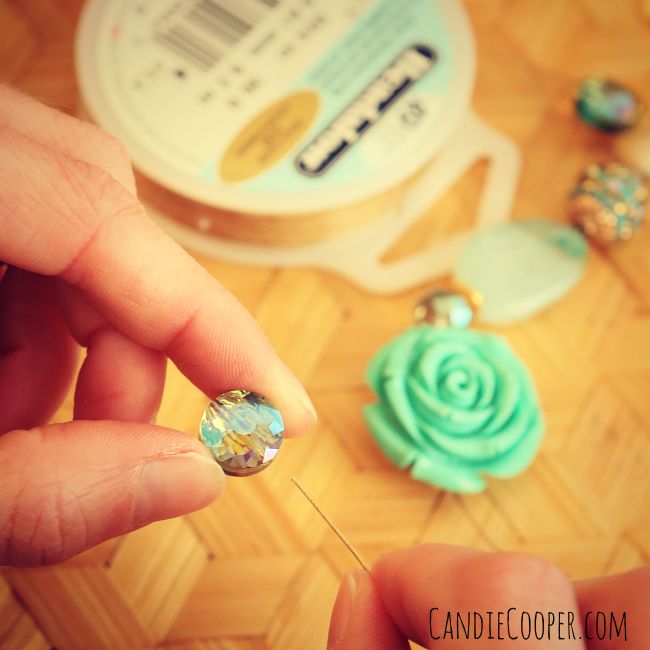
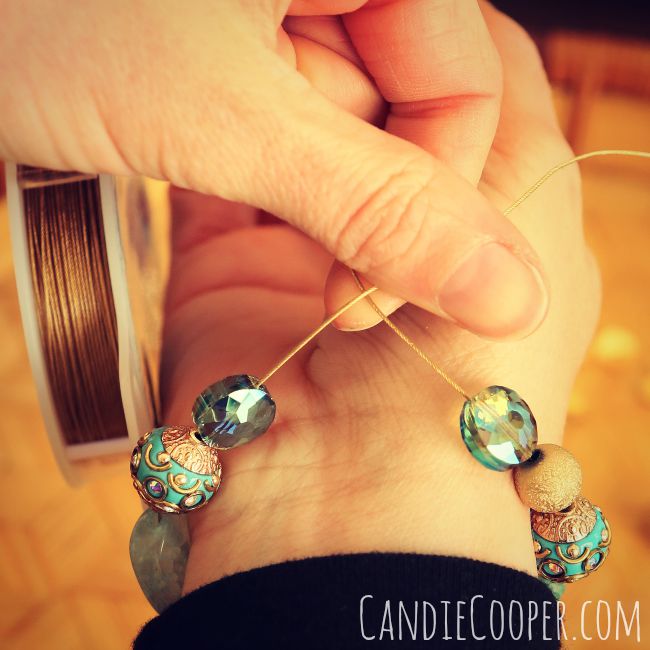
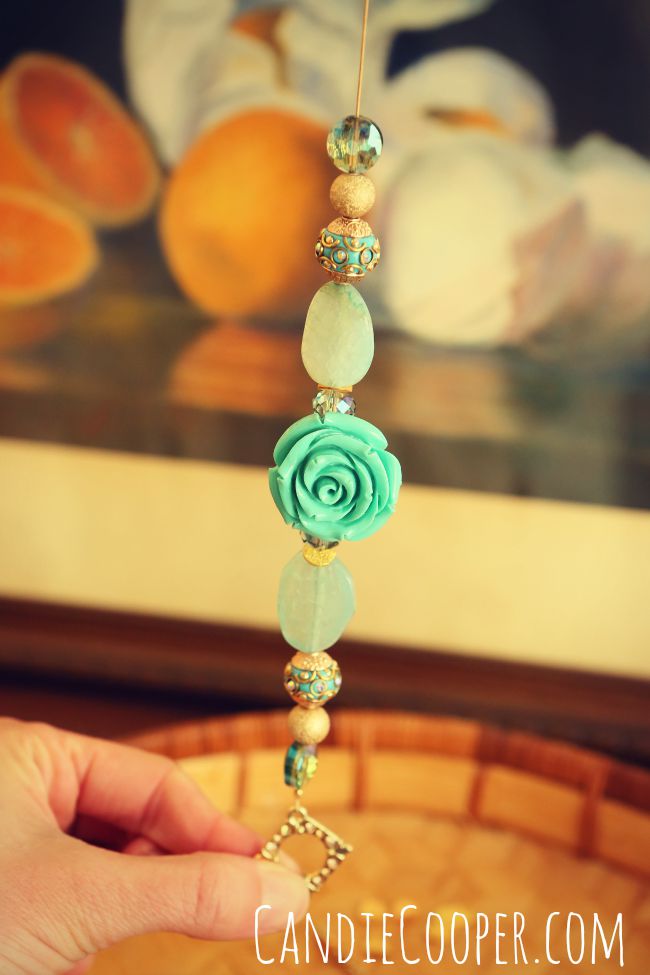
Beadalon 49 strand gold wireString those beads.  You know, like we do!  I used the order they came on the strand, but you can shake it up and make your own.  Jesse James Beads has a garden of acrylic flower beads right now.  Pick one (or a few because they are so dang sweet).
Simple bracelet stringing tutorialSparkle is something that almost all JJB strands have a touch of and that’s perfectly ok with me.  I support sparkle.
Unique boho beads from JesseJamesBeads.comCheck the fit.  You could use a ruler for sizing, but who knows where it is!  I blame my husband.
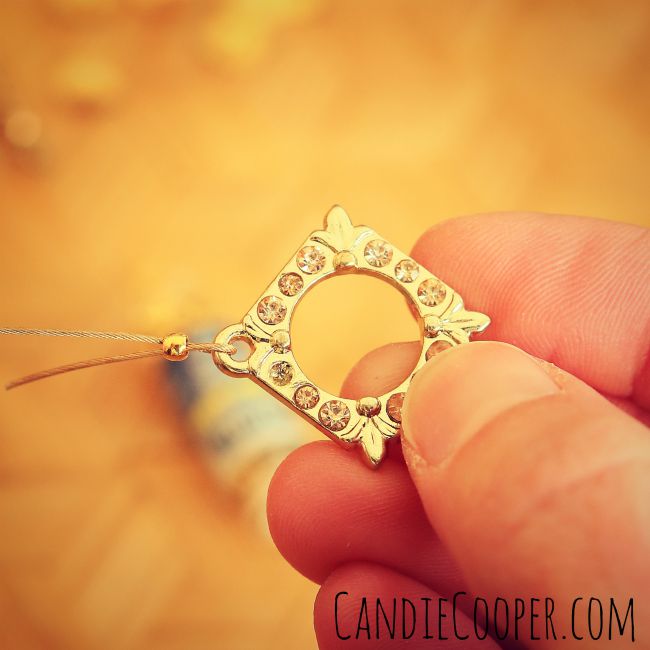
Sparkly clasp from JesseJamesBeads.comSecure the loop end of the toggle to the beading wire with a crimp bead.
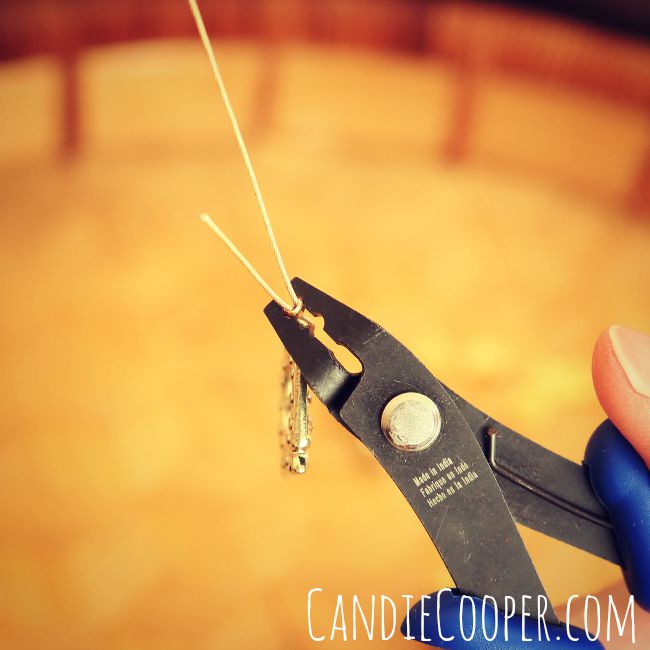
Crimping pliersPlace the crimp bead in the “U” shape notch first on the crimping pliers and then turn it 90 degrees and place it into the “eye” shape.  Smoosh it down, rolling the crimp over.
Stringing tutorial with JesseJamesBeads.comSlide all the beads next to the finished end of the bracelet…  P.S.  That’s a pastel drawing of oranges my great great gram did.  It’s one of my most favorite possessions.
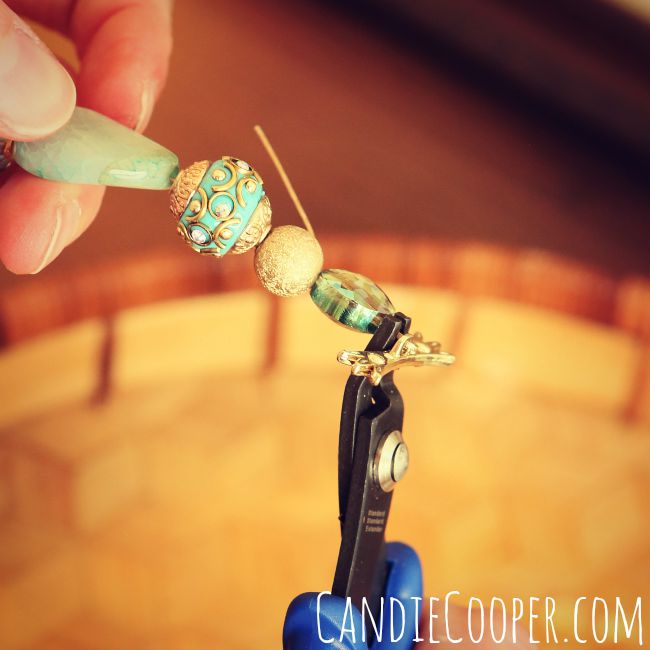
Crimping beads on a wire tutorialand crimp the toggle to the wire.
DIY BRACELET with JesseJamesBeads.comPerfectly simple.
How to string beads for a braceletThirsty for more?  Seed Bead Bracelet tutorialCheck out my “Seed Bead Bracelets” tutorial on the JesseJamesBeads.com blog.  It’s another one of my fave projects over there.
 

Easy Leather Jewelry

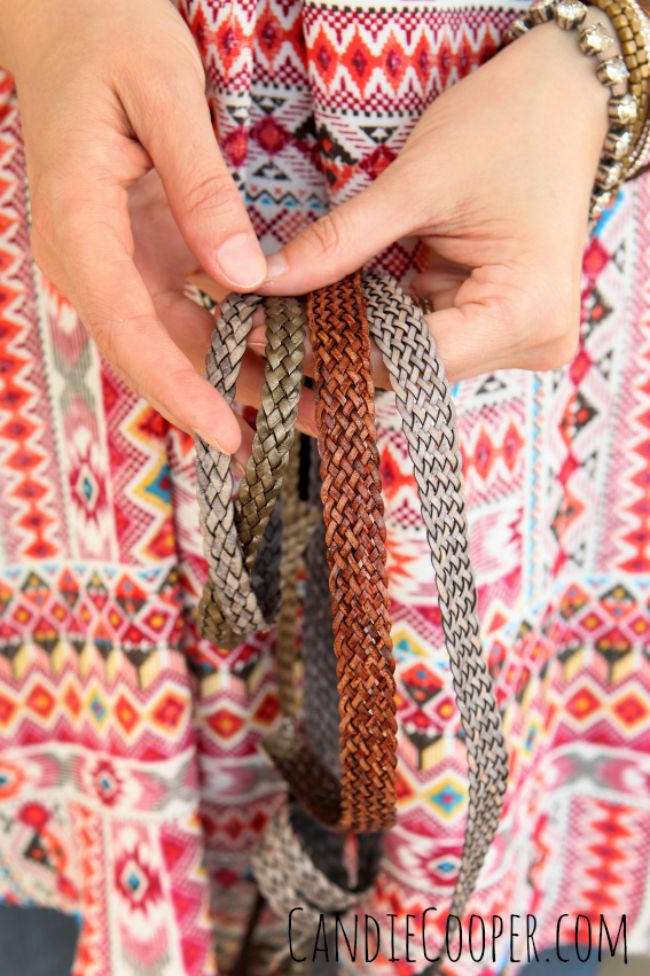
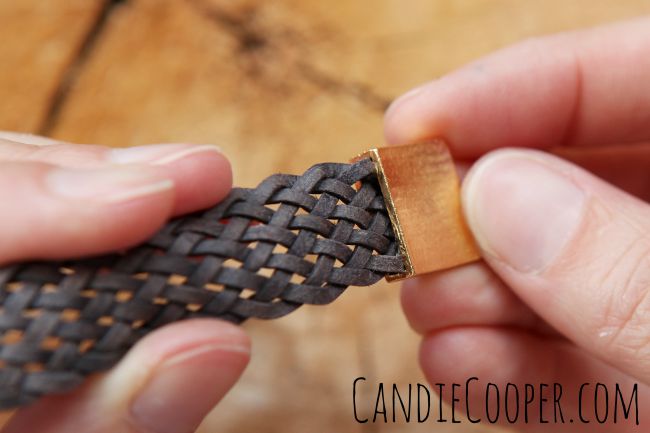
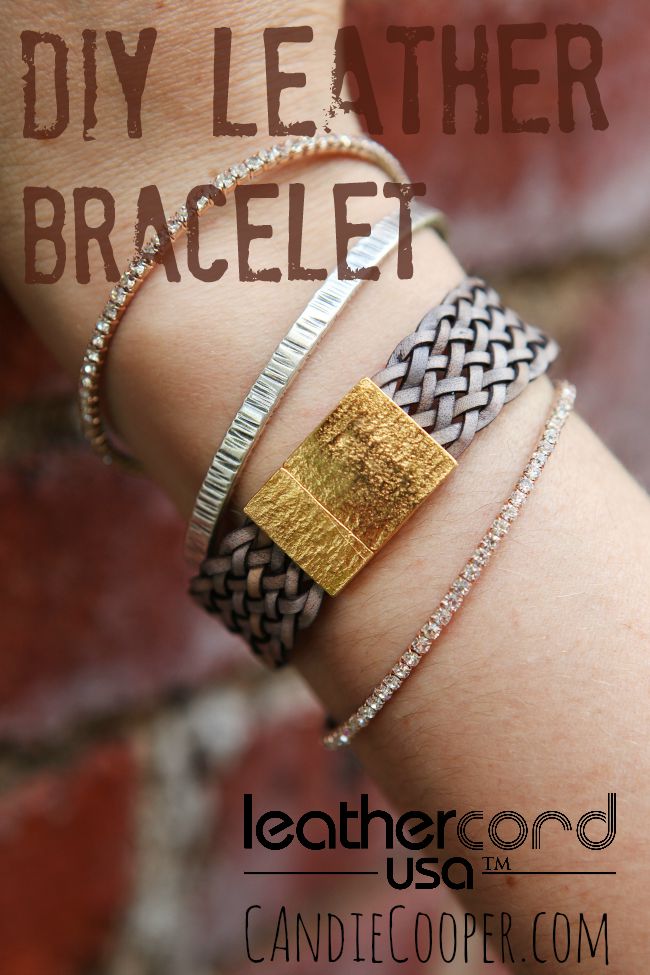
This post brought to you by LeatherCord USA.LeatherCord USA Jewelry Making with Leather BraidWhat’s a girl to do with a pile of delicious flat leather braid that she brought back from her visit to LeatherCord USA headquarters?  Make hot bracelets.  That’s what.
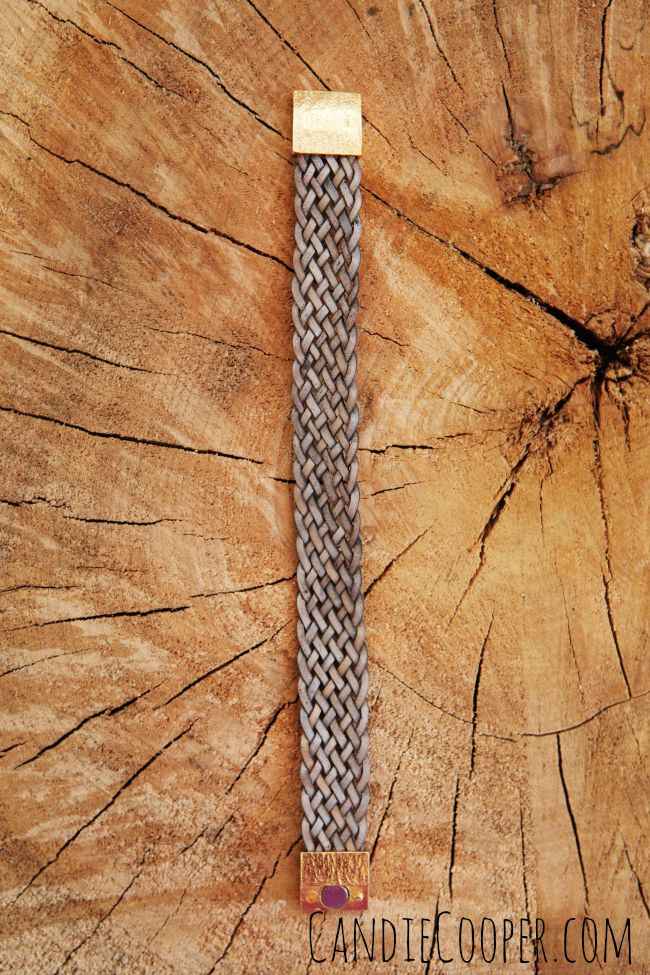
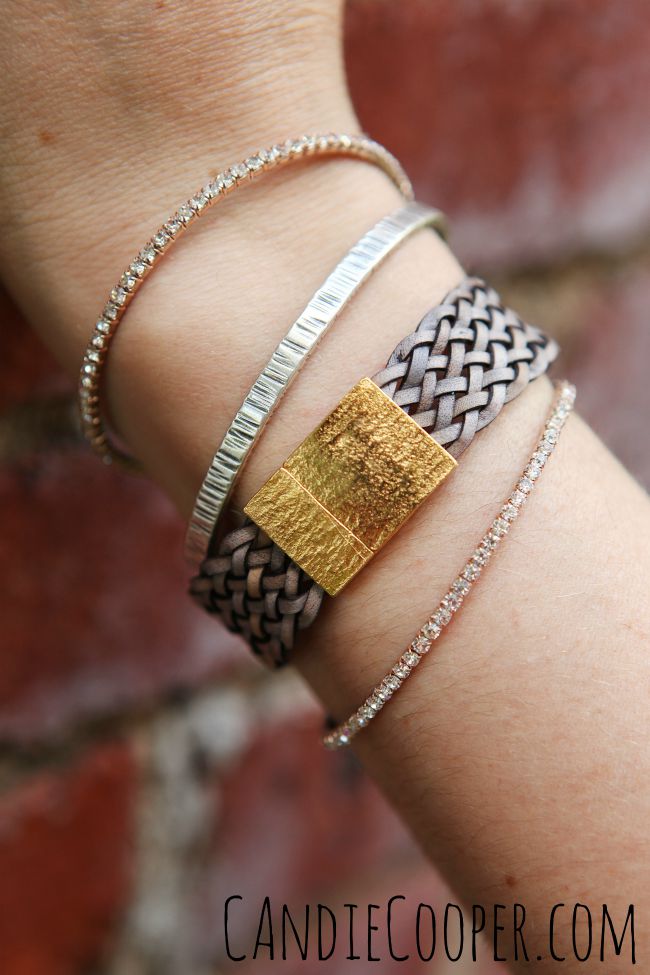
LeatherCord USA  fast bracelet making with flat leather braidIn this post we are climbing on the gray and gold fashion jewerly train to make this slick bracelet.  Like it?  You’re really going to like it when you see how easy it goes together.
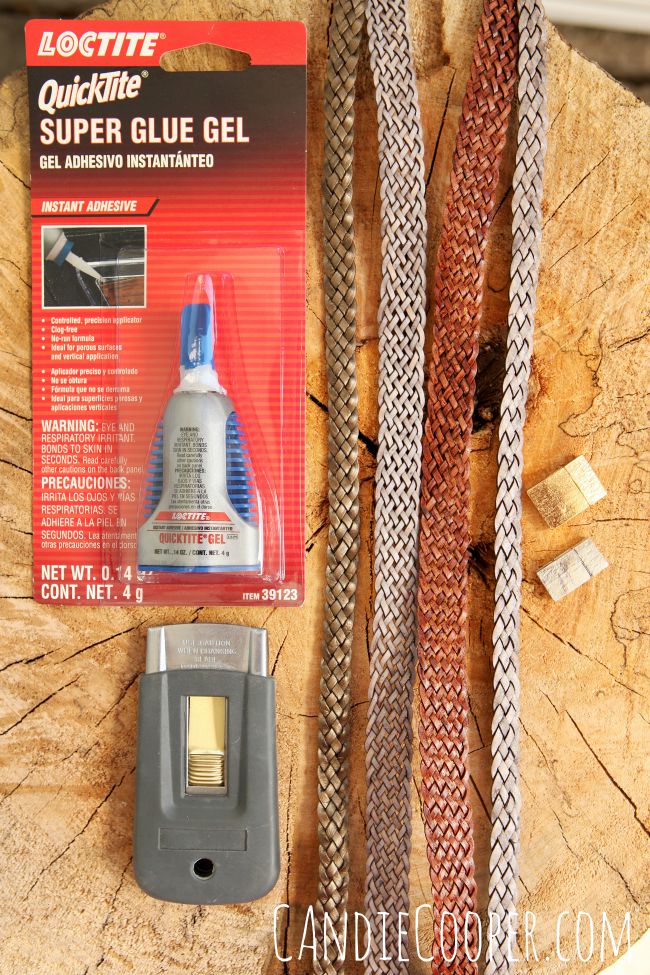
LeatherCord USA Jewelry Making materialsHere are the basic  supplies needed:  razor blade, gold Glue and Go magnetic clasp, 9 strand braid in natural gray, and Locktite adhesive.   LeathercordUSA.com is a one stop shop for the supplies (sans blade).  LeatherCord USA Flat braidThis is the 9 and 5 strand flat braid.  You can use this clasp with the 5 strand braid.  If you’re shopping the LCUSA site, look at the bottom of the page for the product dimensions to help with matching clasps and cords.
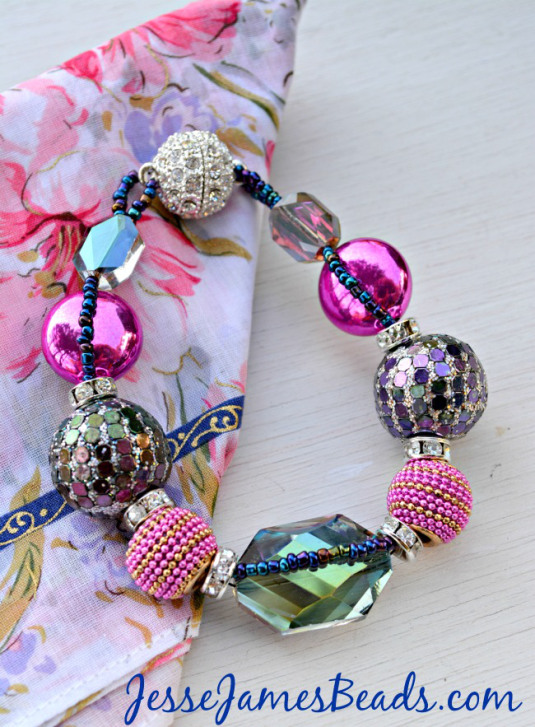
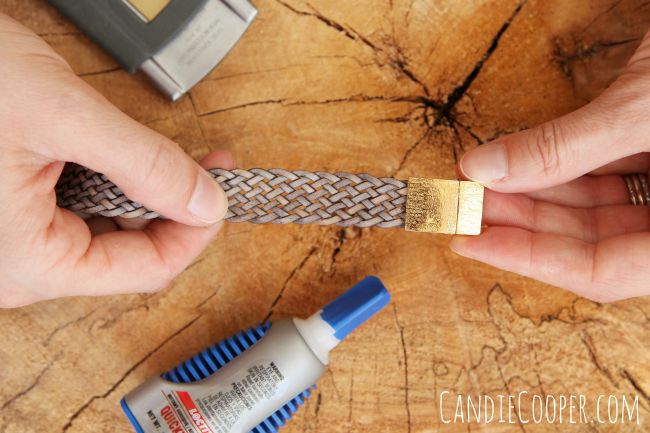
LeatherCord USA Jewelry Making How-to  Easy Leather BraceletsThe bracelet is so easy to make, I feel guilty!  Grab your Locktite adhesive for leather and metal joining.  Put a bead of glue along the backside edge of the leather braid.
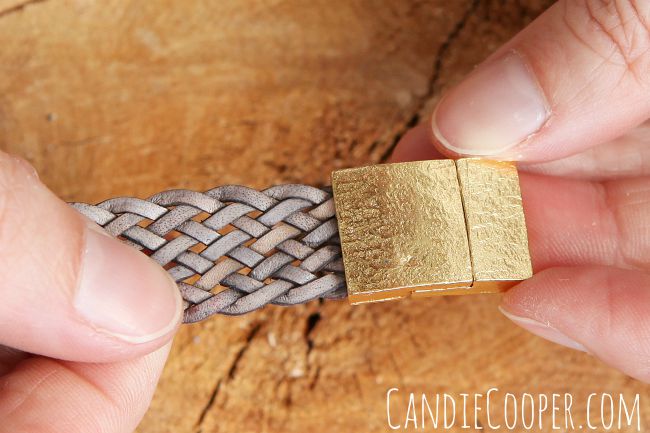
LeatherCord USA Jewelry Making with flat leather braid and glue and go findingsSlide it in one side of the metal clasp.  The braid and clasp are off in size by 1mm, but it doesn’t matter because the braid can “smoosh” a little to fit.
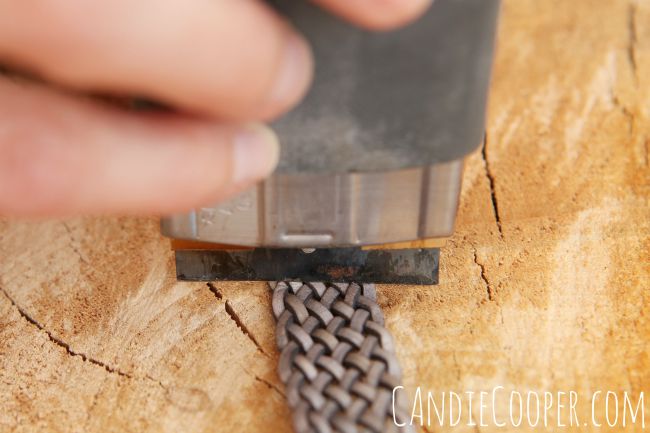
LeatherCord USA Glue and Go claspI stuck this shot in for a detail of the clasp.  It’s pretty.  Not too shiny and just the right amount of texture for a great designer look.LeatherCord USA Jewelry Making  How to cut leather easilyCheck the fit of the bracelet and then cut with a fresh razor blade.  Do not use the one that has scraped windows with a lot of paint on them during a rennovation project just because it’s near by.  Stop.  Get up. And go get a fresh blade.  I might be talking to myself here.
A note of safety:  Carefully dispose of razor blades or store in a safe place…for obvious reasons.
LeatherCord USA Jewelry Making with Leather Glue and Go magnetic claspPut a line of glue on the back edge of the leather and slide it into the other side of the magnetic clasp.  Guess what?
LeatherCord USA Jewelry Making  Easy magnetic clasp braceletWe’re done.
Now do you see why I feel guilty?

Let the adhesive sit up according to the manufacturer’s instructions.
LeatherCord USA Jewelry MakingChic in gray and gold or brown and silver…
LeatherCord USA DIY Braided BraceletAre you making Christmas gifts this year?  Need an idea for how to make some extra cash?  This is it.

LeatherCord USA for the goods

Geode Necklace Tutorial

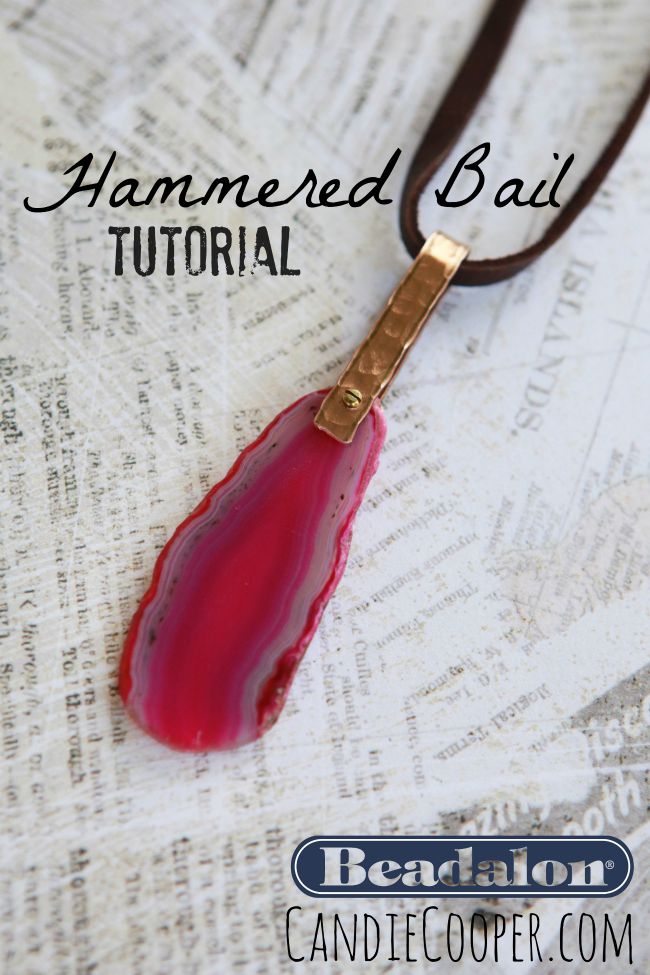
This post brought to you by Beadalon.Hammered Bail TutorialThe dog days of summer are here.  Barefoot, I walked outside this evening to get something out of my car and the pavement was still plenty warm.  Visits to the farmer’s market and dinners of garden veggies.  Yes, this is summer.

Poking around on the internet, I’m still seeing plenty of boho style.  That’s what I do–look at fall fashions, dreaming of scarves with fringe and ankle boots.  In reality it’s so hot you want to sit around in your underpants.  I like to layer clothing and the sweltering summer temps don’t care.
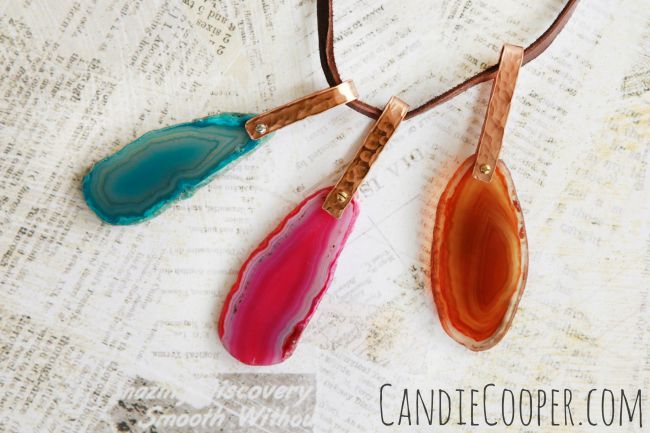
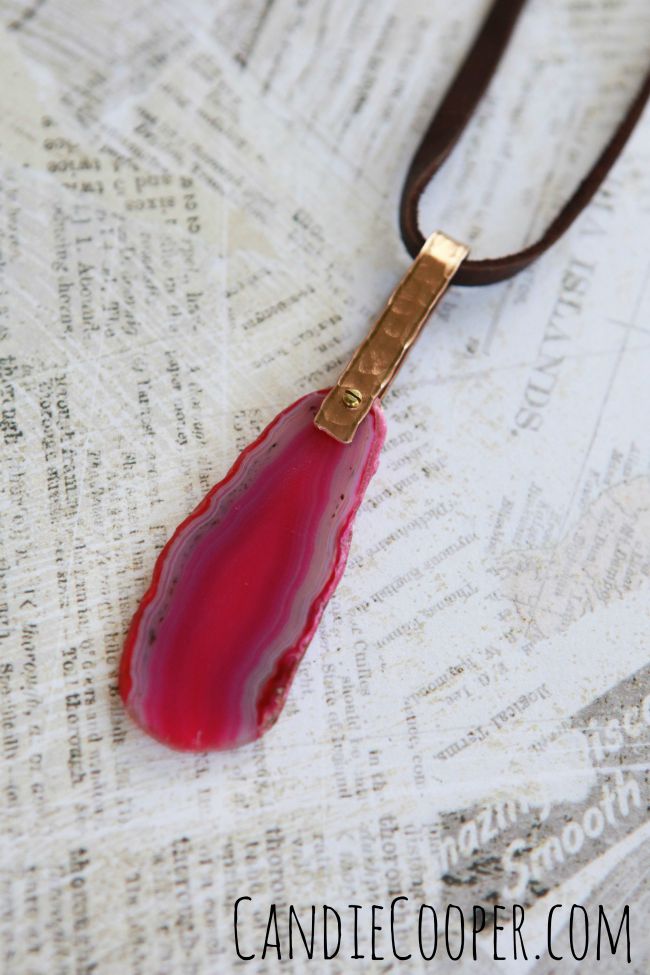
Geode Pendant tutorialToday I’m serving up some boho pendants using agate slices.  These go together in seconds.  Let’s celebrate Beadalon’s new 21 g. flat Artistic wire.
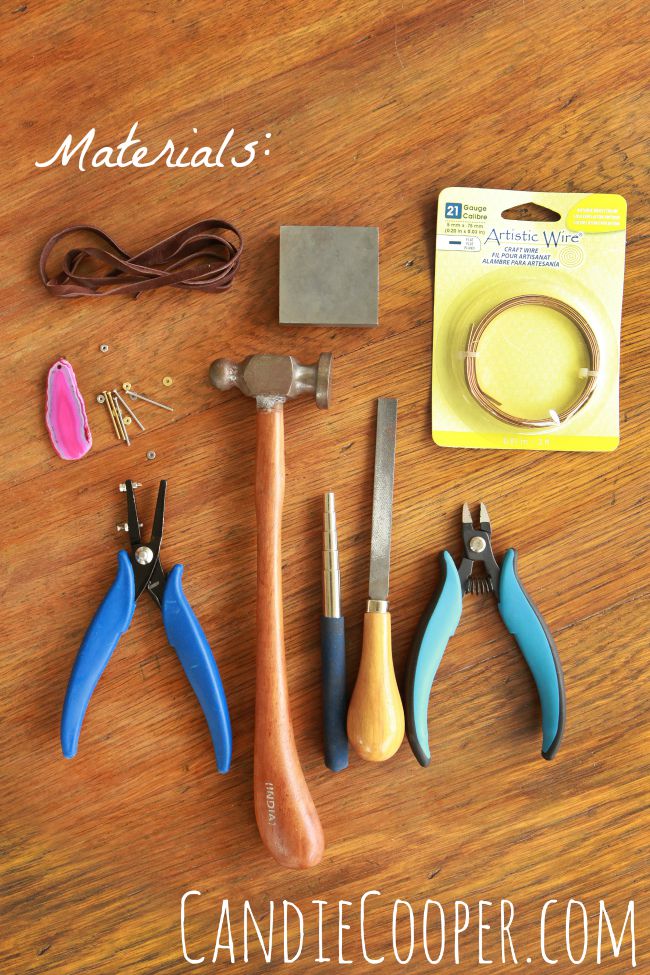
Jewelry Making Beadalon Artistic Wire PendantBeadalon also has a new small hole punch tool (on the left).  Hole punches make my heart flutter if you can’t tell from this last post.
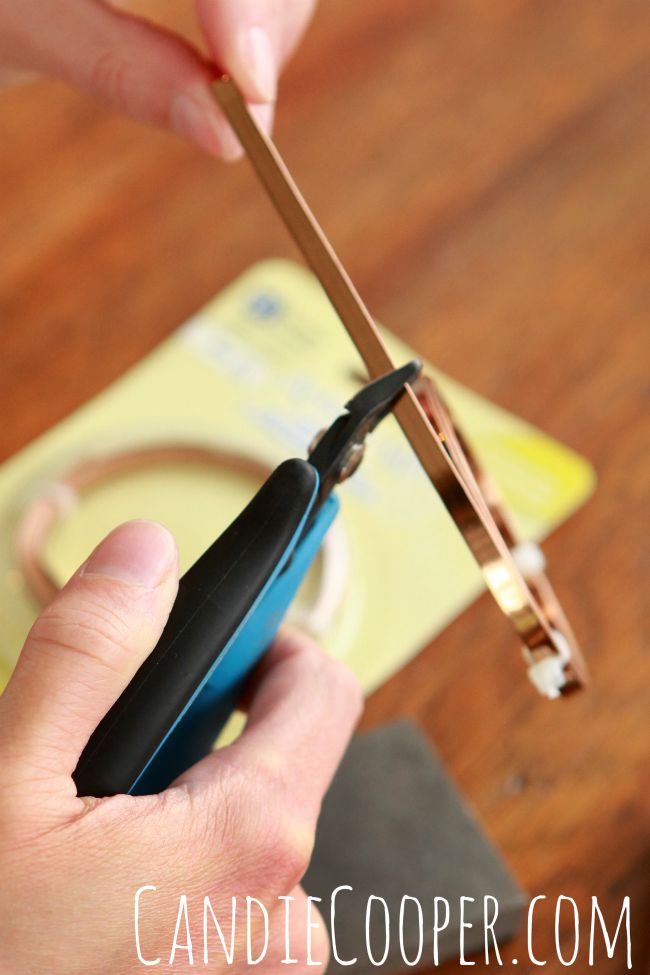
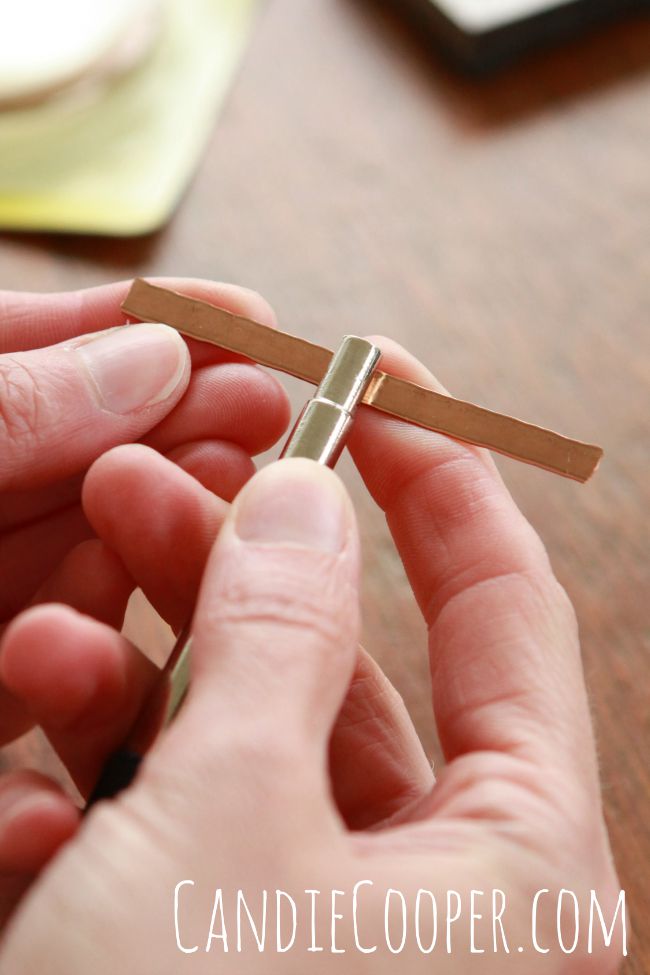
Jewelry Making  How to Make a Wire BailYou can eyeball the length you want your wire or you can measure.  Either way this flat wire cuts easily with wire cutters.
Easy wire worked bailUse a file to knock off the corners so it’s not sharp.
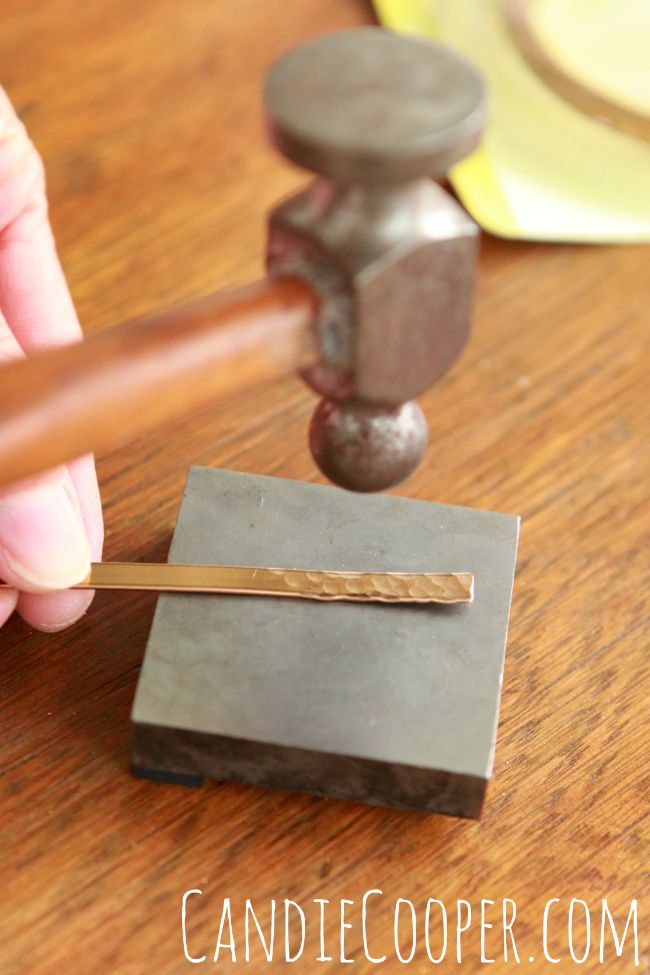
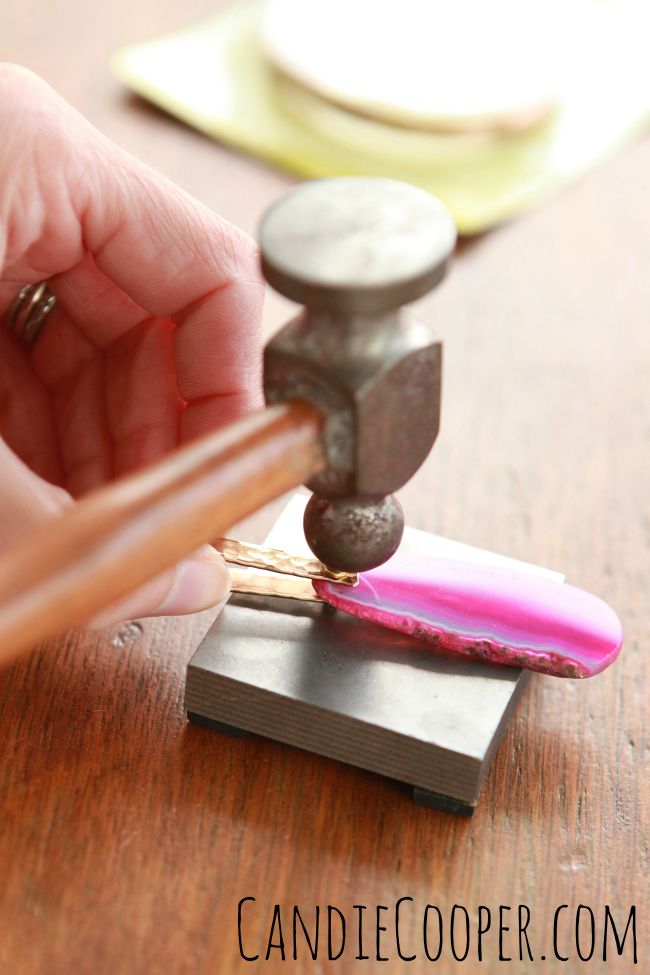
Jewelry Making Hammered wire bail with Artistic WireHammer the wire piece on a steel block and the round end of the hammer to add a planished texture.
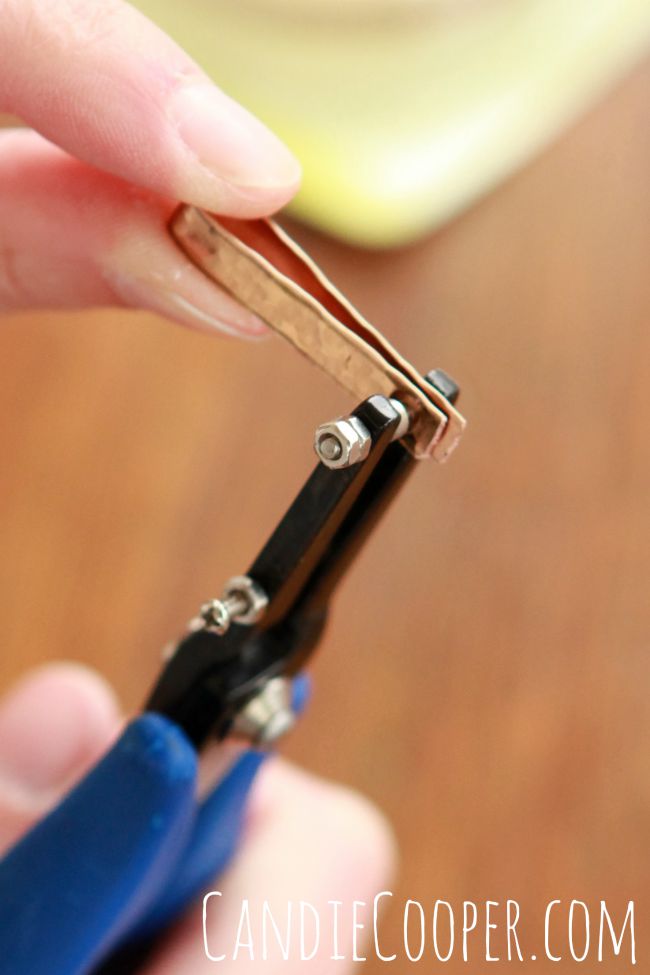
How to make a wire bailThis is a cool jump ring mandrel.  Use it for forming jump rings (not just a clever name), ear wires, wire wrapping or to bend this bail piece.
How to make a wire bail with Beadalon flat Artistic WirePunch a hole with the metal hole punch (psst…you can use it on leather too!).  Again, I’m eye-balling all of this.  Don’t tell my boss.
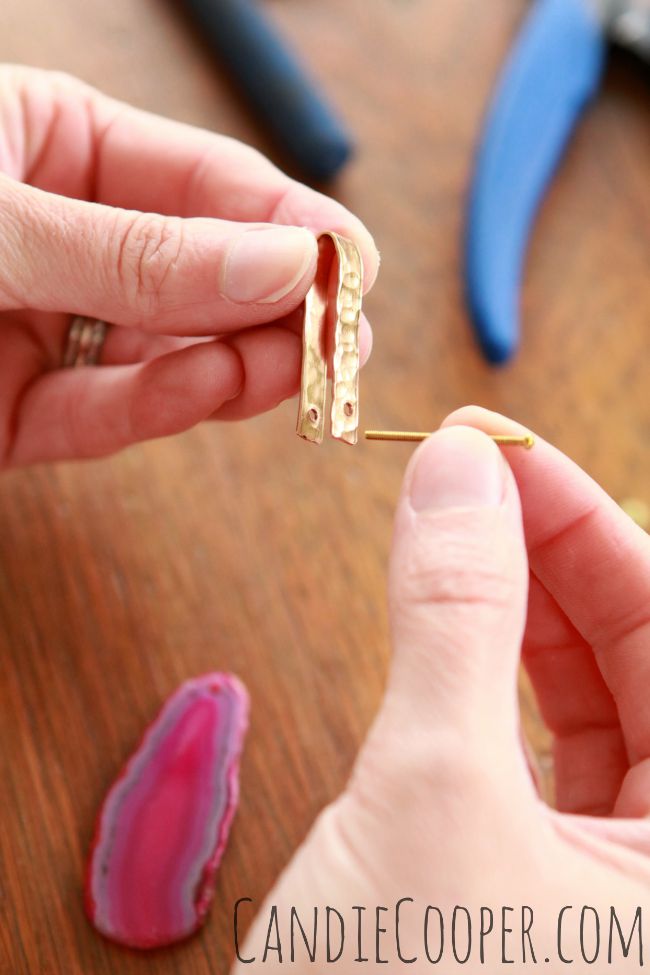
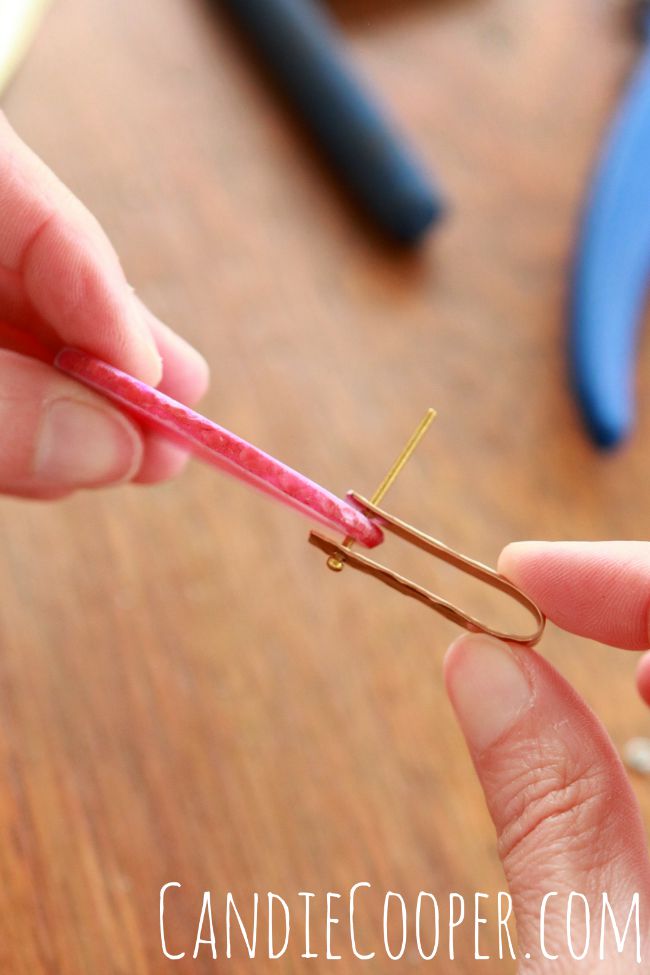
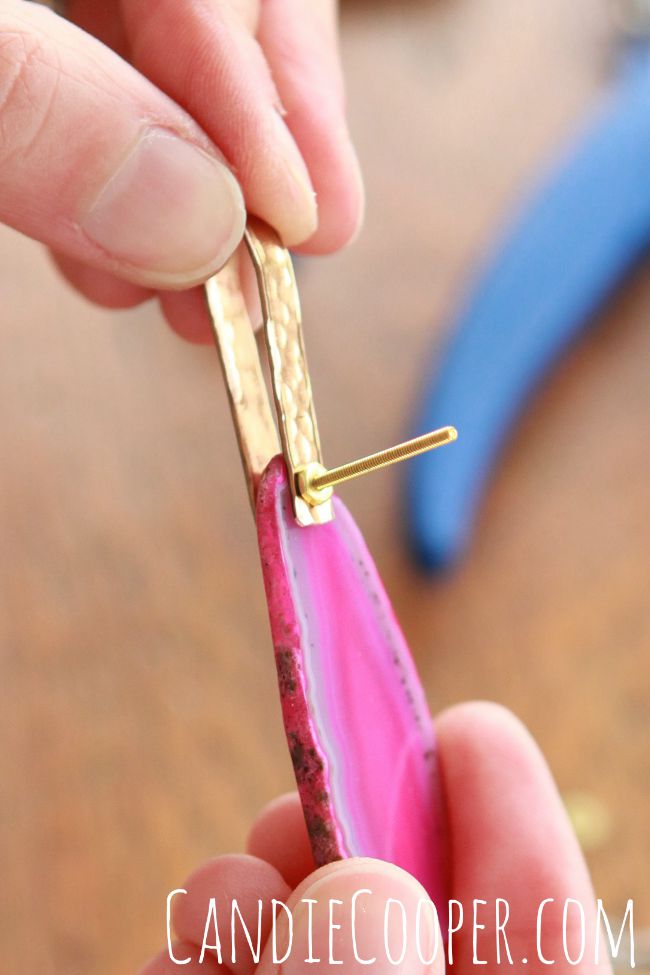
Jewelry Making Riveting the bail to a geodeUse a micro bolt to hold the agate slice in the bail.
DIY Jewelry Making  Wire BailTwist the nut onto the bolt.
Micro Bolt for Jewelry MakingThis is obviously too long so cut it, leaving about 1mm above the nut.
How to Make a Metal Bail Secure the rivetCAREFULLY hammer the cut end to create a rivet head so the nut can’t come off.  Take care to protect your eyes should you accidently hit the agate slice.  That would be bad.  Real bad.
Hammered Bail tutorial on Candie Cooper blogString it onto a leather strap.  String it on a chain.  With beads.  Without beads.
Make a wire bail
Geode Pendant tutorial

Treats:

Artistic wire for bail

Hole punch tool

Jump ring mandrel

Just For Fun-Rose Opal Earrings

DIY Earrings from @candiecooperYesterday the rain hammered down on the roof.  I did a bit of housecleaning, picked up some nice things to eat for dinner and then surrendered to the couch.  Oprah’s channel was having a “Where Are They Now” marathon.  I’d never seen it, but watch one episode and you’re hooked.  Seven hours later….  LOL  There were lots of other things I could’ve, should’ve been working on, but instead I just spaced out.  I think I was in need of some couch potato time after working the last two weekends.

I feel better.

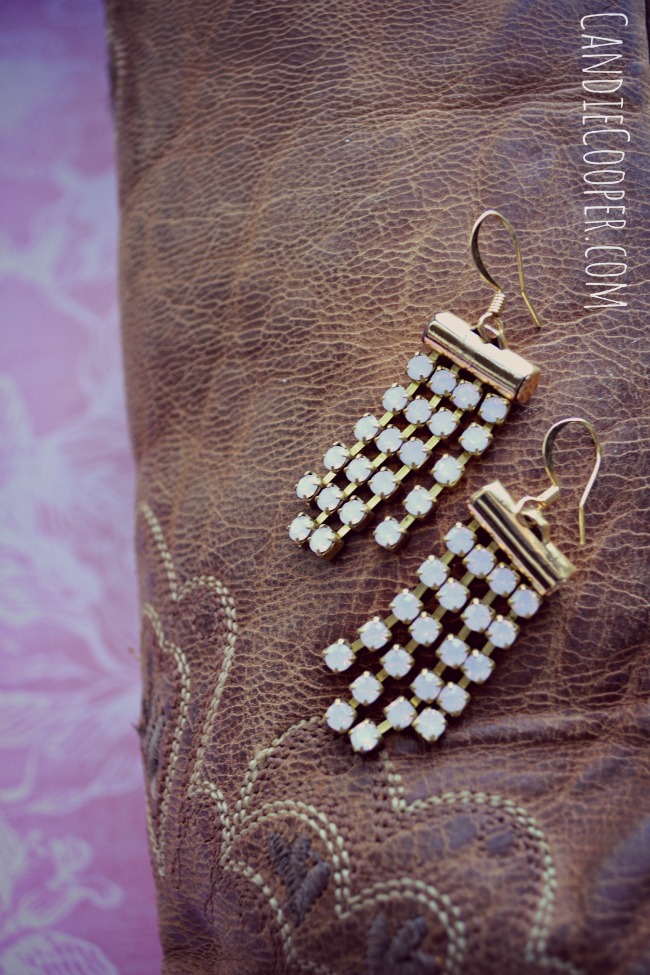
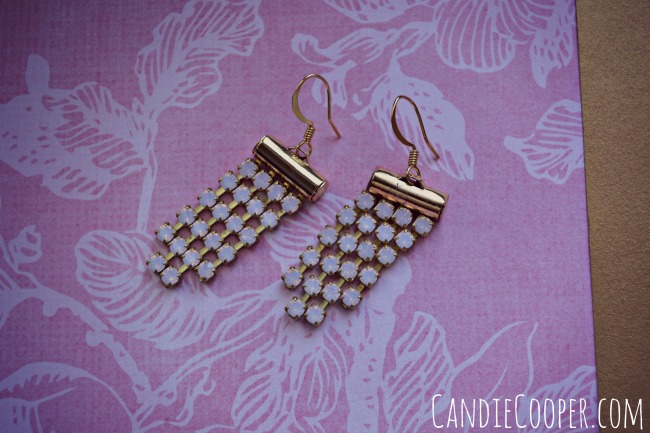
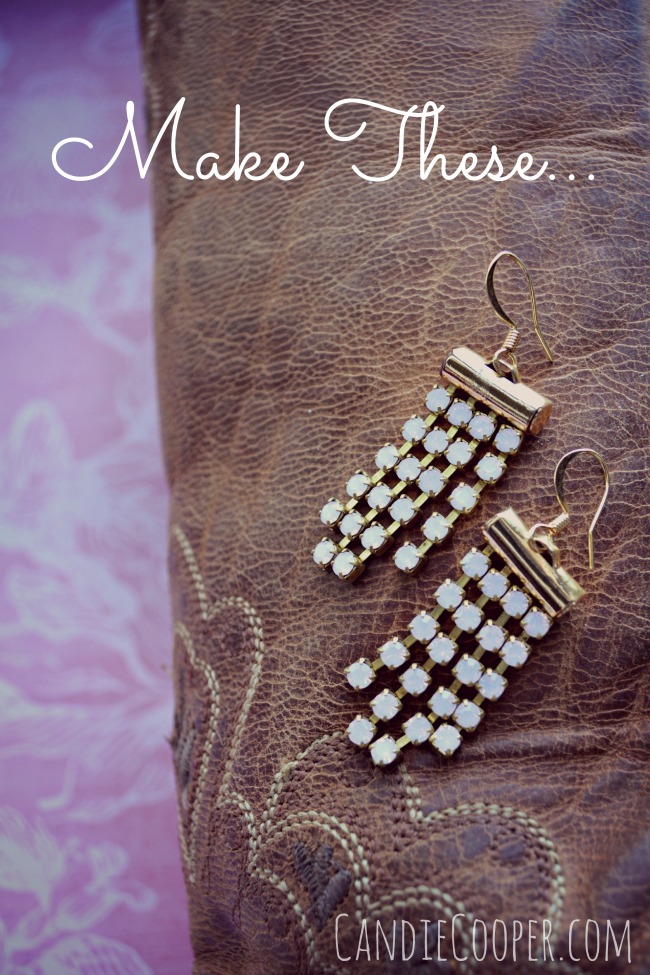
Now about these earrings…  Remember those sparkle statement bracelets I made awhile back?  I made some earrings with the same findings.   SO EASY!  You can whip them up in 5 minutes.  Great for DIY brides and party goers.  This is especially on my brain because I’m off to a bridal shower at noon.DIY Rose Opal Earrings

DIY Sparkle Earrings from @candiecooperMaterials from Jesse James Beads:

TUTORIAL

Rose Opal Chain

1 set 13mm Slide Connectors

Ear Wires

Check out the tutorial bove.  For the earrings, remove the clasp findings from the slide connectors.  Slide in chain and trim to desired length.  Open the ear wire and string the focal piece.