How To Make Macrame’ Bracelets

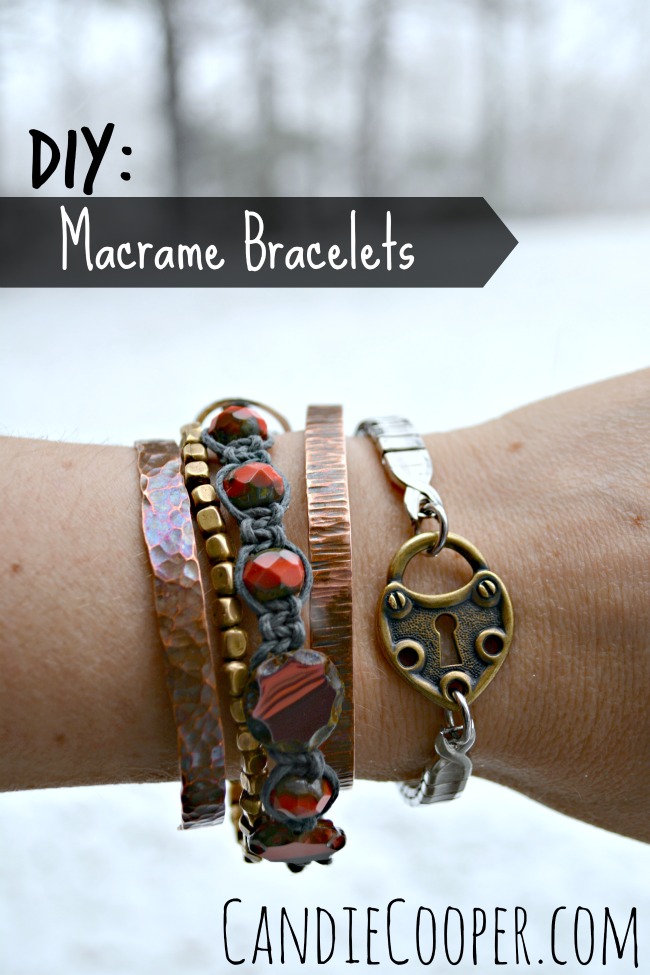
This post brought to you by Beadalon.Beadalon Break 2015-a week full of DIY Jewelry Making  tutorialsThe Spring Beadalon Break 2015 parTAY has officially started, people!  All this week you’ll find fun tutorials on my blog with Beadalon products.  I’m really excited about it.  First up:  Macrame Bracelets!Jewlery Making DIY Macrame Bracelet TutorialMacrame’ hemp jewelry will always have a special place in my heart because I made a ton of it when I was in high school–very early in my jewelry making career.  Picture me thrifting for chunky glass beads, tying the cords to my toe and knotting my heart out.  Cue Dave Matthews band.
Those were the days. (snaps back into reality)

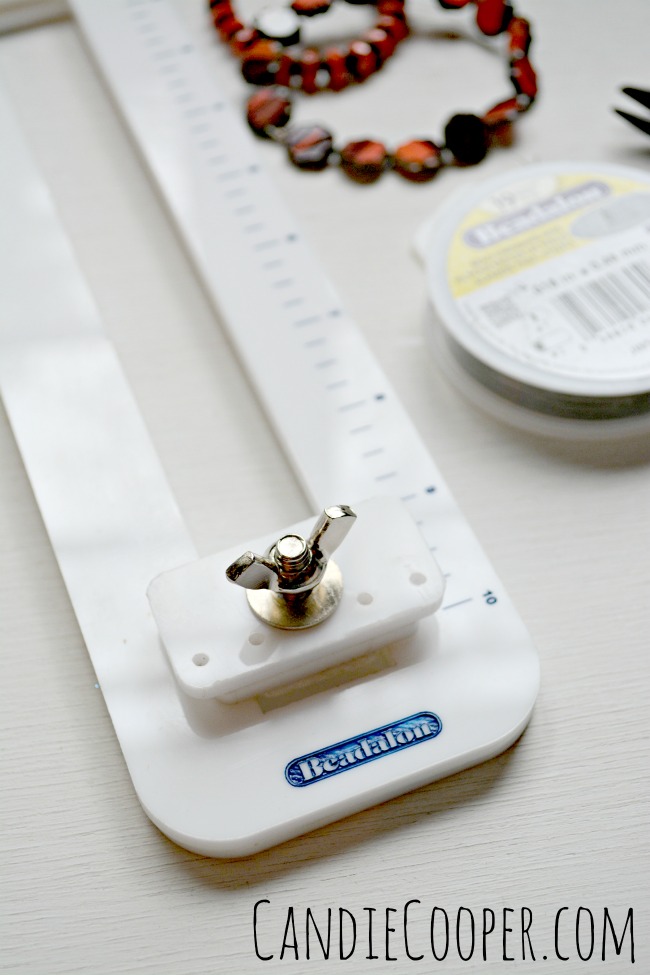
These days, I’m loving the texture that hemp adds to my bracelet stack.  Macrame tying station tool and beading supplies from BeadalonAnd thanks to Beadalon, my not-so-flexible self doesn’t have to secure the cords to my toe, because they made a cool Tying Station.
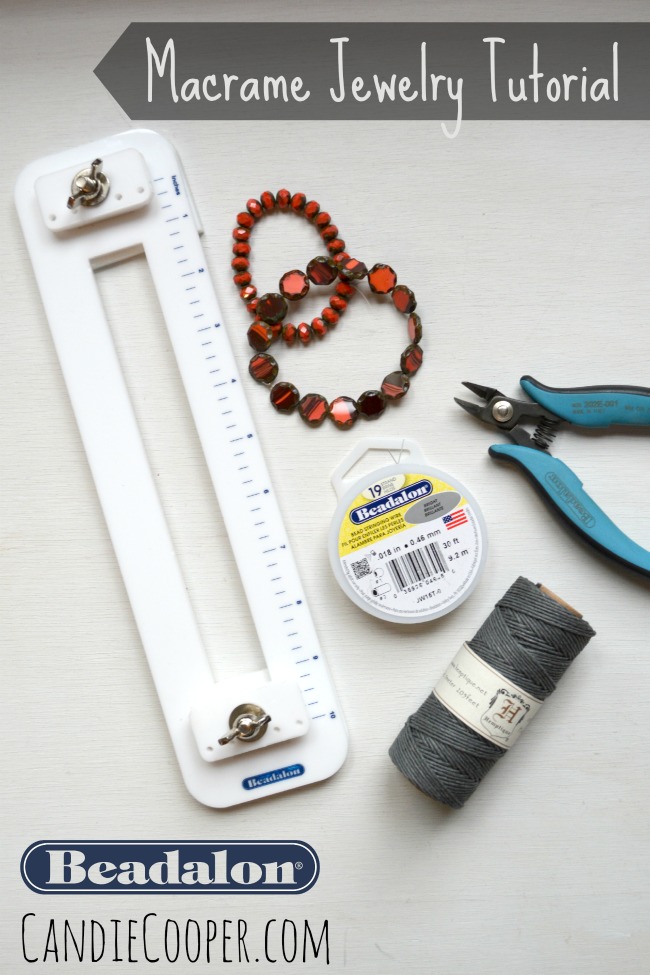
For this bracelet you will need:  the Tying Station, 19 strand beading wire .018 diameter, hemp cord, clasp, crimp beads and beads (I’m using Czech).  AND some wire cutters!Beadalon's tying stationI really love the Tying Station because you can make hemp jewelry without having large holed beads (oh and that I don’t have to sit like a pretzel for hours while I knot).  Here’s how:How to macrame a bracelet with Beadalon's tying stationString the beads for your bracelet onto the beading wire.
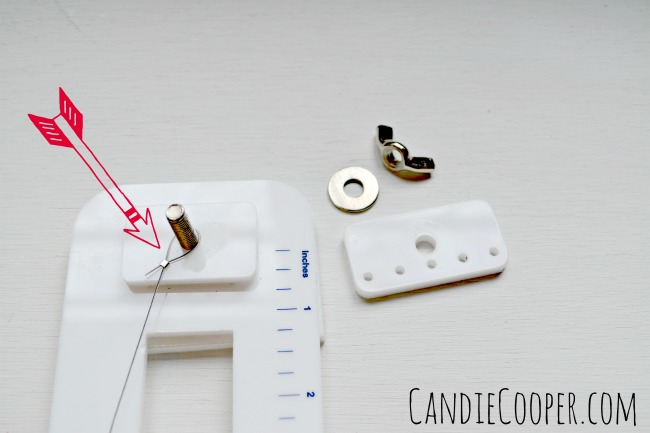
Secure the end of beading wire with a crimp bead onto the top peg of the Beadalon tying station.  The loop needs to be loose so you can slide it off easily.Beadalon Tying StationWrap the opposite end around the bottom, under the plate of the Tying Station and twist the nut down so the cord can’t slide.Step 1 It was when I looked at this with fresh eyes and thought to myself yeeeahhhhhhh.  No.
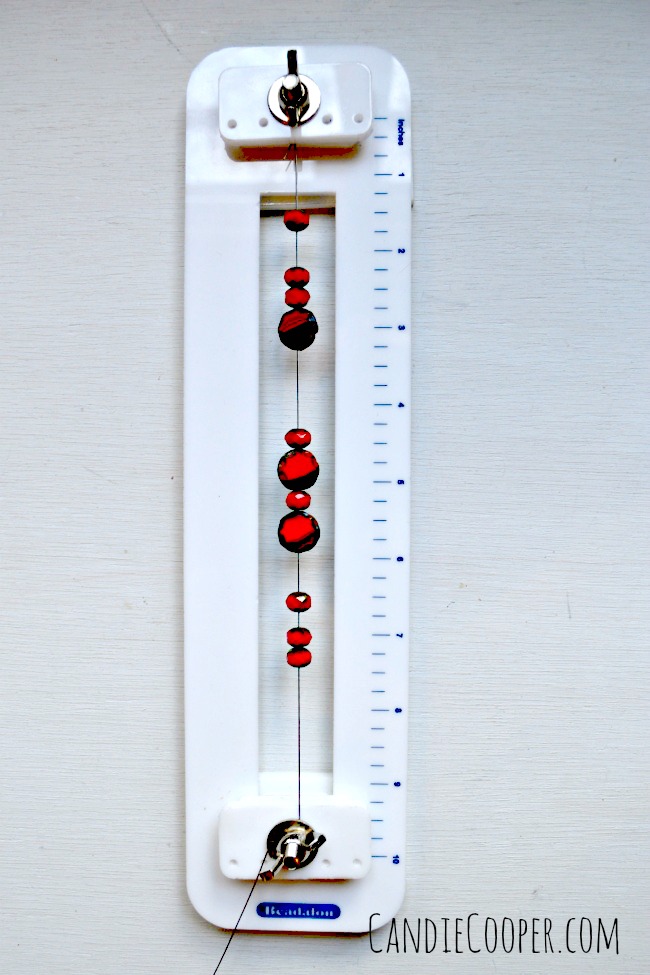
What is going on in this photo??

The Hokie Pokie?

Sorry.

For the hemp:  Cut a yard of cord and tie it to the central wire so that both tails are even length.

And now, I’m going to send you here, if you want to learn this basic square not.
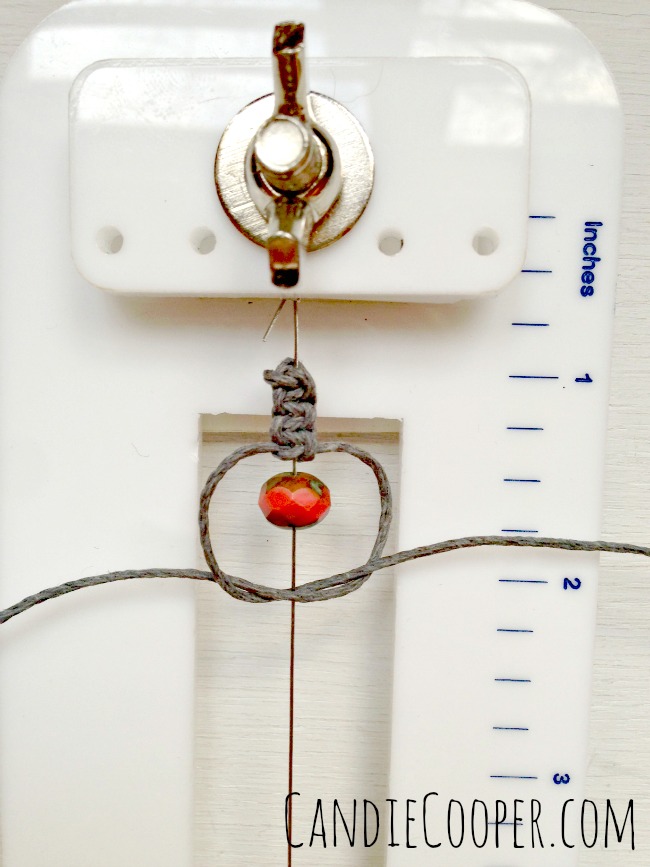
Macrame Jewelry Tutorial with Beadalon Tying Station toolWhy I didn’t make all the knots like this photo?  I have no idea.  BUT!  You get the idea right?  Slide a bead into place and knot around it.
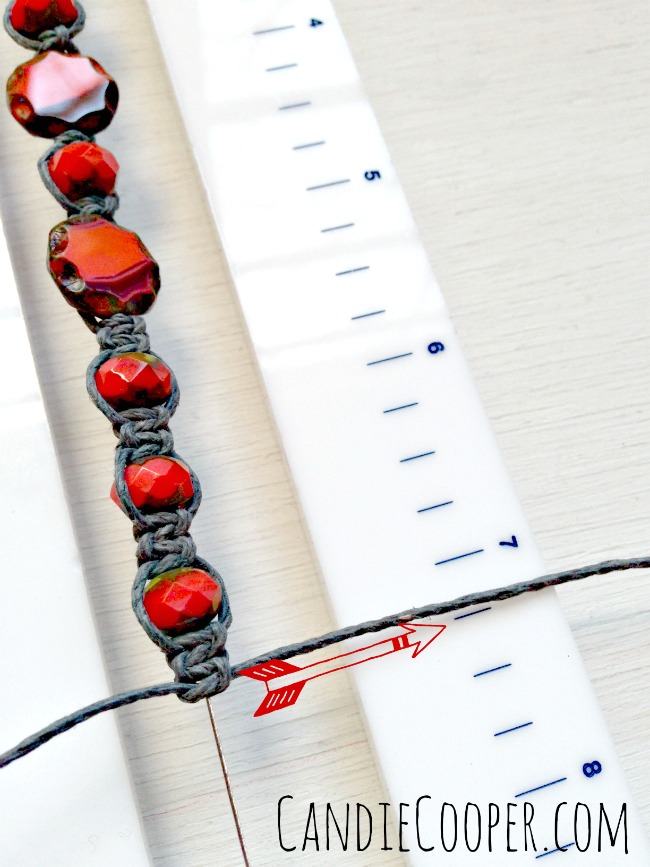
Making an easy bracelet on Beadalon's Tying Station toolThe second reason I love this tools is because of the measurements on the side so you know how long your bracelet will be.

Also, you can also use the tool to create really long wrap around bracelets thanks to the foam plates that hold everything down.

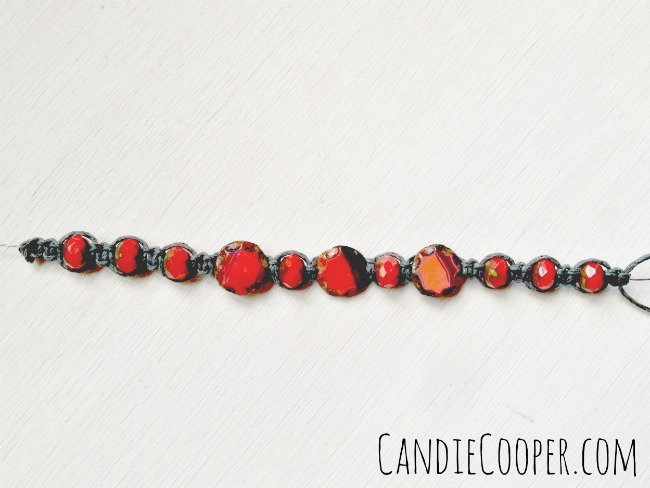
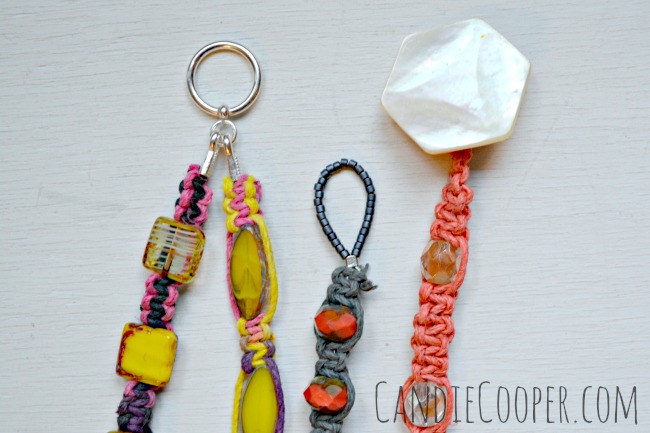
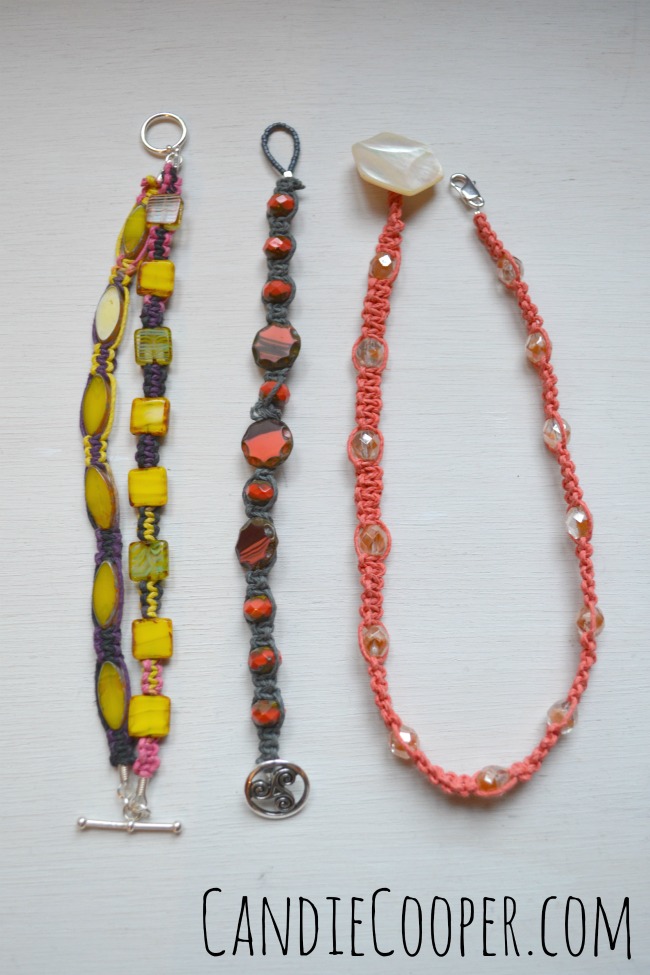
Right now, this bracelet is 7.25″ long which is good if your clasp in 1/2 inch to 3/4″.DIY Macrame JewelryWhen you are finished, slide the bracelet down on the core wire toward the bottom peg.  This gives you a little wire on the end so you can cut away the loop and attach your clasp with crimp beads like normal.  Tie the hemp in a knot and secure it with multi-purpose epoxy.Macrame jewelry finishing ideasHere are a couple clasp ideas  (from L to R): traditional toggle, seed bead loop/button, button/lobster clasp.Macrame JewelryI love all the colors hemp comes in now.  When I was in school we had brown, brown, or brown.How to make macrame jewelryThe peach bracelet on the right is actually a necklace or wrap around bracelet.
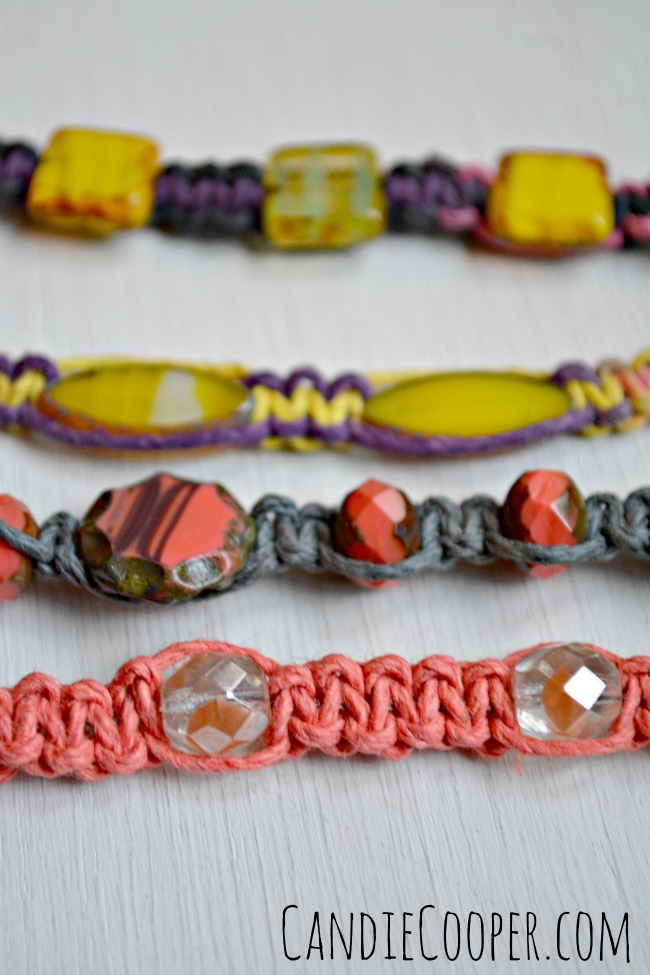
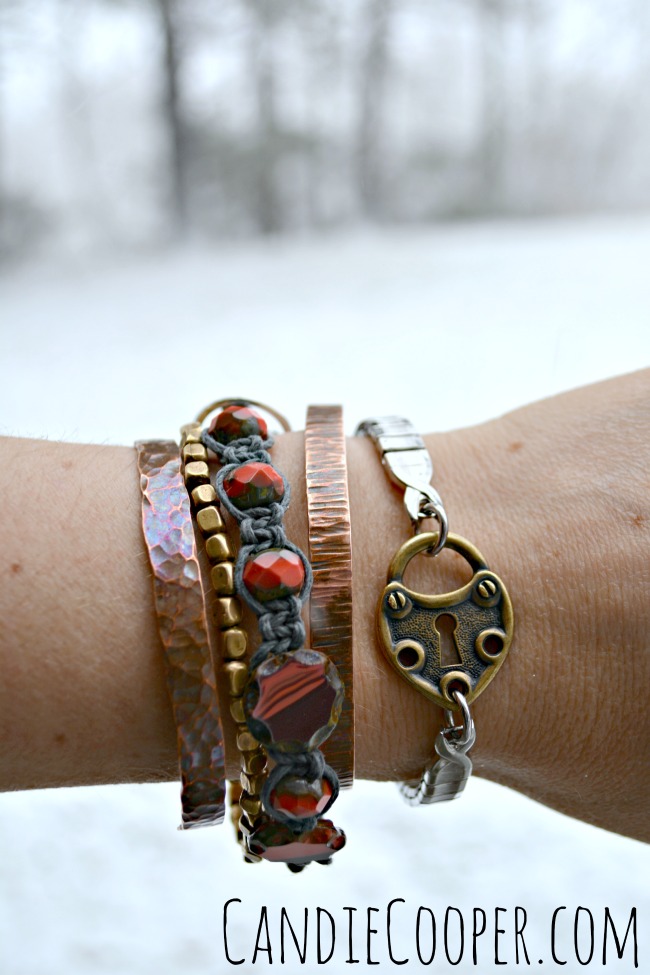
DIY Macrame Bracelet TutorialStack em’ up! and wear em’ proud!

I’ll see you tomorrow with a new tutorial, Beadalon Breakers!
 

More info on the Tying Station on the Beadalon site!

Coachella Jewelry Idea

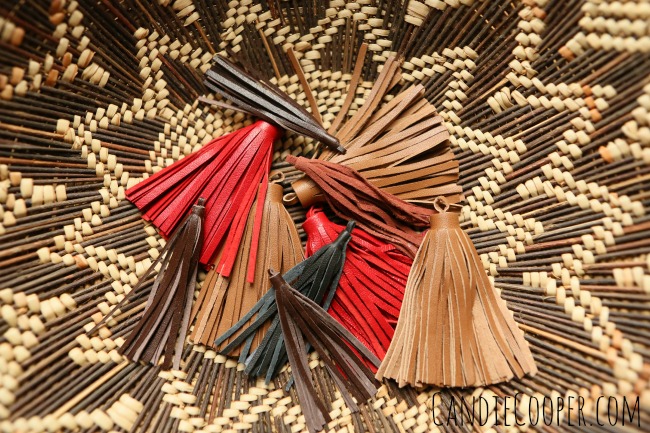
This post brought to you by LeatherCord USA.Painted Leather Leathercord USA Tassels from Candie CooperHave you seen all the Coachella fashion love on Pinterest and in magazines?  Coachella is actually a music festival where you’ll see free spirited fashions galore.

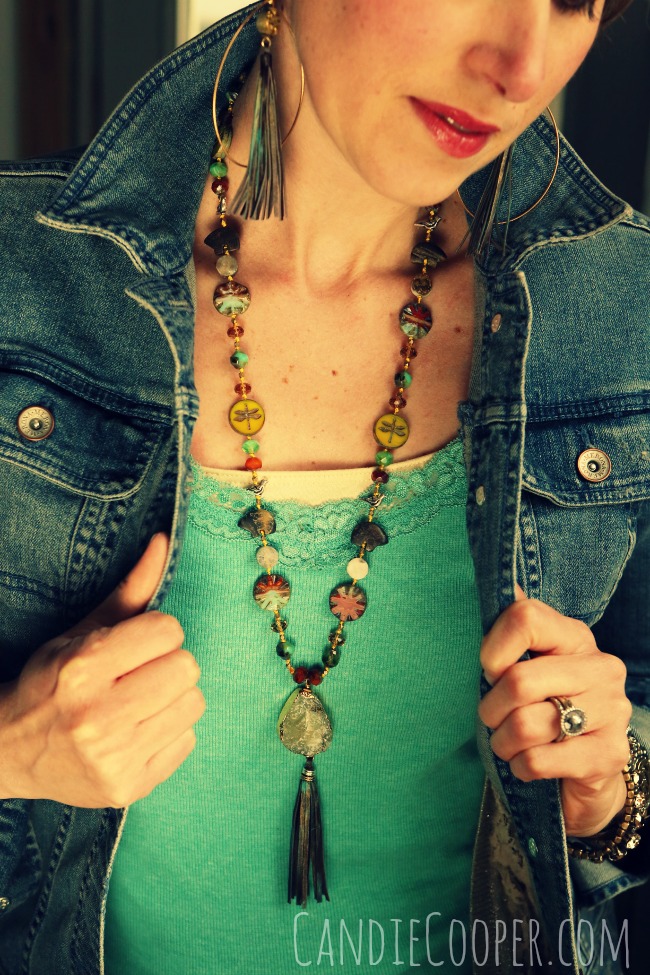
This set started with the knotted strand I had hanging (unfinished) on my bead wall.  I was thrilled when LeatherCord USA sent a batch of their tassels for me to play with.
Leather Cord USA tasselsHere the tassels are in raw form.  They come in suede and nappa finishes and in two sizes.  I opted to play around with the nappa finish which is a little smoother and slicker compared to the suede.
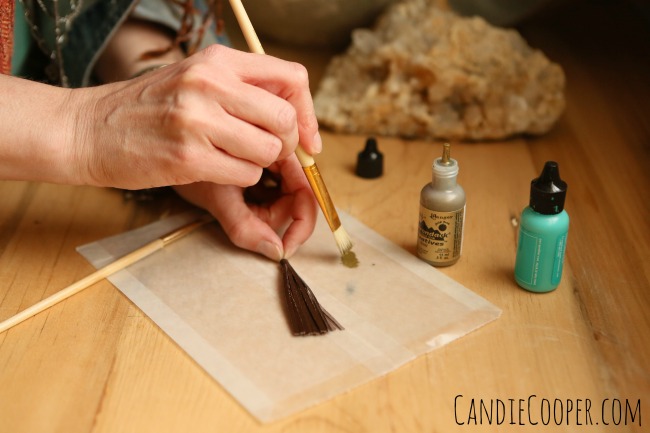
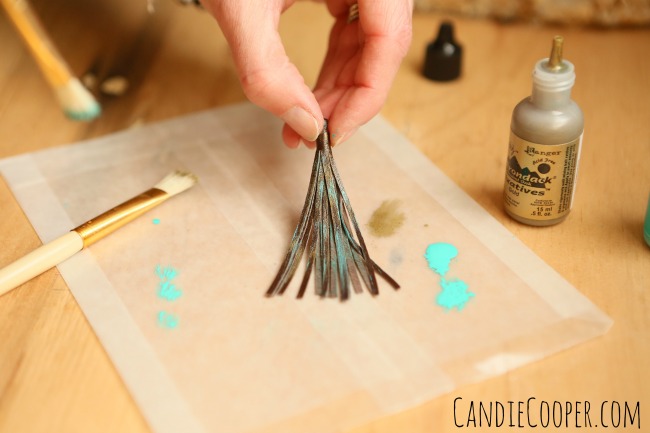
Paint Leathercord USA tasselsTo customize the tassels, I brushed them with Ranger/Vintaj Patina paints.  I used a stiff brush so I got the scratchy lines of paint on the leather.  Start with metallic gold…
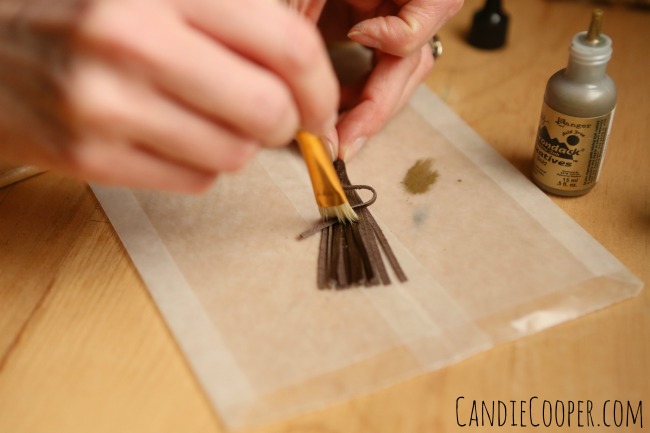
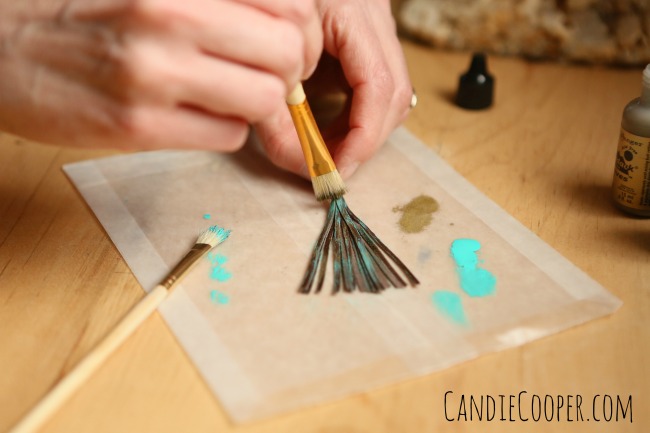
Painting Leather Tassels from CandieCooper.comand brush both sides of the leather.  A little dab of paint will do you!  I like to brush most of it off on the wax paper before touching the leather. Painting Leather with Ranger InksBrush a layer of turquoise (both sides) and end with one last coat of gold.

Finishing with a layer of gold tones down the straight turquoise, making the layers blend and look really good!
Jazz up leather with paint!You can do this treatment on thin or thick tassels.  The wheels are turning for more patina’d tassels!
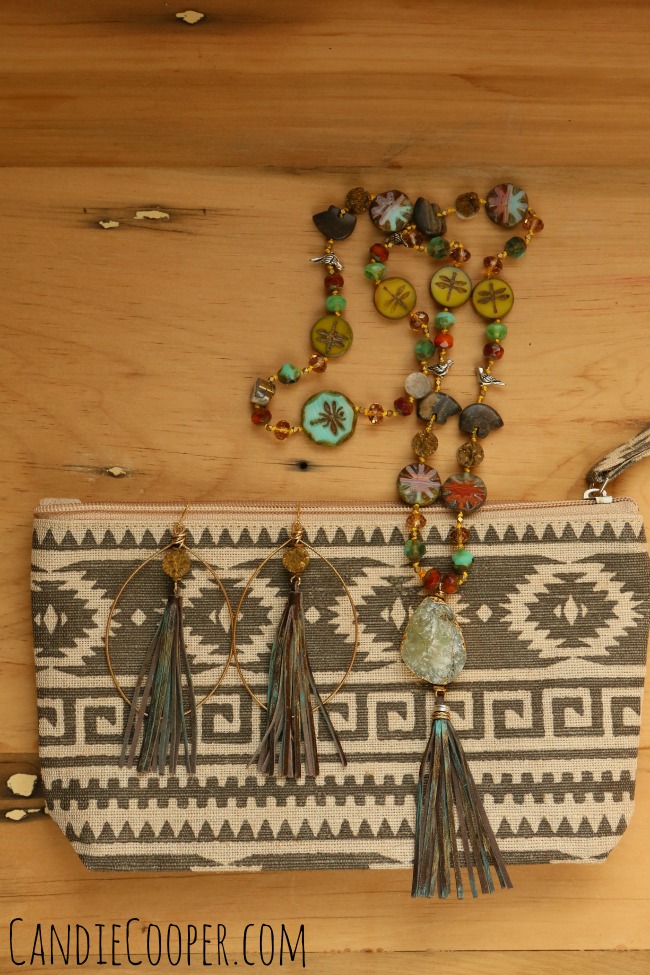
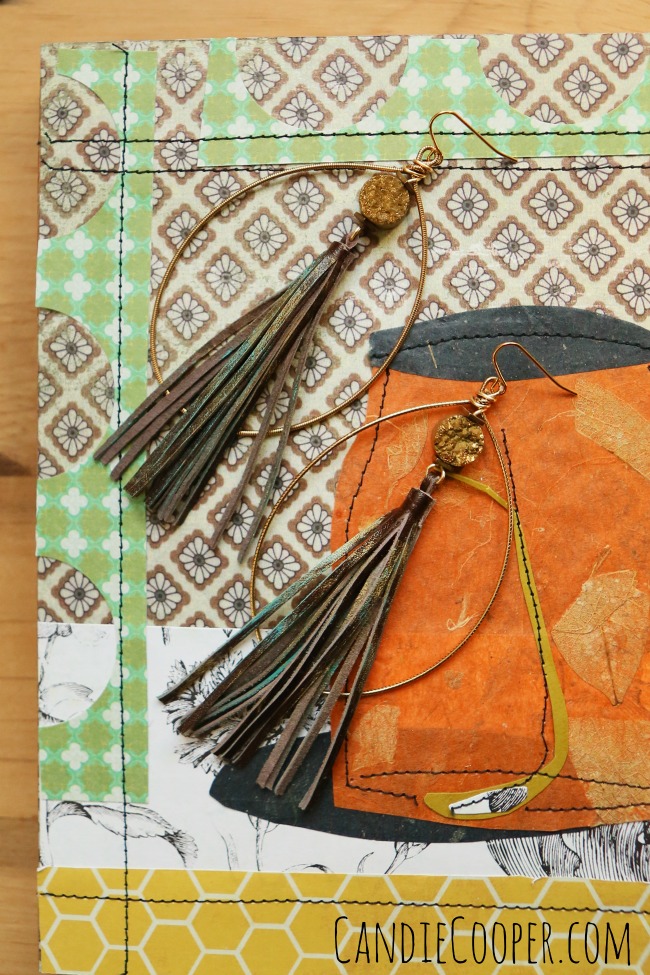
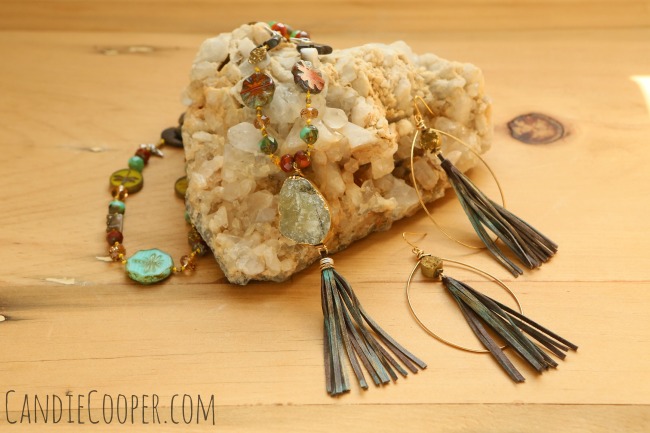
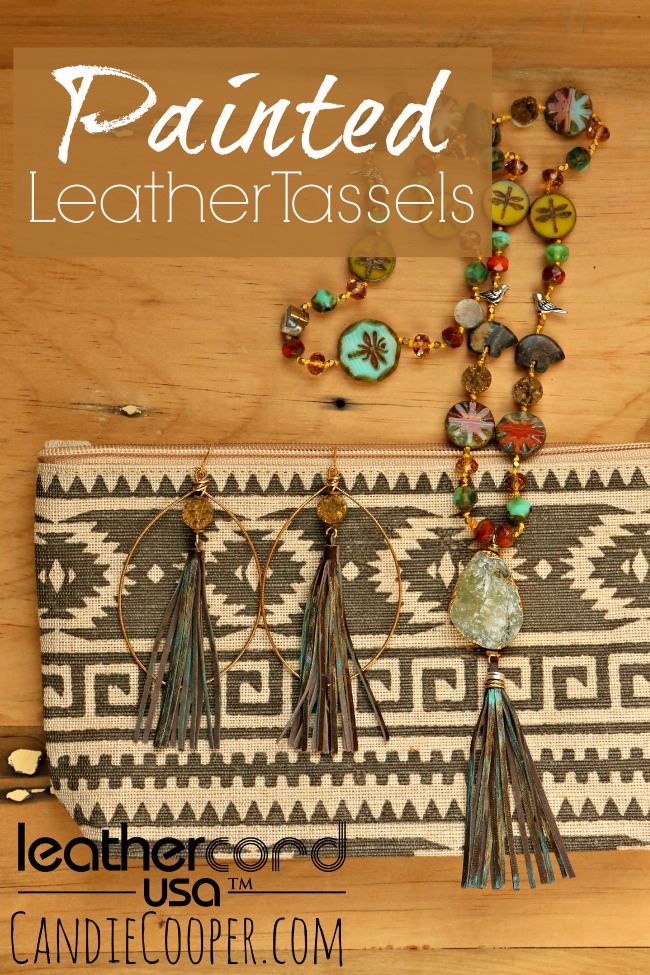
DIY Coachella Inspired JewelryHere’s how I used them in my finished jewelry designs.  I love how the tassels look with the Czech beads!Painted Tassel Earrings-How-to from Candie CooperFor the earrings, I used 20g. Artistic Wire to wrap the druzy bead and tassel to the big hoop (which is from Snapeez).  So fast to make!
LeatherCord USA Tassel Earrings and Necklace from Candie CooperFor the pendant I strung on a big chunky druzy on 20g. wire and finished the ends with loops.  The top of the tassel was wire wrapped with more gold and silver wire.  This gives it a nice finished look.
Coachella Inspired DIY Jewelry from Candie Cooper

You can shop for tassels here!

Now who’s ready for a road trip to the Coachella music fest?!


**To knot your own strand of Czech beads like this—check out this tutorial.


Lemon Orzo Soup Recipe

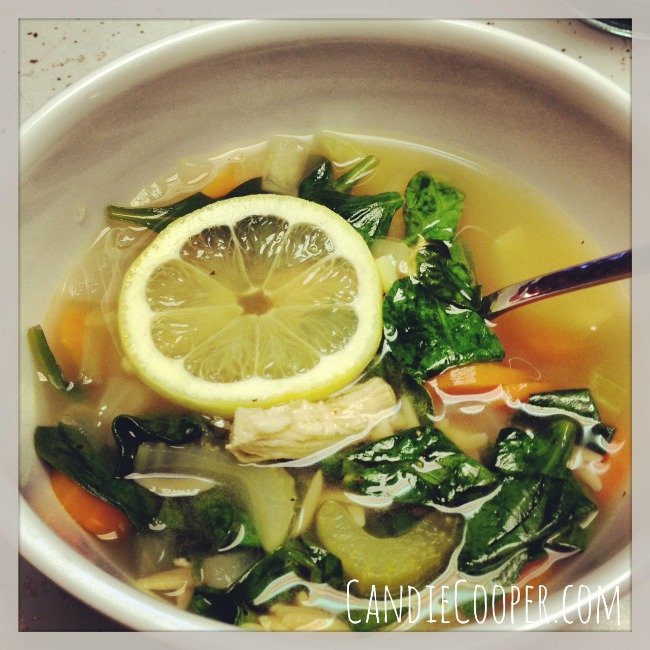
LEMON ORZO SOUP RECIPE LINKIs the cold kicking your booty?  Do you have a sore throat?  Runny nose?  Moi too.

I don’t know why I’ve been saying “moi” instead of me lately, but just go with it.   This phase will pass.  It’s probably because I’ve been trapped inside the past few days.

She’s loosing it, folks!

Anyway, I made this soup last spring and it was delish!  It’s a light but filling soup and I’m ready to make it again so I thought I’d share with you fine people.  You’ll especially love it if you’re a fan of broth-y soups like moi.

Lemon Orzo soup from Allrecipes.com

Bon Appetite, sweet people!

Decorating Valentine Cookies

Sugar Coookie DecoratingWhat a delightful Valentine weekend.  I rode along with my sweet hubs to Ft. Wayne to pick up Valentine sugar cookie decorations on Friday (more on that in a minute).  We also did a little shopping in the evening then attempted to have a romantic dinner, only to give up and go to Chick-Fil-A.  Yep.  We’ve been married for 2 years now and were perfectly content with Chick-Fil-A.

All weekend there were sweet treats and tokens of love.  It was so fun!  Pretty cards.  A package in the mail.  A package left on the doorstep.  Cookie baking.  Heart sprinkles.  A big gift.  A little trinket.  Helium balloons bobbing around.  Fondue.

I loved it all.  Thank you, sweet weekend and everyone who decorated it with thoughtfulness.  Especially to my hubs.  I <3 you.Cookie Decorating

These are the cookies I made Valentine’s morning.  My gram and grandpa came over and watched me decorate them.  It was funny because usually I go to grams for seasonal baking (here’s the recipe we use), but this year with Tucson it didn’t line up.  Yet it did.  I’m thankful the Universe takes care of traditions in it’s own special way.

Are you loving these Russian doll sugar lay-ons?  Do you need some of your own?  Here’s a link to the shop I went to so you can get your own!  Here’s a link to the wafer leaves too.  Make sure you check out all the sugar lay-ons.  There are some super cute ones!  Confession:  I didn’t know there was a technical name for lay-ons until about 2 minutes ago when I looked up the link.  To me, they were sugar crispy things that you put on cupcakes.  I also didn’t know that sugar sprinkles come in multiple sizes.  Turns out, I’m a big fan of sugar crystals–especially metallic gold ones.  I walked around the store with my mouth gaping, like what is this strange and mystical place (special thanks to the man chair they had for my husband).  A whole new world!  I’m excited.

To be continued…

For sure.

Make a Pave Link Necklace

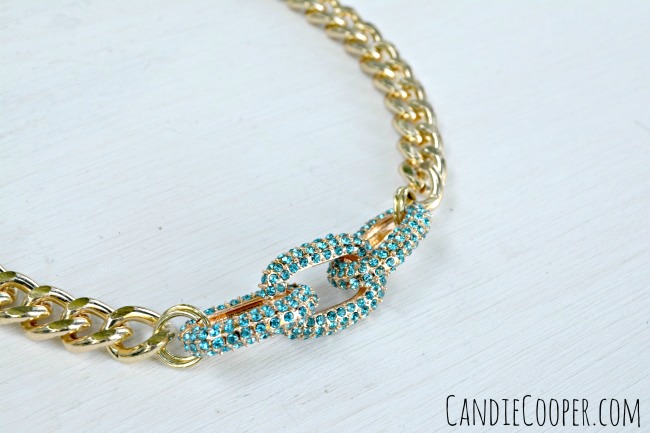
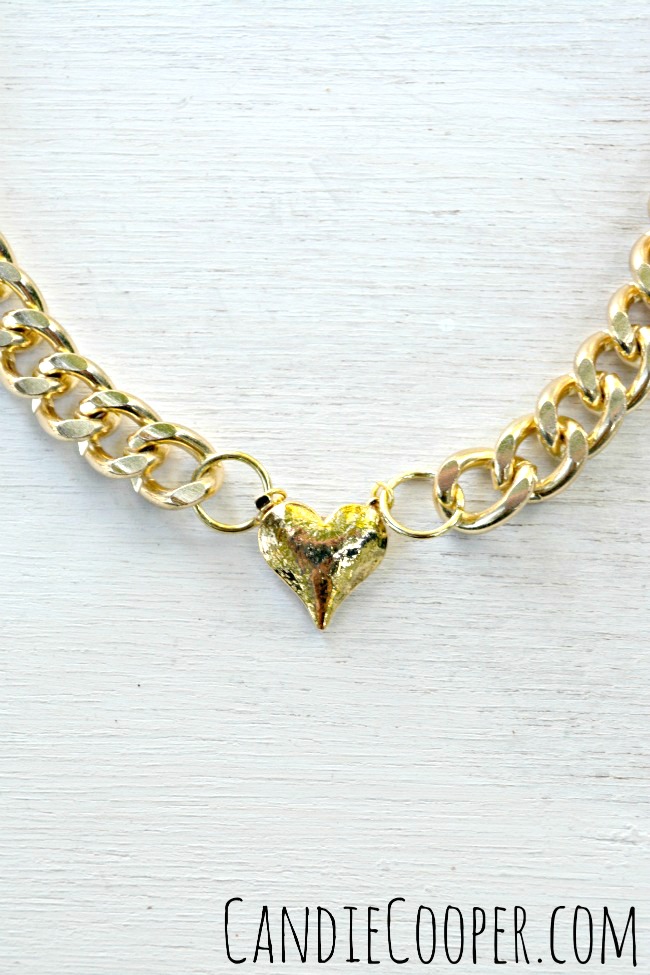
Pave Link Necklace with heart claspDo you need a little instant-craftification?  Stressed out?  Need some sass in your life?  Or maybe a present for your BFF?  I’ve got it.  Right. Here.
Pave Link Necklace I found these cute pave links at Hobby Lobby along with the chain on the sides.  Use two 12mm jump rings to attach the pave link to the sides of chain.  This gives it a stronger and thicker looking connection.
Heart Clasp from BeadalonThis is a clasp I found in my Beadalon stash.  Don’t get attached (no pun intended).  I don’t think they make them anymore, but it never hurts to google “Beadalon Upper Clasp heart.”  You just never know what ebay or etsy might have.  There are thousands of cute clasps you can attach with single jump rings.

Yep.  You’re finished.
Pave Link Necklace with heart claspAhhhh.  How about that!!??

This is a super cute necklace that would be great to layer with other beaded chains .

In other news, I just got back from a work trip that went from Jan. 31st to Feb. 10th.  I worked for Jesse James Beads during the To Bead True Blue show in Tucson.  It was a blast catching up with all my jewelry making friends!!

Needless to say I’m fried though.  Blogging is good for the soul during these times because I can park my booty on the couch with the Hallmark channel on, edit pictures and write.

If you’re on Instagram and Facebook, follow me there to see more updates from shows like this and day to day fun.  My handle is “candiecooper”

Tomorrow afternoon we are heading to Ft. Wayne to pick up some sugar cookie supplies because it’s VALENTINE’s DAY and I have to make sugar cookies.  Have to.  I’ve had this idea to make squirrels holding conversation hearts for a year now.  This is why you should follow me on Instagram because I’ll post pictures of them.  Everyone loves a squirrel sugar cookie.

I’m signing off for the night.  

Sweet. Dreams.


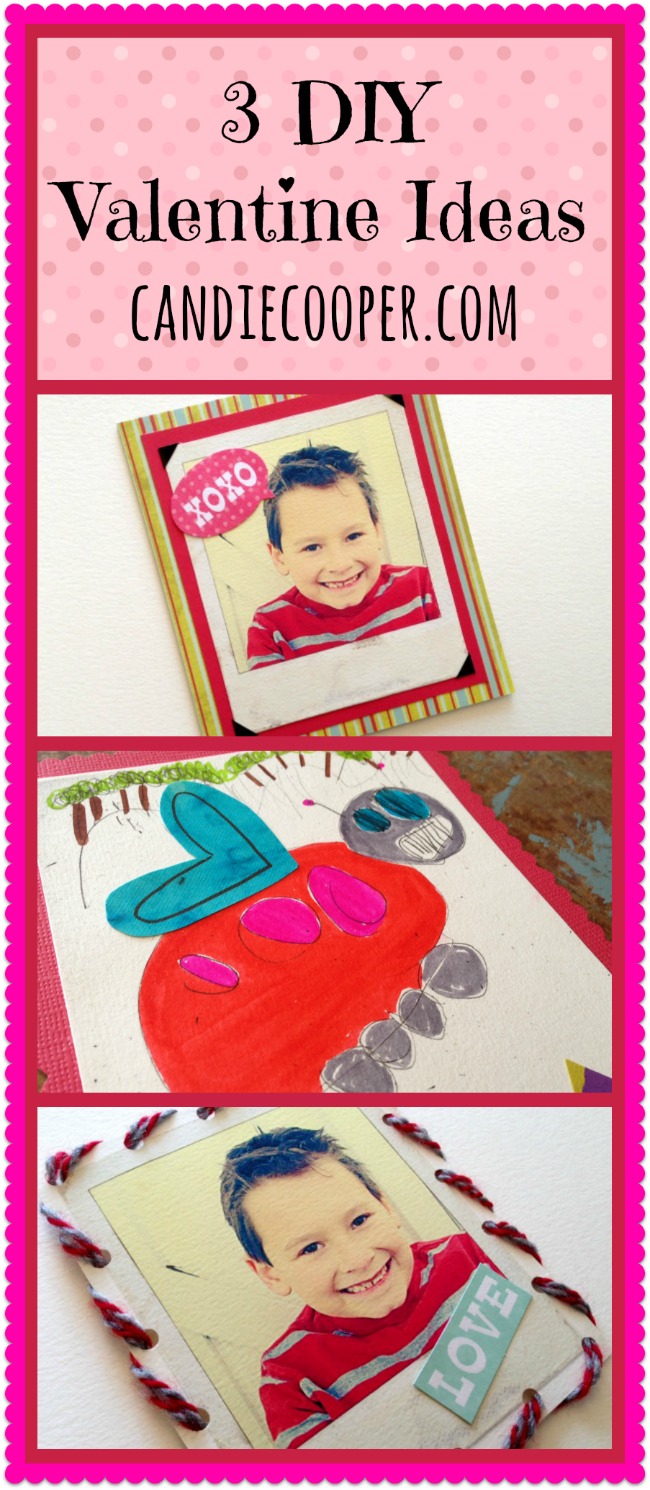
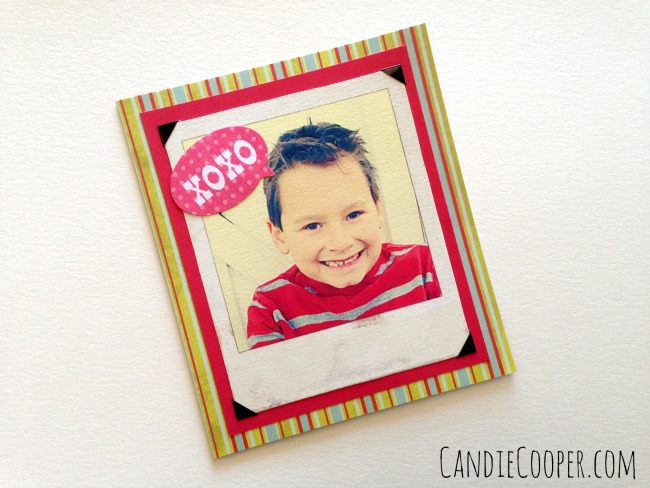
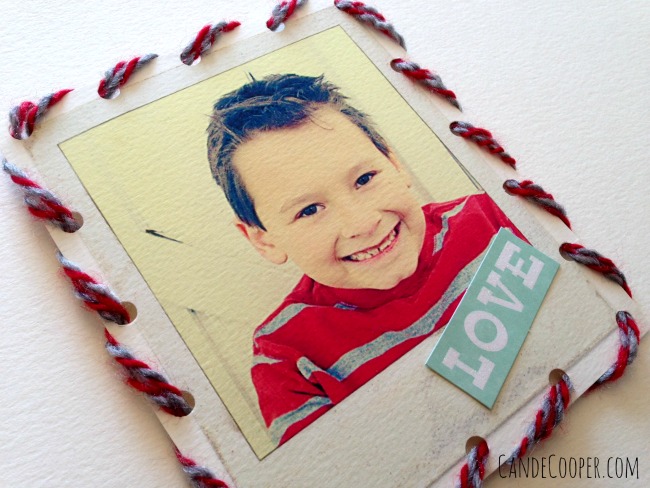
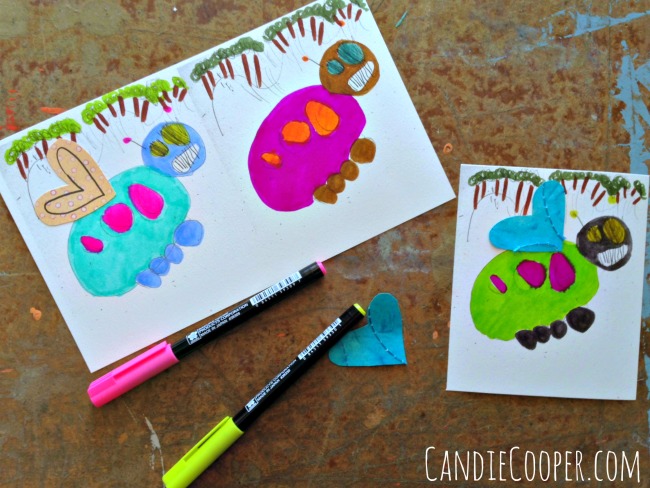
3 DIY Valentine Ideas

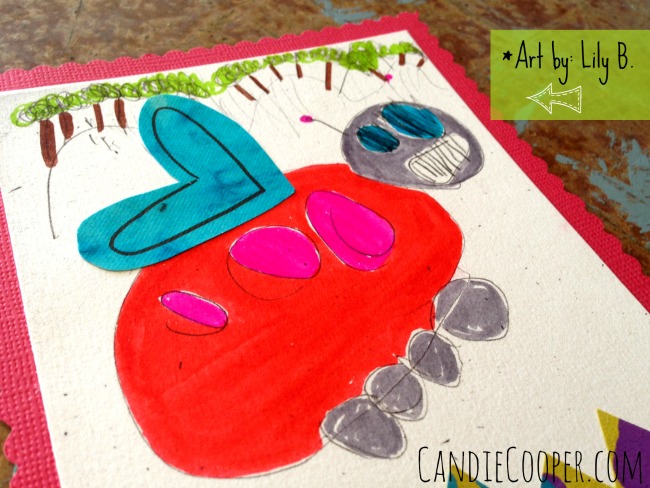
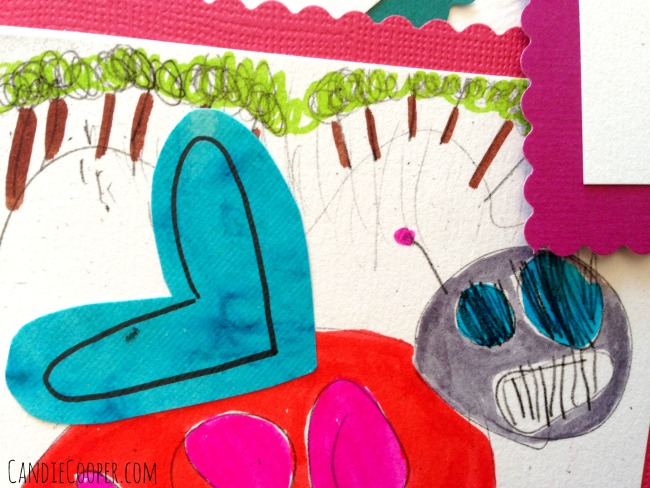
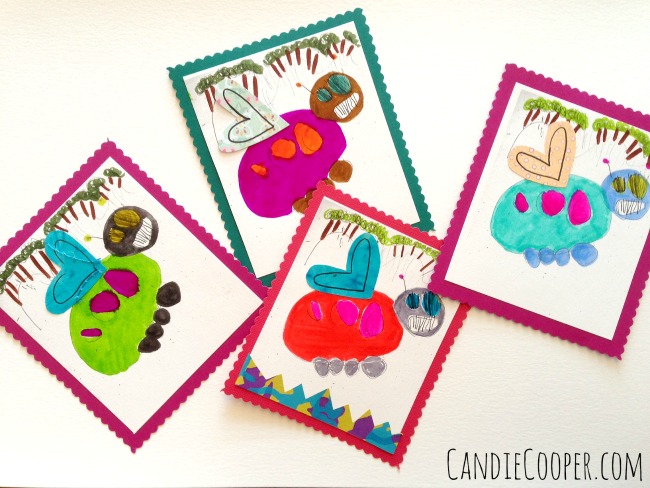
3 DIY Valentine Ideas from @candiecooper.I’ve had this project in my stash for almost two years!  It all started when Canson sent a box of their amazing  printable papers.Canson watercolor paperDefinitely the watercolor paper is my favorite to print on, but they come in all sorts of papers.DIY Valentine idea with Canson paperThe first photo I altered in PicMonkey, adding the Polaroid frame.  It came out distressed like this.  So easy to mount with the Canson photo corners onto scrapbook paper.  Then I added the XOXO embellishment.  Sweet and simple.DIY Valentine with photoSame idea here except this time I punched holes around the edge and laced it with chunky yarn.  Lacing.  This simple stitched border makes my heart flutter in all it’s homemade-ness.  Perfect for grandma!Handmade Valentine's IdeaThe last idea is a fave.  My friend sent some scans of a little bug drawing by her daughter, Lily.  I printed them and colored with Koi watercolor markers from Sakura.DIY Valentines with children's artYour kids would have a blast coloring their own art work (obviously)!Hand drawn valentinesBecause these were intended to be Valentines (and that I love layers and hearts and needed an excuse to add more), these little love bugs got a set of heart wings made from scrapbooking paper.Homemade Valentines IdeaMount them on solid paper and you’re ready to rock, Valentine!

How To Decoupage with Gold Leaf Paint Tutorial

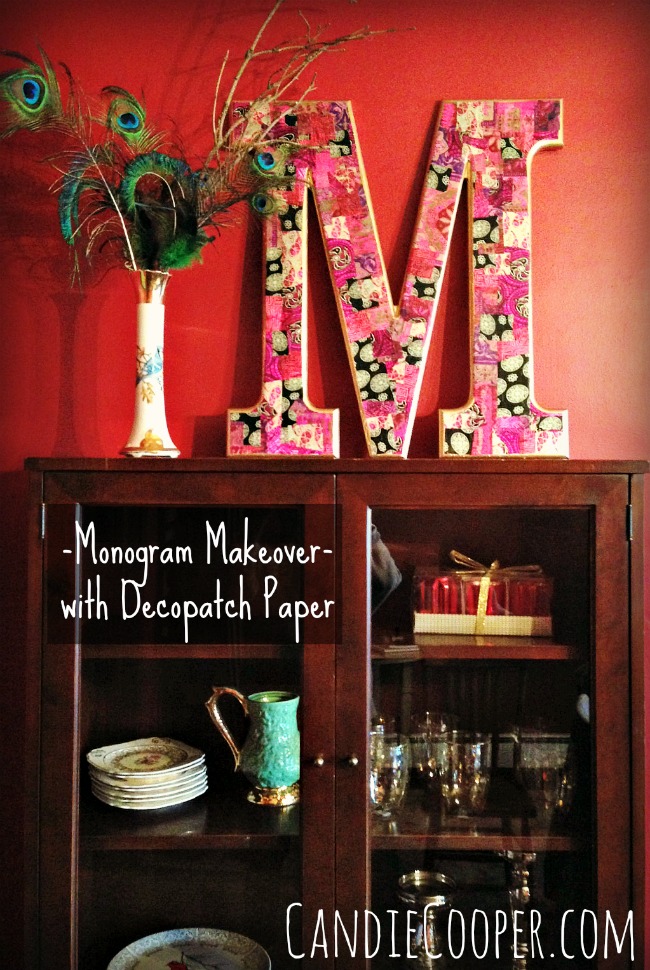
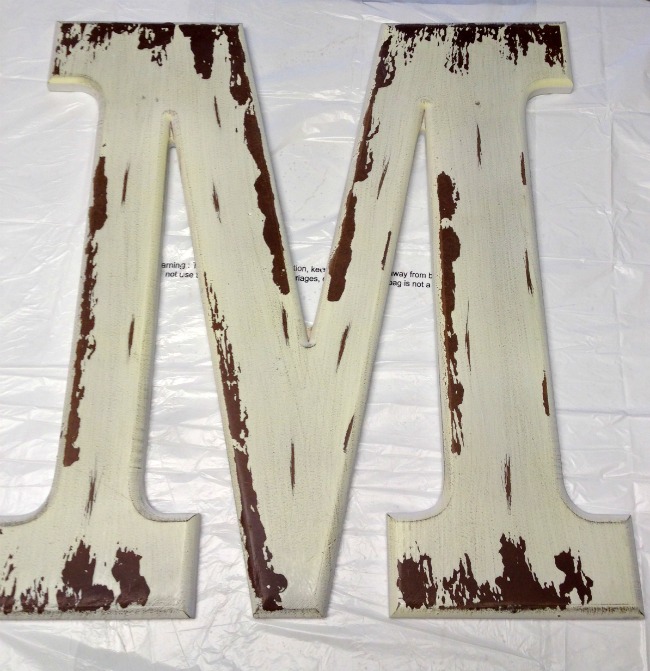
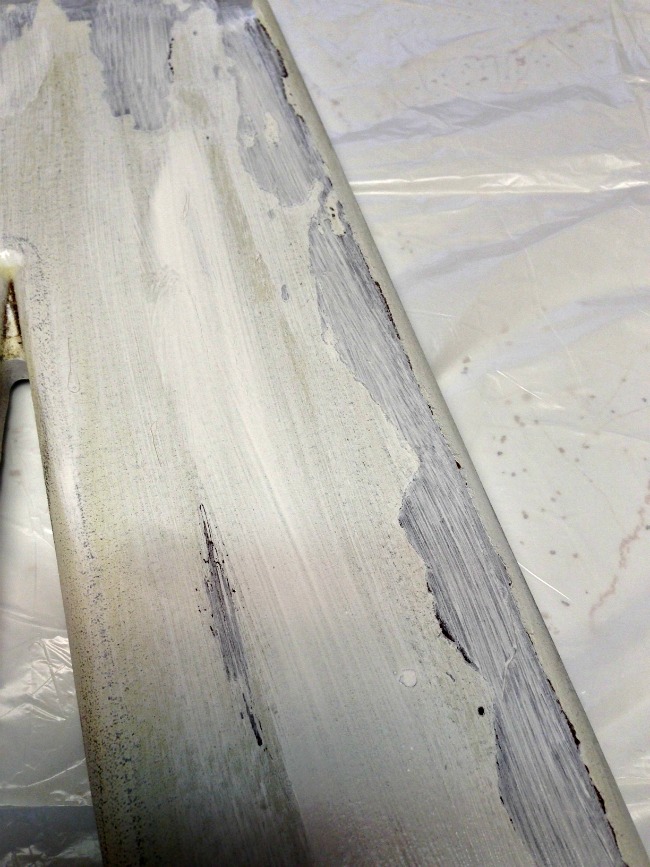
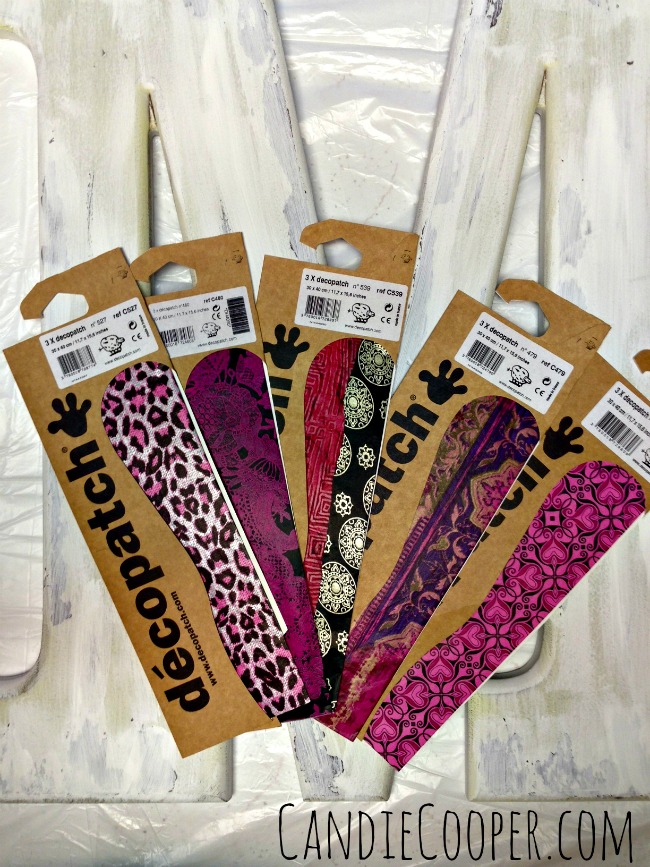
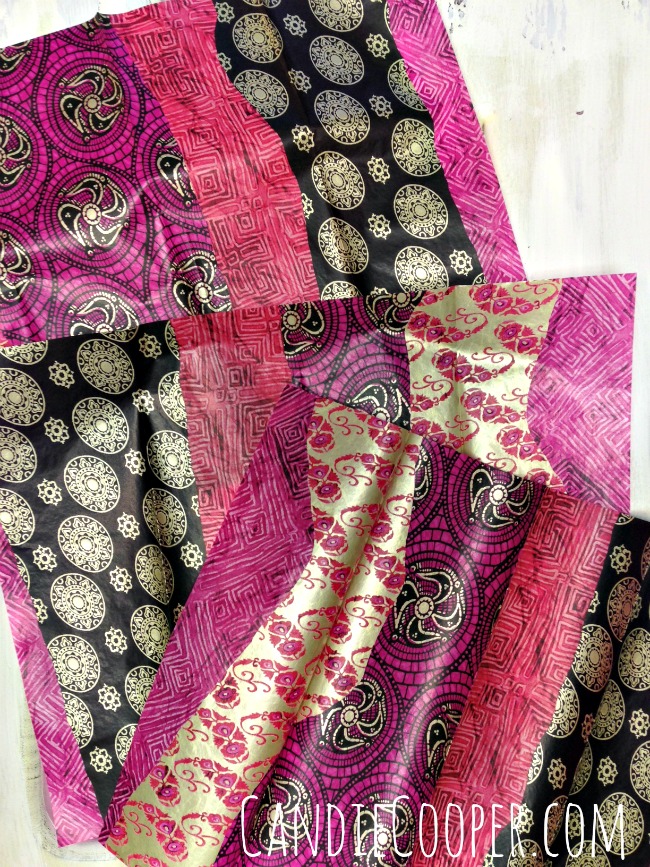
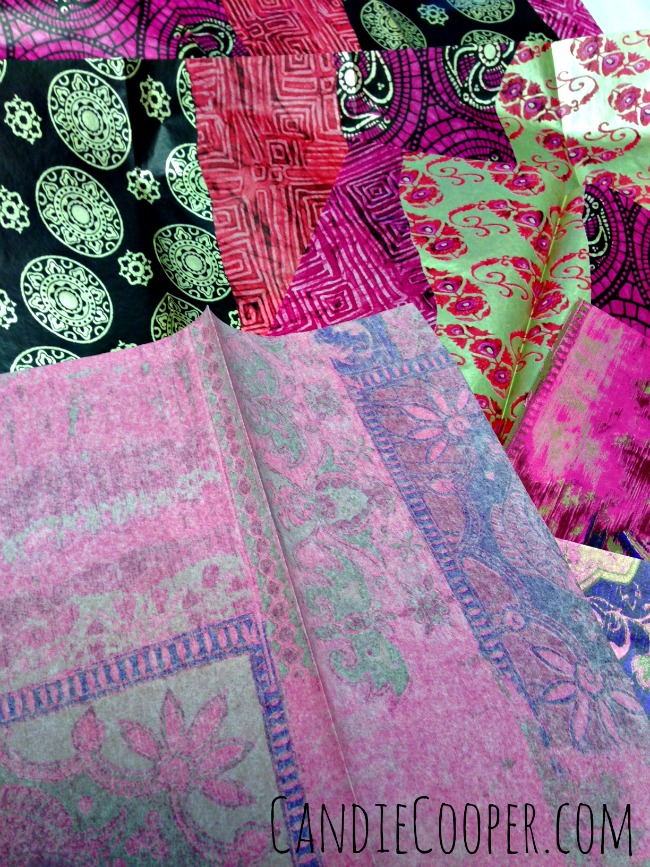
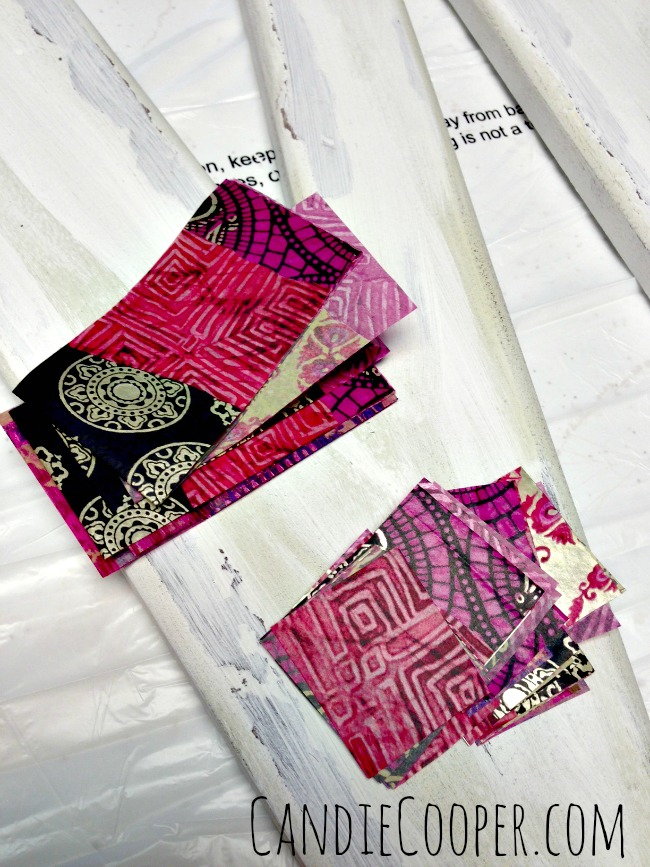
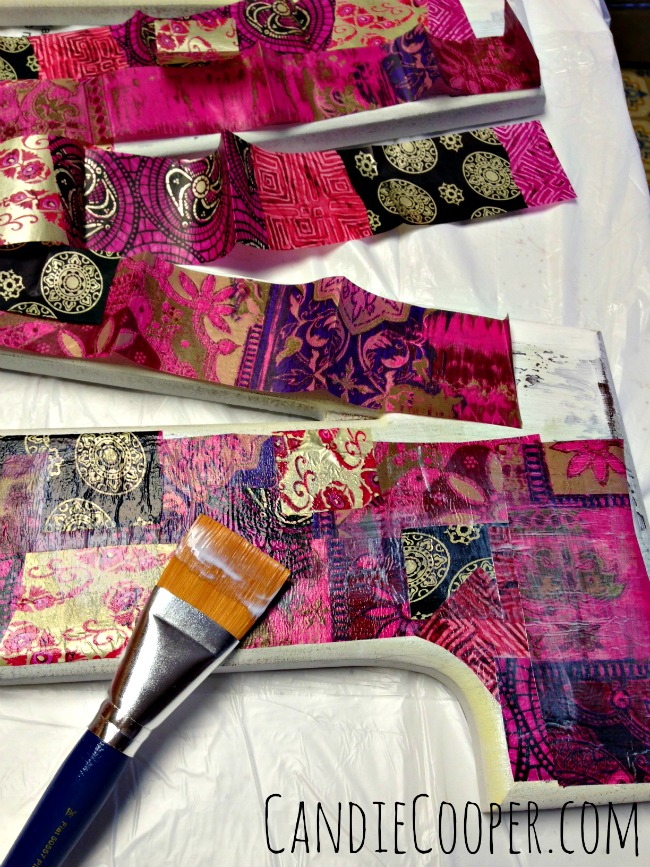
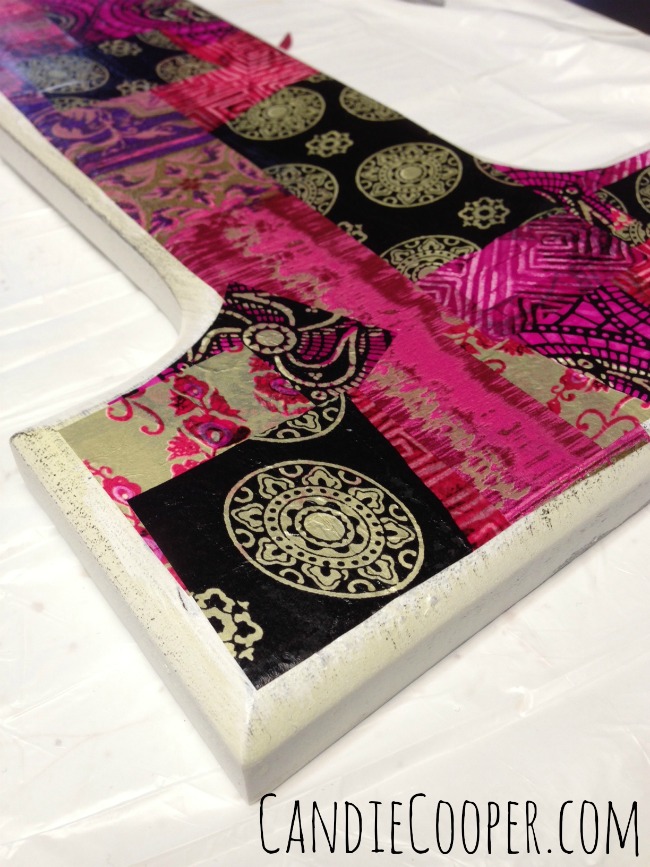
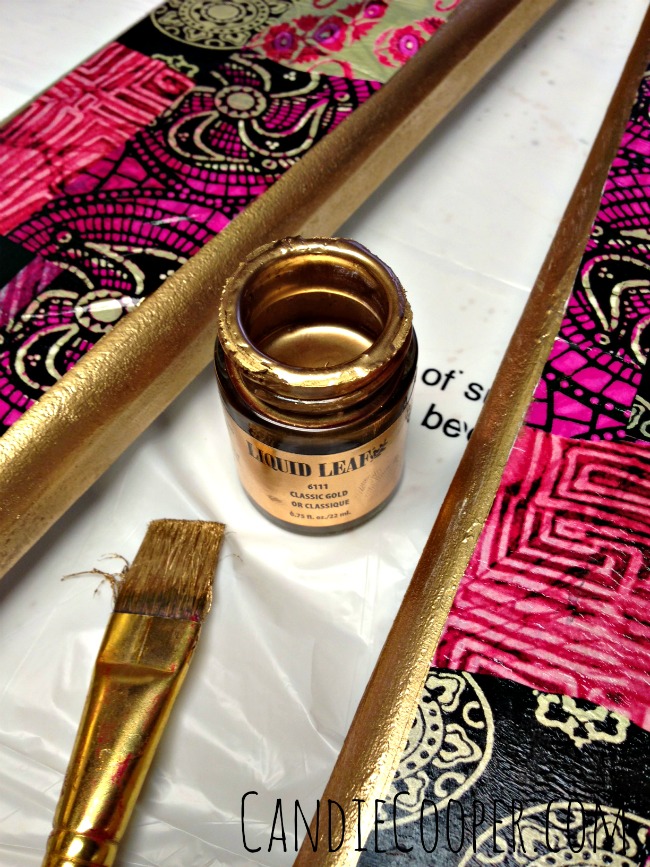
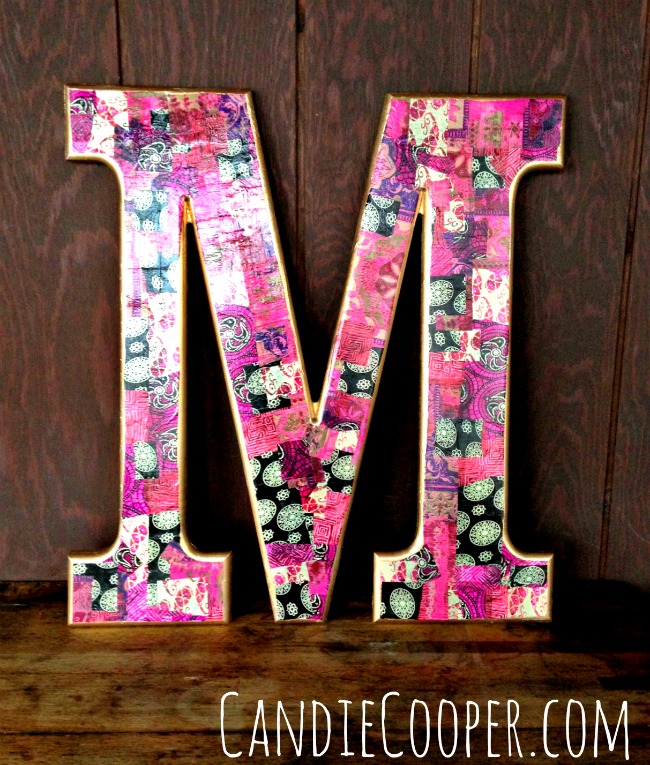
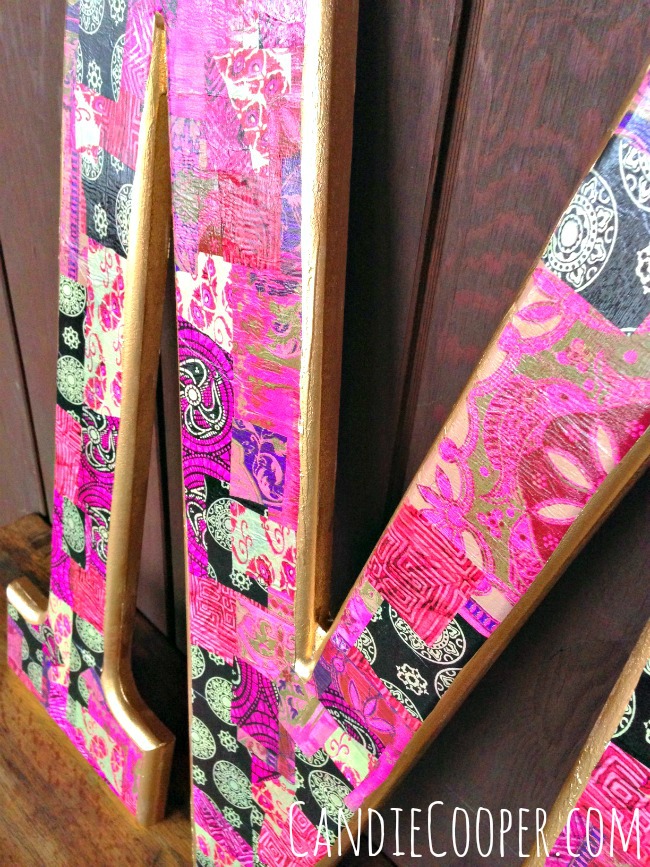
This project is brought to you by Decopatch–fine decoupage papers with a French flair!Monogram Makeover with Decopatch PaperMonograms.  I love them.  My husband found this one at Hobby Lobby on the clearance rack (I love that man) for $15.  He was on an errand for me (I really do love that man!) for a paper mache’ deer head (they didn’t have it) and found this “M” instead. Monogram Makeover ideaShe needed a makeover, don’t you agree?  I’m all for distressed, but….strung out?  No.  They had a ton them left!  I love those big letters covered in Indian patchwork fabric that places like Home Goods and Anthropologie sell (but I can’t afford) so that was my inspiration.Paint white to even out decoupage surfaceFirst, I brushed over the brown areas with a bit of white paint to even out the tone.  I’ve never used the Decopatch papers before and worried that the dark areas might show through.  Now, I’m convinced this step wouldn’t have been necessary.Pretty Decopatch Decoupage PaperThen, I broke out the Decopatch papers.  These are extra special papers that are strong, FLEXIBLE and brightly colored–SUPER for decoupage crafts.  Check out all the colors and patterns here.   So hard to choose just one.Decopatch Paper for making smooth decoupage projectsOne side of the Decopatch paper is shiny and super smooth.Decopatch paper front and backThe reverse has a matte finish, almost like a tooth that grabs the decoupage glue perfectly.  Yes, these are the things that excite me.  Well designed paper.Cut the paper into squares and strips #decopatchOnce I picked out my papers I cut them into strips and squares.  There really was no rhyme or reason to my cutting.  That would have made it “work.”Decoupaging with Decopatch paperI used a decoupage glue like Mod Podge to adhere the papers to the front of the M and sealed them with the same glue.  Also very randomly, mixing and matching with a little layering.  The company describes Decopatch papers as “painting with paper” and I’m going to agree.  It goes on like butter on hot toast!  A little addicting!  When I finished, I was like a decoupage predator looking for innocent pray to be covered in pretty paper.  A craft vampire of sorts.Decoupaging with Decopatch paper detailOnce the decoupage glue was dry I decided to hit the edges with liquid gold leaf paint.Liquid Gold Leaf PaintI love this paint.  You’ll need mineral spirits to clean it up, but so worth it.  This stuff brought out the gold in the papers and really framed up my M beautifully.  It’s also a little potent on smell–so take good care.  We don’t need any crafters high on liquid leaf paint.Decoupage Craft Idea from Candie Cooper.comLook how smooooth!!
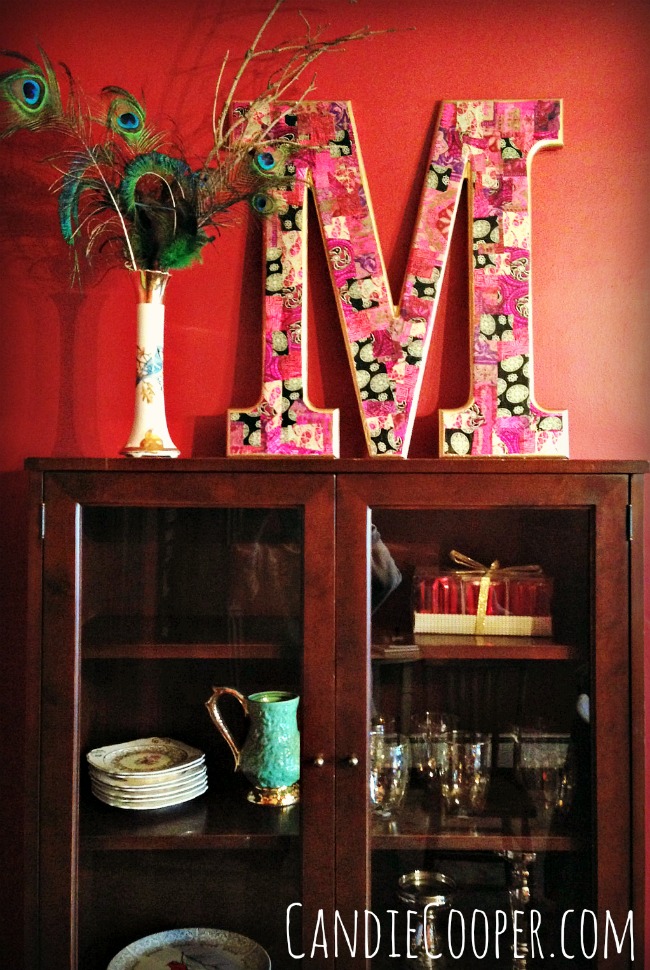
Decopatch Decoupage PaperI only used two papers because one set had tons of different patterns included on it.  All in all this project took about an hour to complete.  Saaanap!Decoupage Letter Idea with Decopatch PaperThere she is!  My decoupage glue was the gloss version so it made it a little tricky to photograph.  Blinded by the decoupage light already.Decoupage CraftingPink and red are some of my favorite go-to colors.  Monogram Home Decor Idea with Decopatch Paper

I’ve propped it on top of this little cabinet in our dining room.  My main new year’s resolution for this year is to clear out clutter and keep beautifying our home.

Now I need to re-work the inside contents of the cabinet.

Brick by brick.

Candie

Being Brave and Loving Life

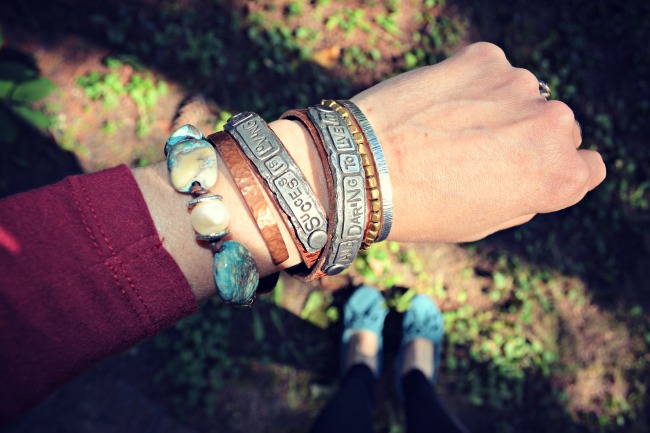
Candie Cooper Jewelry“Success is Loving Life and Daring to Live It”

I’ve worn this bracelet a ton since I made it in June.  This picture was taken in the fall and it has made me pause and think tonight—kind of like reading an old journal entry.  I remember loving that my shoes matched my turquoise mocs.  Surface, I know.  Deeper, I think about why that bracelet resonated/resonates with me.  As someone who has dealt with her share of anxiety, I’m no stranger to making a decision based on fear or worrying myself sick.  This is not success.  Not at all.  I find when you’re going through transitions, sometimes it helps to put a bracelet on that reminds you to grab the bull by the horns.  Be brave.  It works for me.  I want to live life fully.  Sometimes I get too caught up in my own head and looking at this quote snaps me out of it.  Just another one of the many things I love about jewelry…

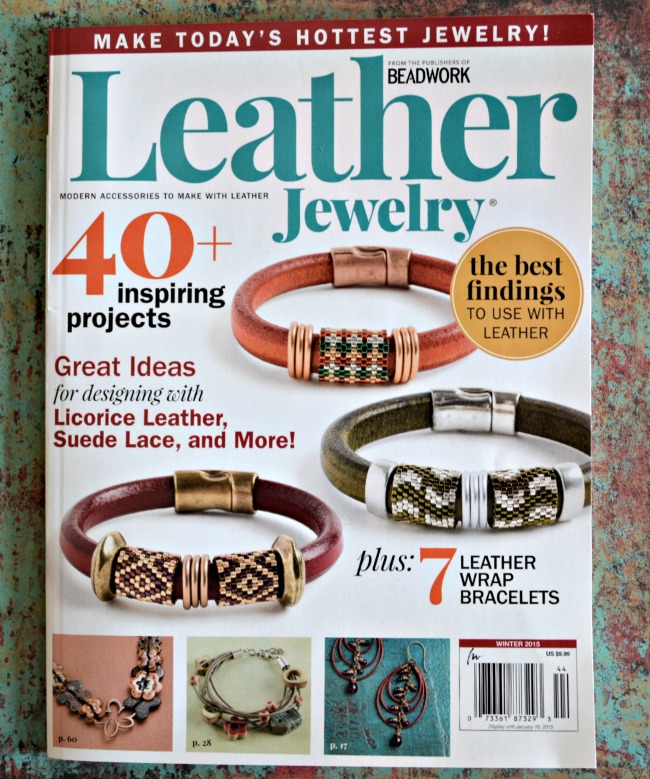
Featured in Leather Jewelry Magazine

How to Make Leather Jewelry from Interweave PressThanks Interweave Press for featuring one of my designs in your Leather Jewelry magazine!

XOXO.

Candie

Valentine’s Box Idea

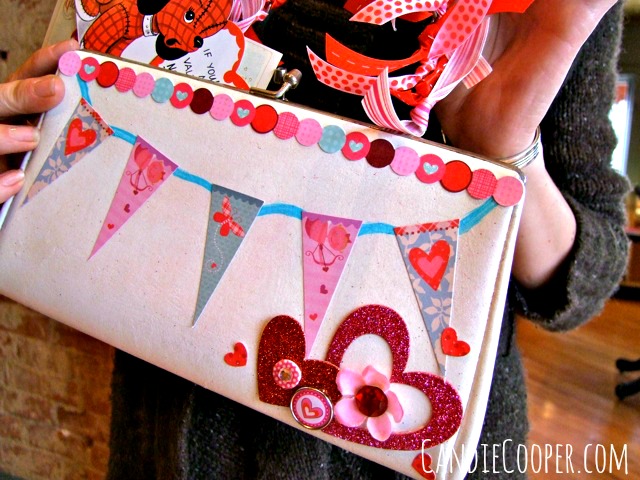
Valentine Mailbox Idea from @candiecooperValentine’s day is coming!  I was picking up photos the other day at the drugstore and came to a screeching halt when I looked up to see the wall of valentine treats.  My heart fluttered.  Not gonna lie.  Heart shaped chocolate boxes, tacky silk roses, boxes of valentines and conversation hearts.  Oh. be. still.

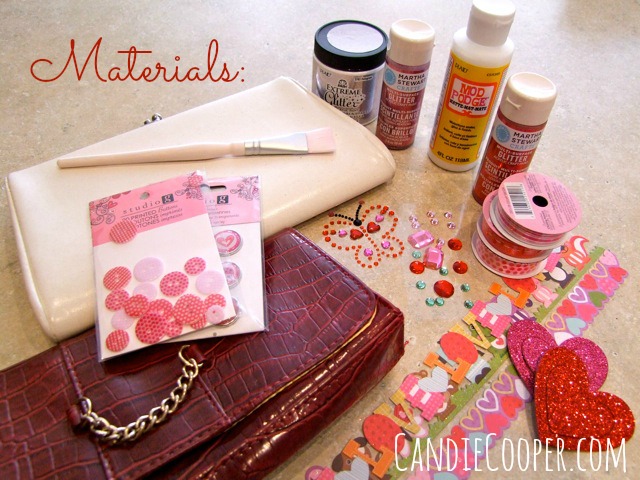
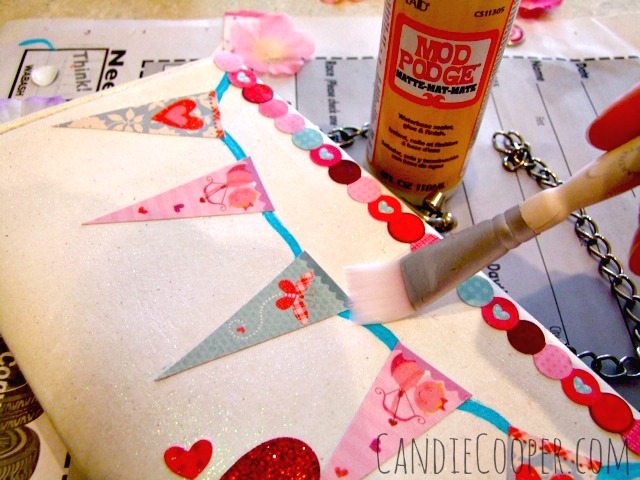
This is a project I made a couple years back and I thought I’d share.  It’s a valentine mailbox using a vintage purse.  Something my little self would have loved to collect valentines in.Valentine's Box IdeaIt doesn’t take much:  a purse, some embellishments, ribbon and Mod Podge.  The paint is pretty optional.  If you’re a craft supply hoarder like me, you’ve got the stash ready!Valentines Box with Mod PodgeMod Podge your paper pieces on.  Hot glue til’ ya drop the rest.Valentine's Purse MailboxTie short pieces of ribbon onto the handle and away you go!