How to Use the Conetastic Inverted Attachments

This post brought to you by BEADALON!Wire Working-Sandra Lupo's Conetastic Tool for Jewelry MakingAre you into wire working?  Then you need to know Sandra Lupo!
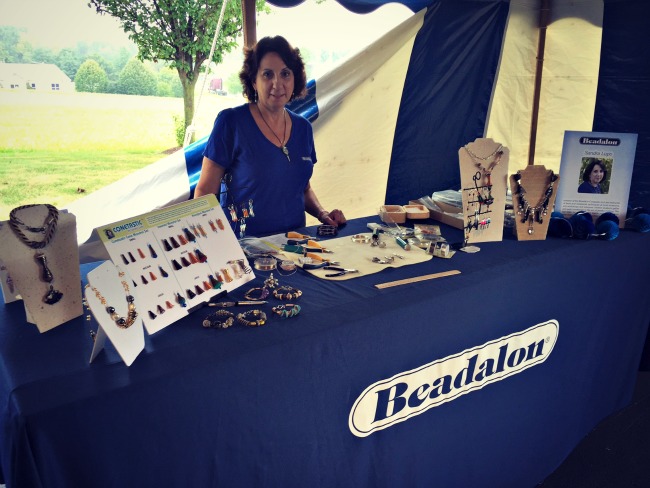
Sandra Lupo demoing her Conetastic tool at the Beadalon Tent SaleShe is the inventor of the Conetastic tool for Beadalon.  The Conetastic is a fun tool that makes wrapping wire into well, a cone shape!  I’ve gotten to know Sandra over the last year and she is one of the most delightful people in the DIY jewelry making industry.  That makes using her tool that much nicer, doesn’t it?Conetastic tool invertedFor the tent sale, Sandra showed off her new Inverted Conetastic attachment pieces.  Now you can make two bead cones at once OR a cool bead piece like she did for this tutorial.  Remember those Steampunk earrings I made about a year ago?  Those were made with Conetastic 1.0 attachments.
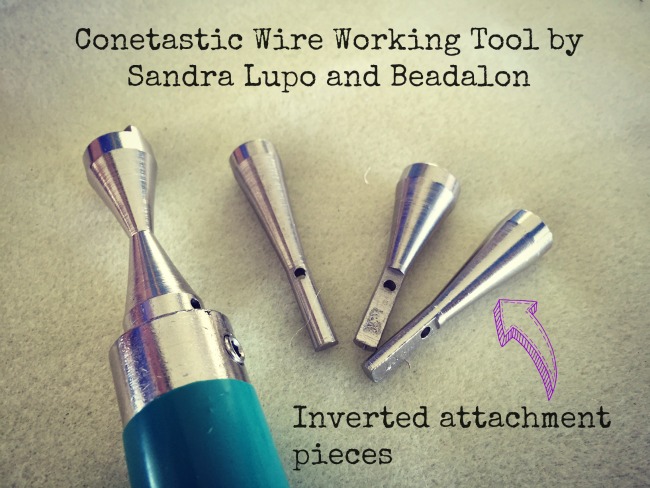
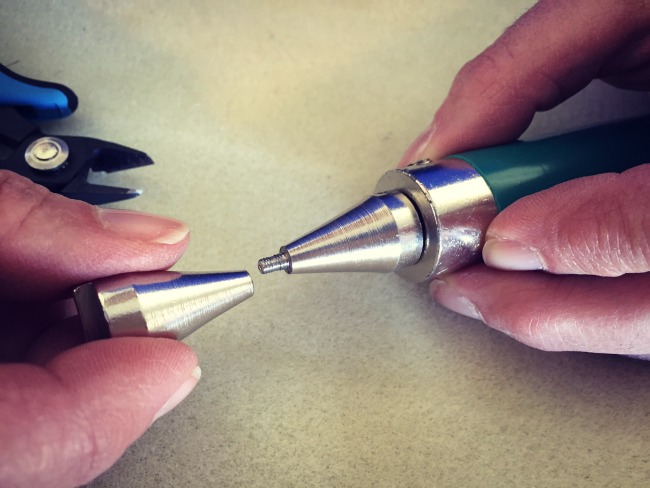
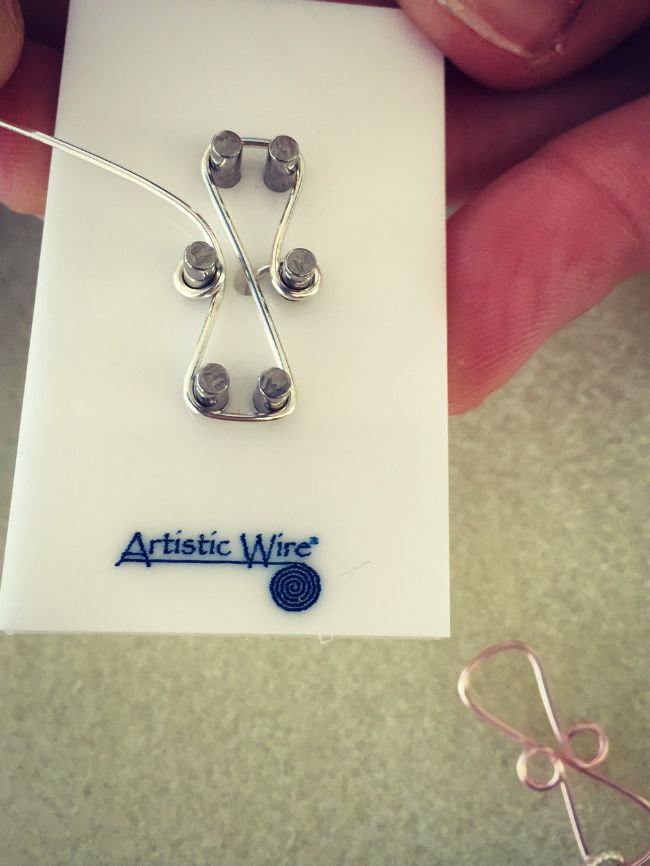
Inverted Conetastic Tool how toJust like before, the inverted version comes in multiple sizes, so pick your size and attach one end to the Conetastic handle piece and the opposite cone piece threads onto the tip.  It should look like an hour glass shape.

These are the days of our jewelry making lives….

Sorry, I couldn’t help it.
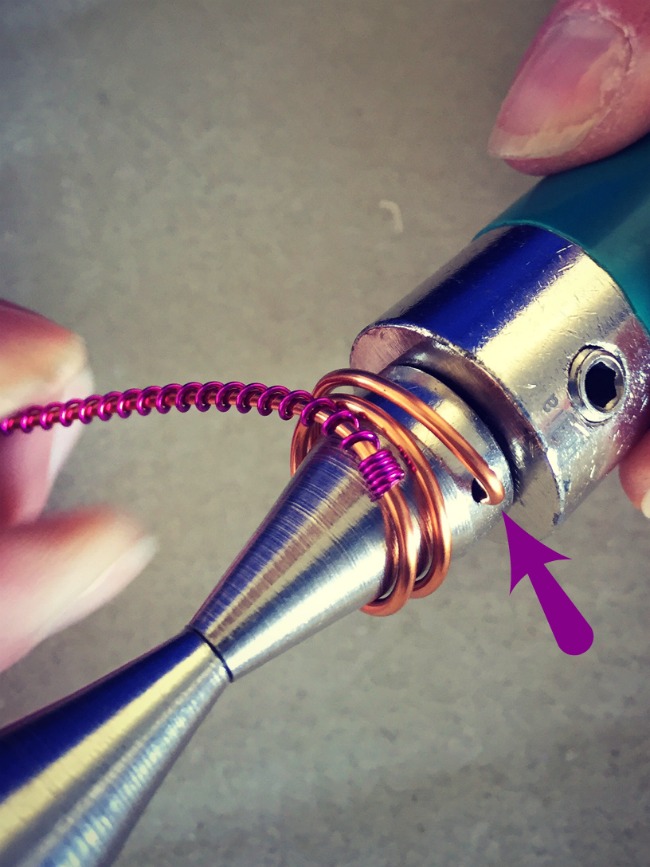
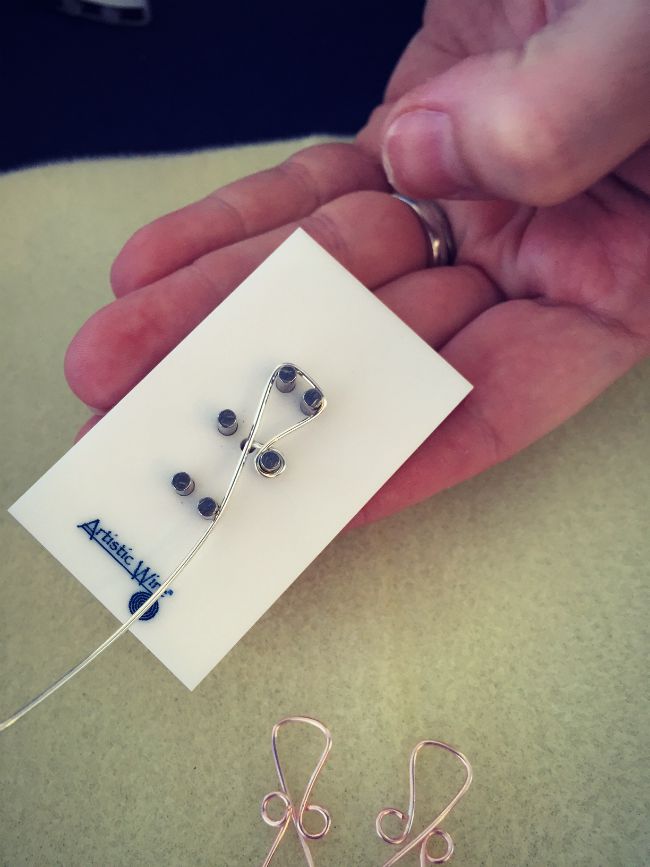
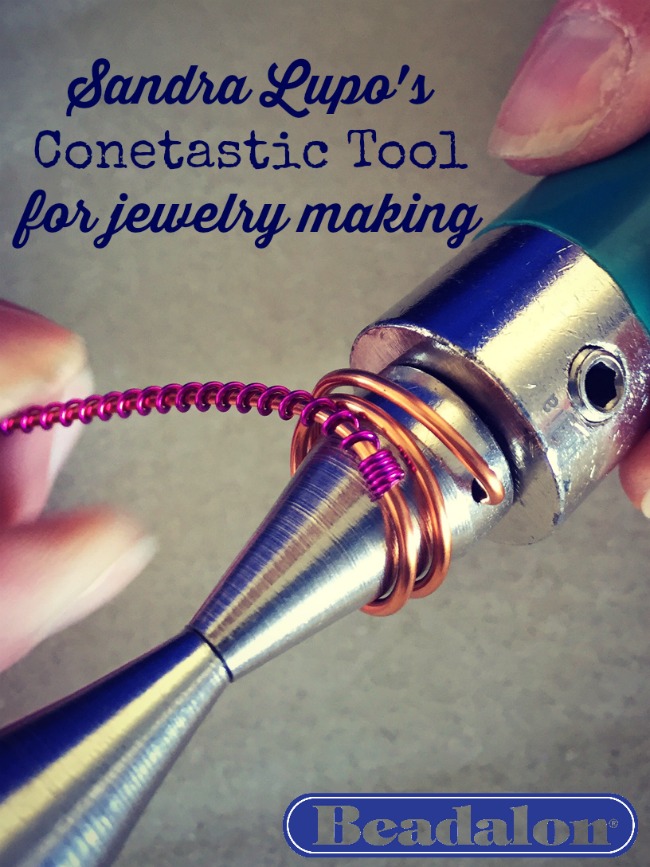
Wire working-make bead cones wth the Conetastic toolAnchor your wire in the hole at the base of the cone (see the arrow?) and start turning that wire!  For this one, Sandra made a long coil in pink thin Artistic Wire using the Coiling Gizmo (also by Beadalon) and slid them onto the copper colored wire to add a second layer.Conetastic bead cone making tool in actionKeep wrapping through the hourglass shape.
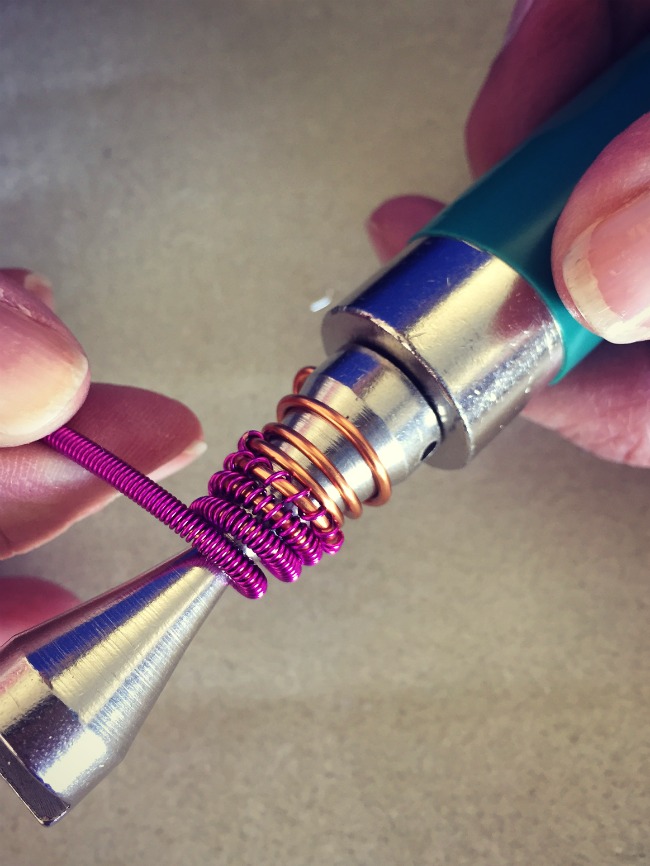
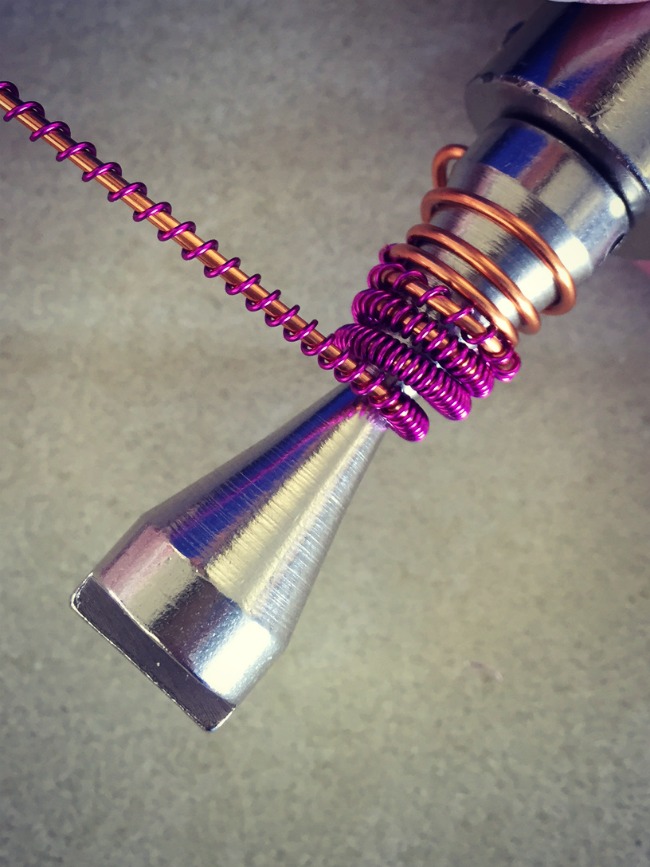
Jewelry Making Conetastic tool with Coiling Gizmo coilsShe pulled the coil out so you can see some of the metal underneath.  I was loving all of this layering action!
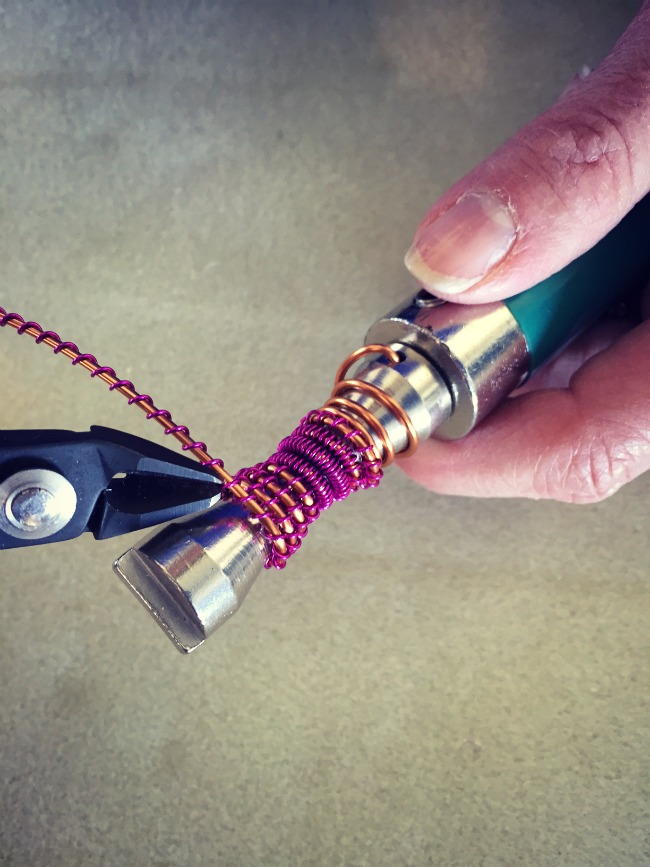
Conetastic tool for making jewelry findings by BeadalonThen she snipped the pink wire and finished wrapping how she started with only the copper wire.
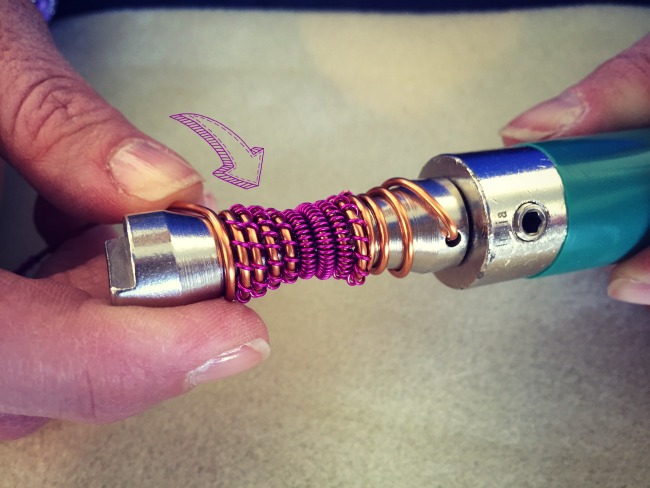
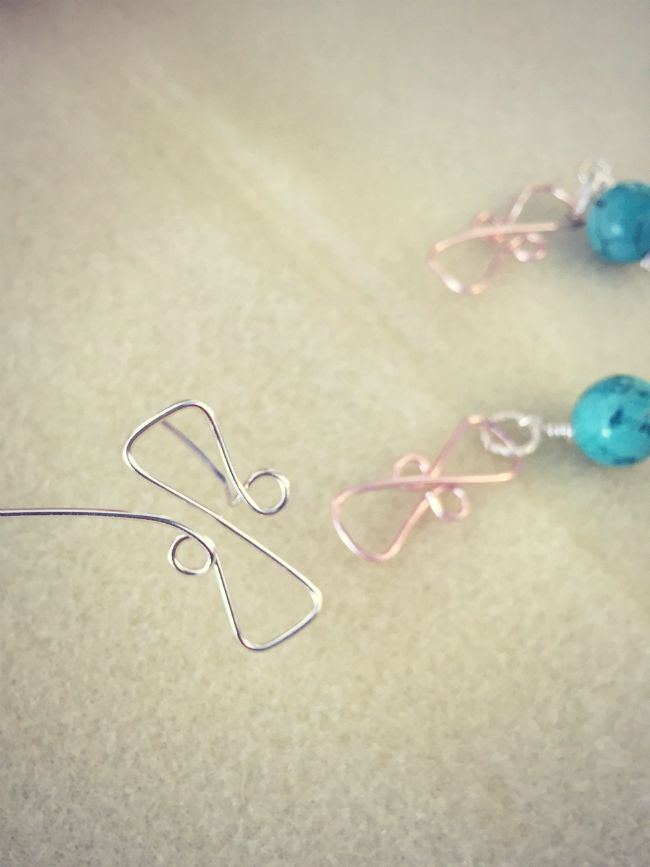
Inverted Conetastic tool from BeadalonThe variation in copper and layered pink is really fun right?  The possibilities! Conetastic bead cone makerNow to free your coiled bead from the Conetastic tool, cut the anchor wire…
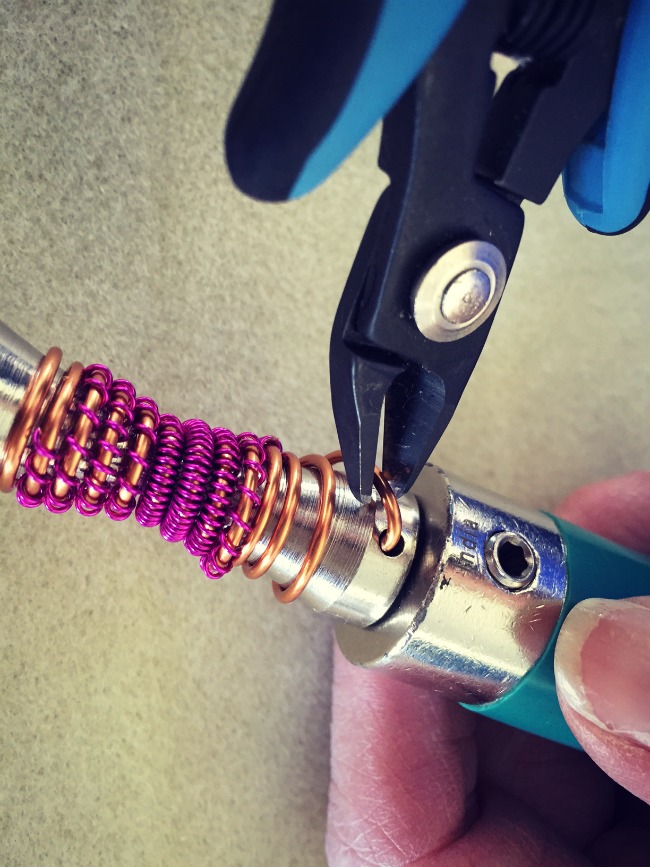
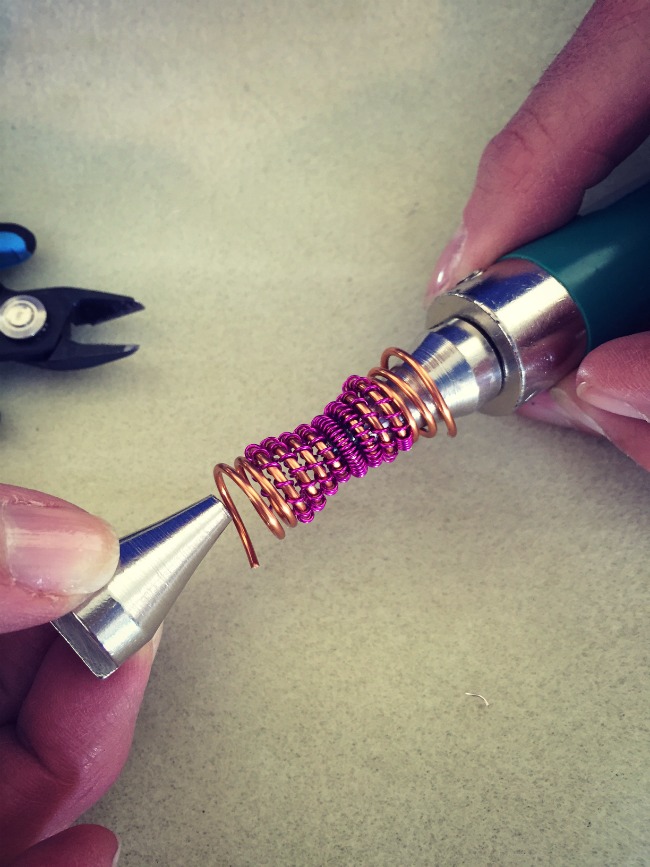
Jewelry Making - Inverted conetastic maker tool from Beadalon and Sandra Lupoand unscrew the top cone attachment piece.
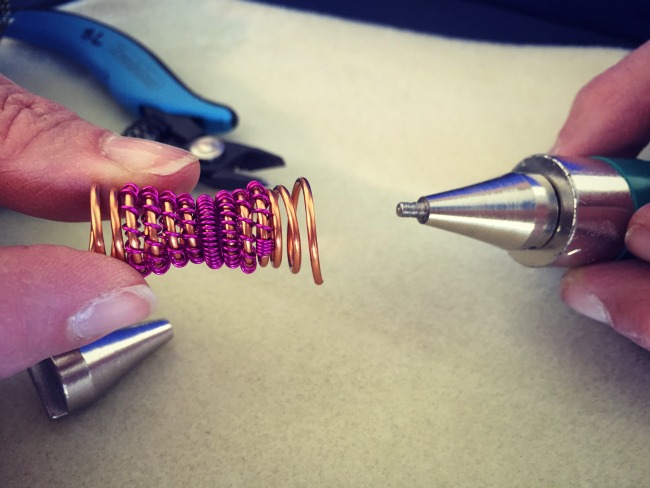
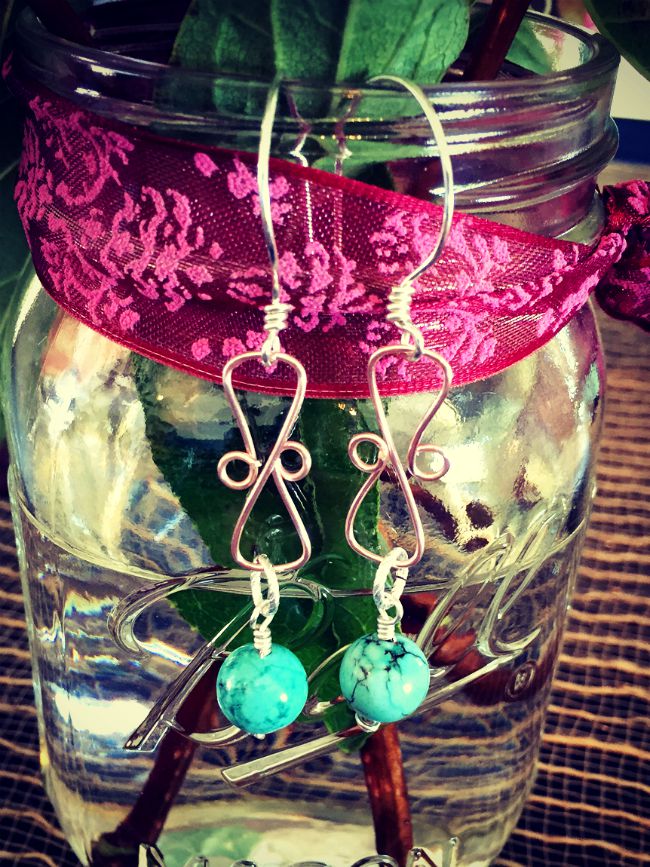
Wire working for jewelry makers - Inverted Conetastic Tool to make beadsShore up the wire ends and tuck them in with pliers.  Ready to string.  You guys, this thing took seconds to whip up!  Amazing.  Here are a few ideas from Sandra’s stash on her table.
Sandra Lupo for Beadalon using the Conetastic toolCheck out how she stacked the cones on top of each other?  Also, how about that twisted Artistic wire in the bottom bracelet??  Hot.Using the Inverted Conetastic tool by Sandra Lupo with flat Artistic WireAnd for this one she used Artistic Flat wire.  The beads nestled down in had me at helloooo.
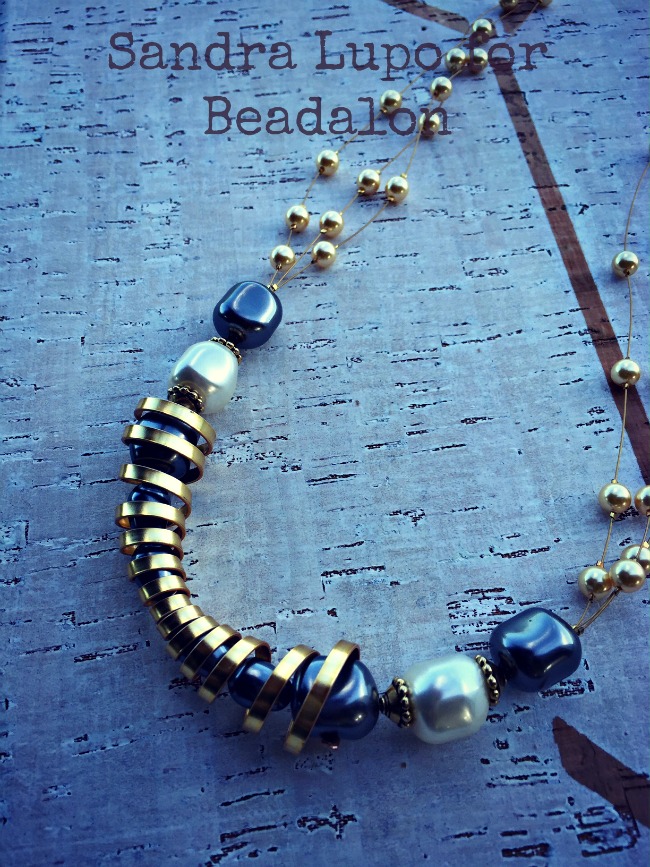
Good stuff Sandra!  Thanks for showing us how to use the Inverted Conetastic tool!  Here’s a link to Sandra’s website so you can see more Conetastic inspiration!
Katie Hacker and Artistic Wire Braid and Flat Wire

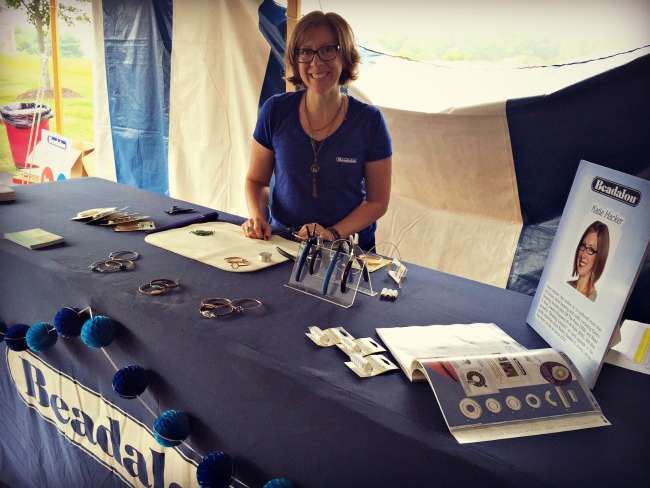
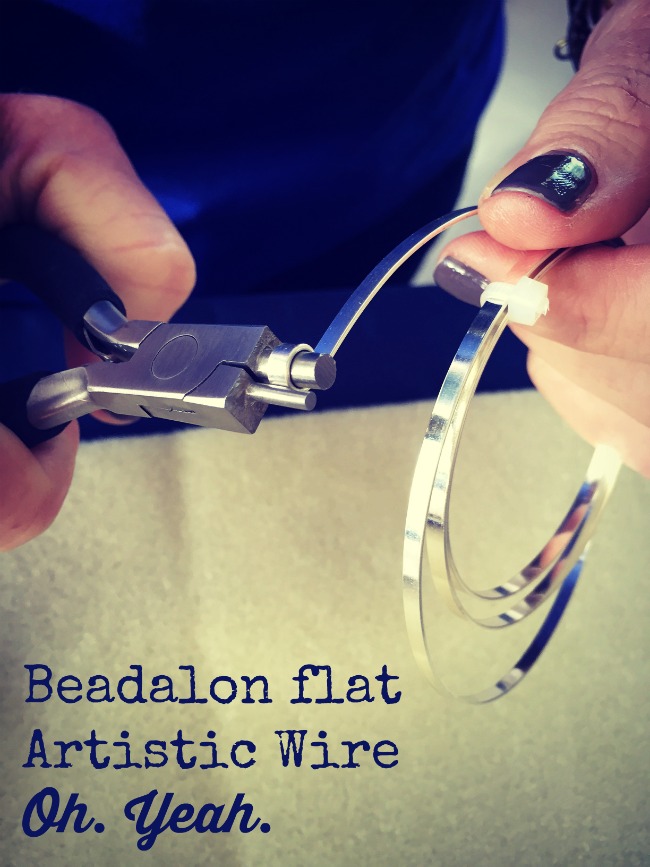
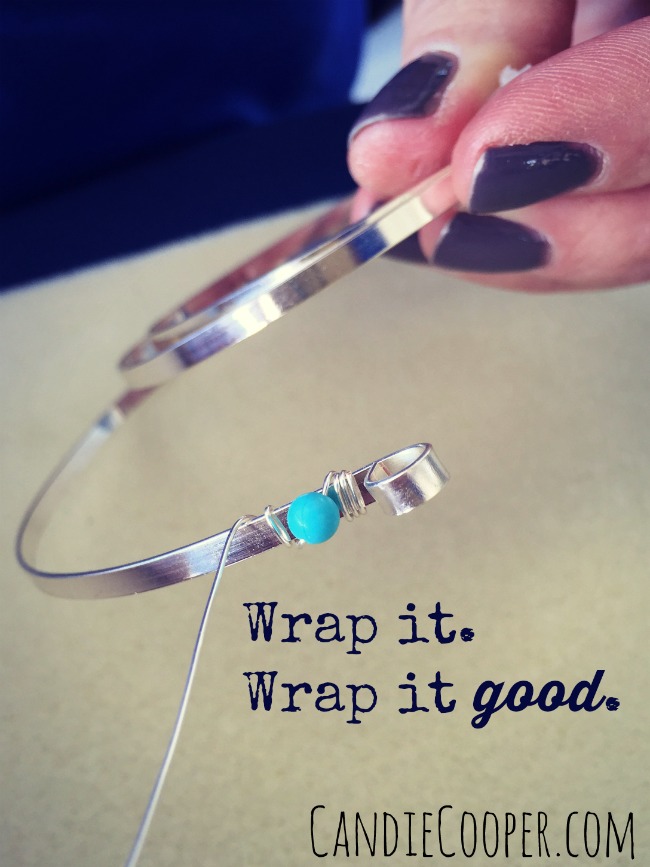
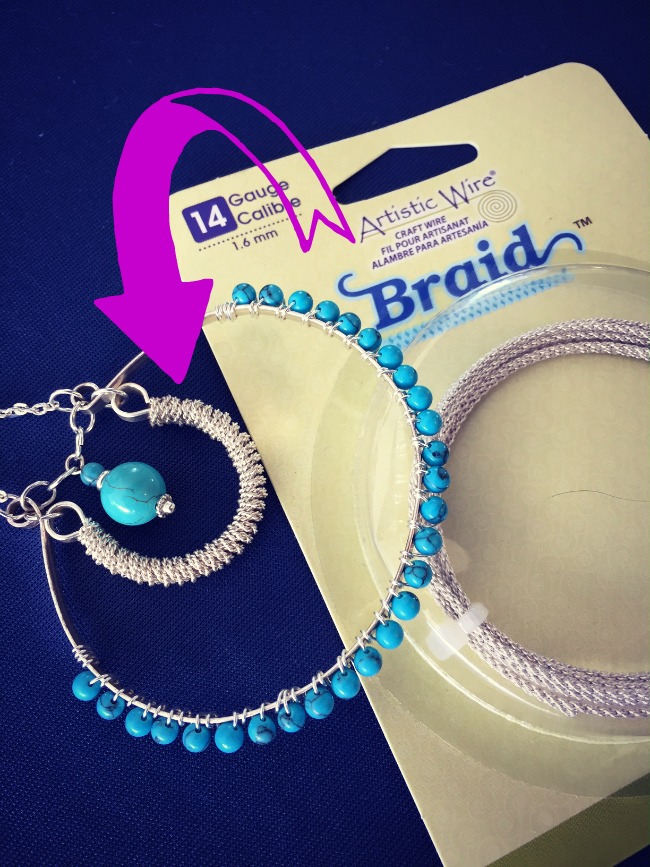
This post brought to you by the Beadalon crew!Beadalon Tent Sale Post PartyWelcome to day 3 of the party where we visit with Miss Kaaaatie Hacker!Good ol' Katie Hacker at the Beadalon tent saleIf you’ve been in the DIY jewelry world for any length of time, I’m positive you know Katie. She’s a good egg and one of my favorite people.  She also hosts the popular television show, Beads, Baubles, and Jewels on PBS.  Katie is the author of many jewelry making books and has been on the Beadalon design team for years.  Needless to say, she is a pillar in the DIY jewelry making community and I’m honored to call her a friend.Beadalon Braid wire adds texture to jewelryFor the tent sale, Katie was showing off Artistic Wire in braid (above) and flat versions (below).Wire wrapping Bracelets with flat Artistic WireBoth wires come in multiple metal finishes.  The wire is super sturdy so it holds and shapes beautifully.  I especially love hammering it.  Didn’t I mention yesterday on the blog that I wanted to hammer some metal links?  It might be my next favorite technique next to fringe….if fringe were a technique that is.Beadalon flat Artistic Wire in silverThe wire wraps easily and you can use regular round nose pliers to make loops at the end of it.  But! Have you seen Beadalon’s large bail making pliers?  They have a consistent cylinder tip vs conical.  Handy.Jewelry making Wire wrapping with Artistic Wire from BeadalonWhen you have your piece formed, you can wrap it with more wire and the like.  This will make it even more sturdy and add a little texture to the smooth surface.
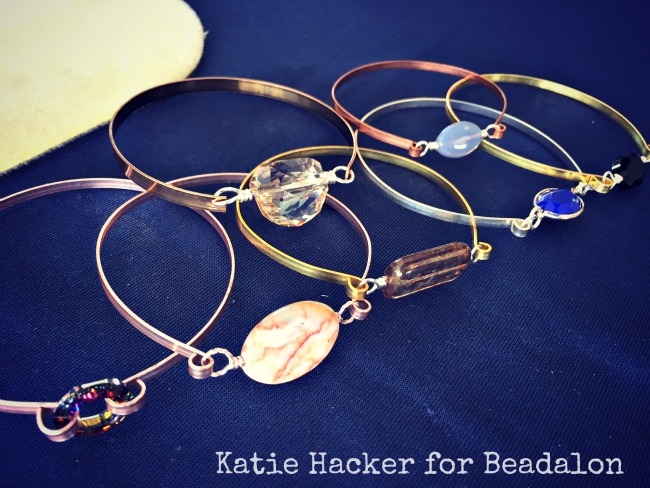
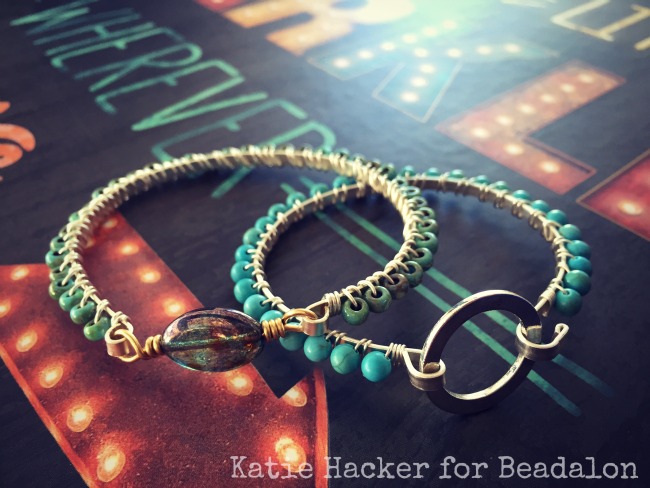
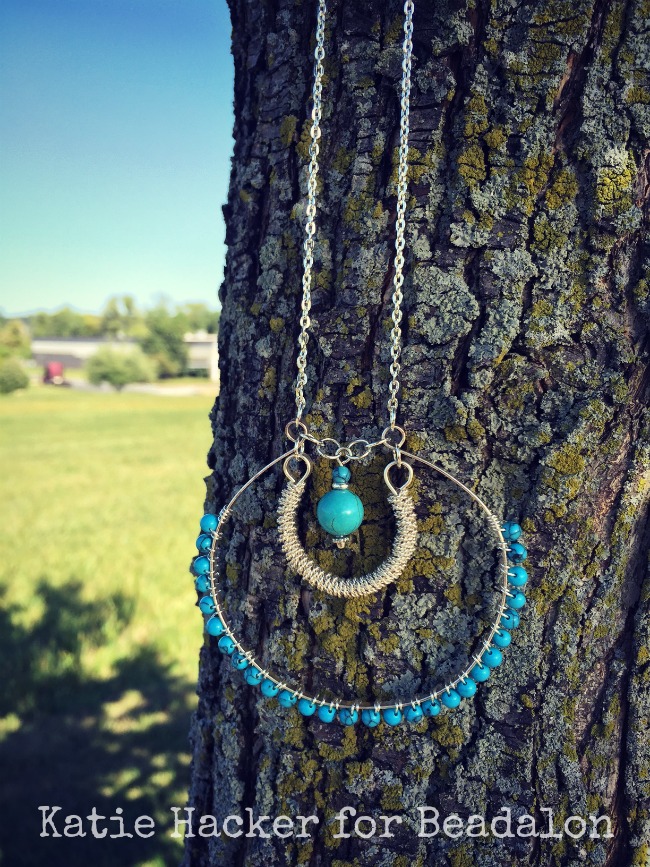
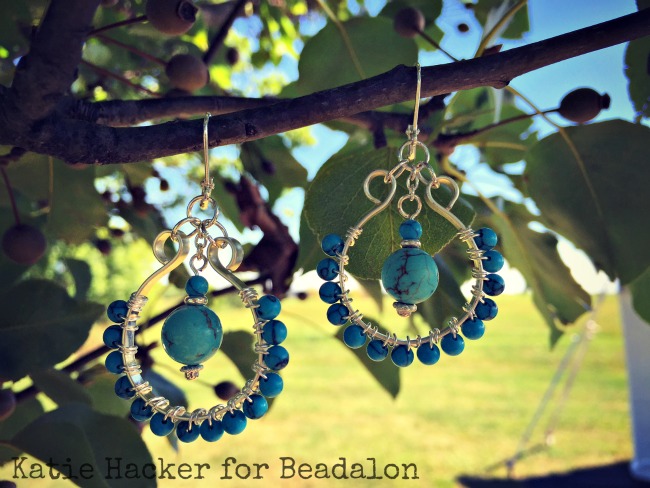
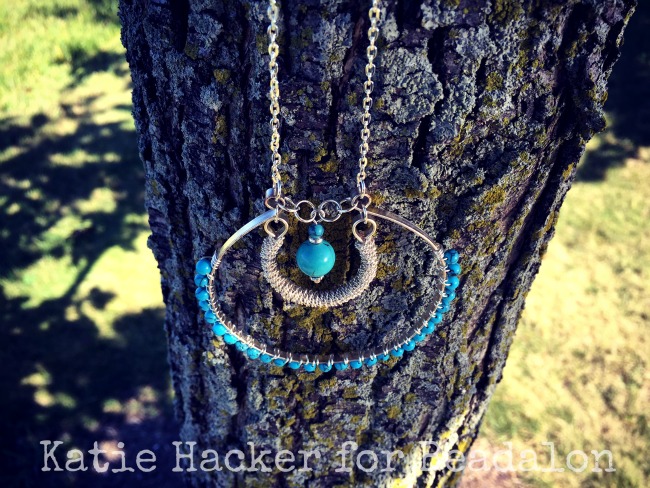
I love texture.Jewlery Making Wire wrapped bracelets by Katie Hacker for Beadalon with Artistic WireKatie Hacker's necklace with Beadalon flat Artistic Wire and BraidThis is the class that Katie taught at the tent sale. Katie Hacker Earrings with Beadalon findingsShe is masterful at designing projects that look like it took hours to make, but you could make in an evening.  I love that kind of instant gratification.Beadalon flat and braid Artistic wire - Design by Katie HackerDid I mention all the classes were $25 at the tent sale?!?  And it included all the supplies and then some!Candie and KatieKatie and I flew out to Pensylvania together and first stop…Michaels Craft store for some last minute supplies (and a few treats for ourselves).

Enter the giveaway below for some surprise Beadalon swag!  I’m picking 4 winners this time.  Best of luck!
a Rafflecopter giveaway

Artistic Wire JIG Mini Tutorial

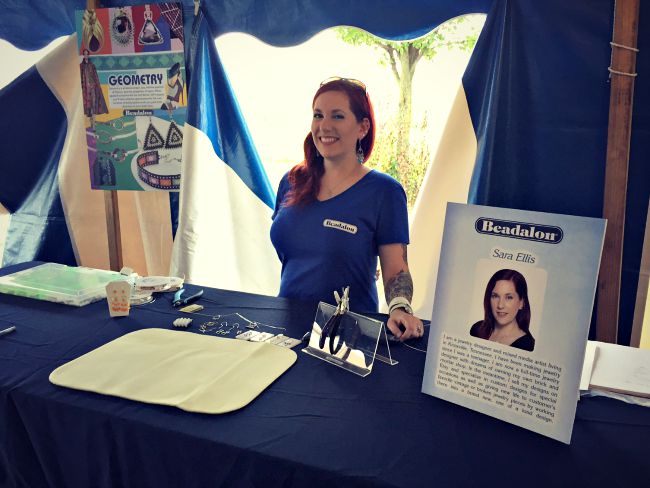
This post brought to you by BEADALON!Beadalon Tent Sale Post PartyDay 2 of the Beadalon Tent sale post party is here and I want to introduce you to Sara Ellis!Sarah Ellis for BeadalonSara designs all sorts of intricate pieces and at the tent sale, she was working with Beadalon’s Artistic Wire Findings Forms.  You can see them all here.  Here’s a quick little tutorial we shot from her demo table.  I think you’ll find it gives you some ideas from making clasps to links!  And if you’re like me and struggle with wire working, you’ll like the findings forms because they keep everything nice and consistent.
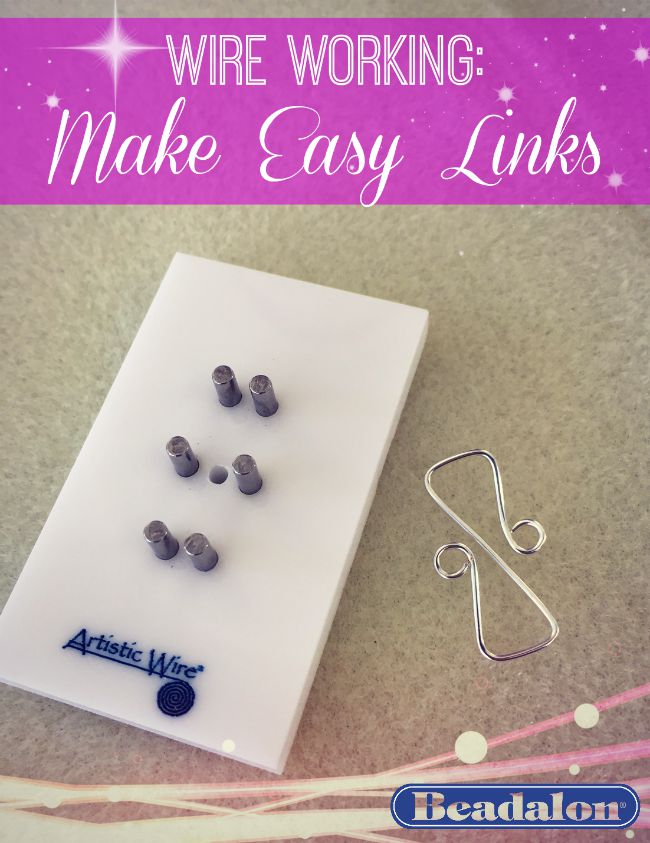
Jewelry Making Beadalon Artistic Wire jig Make clasps or linksSo on the left we have the findings form and on the right the finished product.  I’m not going to lie–I’m dying to hammer one of these with a chasing hammer.
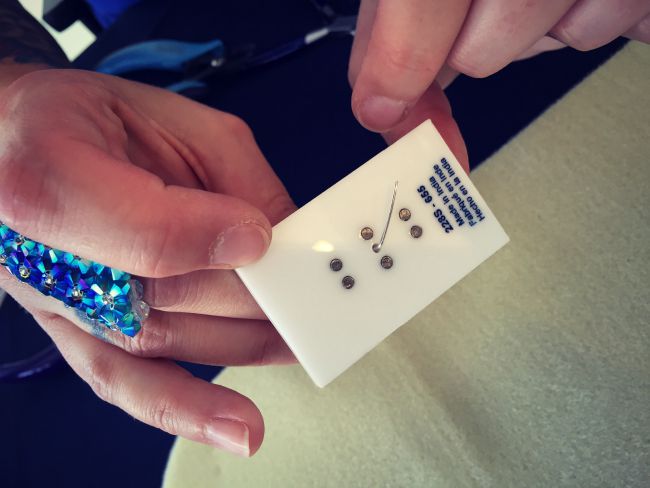
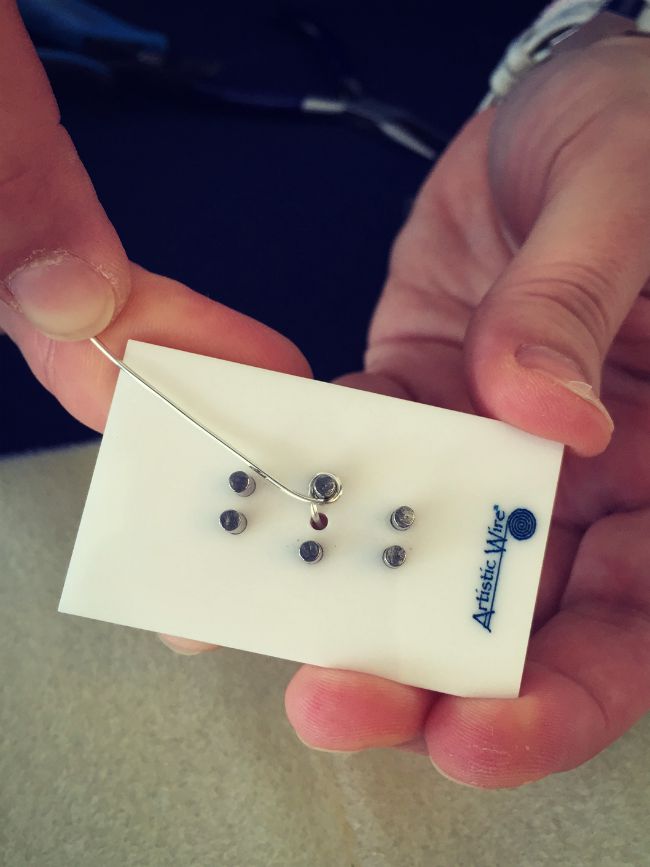
Artistic Wire jig tutorialYou start by poking your wire through the hole from the front to the back.  This anchors it while you wind and wrap on the front.
Artistic Wire jig link tutorialEach form comes with a nice set of instructions with ideas of where and what direction to wrap the wire.
Artistic Wire jig tutorial from Beadalon.comJewelry Making Artistic Wire jig from BeadalonFor this link, she used 20g. Artistic Wire in bright silver.
Jewelry making Artistic Wire link tutorialWhen you come to the end, slide the wire link from the form and trim the ends.  Now, you can hammer the link or add more wire wrapping.
Artistic Wire earrings made by Sarah Ellis for Beadalon.comHere’s a sweet little pair of earrings Sara made with pink wire and beaded drops.  I do believe this would be a really great activity for teens looking to get into jewelry making!
Beadalon crew Sarah, Yvette, Katie and SandraJust another peek at the fun after work.  Sara, Yvette, Katie and Sandra at the top!  Haha!
IMG_0877This is the class that Sara taught while at the tent sale.  It features this findings form.

I asked Sara what some of her favorite jewelry techniques were and she said:  wire wrapping and stringing!

Then I asked what some of her hobbies are and she said: painting, decoupage, shopping and writing.

Be sure to check out and subscribe to Sara’s amazing YouTube channel where she has lots of tutorials featuring many Beadalon products!

And for sure enter to win some Beadalon goodie swag below!  Winners announced next week!
a Rafflecopter giveaway

Stringing Magazine plus a GIVEAWAY

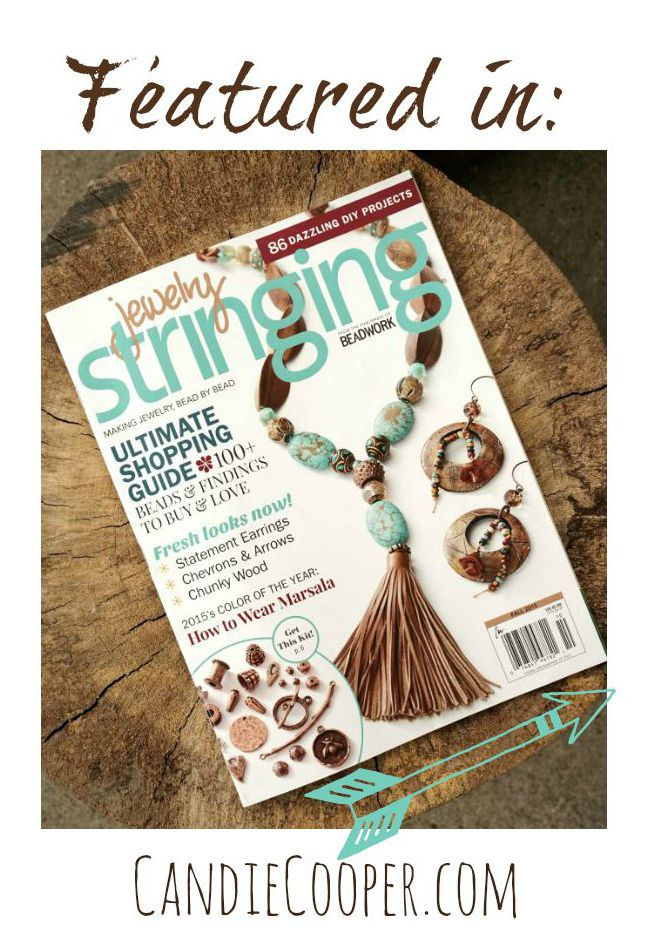
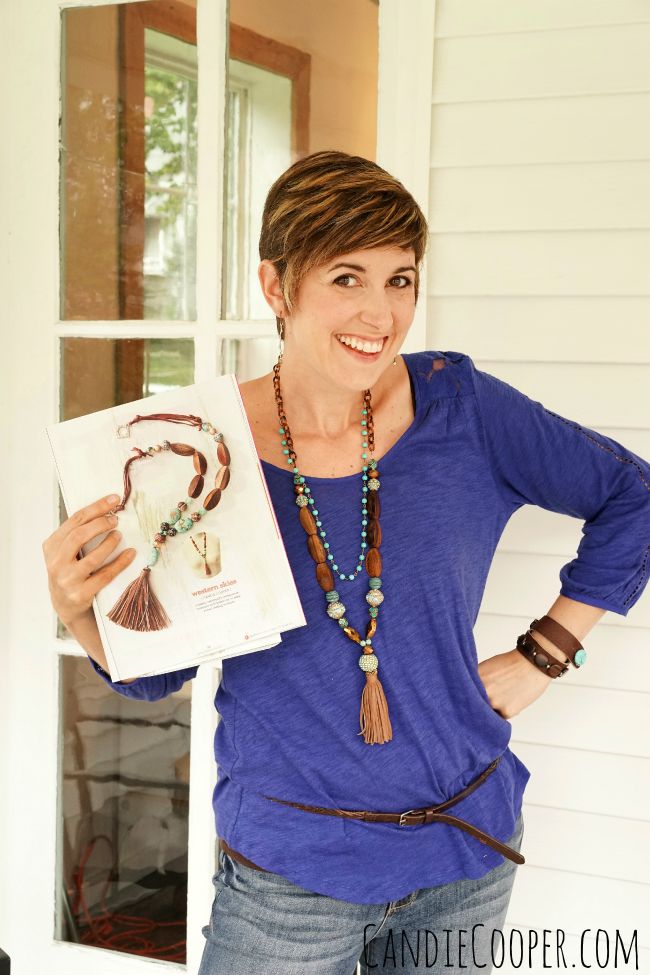
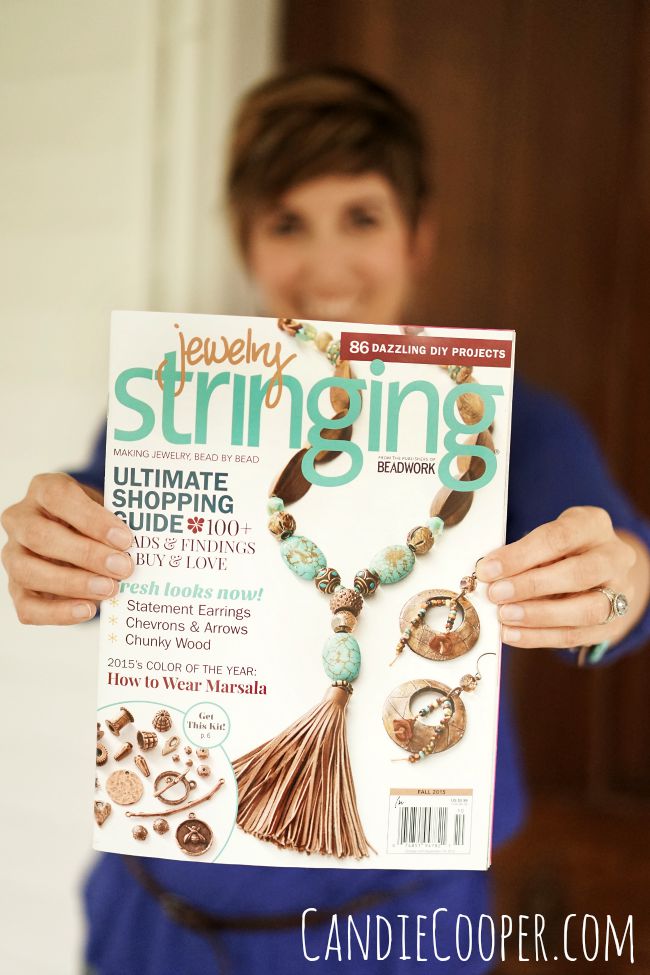
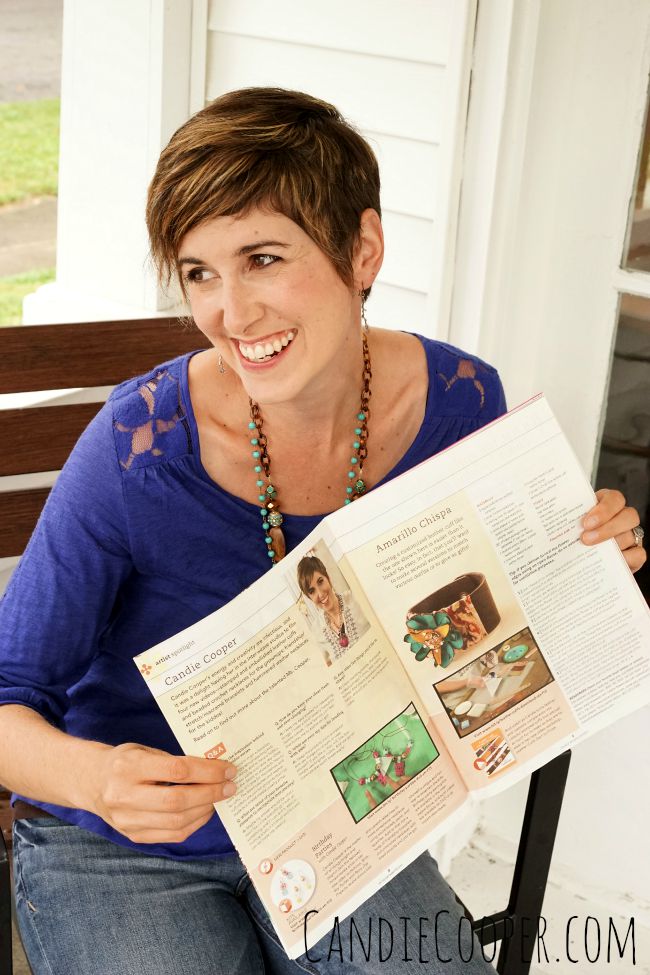
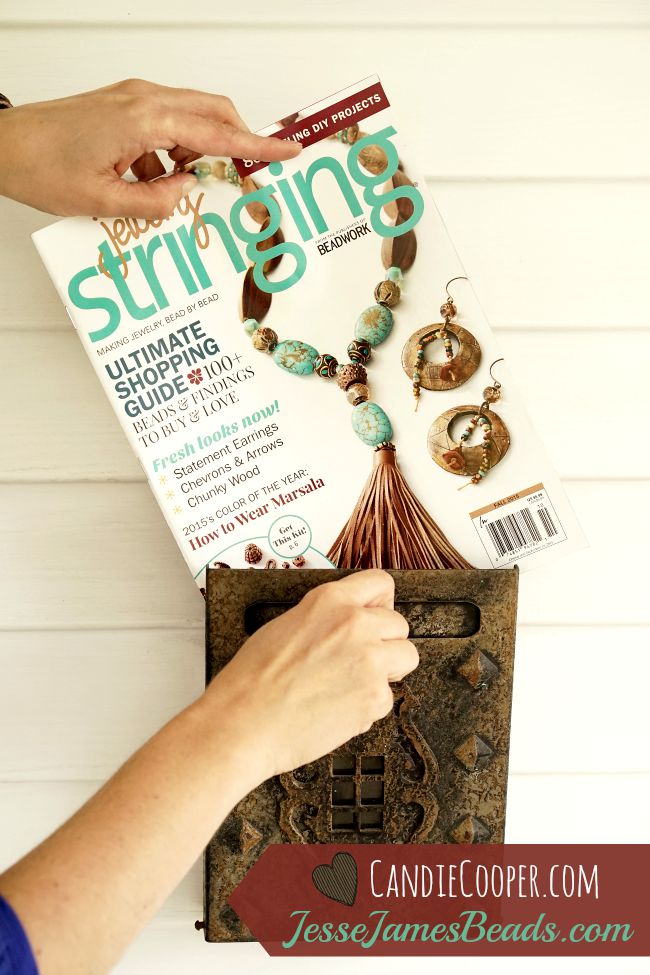
Jewelry Making Candie Cooper featured in Fall Stringing MagazineIt’s an honor to be featured on and in the Fall issue of Stringing Magazine!It’s been many years since I submitted designs to Stringing and I was so touched to have four designs in this issue (including the one on the cover!).  Big humble THANK YOU, Interweave/F&W Media.Stringing magazine tassel necklace how to from Candie CooperThis is a slightly different version that I’m wearing versus the one on the cover which is one of the reasons I love this design so much—You can adapt it however you like.

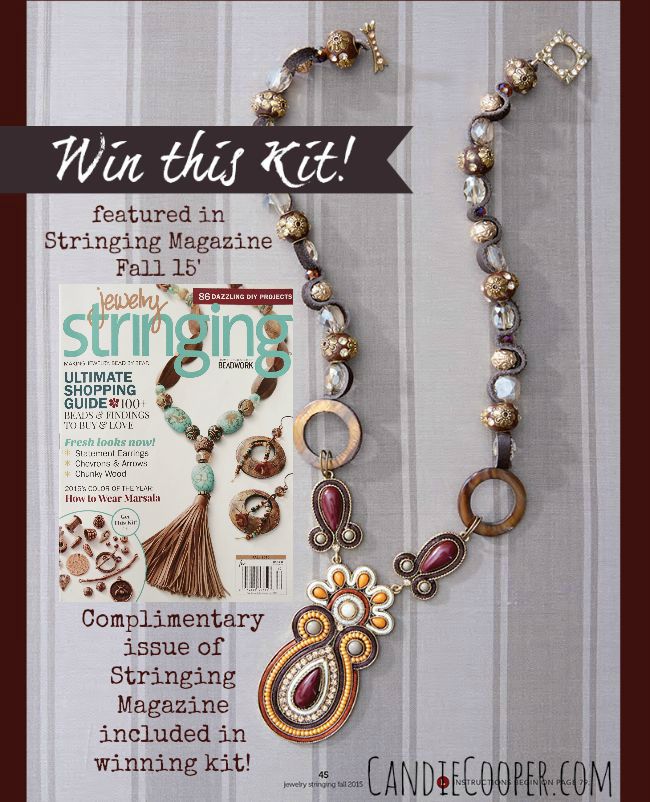
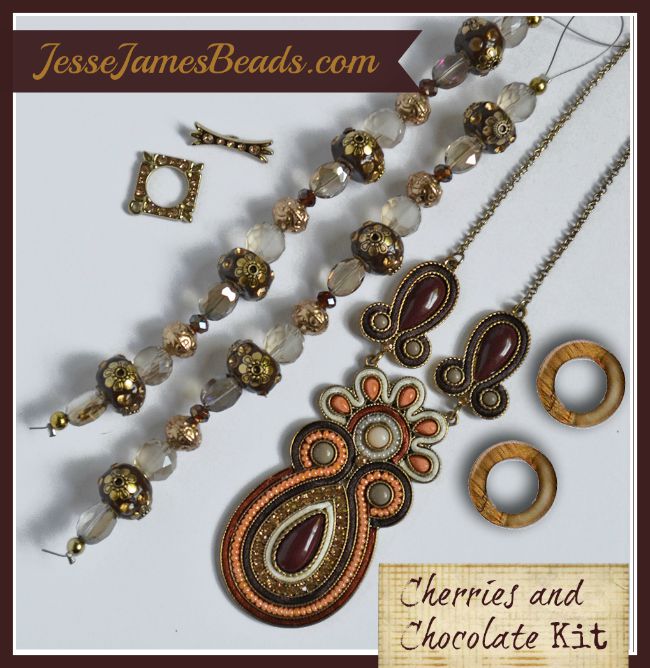
Speaking of design, this is definitely one from my heart.  You guys know my love for fringe…and leather…and a touch of sparkle.  I was diddling (is that really a word?) around one morning, working on classes for Jesse James Beads for Bead Fest April and I thought, I’m making myself a necklace. There is always a small (ok, really huge) collection of Jesse James Beads laying around and I have a few strands that I hoard because I LOVE them.  These teal and brown Inspiration strands were part of that hoard.  The wood beads were some I found in Tucson and Sarah from Jesse James Beads really loved them too, so they were added to the JJB site.  For me, designing jewelry is all about mixing and matching surfaces with color. This piece went together really fast.  I was in the flow for sure and that’s how I knew it was a good one (if I do say so myself…and I am)!Jewelry Stringing Magazine Candie Cooper's cover necklaceCandie Cooper featured artist in Stringing Fall issueRemember those beading videos I did with Interweave?  There is also a little feature article about those in this issue.  PLUS!  A bonus project from the Leather Cuffs video.Jewelry Making Candie Cooper and JesseJamesBeads.com projects in Stringing Fall 15 magazineMost of the projects in this issue feature beads from JesseJamesBeads.com so guess what!?!Cherries and Chocolate Giveaway kit from Candie Cooper, JesseJamesBeads.com and Stringing Magazine!You can win a kit of one of my projects in Stringing thanks to JesseJamesBeads.com!  PLUS!  Stringing magazine is throwing in a copy of this issue!cherries and chocolate kitHere’s a close up of what you’ll win.  It’s the Cherries and Chocolate kit featuring one of JesseJamesBeads.com’s soutache necklace!  Enter the rafflecopter below for a chance to win!

a Rafflecopter giveaway

Beadalon Tent Sale Post Party

This post brought to you by BEADALON!Beadalon Tent Sale Post PartyWith so many trips, it seems I mention it over here and then said trip happens and that’s it…on to the next!  Put one bag down, pick another one up.

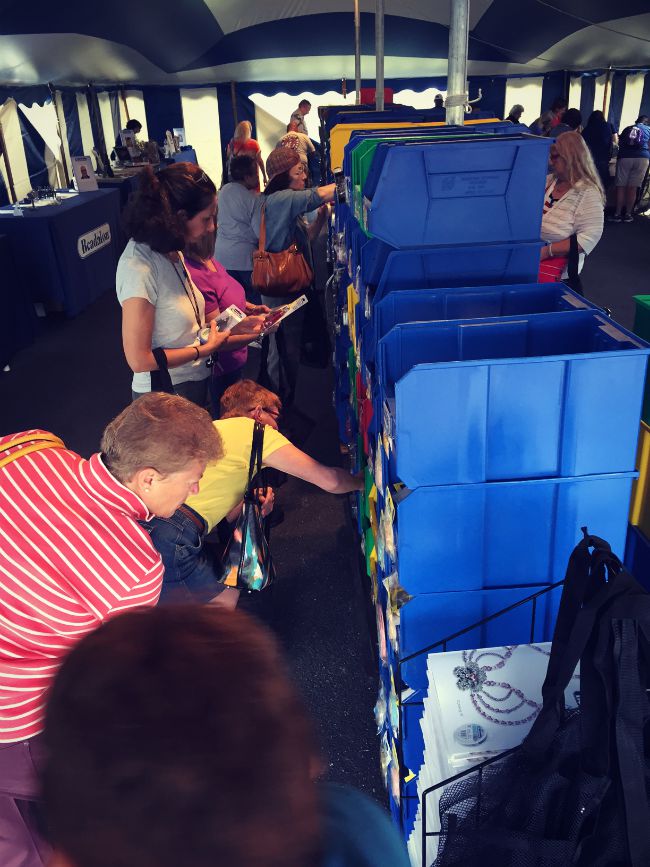
That’s not going to be the case with the Beadalon Tent sale because tonight I’m kicking off a post party here on the blog.  All this week I will share photos from the event held in West Chester, PA as well as tutorials from the Beadalon design team.  Check back each day to see what’s new and enter to win Beadalon swag.Beadalon Tent sale shoppersThe sale started at 9 sharp on Saturday morning.  Us designers were setting up our demo tables and when I looked up at 8:30 there was already a line starting to form.

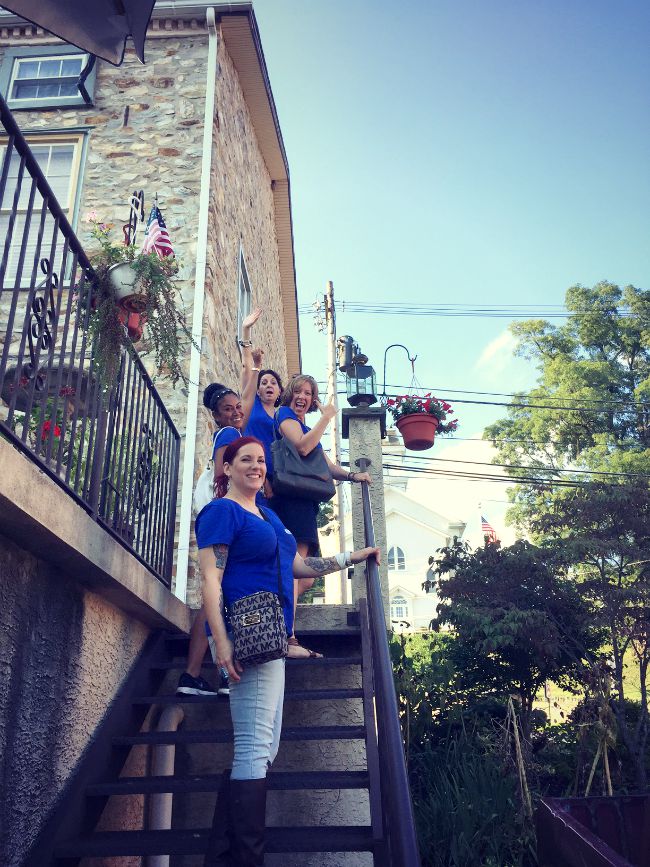
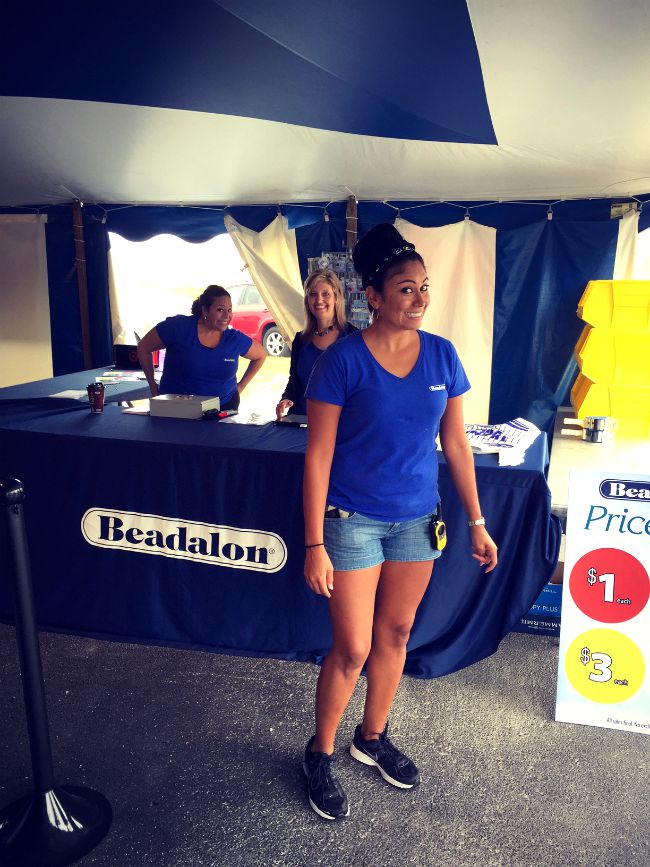
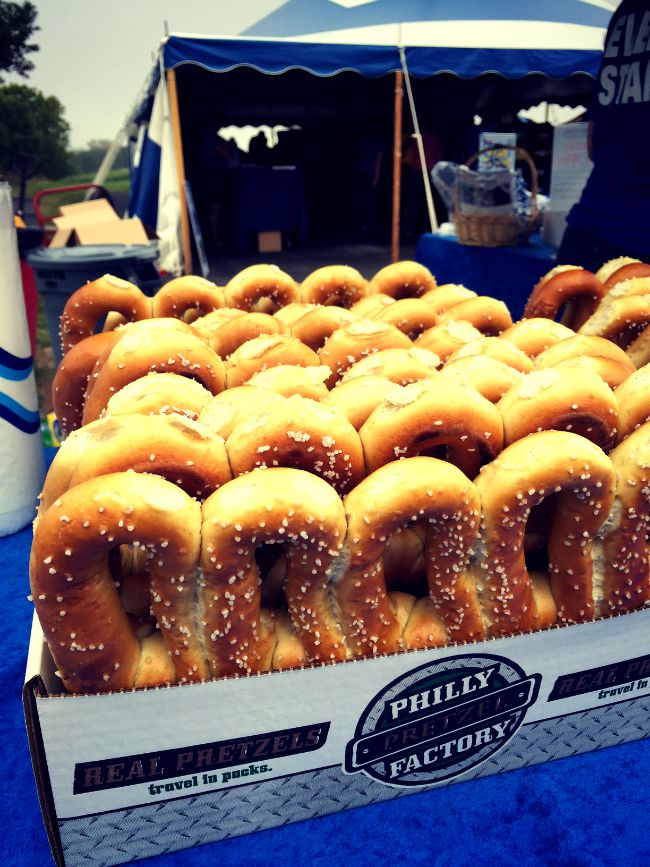
Man oh man, there were some crazy good deals!  Especially the product manager $5 grab bags. A huge bin of bags SOLD OUT by 9:22 AM.  Those ladies bead happy!Beadalon Tent sale Yvette, Kelli and MadelineHere’s a little picture of some of my faves behind the Beadalon brand.  Yvette, Kelli, and Madeline worked their booties off getting this sale ready and checking customers out.  Beadalon tent sale PretzelsPretzels:  a Philly tradition alive and well at the sale.  I was in awe. Hello!  I also got to have my very first Philly cheesesteak sandwich.  I’ll save that photo for another day.  Holy smokes.  Cue Barry White.Team BeadalonTeam Beadalon at your service!  From left to right that’s, Katie, Madeline, Wyatt, Sarah, Kelli, Yvette, and Sandra.  We like to work hard and play hard!

So starting tomorrow, I’m going to post a new tutorial or product on the blog, featuring one of the Beadalon design team members.  You don’t have to wait to enter the giveaway, though!  See below for different ways to enter.  I’ll be picking 4 winners.  Post party is officially on all you party people!
a Rafflecopter giveaway

ACTIVA Products sampler Giveaway!

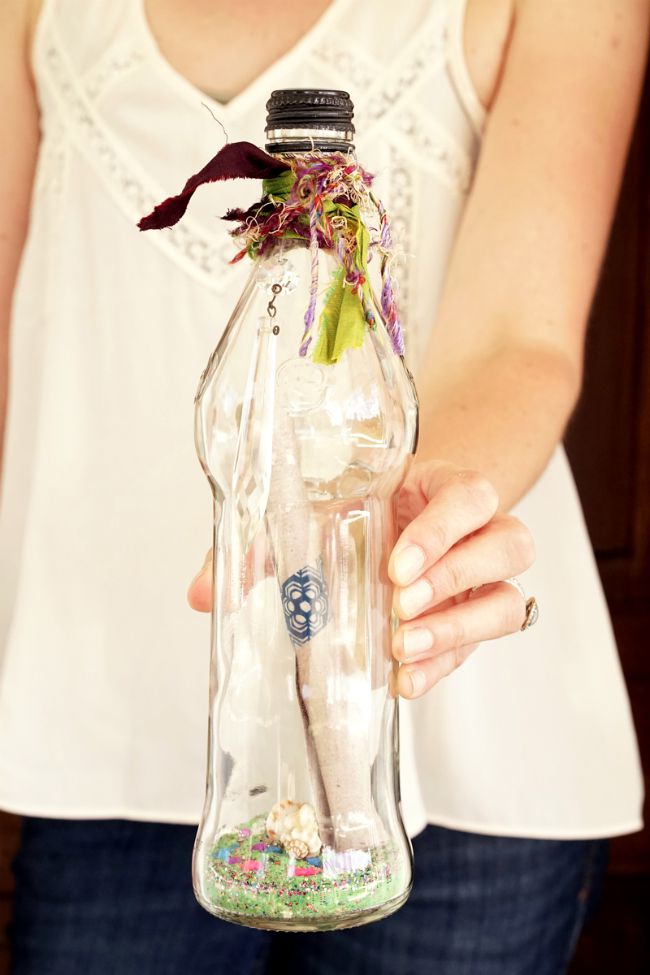
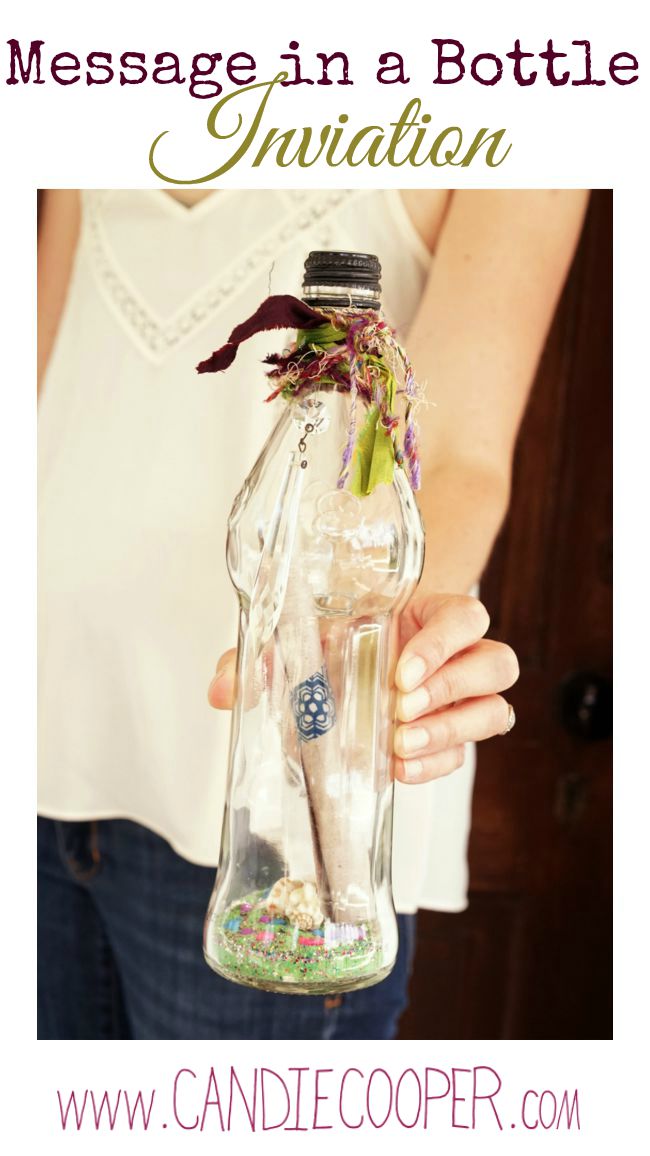
This post brought to you by ACTIVA Products!ACTIVA Newsletter headerDid I ever tell you I was an art education major at Purdue?  I was.  From time to time, I post projects that reflect that part of my history and love:  teaching kids to make things with their hands!  That’s how I got to know ACTIVA Products.  They make all sorts of amazing air dry clays and super colorful sand.  These days, I design projects for them like this Message in a Bottle.Message in a bottle party invitation idea from Candie CooperHere’s a link to the project in case you want to make a couple. Pottery in Mexico Lesson PlanAnd then this is the kinda thing I design for ACTIVA and teach at my art camps that I teach in the summer here in town at the Honeywell Center.  The kids love making pottery pieces.  No, they can’t eat out of them, but they can put other goodies inside.  For this project, we learned about terra cotta clay and looked at pottery from Mexico for inspiration.  The best thing about Hearty clay is that the clay sticks to itself really well and doesn’t fall apart once the clay is dry.  Nothing is more discouraging to a kid then when they put a lot of time and effort into something and it crumbles.  Want to make your own bowl?  Here’s a link to the tutorial.
Now for something extra fun!
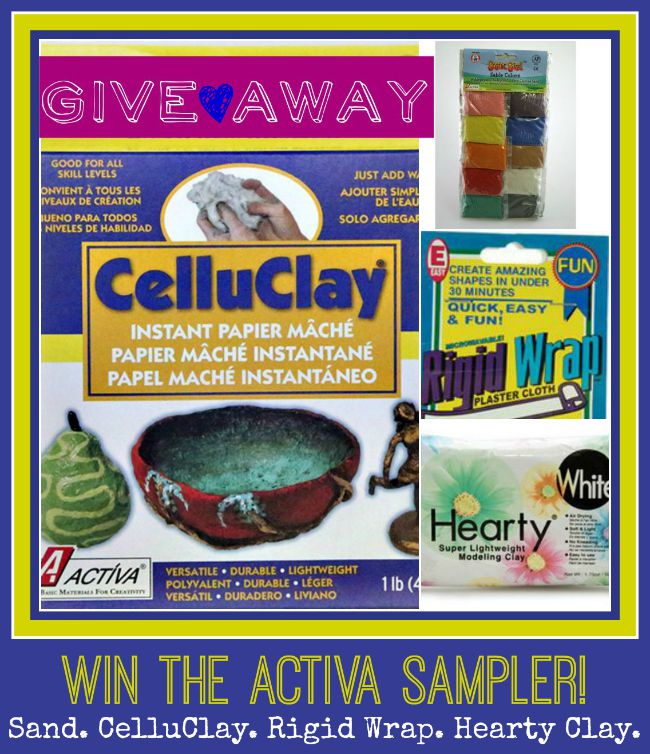
ACTIVA sampler giveawayThat’s right!  We are giving away an ACTIVA sampler pack!  Sand, CelluClay, Rigid Wrap and Hearty Clay.  You get a little bit of everything so you can get crafty this fall!  Experiment and play until your heart is content, on us! Not into clay?  Give it to your local art teacher–you’ll be their new BFF!
Fingers crossed for you!  Click and follow below.

a Rafflecopter giveaway

DIY Printed Leather Jewelry Idea

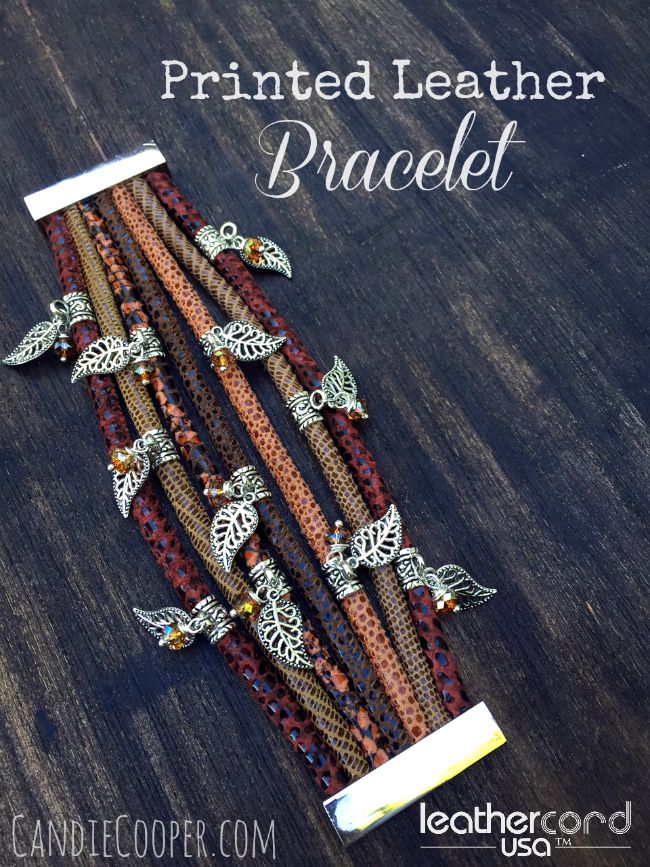
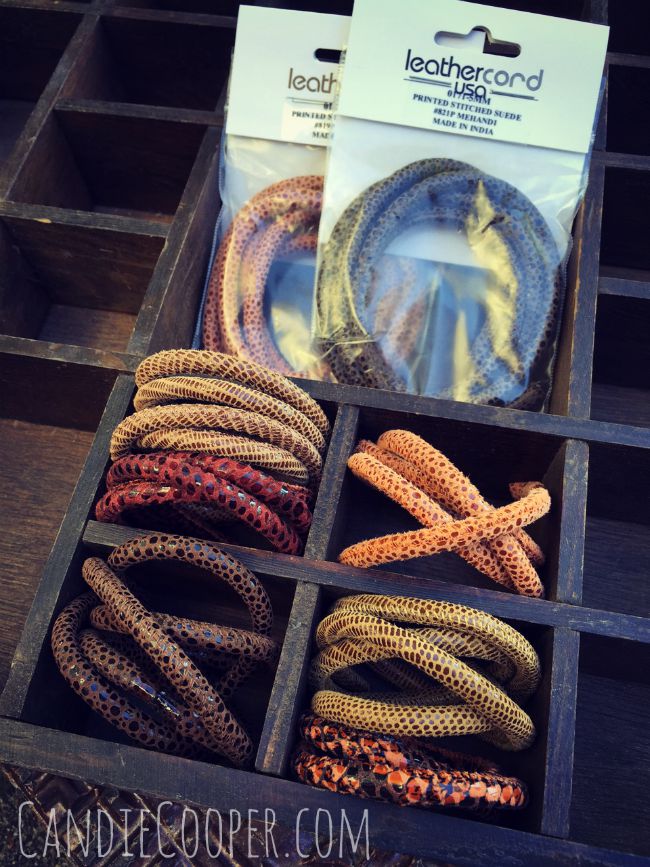
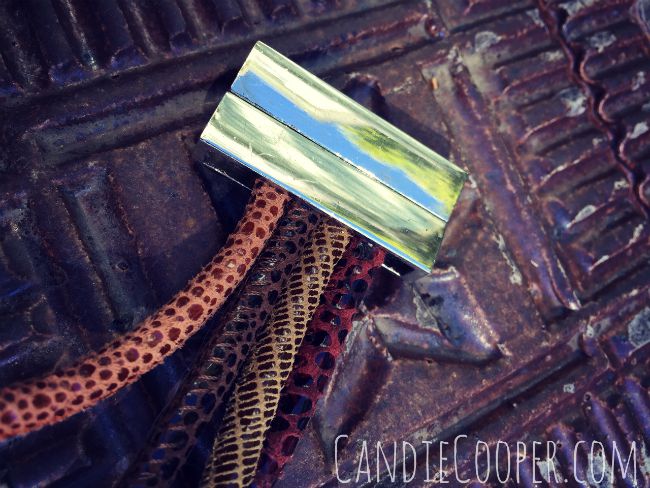
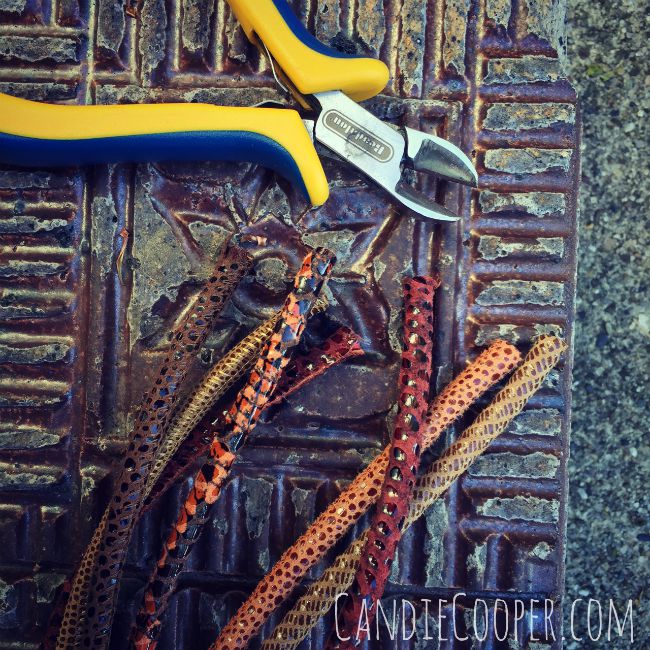
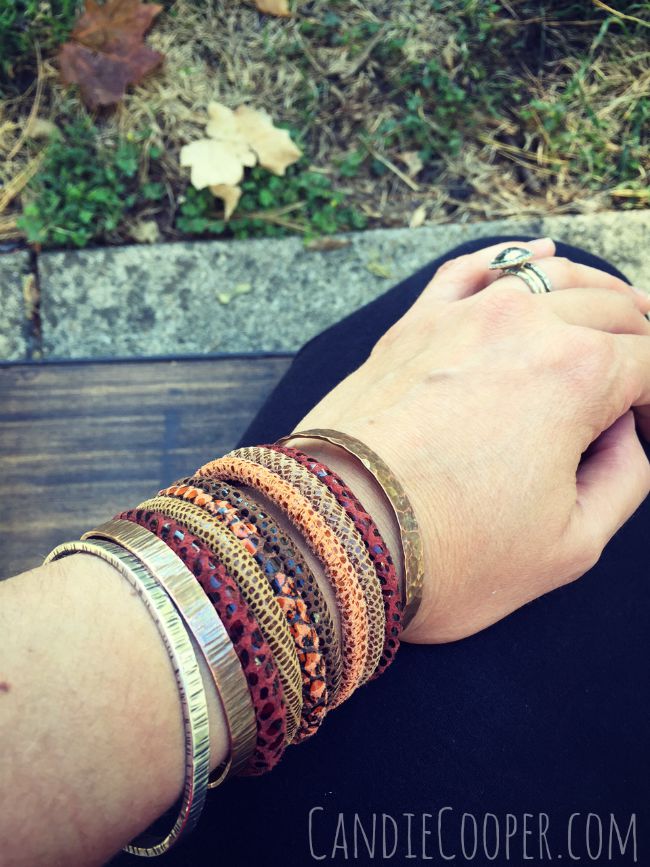
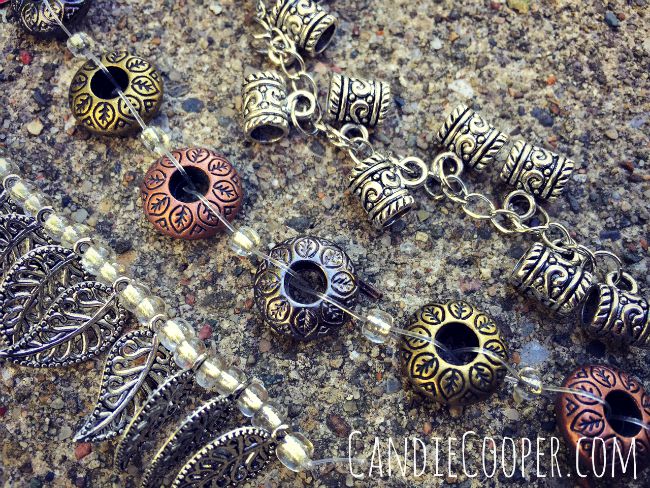
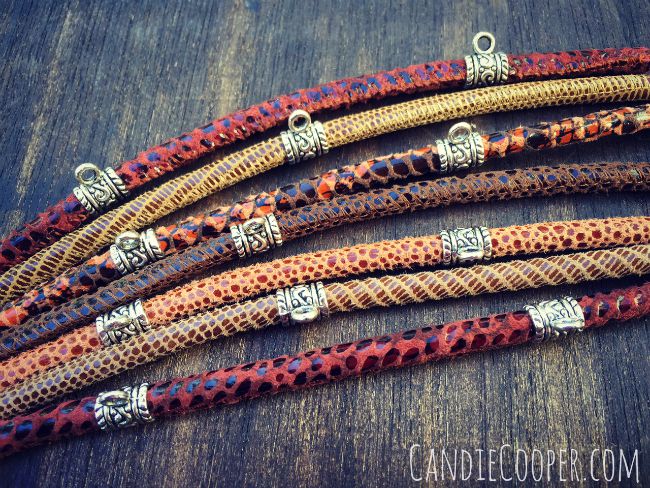
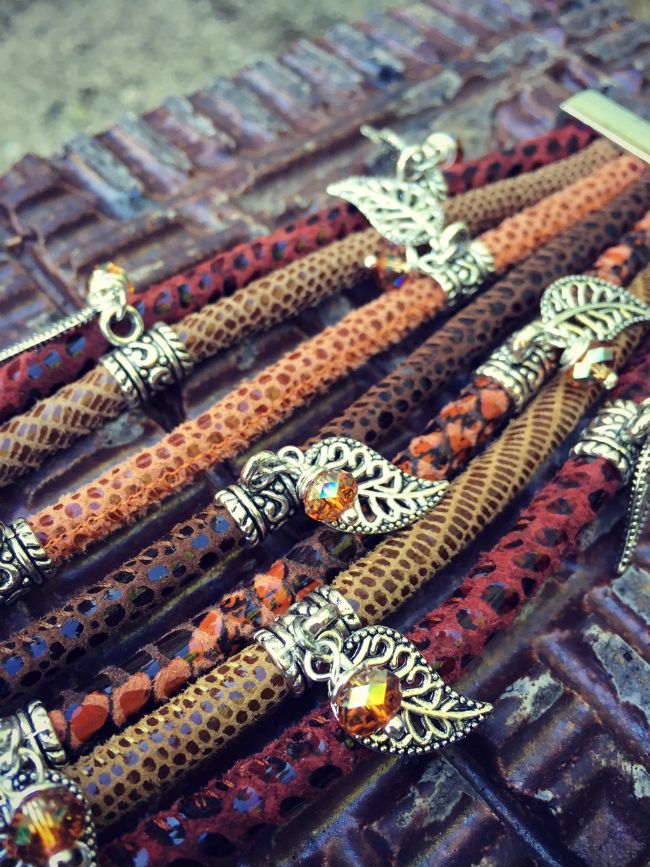
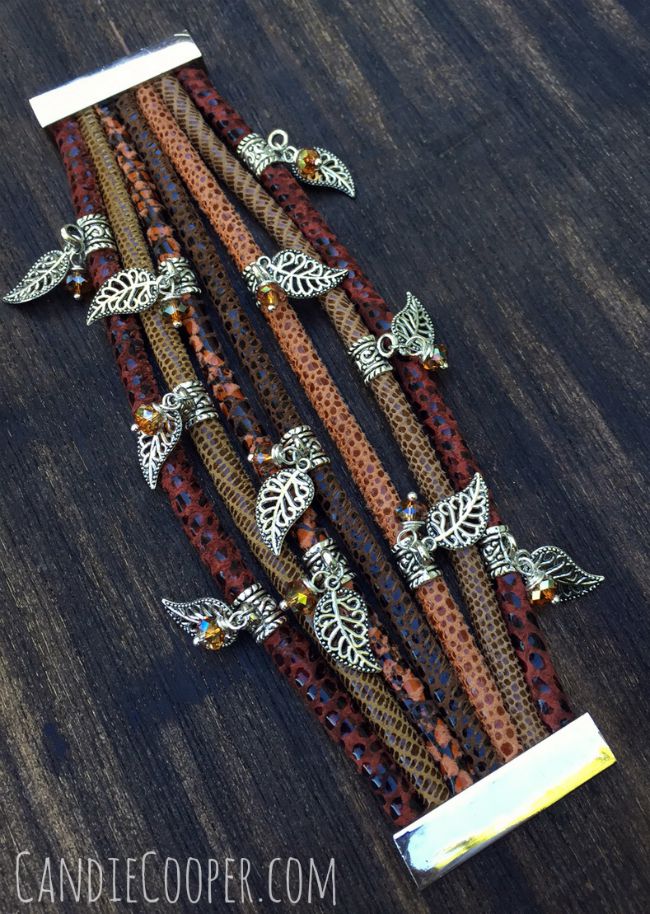
This post brought to you by LeatherCord USA.DIY Jewelry Making Printed Leather Bracelet from Candie Cooper and LeatherCordUSA.comThe other day I was walking out to the car and I heard a new, but old familiar sound—leaves crunching under my feet.  Persimmons are also dropping all over the yard.  They are a really pretty orange color (not so pretty when mashed under your favorite cowboy boots, but….).  The crisp mornings just make that coffee taste better and better and I find myself gearing up for pumpkin decorating and trips to the orchard.  Are you finding yourself inspired by the colors and feelings that fall brings?LeatherCord USA Beautiful printed leather for jewelry makingHere are some printed stitched leather pieces I brought home from my LeatherCord USA visit.  The texture in this stuff.  I LOVE IT!  It also comes in a beautiful palette of colors.  Click the link above to see all of them.Large Clasp from JesseJamesBeads.com for printed leather from LeatherCordUSA.comI’m using an extra wide magnetic clasp so I can fit a whopping seven cords in it.  Play around with the order of your cords so you get it just right.Cutting printed leather from LeatherCordUSA.comDetermine the fit and then cut the cords with wire cutters or a razor blade.  Glue the leather in the magnetic clasp finding like usual using the Loctite Gel adhesive.  Can you tell I really love this technique?!  It’s new to me and I’m ready to take on the world.  For reals.  What else can we glue leather onto?Making Leather Jewelry with printed leather from LeatherCordUSA.comIt’s perfectly beautiful like this, I think.  But, just for fun, I wanted to play with some of these large holed beads I found at Michaels.Large holed beads from @MichaelsStoresI love the metal finishes with the center beads, but felt like it conflicted with all the leather colors.Printed leather from Leather Cord USAInstead, I opted to slide the bead/bail pieces on, one or two per leather strand.Printed Leather from LeatherCord USA with Swarovski charmsI then connected a leaf charm and Swarovski dangle to the bail piece with a jump ring.  This was nice because it added some movement (and sparkle!).DIY Leather Jewelry idea from @candiecooper using printed leatherJust a really beautiful addition to your fall wardrobe and easy to create.

*Leather and adhesive from LeatherCordUSA.com

*Beads and charms from Michaels craft store

*Magnetic Clasp from JesseJamesBeads.com

Message in a Bottle Party Invite

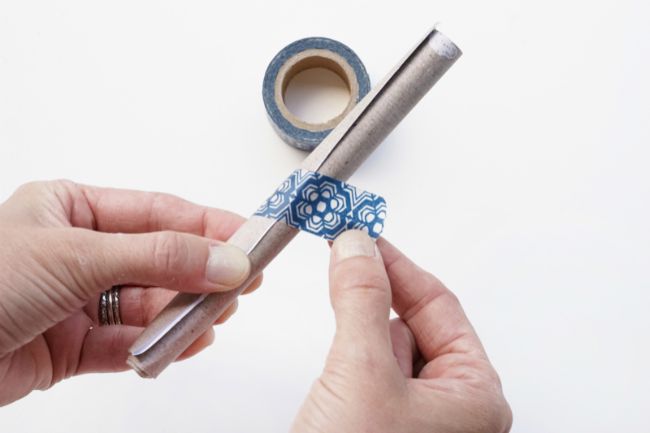
This post brought to you by ACTIVA-makers of colorful sand and air dry clay.DIY Party Invitation idea Message in a bottleMessage in a bottle party invitation idea  Add a handwritten noteThis is one of my absolute favorite projects to make with kids and adults!  You can write an invite, a love note, words of encouragement or a wish.  Whatever your message, roll it up, keeping it as skinny as you can.

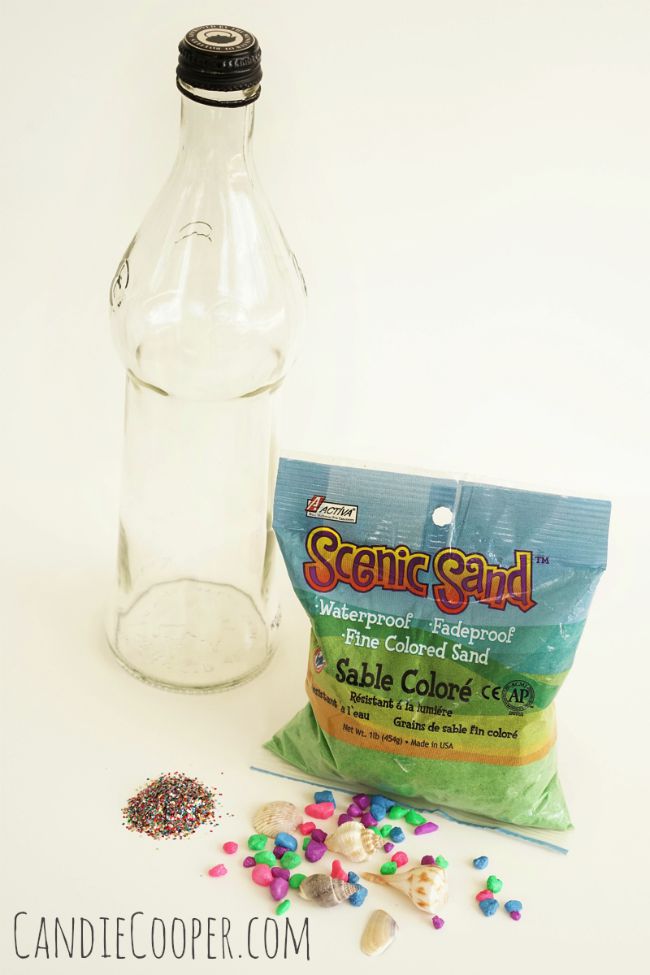
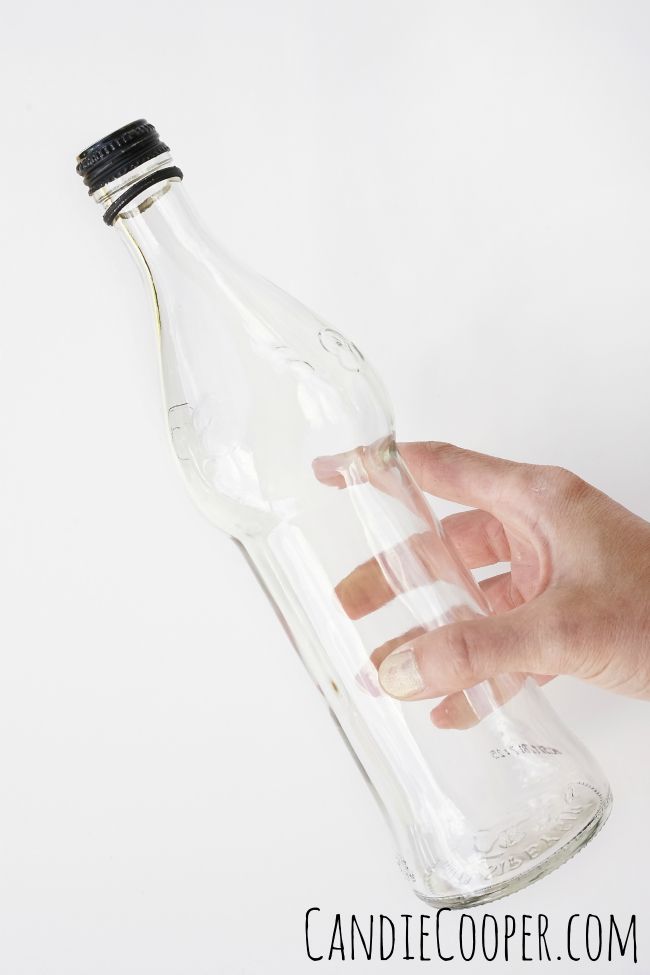
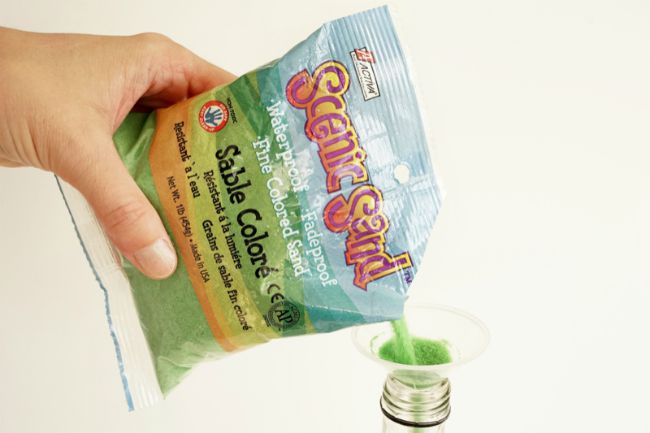
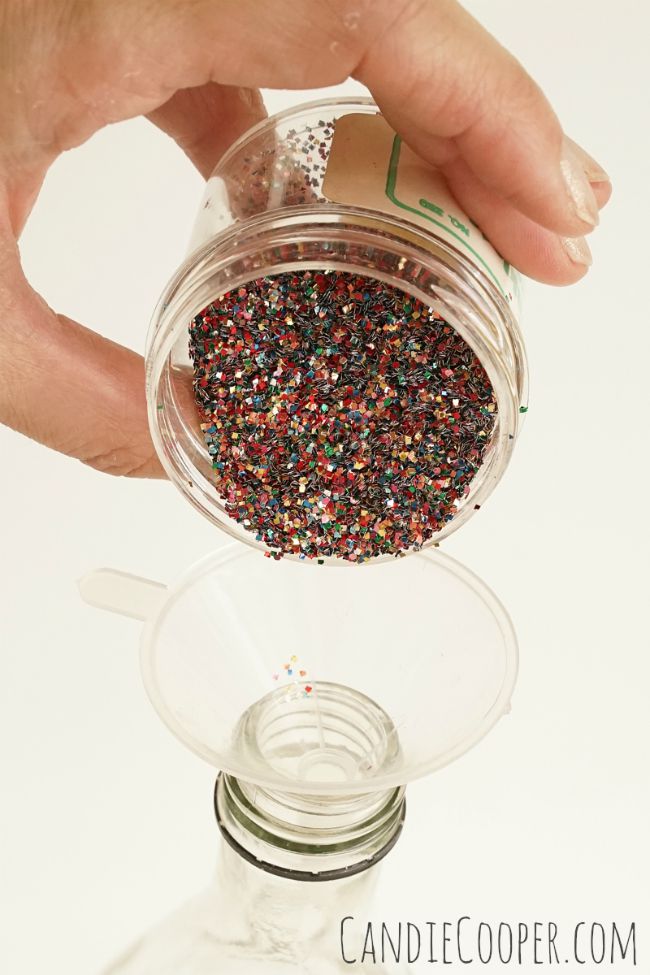
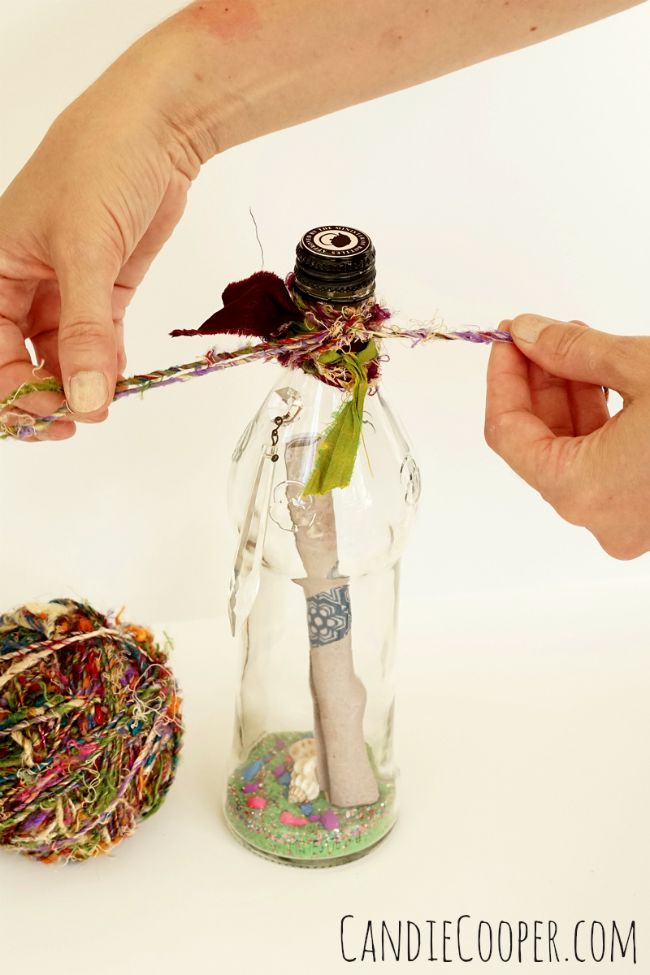
Message in a bottle party invitation  Seal up the note with washi tapeSeal with washi tape or string.Message in a bottle party invitation idea with ACTIVA Scenic Sand and Republic of Tea bottleFor this bottle, I’m using a recycled Republic of Tea bottle.  You’ll also need some colorful ACTIVA sand, shells, glitter, aquarium stones, and ribbons or yarn.Message in a bottle party invite idea using Republic of Tea bottleThis is the Republic of Tea bottle I mentioned.  I love the curve and height of it (and the tea that was once inside). Message in a bottle sand craftUse a funnel to pour the Scenic Sand inside.  I put about an inch in the bottom.
Message in a bottle party invitation idea  don't for get the glitterNothing adds a bit of magic like retro glitter…or any glitter that you have on hand.  Shake the sand and glitter together after you pour.
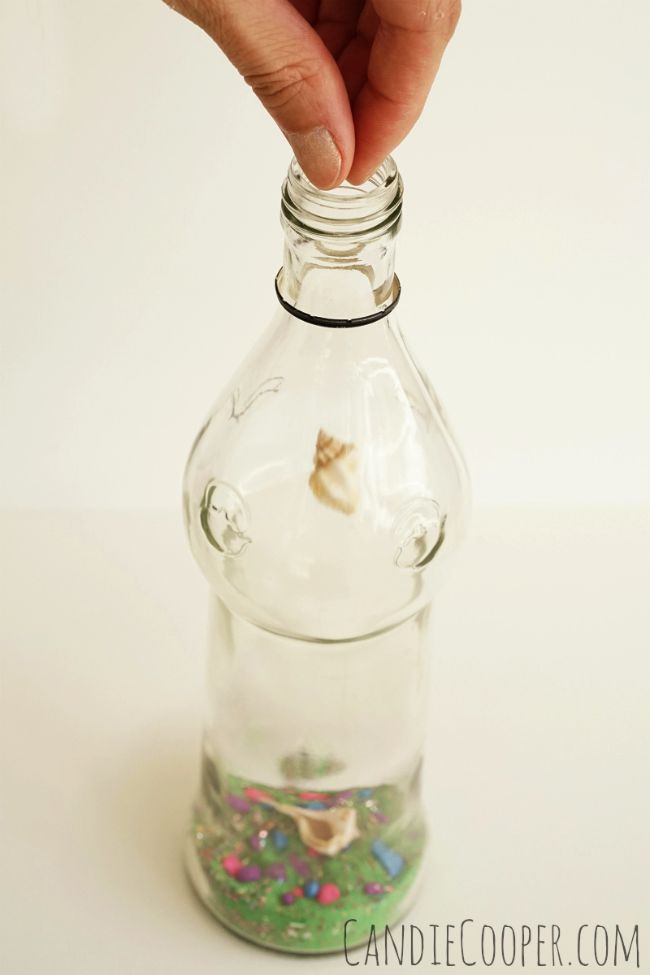
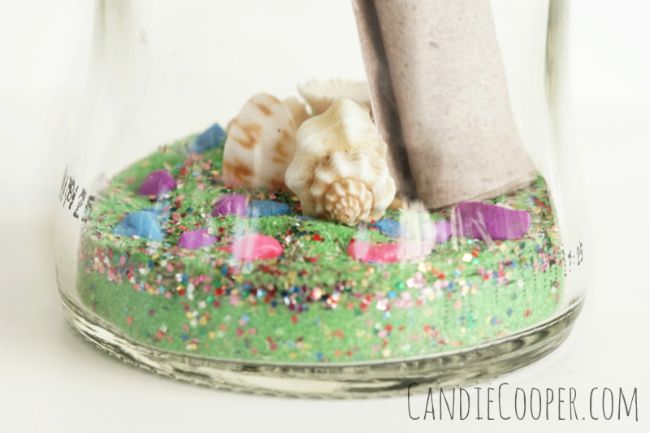
Message in a bottle party invitation idea with ACTIVA sand and glitterDrop in the aquarium stones, shells, marbles, gems (Ooo!  Gems!) or whatever you like.
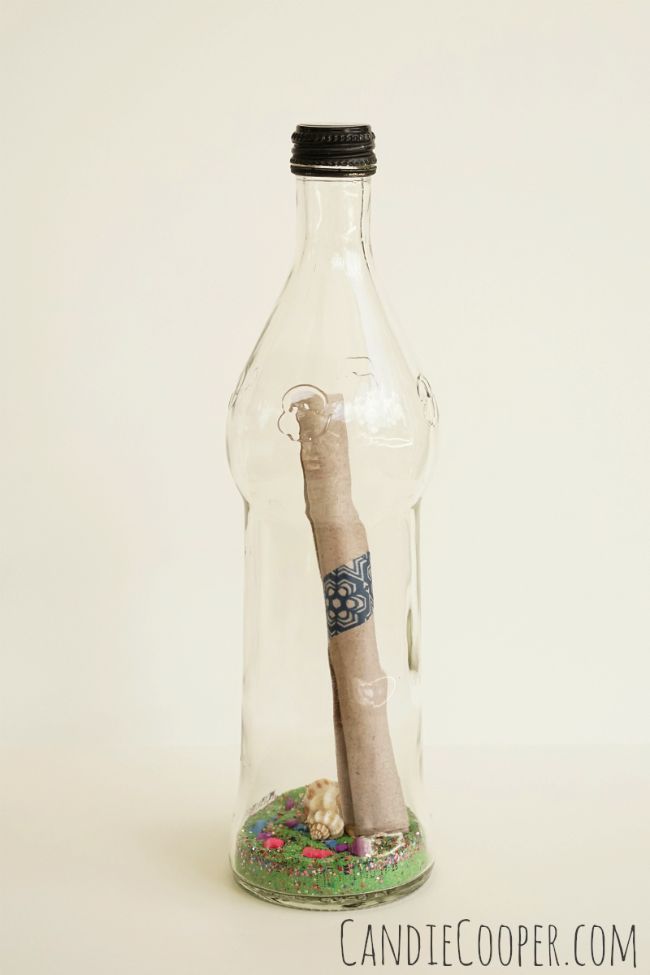
Message in a bottle party invitation idea using ACTIVA sandMake a message in a bottle party invitation ideaThe letter goes in next followed by the cap.  I’ve also used antique bottles and topped them with an old wine cork.
DIY Message in a bottle invite with recycled Republic of Tea bottleTie on bits of ribbon, yarn, crystals etc…
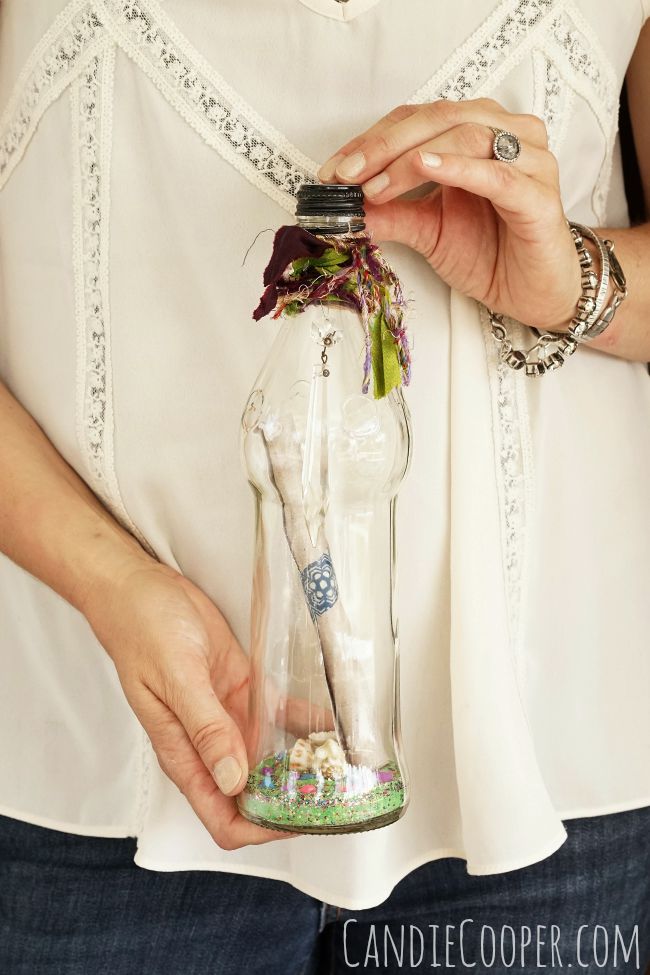
Message in a bottle party invitationAnd it’s ready to give.
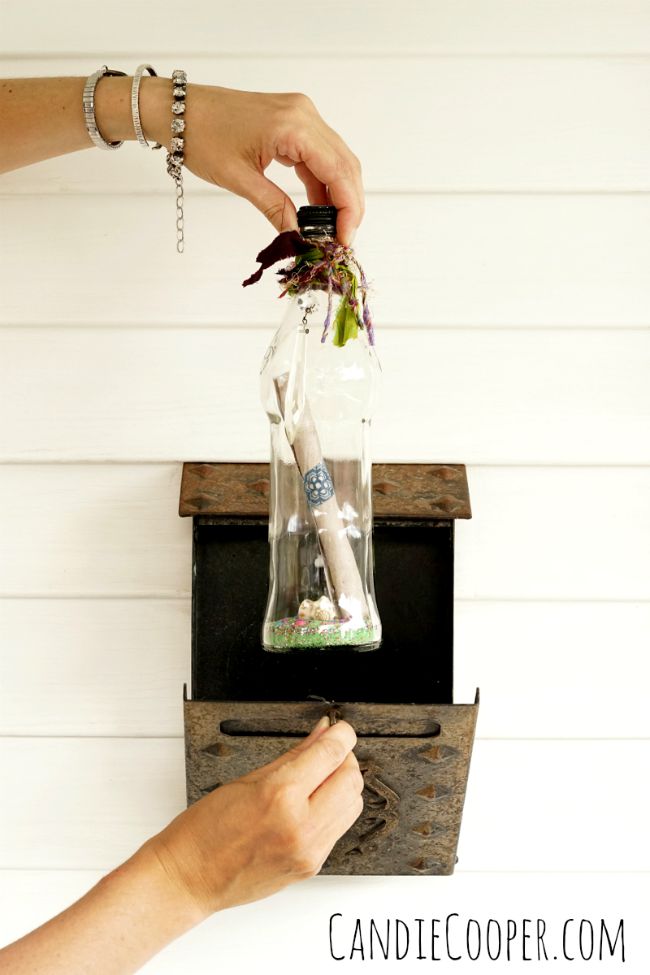
Message in a bottle party inviteOr hang on a mailbox…or to drop in the ocean and make a wish!Message in a bottle party invitation idea from Candie CooperP.S.  I really think these would make the coolest wedding invitations.

A Little Trip and a Soup Recipe

overlookPath to Grotto Falls in the SmokiesBearsSmokiesSunset in the smokiesA few weeks ago (where did that time go?), my family headed south to the mountains in Tennessee where we ate too much and soaked up nature.  My husband found a sweet little house on Airbnb.com and that was just what the doctor ordered.  It had a hot tub where I soaked in the morning which is always dangerous because then you think you need one at home.  It also had a huge garden tub.  Extra dangerous.  Then I tell myself that it is these things that make vacation “vacation” and if I had them at home, they wouldn’t be as special.  It helps…a little.

We hiked to Grotto falls, saw some bear (two days in a row!), checked out the moonshine distilleries (ok we sampled some too), loaded up on grits (did I mention we ate too much?) and my husband drove a teensy tiny bit out of the way so I could go to my favorite fabric shop on the way home (Gina’s Bernina in Knoxville, TN).  I usually visit it when I’m at Jewelry Television, but I haven’t been there in a year, so I was overdue.  If you sew, you have to go.  Someday, I’ll tell you all about my sewing (but really fabric) obsession.

That brings us to the soup recipe.  When we got home, all of us had runny noses and stuffy sinuses.  Apparently the goldenrod was going haywire and we were feeling rough!Easy Thai soupThat’s when I whipped up a really easy Thai coconut curry soup.  It’s a very brothy version, that hit the spot.

First of all–I live in the middle of nowhere so I can’t get stalks of lemon grass.  I buy the paste at Kroger and I think it’s an ok sub.  If you can get the stalk, go on with your bad self!

Second, these are loose instructions and you can adjust however you like.

Directions:  

Bake the sweet potato for 45 minutes at 400 degrees (or until soft, but not falling apart).  Cut into small cubes.  

Brown the chicken in a little coconut oil with salt and pepper, then shred.

Heat a tbsp of coconut oil, saute the ginger, lemongrass, curry paste for a minute.  Add a little broth and stir.  Add the fish sauce and brown sugar and stir.  Add the remaining broth.

Add the mushrooms and the coconut milk and let the soup simmer for a few minutes.

Then add the chicken and sweet potato.  Heat thru.

Ladle into bowls and add a splash of lime and cilantro.  Salt if you want to!

 Bon Appetit!

DIY Fringe Earrings

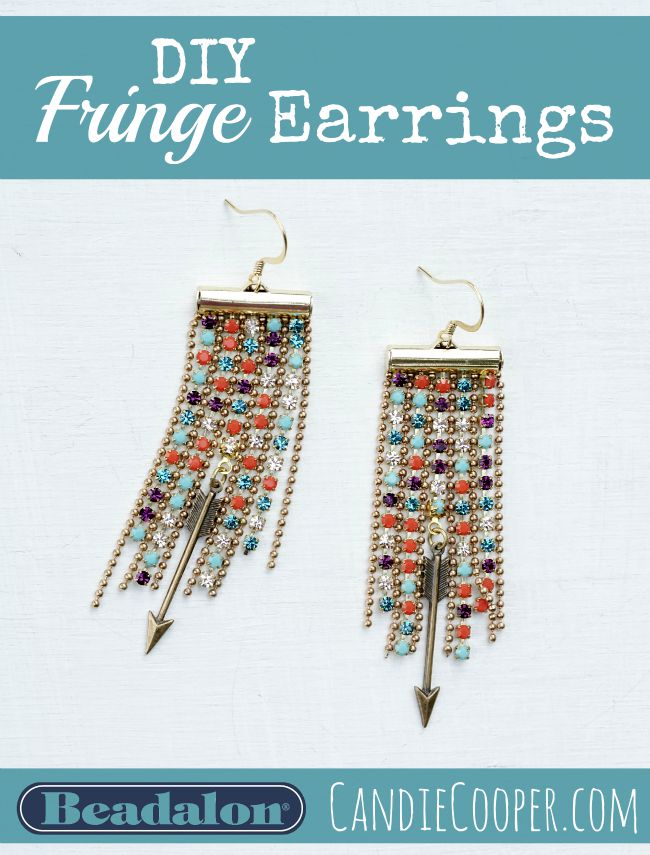
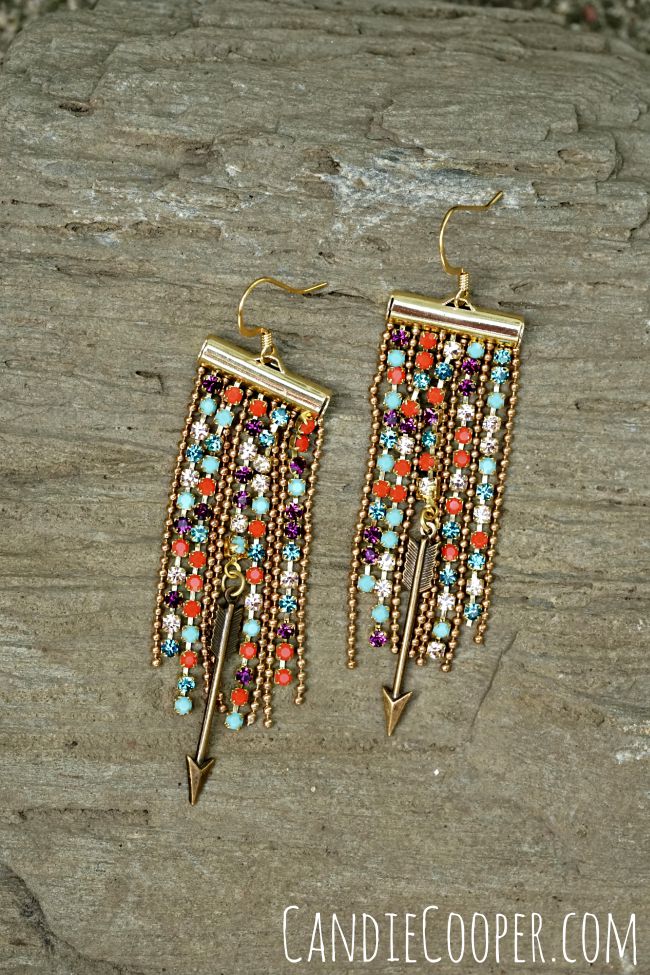
This post brought to you by BEADALON.DIY Fringe Earrings Make them in less than 30 minutes with Beadalon slide connector findingsJ-Lo called….she wants her earrings back.

Ah, fringe.

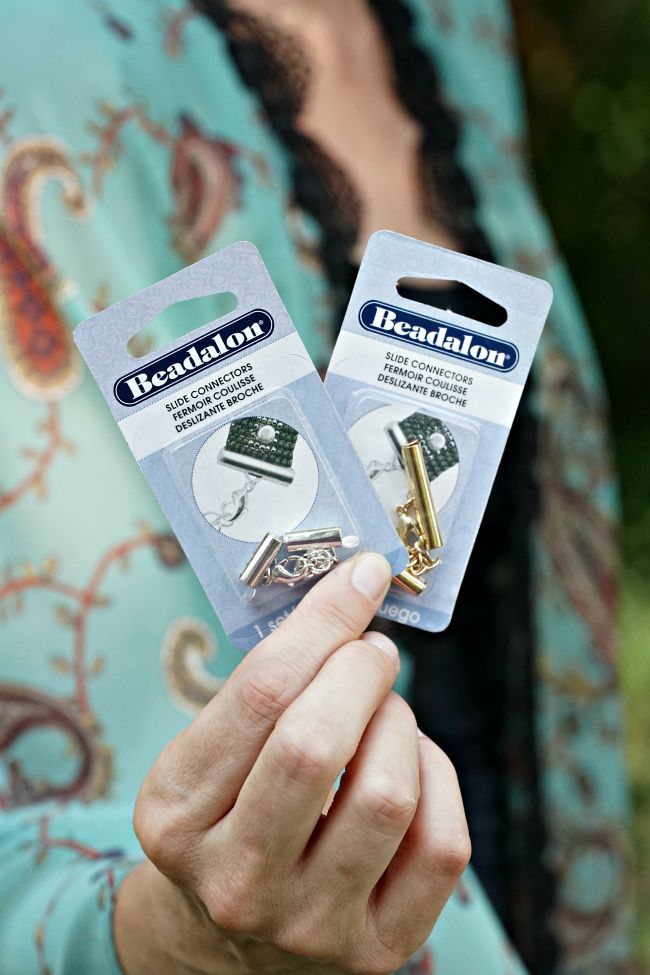
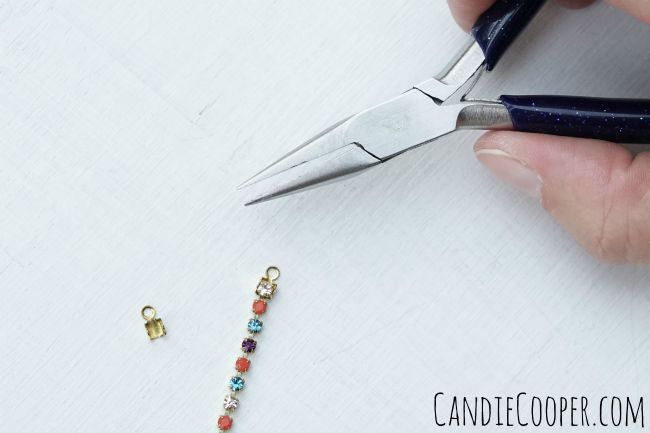
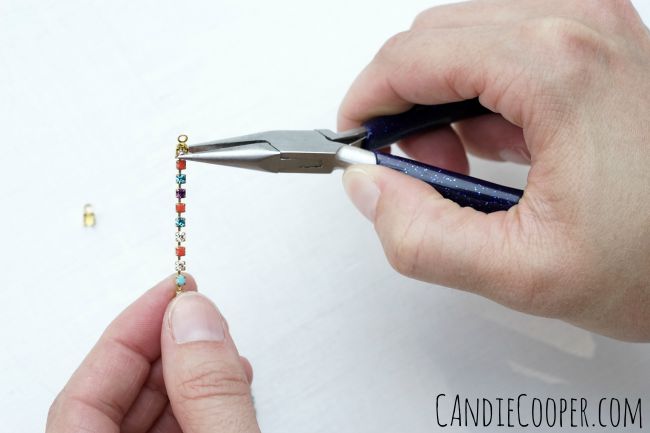
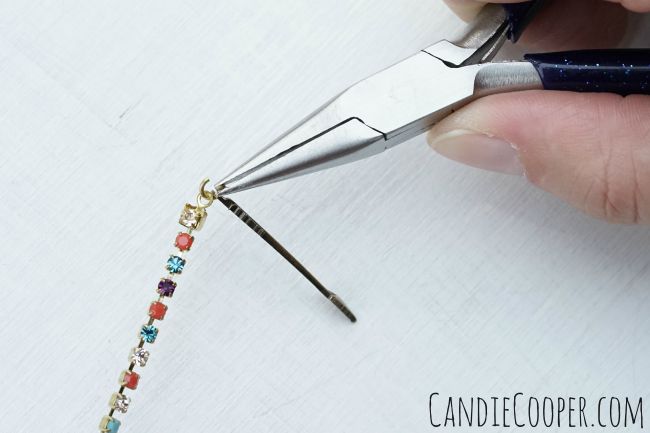
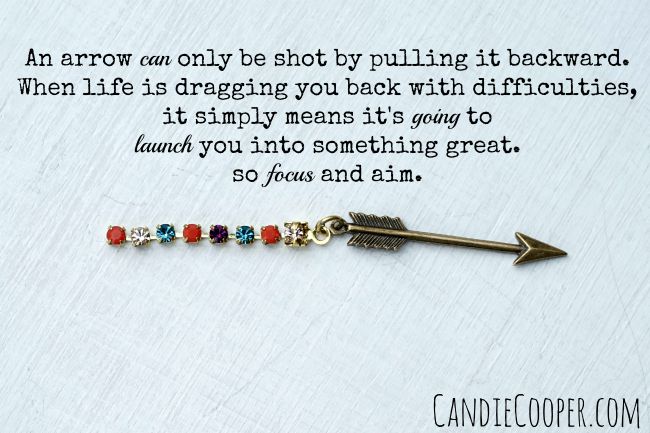
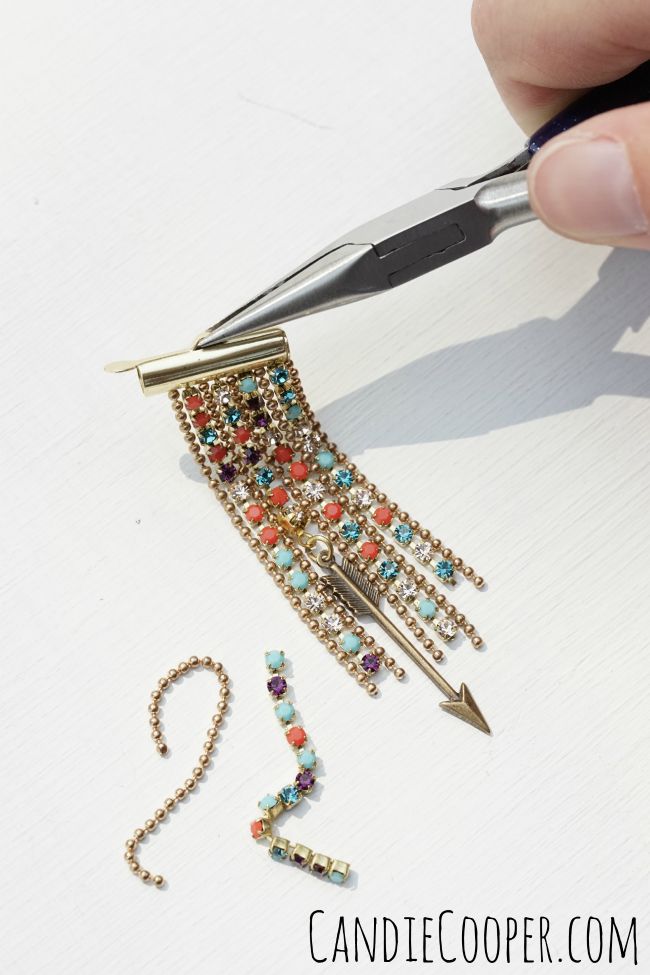
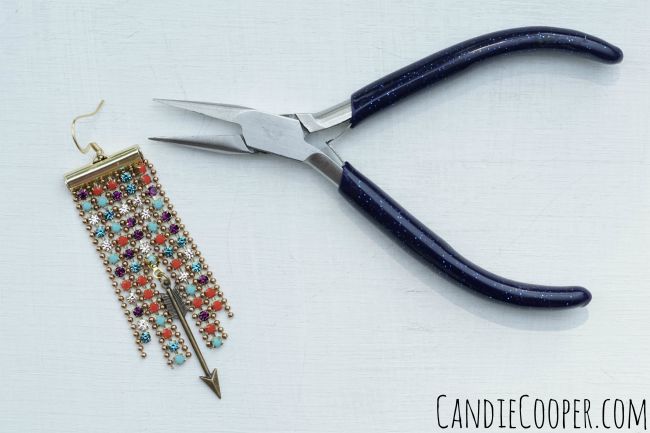
You guys know I’m addicted right?Beadalon Slide Connector findings for cup chain and ball chainHere’s the “gateway” finding:  Beadalon slide connectors.  I think it started with the Statement bracelets I made awhile back.  These earrings have been on my brain since March and I finally finished them.How to attach a cup chain findingI’m using cup chain and ball chain for the fringe and to spice it up, I’ve added an arrow charm to the center.  You’ll need some cup chain connectors in the appropriate size.DIY Jewelry Making Closing prongs on cup chain connectorSet the last link of cup chain down in the finding and roll the prongs over with Beadalon’s sparkly chain nose pliers.  The tapered end of the plier is awesome for working with tiny parts.DIY Jewelry Making Opening and closing a jump ringsNow you can connect your arrow charm.DIY Jewelry Making Arrow charm earringsI found several art pieces with this arrow quote on the internet with no source but really loved the message.

From my experiences, it’s true.  For me, the hard part is remembering to focus and aim when you’re in the thick of it.  It’s something I really have to practice and be mindful about.

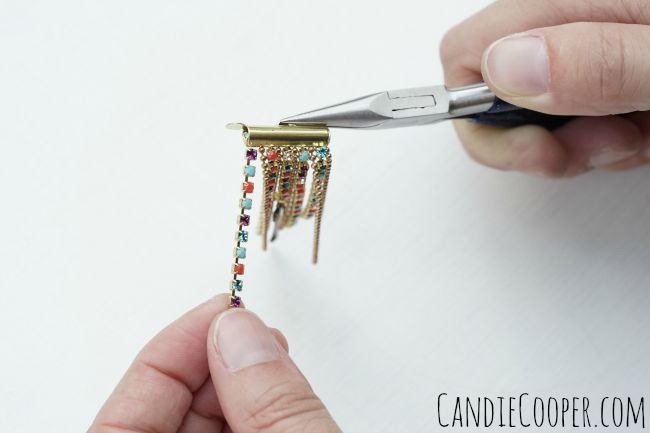
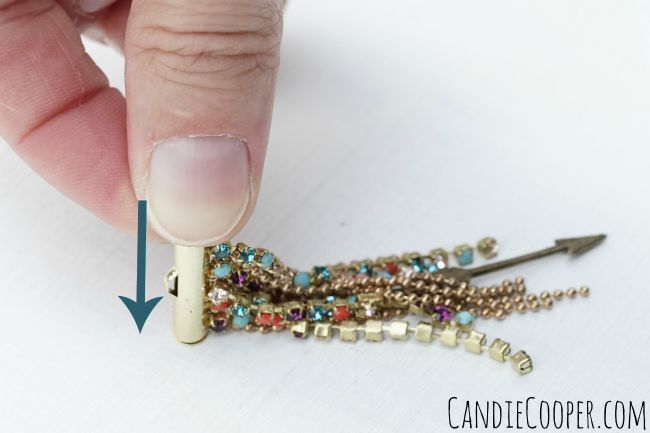
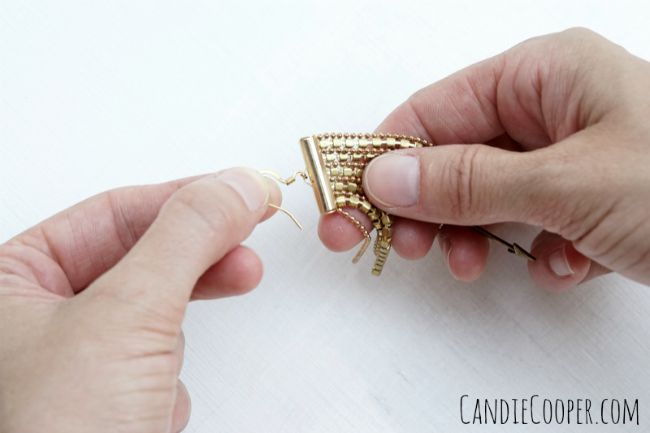
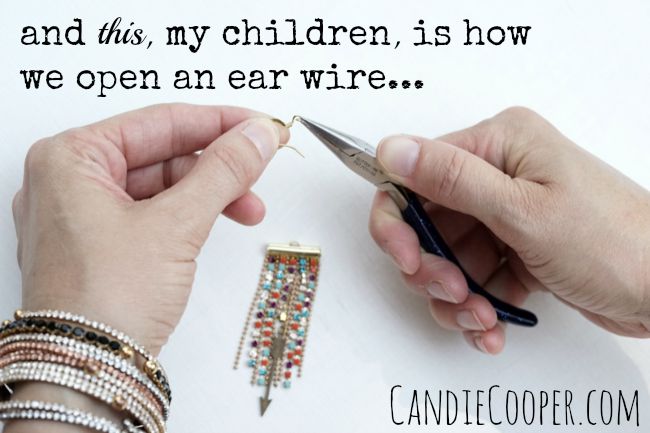
Moving on…DIY Jewelry Making Beadalon connector findingsNow, you can start sliding in your random bits of chain, trimming as you go with wire cutters.DIY Jewelry Making Adding cup chainBefore I forget, these slide connectors come in 3 different widths so you can simplify these if you like.DIY Jewelry Making Closing slide connector findingRoll the cap on the slide connector closed, pushing it against the table top to make sure it’s secure.DIY Jewelry Making Fringe Earrings with Beadalon Findings How to open an ear wireNow, we are to the finish line.  Open the loop on your ear wire from side to side and connect the loop on the slide connector. 
DIY Jewelry Making Fringe Earrings with Beadalon Findings Connecting an ear wiireClose the loop with the chain nose pliers.Fringe Earrings with Beadalon findings and toolsDIY Jewelry Making Fringe EarringsDIY fringe earrings from @CandieCooperEarringology by Candie CooperCheck out my book, Earringology, for more fun ideas!