Hammered Filigree Earrings with Beadalon Chasing Hammer

On today’s show I showed you how to take simple filigree pieces and make them into something artisan and handmade as hammered filigree earrings. *This video was sponsored by Beadalon but all opinions are my own.*

To complete this project I started with some filigree pieces, you can use any that you find at your local store. I then used ball side of my Beadalon chasing hammer and small bench block to create the texture. You will want to make sure that you have something under the bench block to help dampen the sound. For this project I used a folded up bead mat. [Read more…]
These Boots Were Made for Embellishing

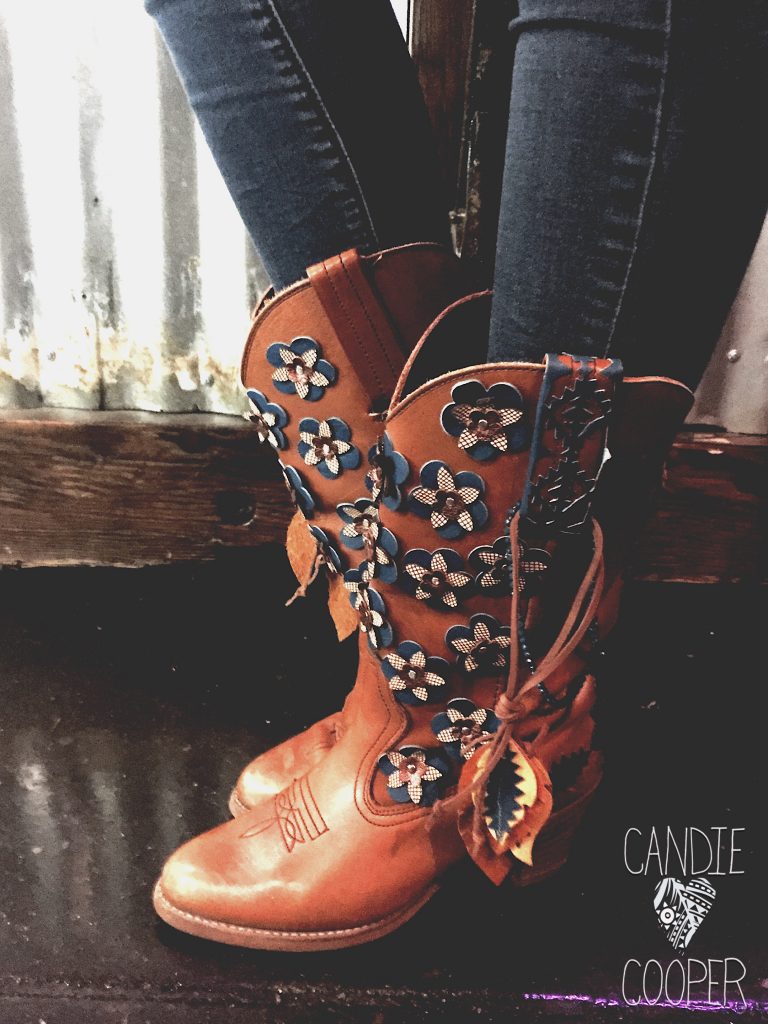
Over the past few days I have been showing you what I am working on for the CHA runway. Today I am showing you more of the boots that I have been working on. All I can say is that the more I work on these boots the more I see that these boots were made for embellishing. [Read more…]

DIY Earring Ideas with Jesse James Beads

DIY Earring Ideas with Candie CooperToday on the show I wanted to share with you some DIY Earring Ideas using Jesse James Beads. *Jesse James Beads sponsored the show, all opinions are my own*

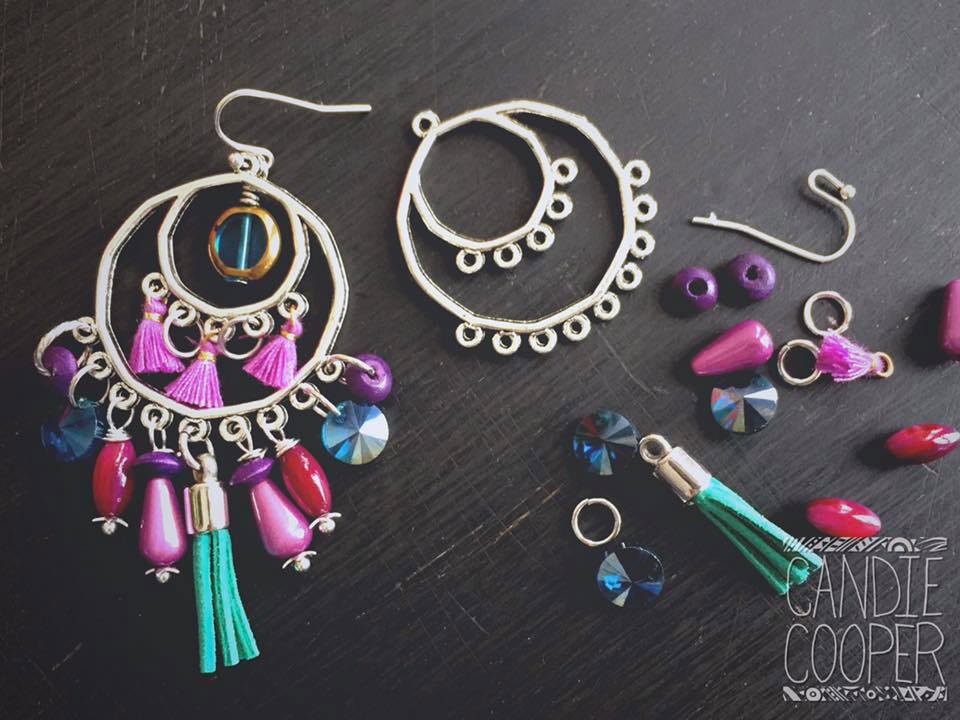
I made three pairs of earrings today, two that were simple and one that was a chandelier pair. You can see the full video below of how I made each of these pairs.

To start us off I pulled out some chandelier findings, which you can find at Jesse James Beads or in my Etsy shop. I went for a true boho style on this earring and had fun playing with the turquoise and purple colors.

One of the cool things about using chandelier findings is that you can use them as earrings or alone as a necklace pendant. The first thing that I suggest doing is counting the number of spaces you have to see where the true middle is. This allows you to figure out how you want the piece to cascade down. If you have a chandelier finding like the one that I used that has a lot of loops, you can use chain to connect them to lighten the look.

When starting your design think about what you want in the middle, this is the center of the whole piece. When making earrings, any earrings, make sure you count your beads out. MakDIY Earring Ideas with Candie Coopere sure that you have enough to make both sides match. For this project I wanted to use jump rings and the wrapped loop to give it some interest. I also like to mix and match the head pins that I use. I like some that are flat and some that are more decorative, like the ball head pin.

As we worked through the design there were some beads that I wanted to be a little lower. A way to accomplish this is to make the loop larger when doing a wrapped loop or to use multiple jump rings to make the bead hang lower. You can also use jump rings as spacers when you don’t want too many beads close together. I did this on the top ring of the chandelier earrings with the micro tassels.

If I were to sell this pair of chandelier earrings I would make sure to put a little bit of white school glue on the tassels to make sure that they don’t come apart. It will dry clear and you won’t even see it, but you will know it is more secure. A tip when working with multiple colors is to separate the colors with mental findings. This could be with using a metal bead or using the jump rings as I did in this piece.

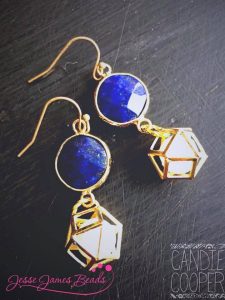
DIY Earring Ideas with Candie CooperAfter making the chandelier earrings I went with two more that were a little more simple to give you some other DIY earring ideas. For the blue pair I used the Lapis connectors from Jesse Jame Beads and cage beads. This was a quick pair of earrings that look super expensive. They are just a great go to pair of earrings.

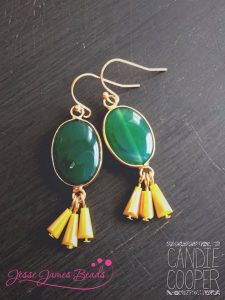
For the third pair I used some of the drop beads that I had been wanting to use and paired them with the Green Agate Stone Connectors. Again another simple pair that look expensive. All I used was the connector and some head pins.


Bead  mixes shown in the video:

Shanghi Nights

Mini Mixes-Midnight Dreamscape

Chinese Dragon Design Mix

Kung Pao Design Mix

Materials List for DIY Earring Ideas:

Beads of choice

Ball Head Pins

Flat Head Pins

Jump rings

Ear Wires

Take A Class with Me in Tucson at To Bead True Blue

So excited to be teaching in Tucson in late January and early February!

Check out the below descriptions.  My classes specialize in mixed media techniques and unique connections and a lot of laughs.  To top it off all my classes are sponsored so your materials are FREE! Plus I give away a bunch of free stuff thanks to my sponsors.

All tools are provided by Beadalon, but you can bring your own if you like.

Class space is limited to 10 and cost $35 at the Doubletree Hotel.  There will be a registration table at the front to help you find the classroom.

Materials kit is free thanks to Beadalon.com, JesseJamesBeads.com, Sizzix and LeatherCordUSA.com.  Thank you to these generous, sponsors!

Leave your questions in the comments section.  Thanks for your interest in my classes!

Jan 28th 2-4PM Leather Macrame Fringe Benefits Necklace:  Let’s take an inexpensive part from the hardware store and knot luxurious leather around it. Candie Cooper will show you the ins and outs of this simple technique that you can use over and over. You’ll also have the opportunity to paint and add texture to your leather tassel and focal pendant. The pendant is surrounded by beautiful Jesse James Beads and Beadalon findings. Leather from LeatherCord USA. 


Jan 29th 2-4PM Knotting Made Simple:  One of Candie’s most favorite techniques comes to life in this class—knotted silk. Students will string a unique blend of signature Jesse James Beads then set to knotting with Beadalon’s Knot-A-Bead tool. You will learn how to finish the silk ends and attach to a decorative chain to create a beautiful layering necklace. If you’ve struggled with knotting, come give this class a try. Candie will hold your hand through the process. Silk knotted jewelry is luxurious—you’re going to love this finished necklace!

Sponsored by JesseJamesBeads.com and Beadalon.


January 31 4-6PM How to Emboss Leather–Light As A Leather Feather Necklace  Curious about leather embossing, dying with pigment and more? This class was made for you! Candie Cooper will show you how easy it is to make this fun leather pendant and necklace from start to finish from cutting, to forming, to dying and embellishing this sweet leather feather. Truly an amazing process! You will have 3 color options to make your feather piece.  Candie will also show you how to attach findings to crystal cup chain. Class Kit will include beads, findings and chain so you can finish your necklace! Sponsored by Sizzix, Beadalon, and Jesse James Beads.


Feb. 1 4:30-5:30 BUSINESS Of BEADING:  Thinking about or have your own jewelry business?  In this class, Candie will share helpful tips for taking good photos, marketing online, selling at craft shows as well as online.   You’ll also learn ideas for branding and telling your story so your jewelry shines. This is one of Candie’s most popular classes-don’t miss it!
Each person will leave with a swag bag of jewelry making goodies. Sponsored by Sizzix, Beadalon, and Jesse James Beads.


Feb 3 11-1 Cutting A Concho: Riveted Leather Charm Pendant:
One of her most requested technique how-tos, Candie Cooper will show you how to use the Sizzix Jewelry Studio tool to create an amazing leather and tin concho pendant.  You will learn tips for cutting leather, vintage cookie tins and more.  Once the layers are cut, you will rive them together and add charms, beads and more. Participants will have the opportunity to string their unique pendant with beautiful beads and wire to create a stunning necklace.  Sponsored by Sizzix, LeatherCordUSA.com, Beadalon, and Jesse James Beads.com.


Into the Woods Tassel Necklace

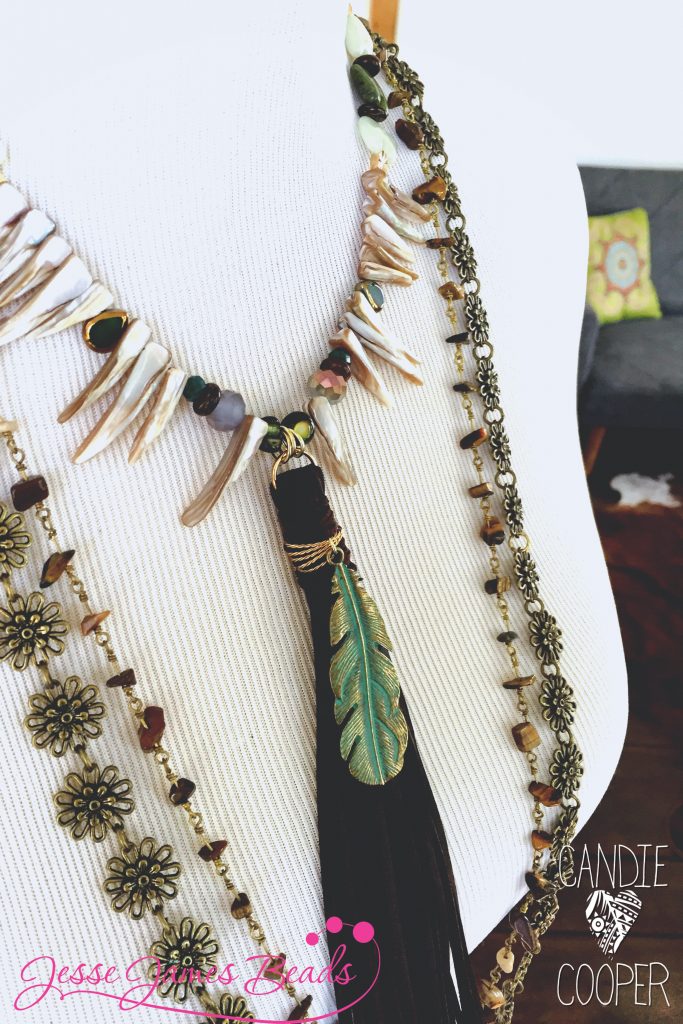
In To The Woods Tassel Necklace by Candie CoooperIn this Facebook Live Video I showed you how to make the Into the Woods Tassel Necklace.
This video was sponsored by Jesse James Beads and Beadalon, all opinions are my own.

In the video I show you how to layer a pendant with a tassel and how to do some basic wire wrapping. Tassels have been a hot trend for a while and something that I love to add into my jewelry. Tassels can be made from a lot of different materials but today I will be showing you a chain tassel.

This necklace features Jesse James Beads’ new collection, Into the Woods. This is a beautiful earthy collection that you could use in so many ways. This necklace could be made with any beads but the Into the Woods collection really gives the piece a unique edge.

Keep reading to see where you can purchase the other supplies for this project.

When you make this project you can select any color pallet that you like. You can try to mix different pallets to get a different look each time with the same technique. If you make this project head over to my Facebook page and post a picture so we can all be inspired! While you are there be sure to turn on the notifications to see the LIVE Facebook videos. There is a new video almost every weekday at 2:30pm EST.

Supplies:

We already talked about the beads needed for this tassel necklace but there are a few other items you will need to finish the project.

You can find wire and chain for this project on Beadalon’s website. If you need a bail making plies to complete the project you can pick up the bail making plier with your Jesse James Beads order or you can see the full selection of jewelry making pilers on Beadalon’s website.


Boho Jacket Pin – DIY Jewelry

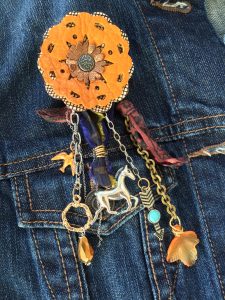
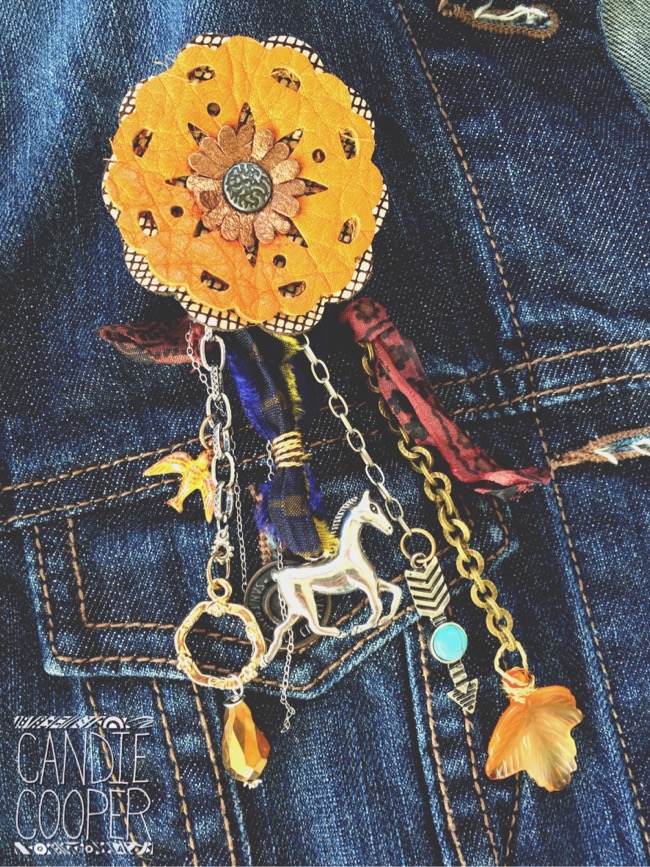
Fall is here.  Let’s make a pin about it.  Bust out your leather scraps….(way more fun than raking leaves). Today we are making a Boho Jacket Pin – DIY Jewelry.

Full disclosure: I work with Sizzix on creative projects like this. All opinions shared in this post are mine.
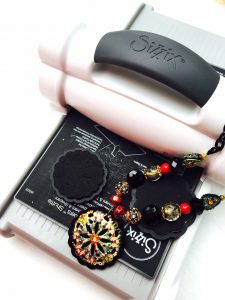
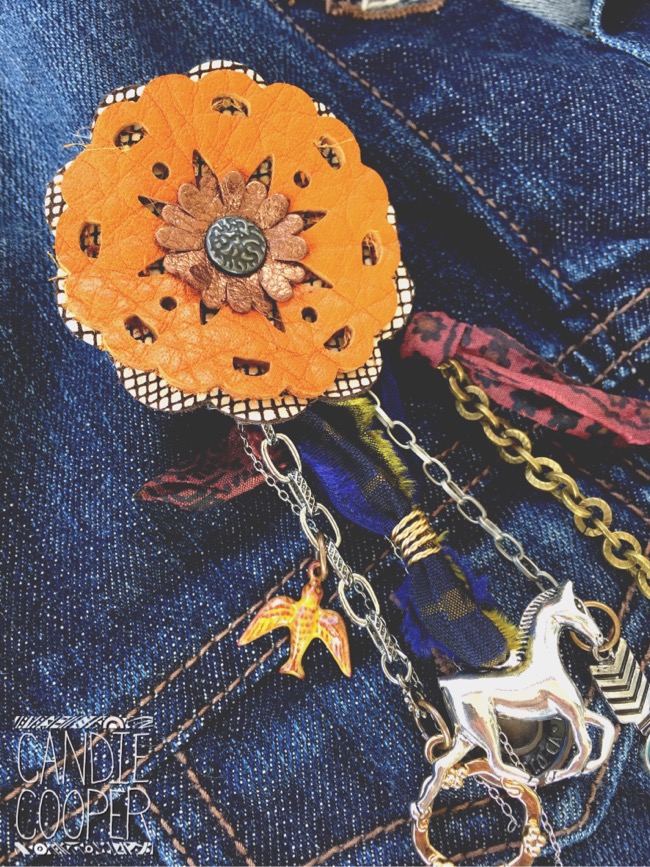
img_7340I’ve got charms, ribbons, chains and more coming out my ears.  These things are my love language.  It only made sense to add them to this leather pin I created with Sizzix’s Jewelry Studio Tool (see source list at the end of this post).

You can make your pin out of felt, paper and more… This one is layers of leather conchos cut with this die and riveted together with a rivet from Tandy Leather.

img_7341

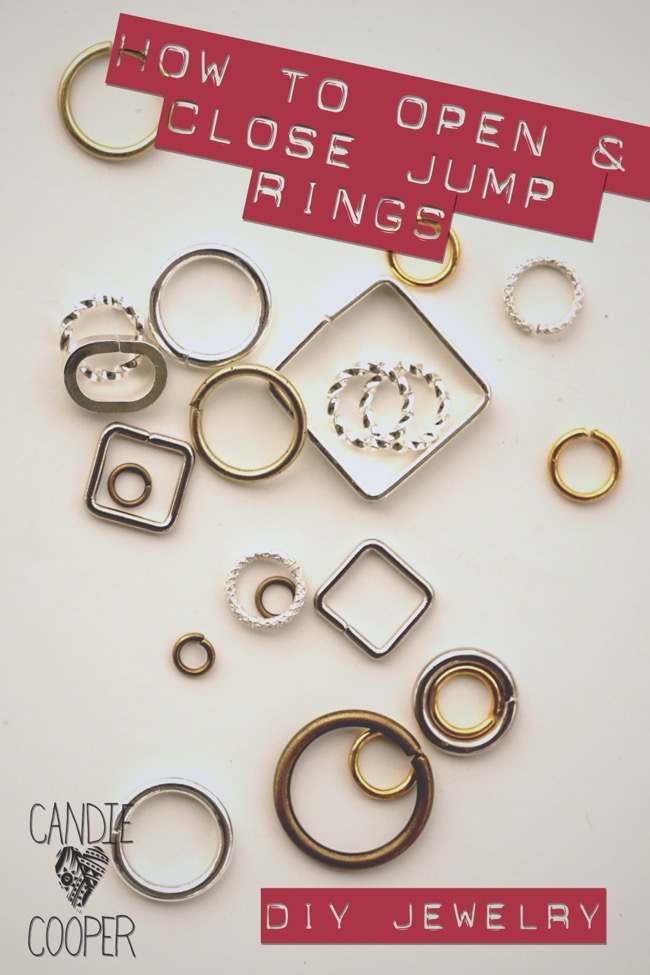
How to open and close jump rings-for DIY jewelry

Here is a quick project to show you the ins and outs of using a jump ring.

This post is brought to you by Beadalon–thanks Beadalon for sponsoring my blog posts and supporting my love of DIY jewelry.Jump Ring Assortment

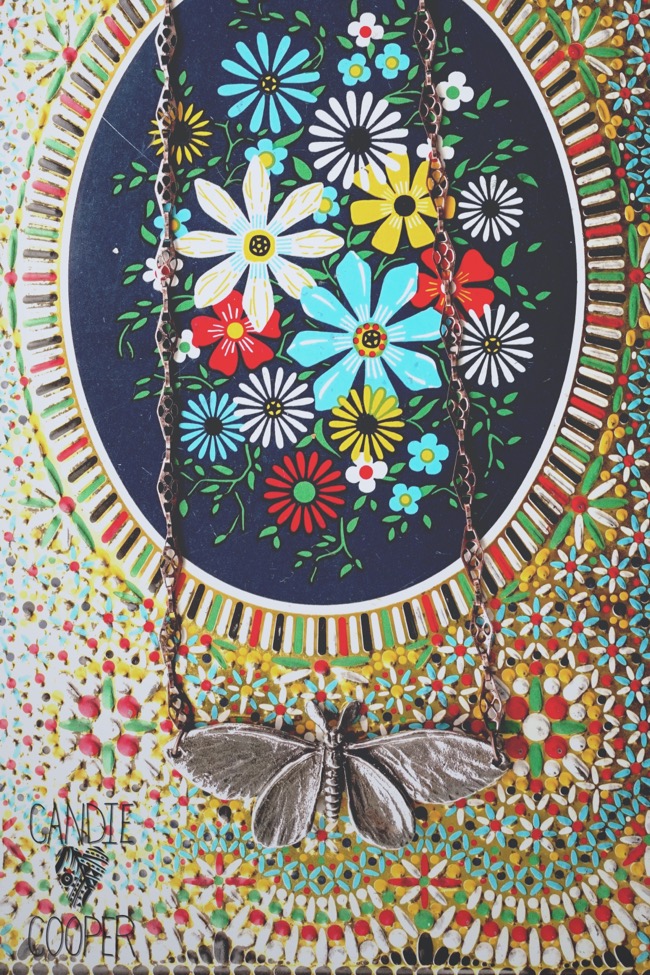
One of the very first things I show people how to do when making jewelry is how to open and close a jump ring.  It’s such a simple act and you can make so many things by knowing this technique for making connections in DIY jewelry.  That’s how I made this sweet moth necklace.
Moth Pendants connected with jump ringsThe jump rings at the tip of the wings connect the moth to the chain.  In about 5 minutes, you can have yourself an over the head layering necklace (and a really good time).  Check out the tutorial and video at the end of this post for details on opening and closing a jump ring.
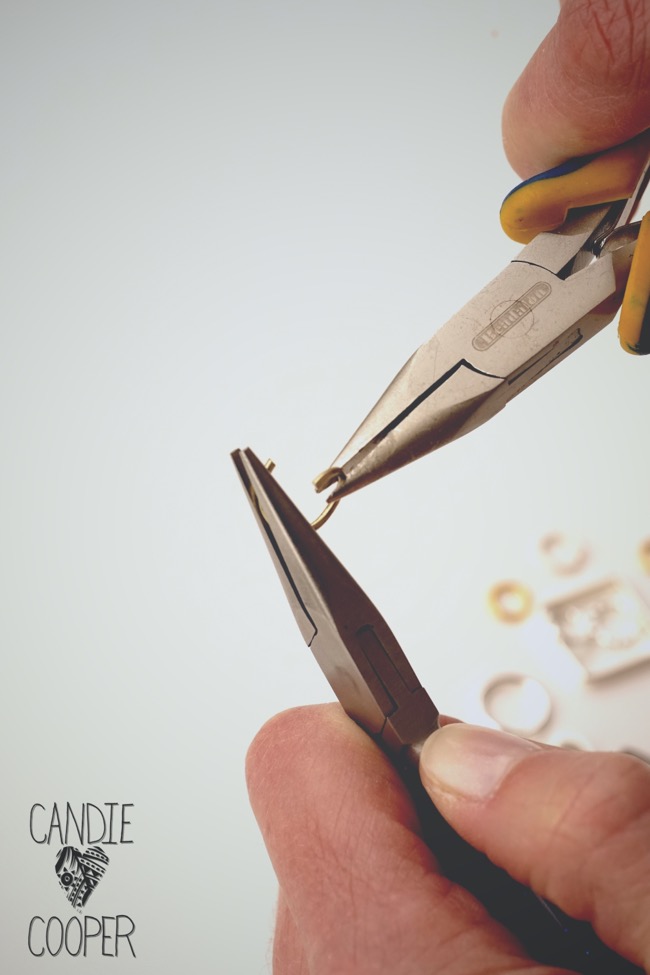
Opening jump ring with pliersIt’s helpful to use two pairs of chain nose pliers (see materials list at the end of this post) when opening and closing rings.  Some people like to use a bent chain nose pliers to help hold their jump ring as well. Beadalon also has a super helpful jump ring tool to make opening jump rings much easier. You will still use your pliers to close the ring when you are finished.

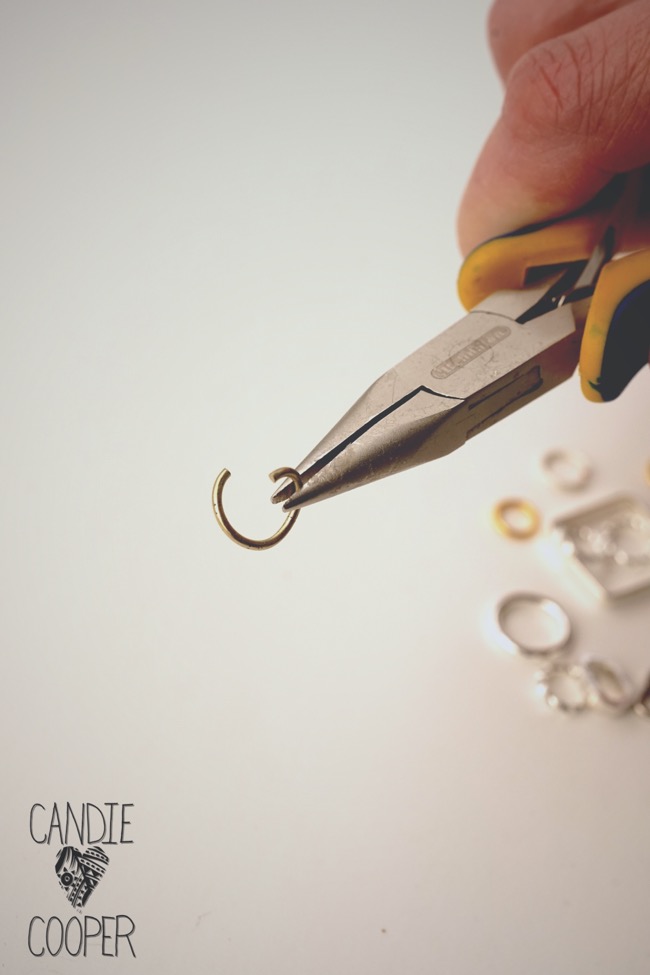
Place the ring’s opening at “12 o’clock” and twist the ring open with the two pairs of pliers.  Don’t open it so the ring looks like a “C” because it’s super hard to get the ring to go back into a perfect circle after this.
Twist open of jump ringConnect your clasp, chain, moth, etc… and twist the jump ring closed.

This is a super quick project with beautiful results. You can use any pendant that has two holes as the top to complete this project, let your imagination take over.

Supply List:

Beadalon Ergo Pliers

Beadalon Jump Rings

Jesse James Bead’s Moth Pendant