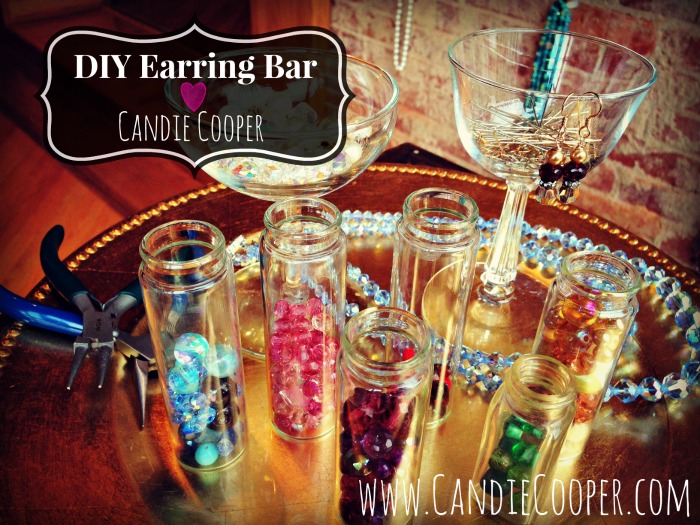
 Are you looking for a fun party activity over the holidays? Or any day for that matter? This is it! Your guests get to design their own earrings. You would think men might snooze at the sound of it, but I’ve seen guys get in on the fun too, designing pairs for their lady friends as well as dads and daughters making them for momma bear. It’s a lot of fun! All you need are a few supplies and a little earring making know-how. Here are some tips and ideas for your DIY Earring Bar:
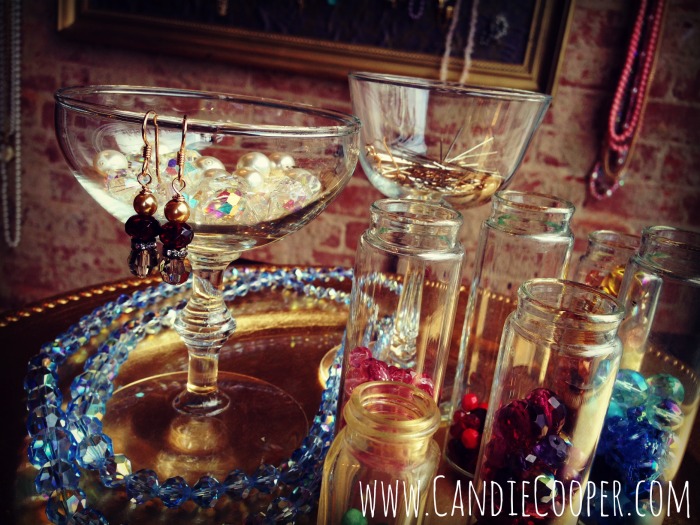
 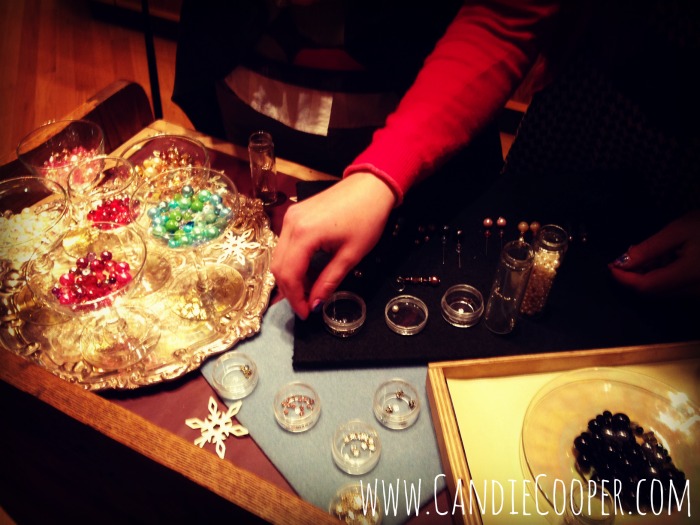 Keep it simple by leaving small amounts of supplies sorted in pretty champagne glasses, vintage coasters and plates. Too many choices can be overwhelming.
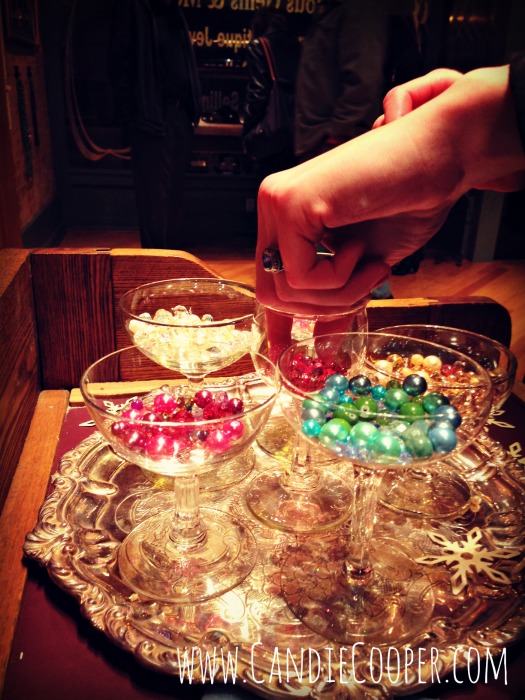 Cut up vintage necklaces for beads (or you can purchase beads from your local craft store). This bar had vintage Swarovski crystals. Oo la la! No one can resist the sparkle.
 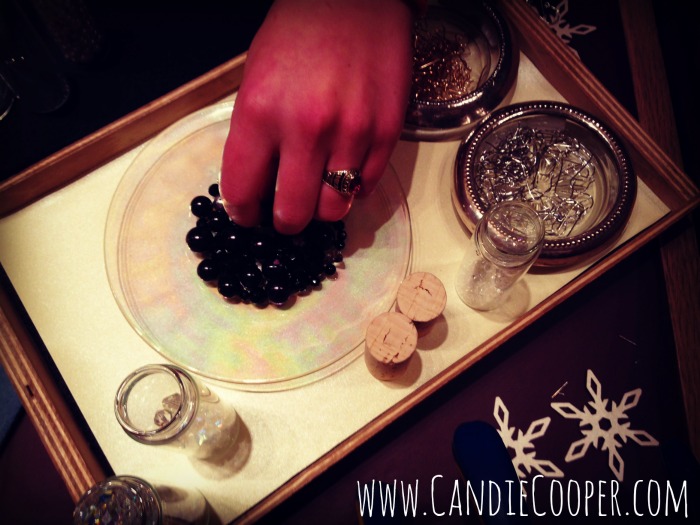 Offer up two colors of metal–silver and gold findings are tried and true. This applies to spacer beads as well. My favorite are the tiny ones with crystals like these balls from Ornamentea.com or these. Make sure you get lots of those! They are the glitter of jewelry making.
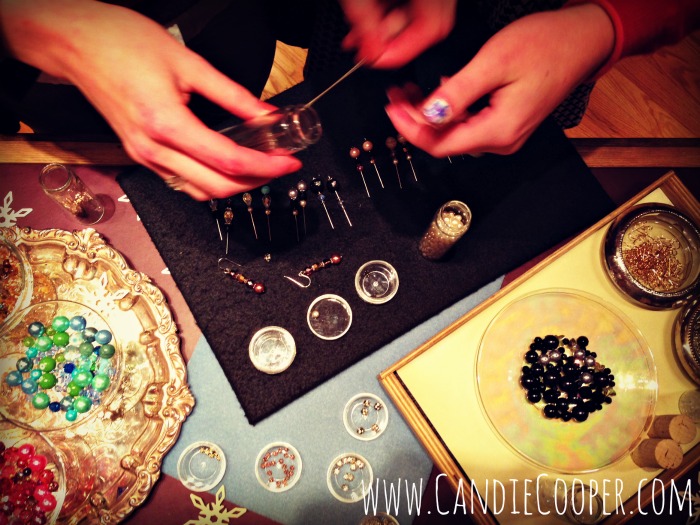 Once people are happy with their stack of beads on the head pin, it’s your turn to finish the loop at the end and attach the ear wire. I had a great time chatting with people while they picked through the bead bowls and helping with their designs.
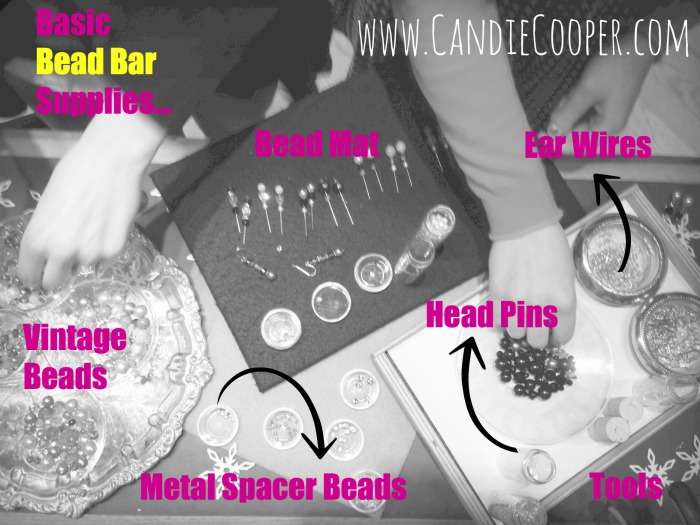 Here’s a trusty check list of supplies for earring making. I should also add that it’s nice to have a small jewelry pouch or bag to put finished earrings in so they aren’t easily lost into the bottom of purse abysses (that would be my purse btw).
 I’m doing a trunk show this Friday night at Lux Boutique in Kokomo, IN where I’ll have another earring bar set up! This time I’ll add a few different beads and findings to keep it fresh. Party on with your sparkly self!
DIY Earring Making Bar
How to Make Personalized Ornaments
First off, special thanks to Craft Attitude for sponsoring this post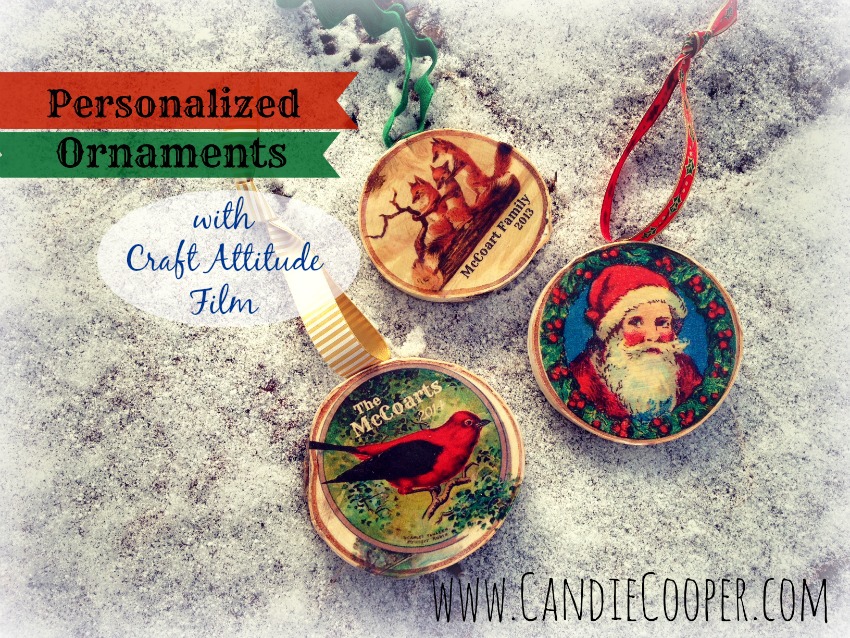 No doubt about it, Christmas ornaments are my favorite holiday craft. Throughout the years, my mom and I have made them and given them. They are sweet little treasures that add an enormous amount of character to a family tree. Paint. Glitter. Mod Podge. Needle felted. Photographs. Yarn. Cross Stitch. Hand prints. Ornaments can be made from anything! Ain’t life grand? Here is a little tutorial I made for these birch wood ornaments using that incredible crafty film, Craft Attitude and images from the most lovely Graphics Fairy.
 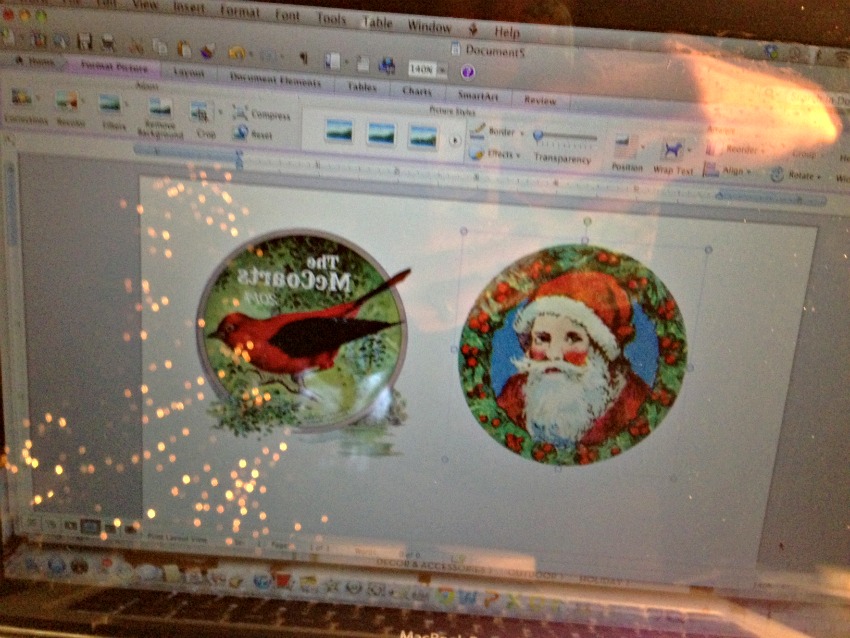 The first thing to do is find your images. Turn on the Christmas tree lights, make yourself a hot beverage and head to the Graphics Fairy site to surf for images. There are so many fantastic images to choose from (might want to check those ink levels now). I used a red bird, Santa, and these hilarious sledding foxes. Thanks Graphics Fairy! By the way, if there’s one gal that’s going to Heaven, I’m positive it will be Karen of the Graphics Fairy. Save your selected images and open up a word processing program. Insert your images into the document.
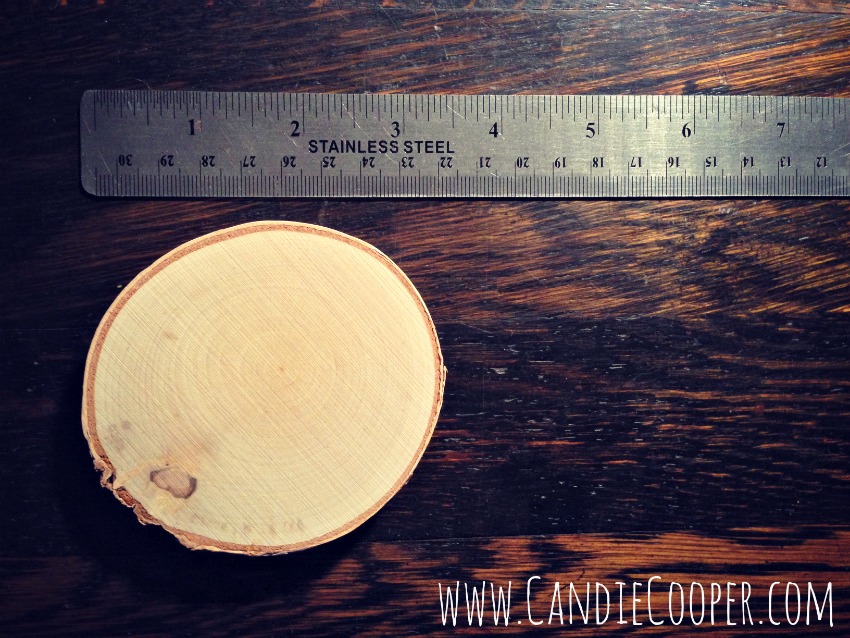 Michael’s Craft store is selling birch wood surfaces. These were marked as coasters. They are on an end cap in the floral area. Grab a rough diameter measurement of the birch wood coaster-soon-to-be-ornament.
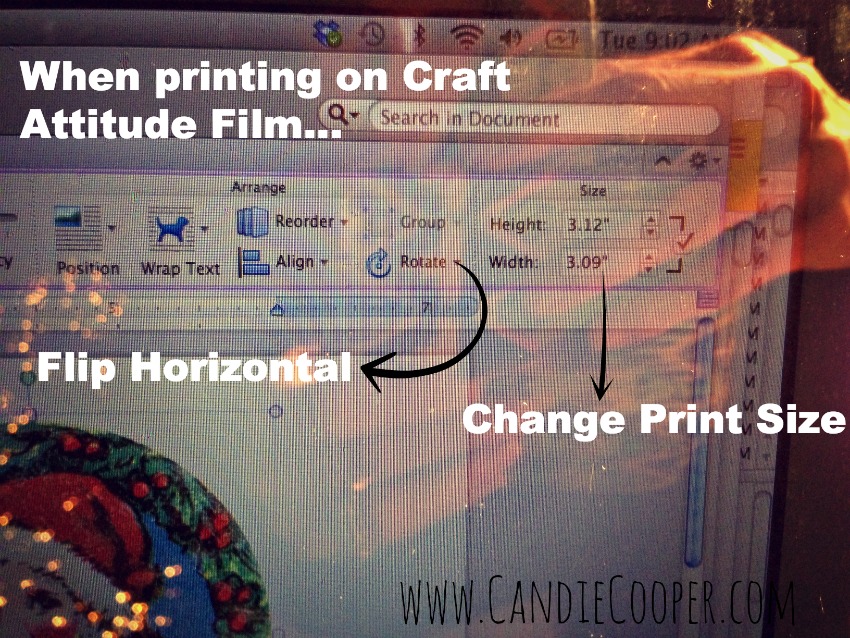 Two key things to do when printing on Craft Attitude film:
- Change the size of the image to match your wood disc
- Hit the arrow next to the “rotate” tab and select “flip horizontally.” This is key when images have words on them.
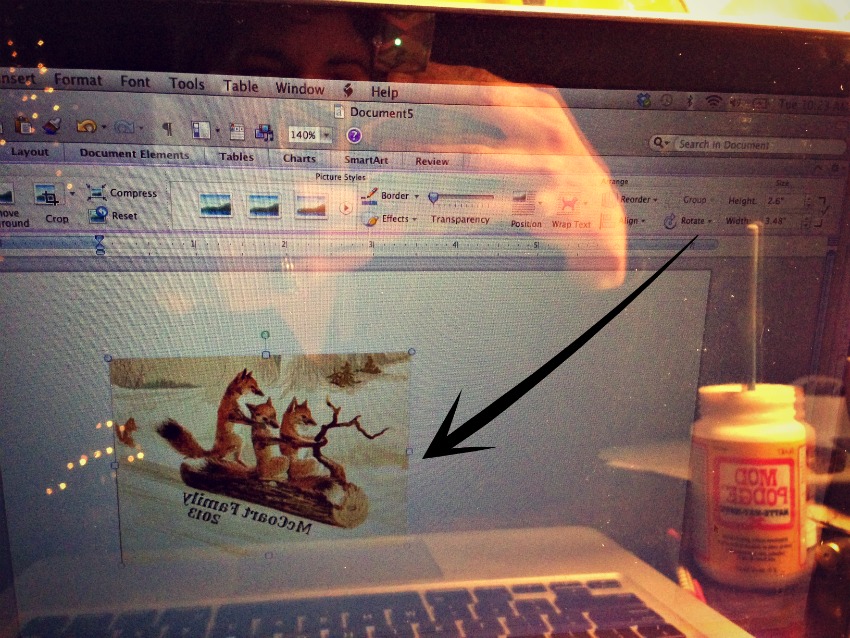
Did I mention how important it is that you flip the images horizontally before printing? Oh! I did? Ok, let’s move on.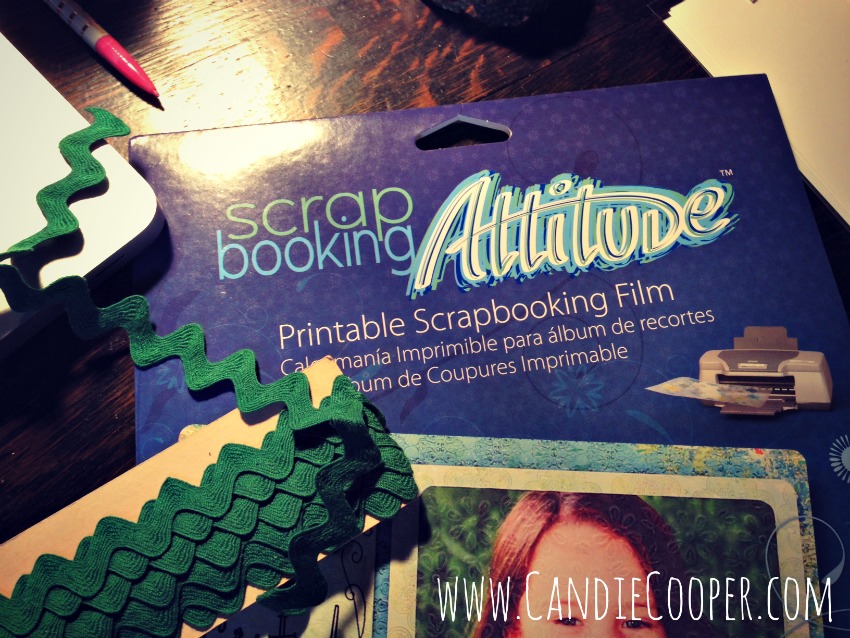 Crack open a package of Craft Attitude film. Insert a sheet into your printer so it prints on the SHINY side. For some reason, every time I explain that with Craft Attitude you have to print on the shiny side, this song pops into my head (and will stick for the rest of the day). Those Carter gals were so fierce. I want to play the guitar.
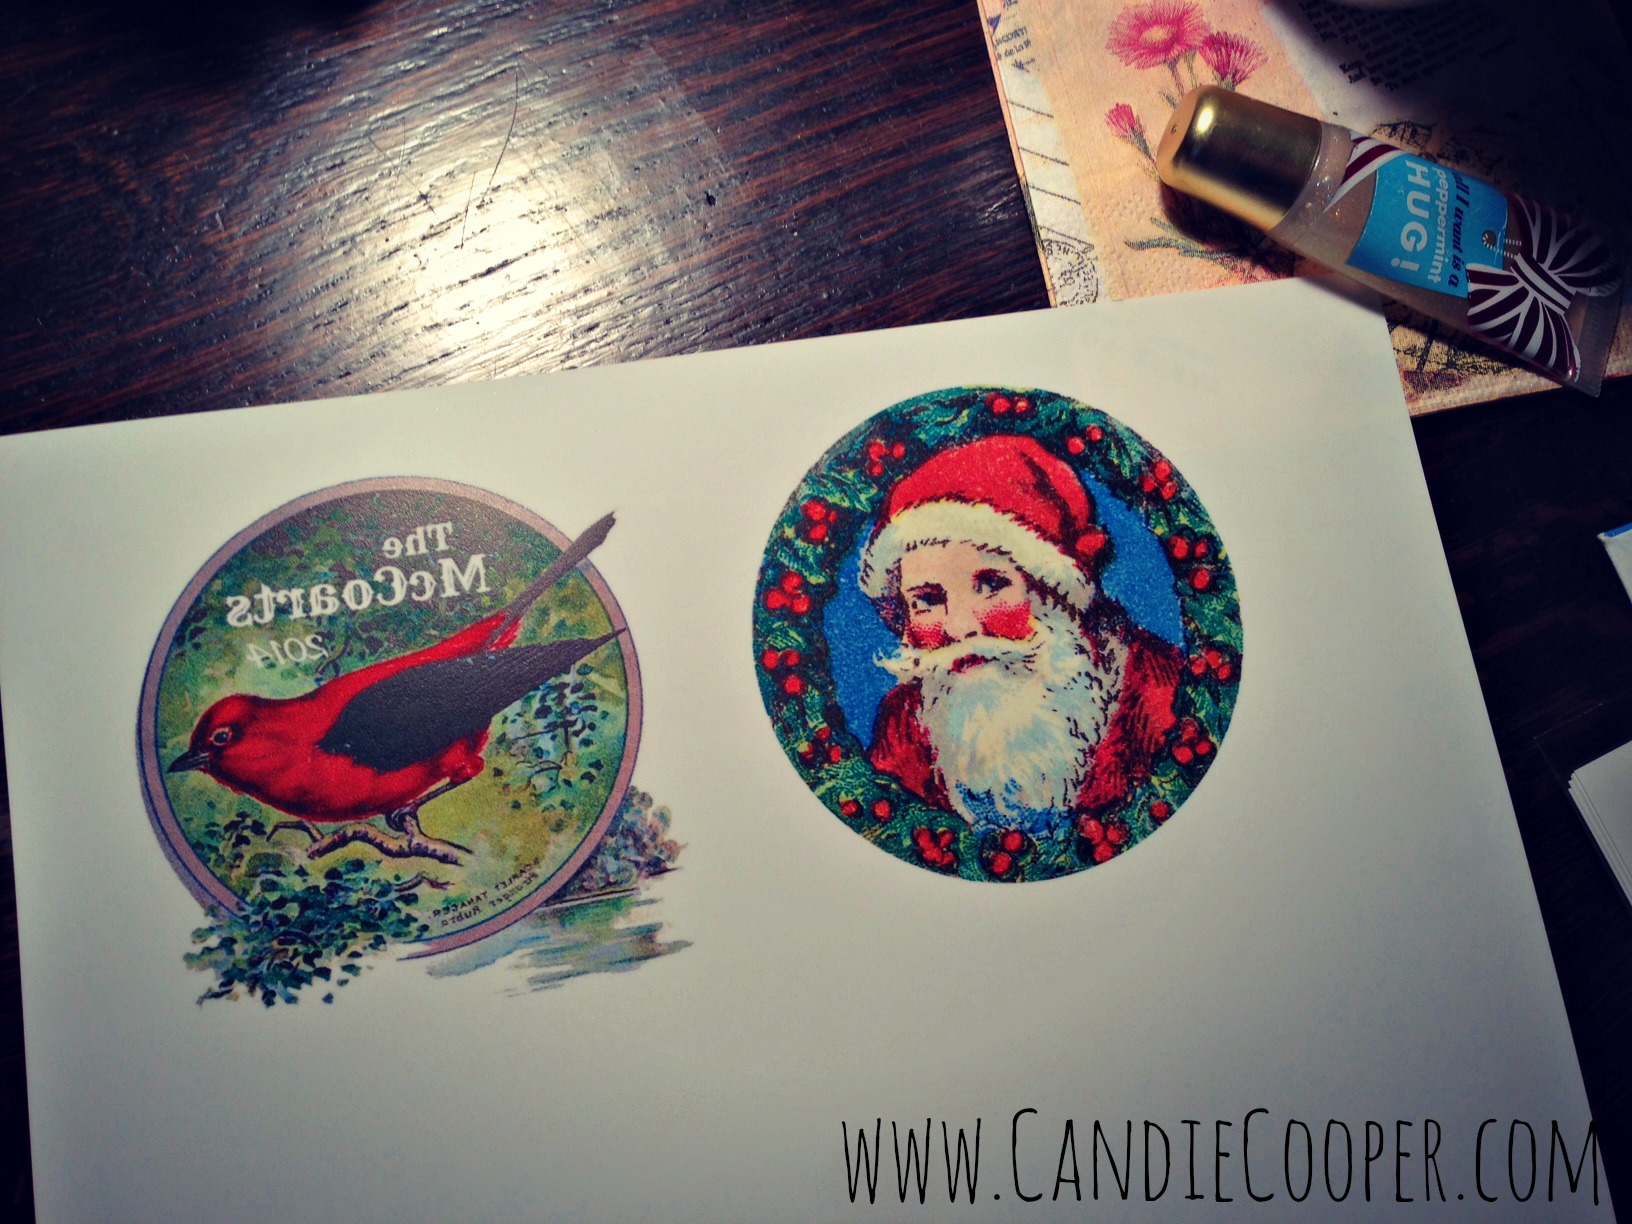 Nice, right? Happy. Moving right along….blissfully….until you see that you’ve put the year is 2014!!!! (breaks screech to a halt) WHAT was I thinking?! I’m too cheap to re-print so we’re moving on, people. One step ahead for next year’s ornament. That’s how I roll.
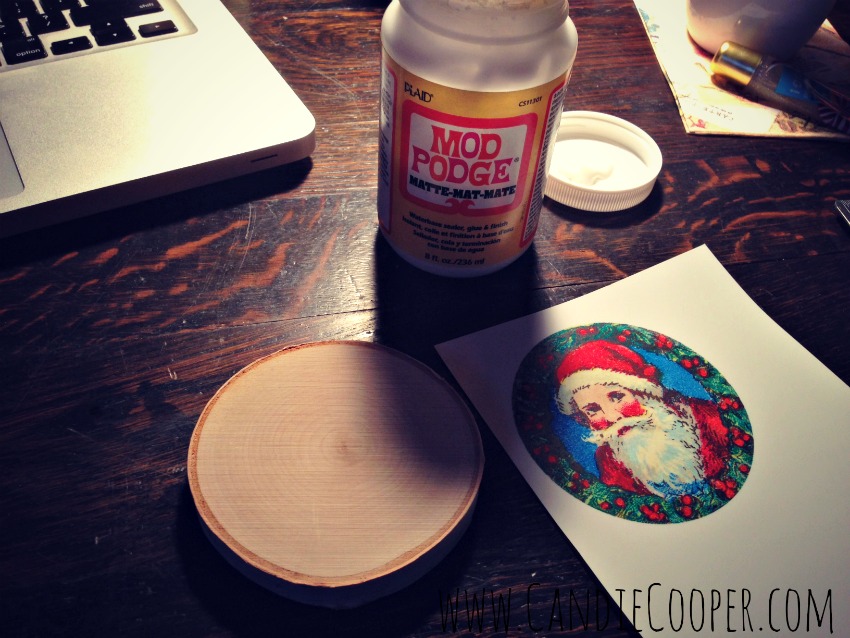 Trim around your image leaving a little border. Bust open the Mod Podge Matte and get ready to podge! If you’re hanging out around here, you were probably born ready to podge, right? Yeah.
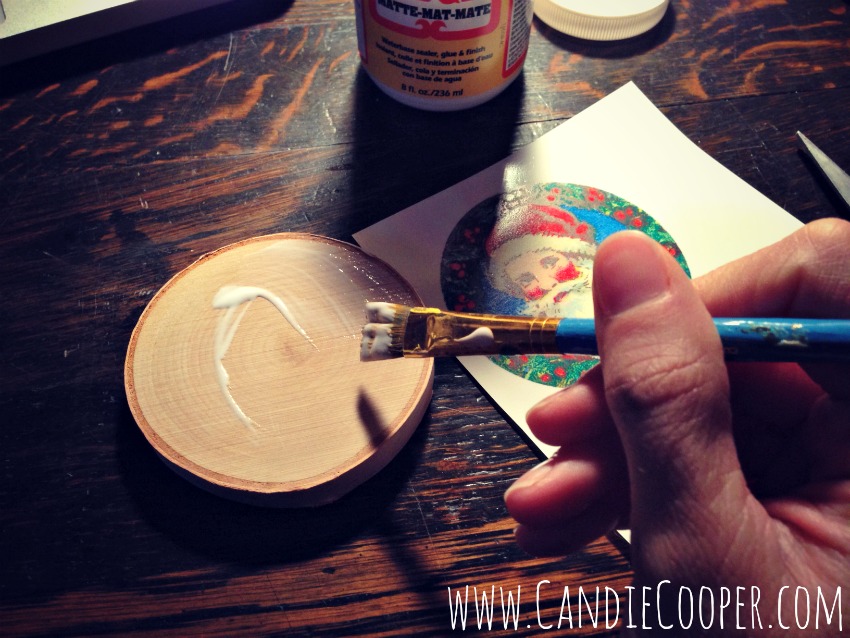 Paint a coat of Mod Podge Matte onto the wood disc. Put your image ink side down onto the Mod Podge and smooth out.
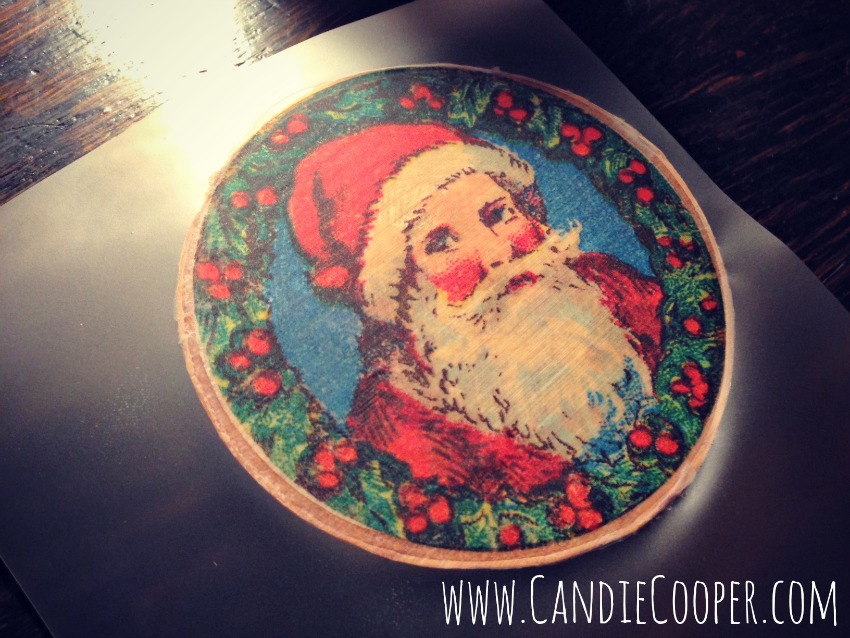 Use sharp scissors to trim away the excess film. Do not use the kitchen scissors that you use to cut the duck jerky treats in half for your dogs because you couldn’t find your crafty scissors like I did.
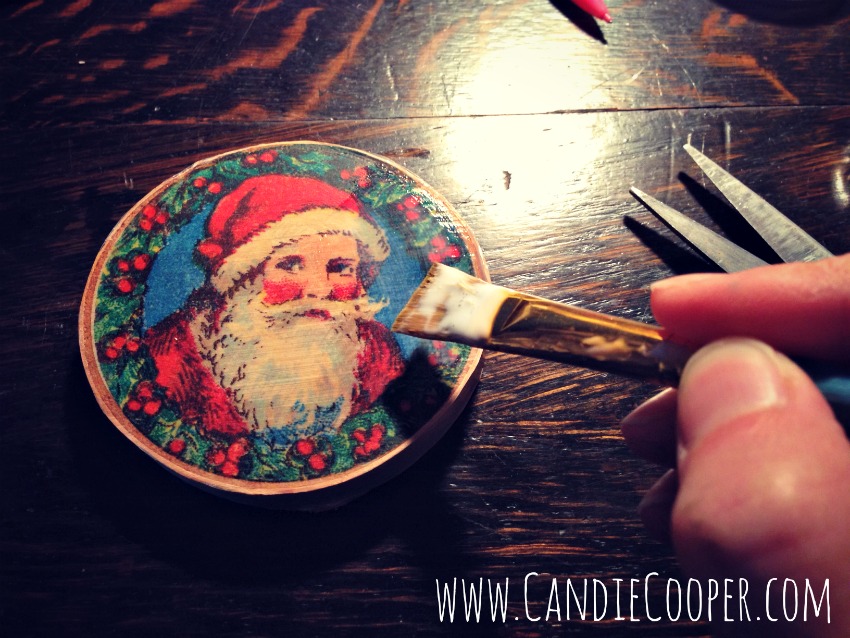 Seal the entire ornament with Mod Podge Matte to make it nice and smooth.
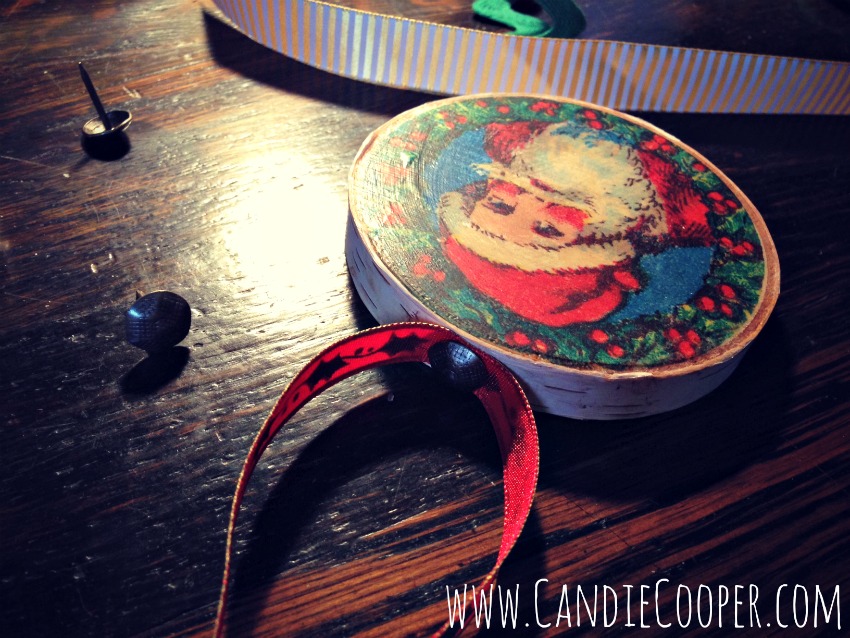 Attach a ribbon with an upholstery tack. I’d love to tell you that birch wood is soft as butter, but I found out it’s just the opposite. I thought I was going to tap the tack in with a hammer, but this wood is tough. Try a bigger hammer. Real tough. One bent-to-pieces tack later, I drilled a tiny hole and then hot glued the ribbon/tack in.
 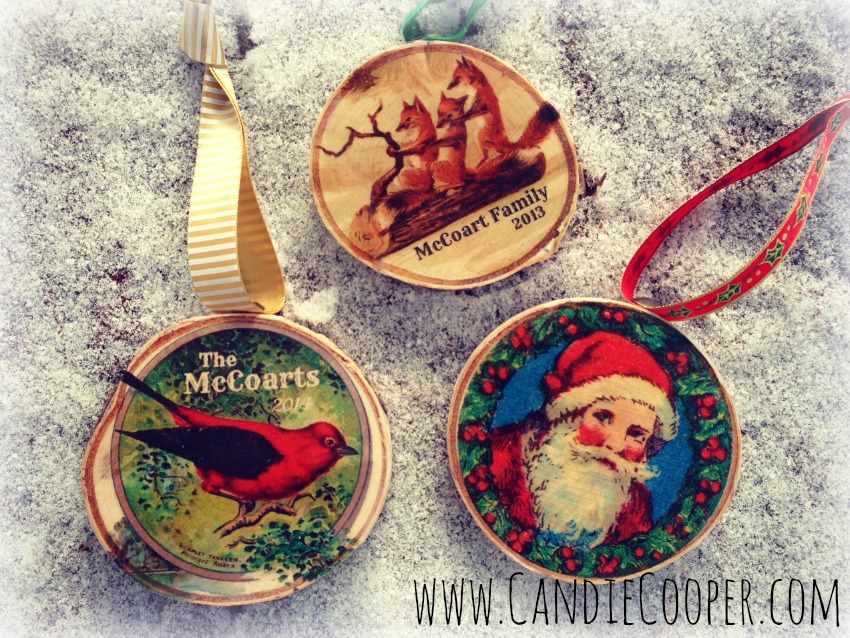 And here they are! I could have fiddled around and made a dozen more, but I have bills that need paid.
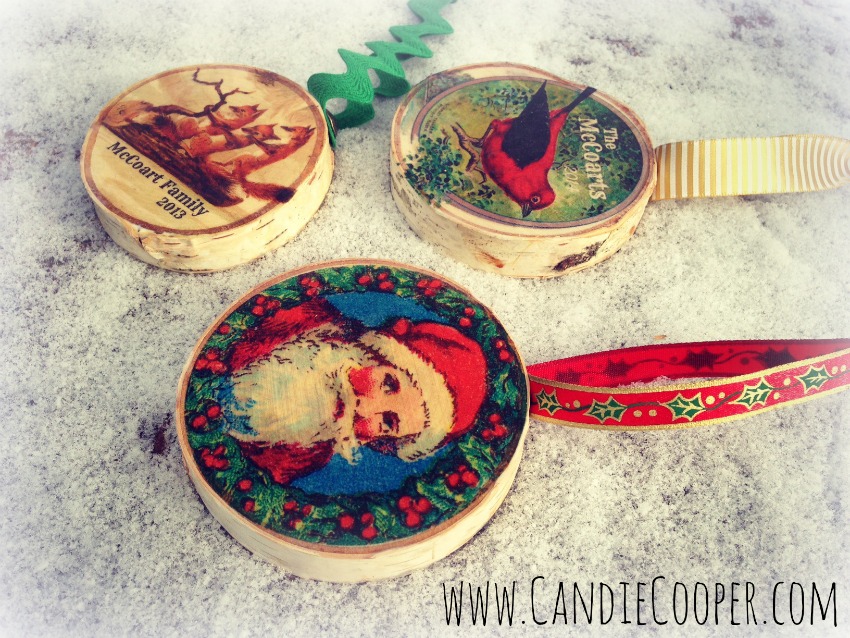 The edge of the birch wood frames the vintage images beautifully. I like woodland crafts. And the idea of playing the guitar.
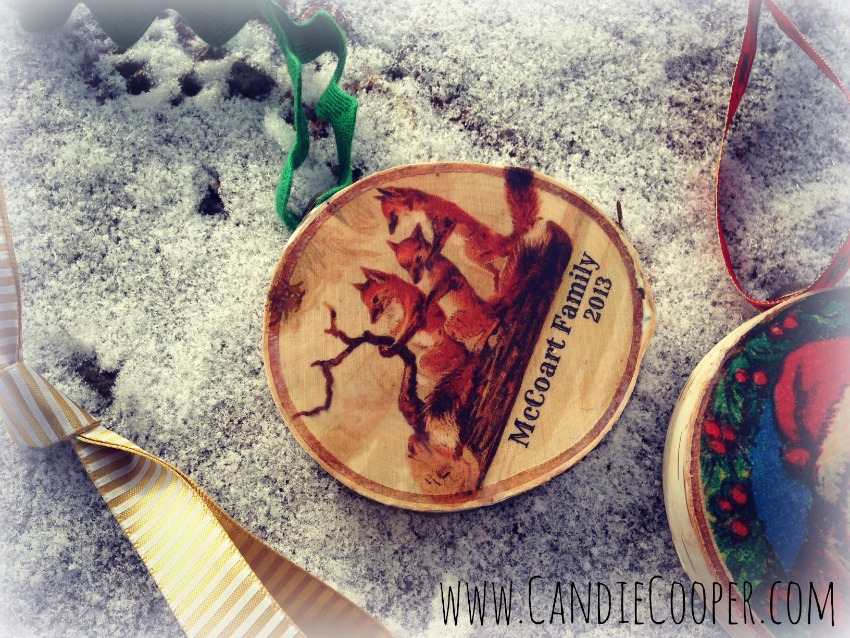 What does the Fox Family say? Sorry, couldn’t resist.
 The McCoarts 2014! New Year’s ornament anyone?
 Check out more Craft Attitude Holiday projects on their site as well as Craft Attitude on Facebook and Pinterest. Fellow Craft Attitude designers, Trudi Sissons and Jonathan Fong also have some fun projects up on their blogs. Here’s to a happy holiday season!
Burlap Covered Mason Jars with Mod Podge
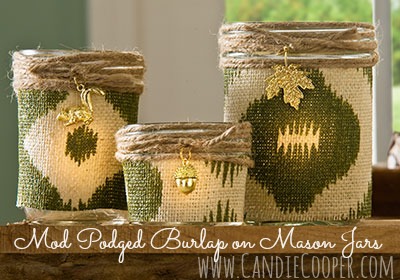 Plaid, the magical company that makes Mod Podge and Folk Art paints (and lots of other crafty goodness) recently asked me to come up with candleholders for a Fall table setting. Here they are! I used printed burlap found in the fabric section of Hobby Lobby. Love love love that shade of green. Mossy. The charms are from Martha Stewart’s DIY jewelry collection. Who can resist a squirrel charm? Not me.
Full instructions here, my friends.
Stay warm,
Candie
Online Jewelry Making Class
 Ho! Ho! Ho! Give the gift of craftiness this year to someone you love! Craftsy has a ton of fun classes (some even FREE!). They also got me to teach a class on Beading with Wire, Chain, and Leather. I had a ton of fun filming this class out in Colorado this past year. The students in the class are incredible too. They share pictures of their projects, questions, and comments all on the class platform. It’s fun to be in the Craftsy community for sure. I read this year in The Happiness Project that learning something new can contribute to your happiness. Believe it or not I found this to be true after taking golf lessons (which I stink at, but still!). Learning something new helps to get you out of that day to day, routine thinking rut that I can slip in so easily. Thanks Craftsy for having a fun site where all of us can learn something new.
1920s Themed Charm Bracelet
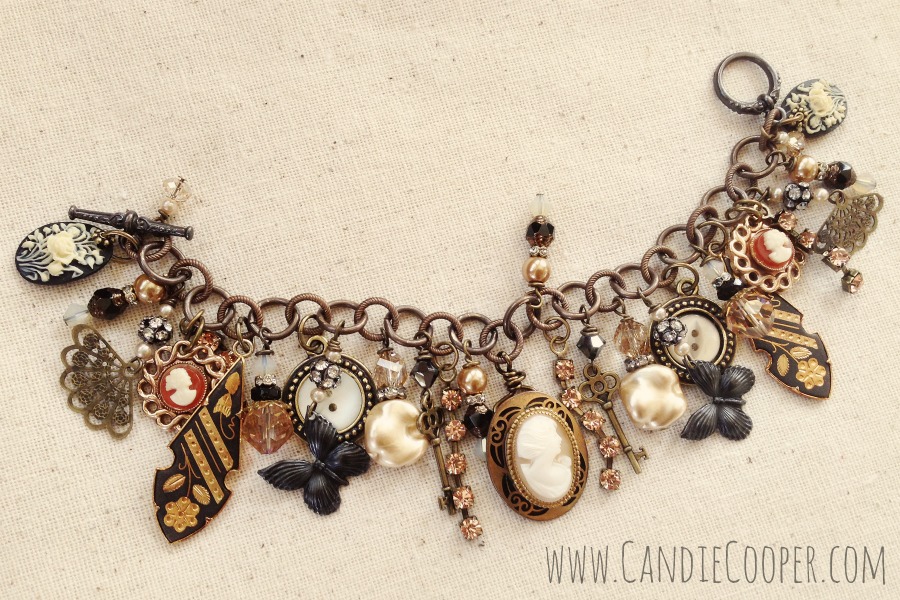 Do you ever make jewelry for fundraisers or auctions? That’s how this piece came to be. For the last 4 years I’ve had a small group of lovely and super generous ladies sponsor me to make a unique piece of jewelry to benefit our hospital. These ladies have all been dear friends for years. I love that about them. And boy are they fun! You would like them, I’m positive.
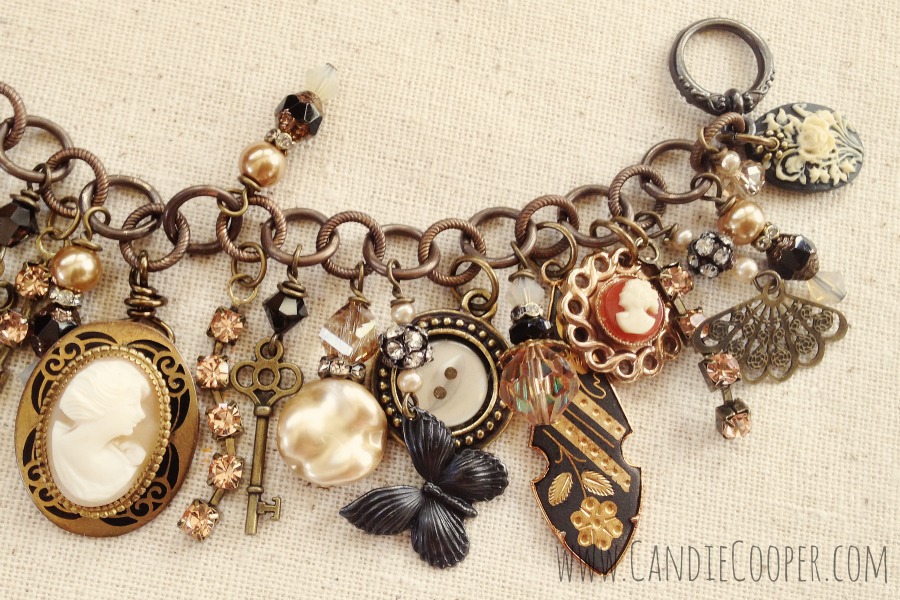
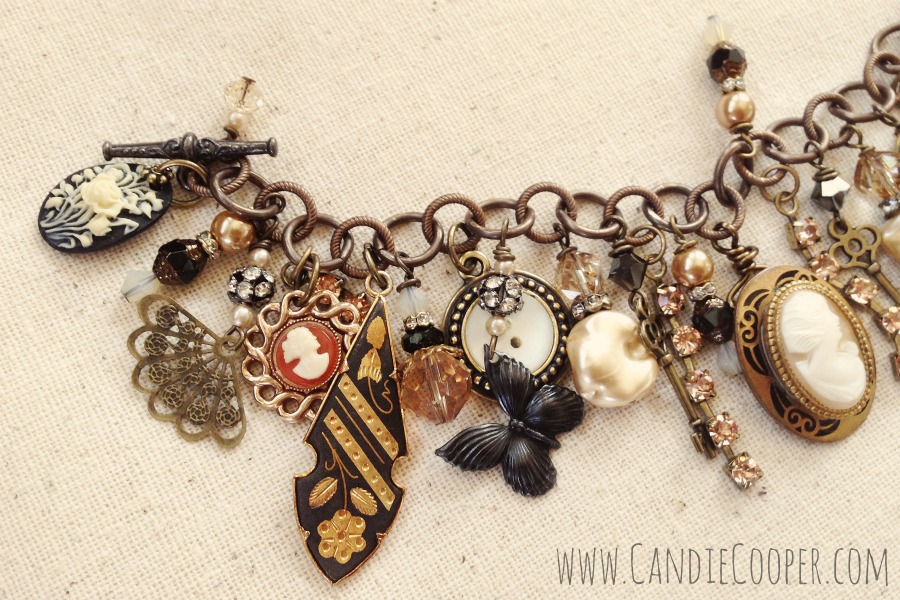 This year’s hospital gala theme was full of Great Gatsby charm so I decided to go with it. This is the first time I’ve made a set to go with the theme and it was a fun challenge. It doesn’t hurt that charm bracelets are absolutely one of my favorite things in the whole wide world to make. Can you tell? The more stuff I can cram on a chain the better! More. Is. More.
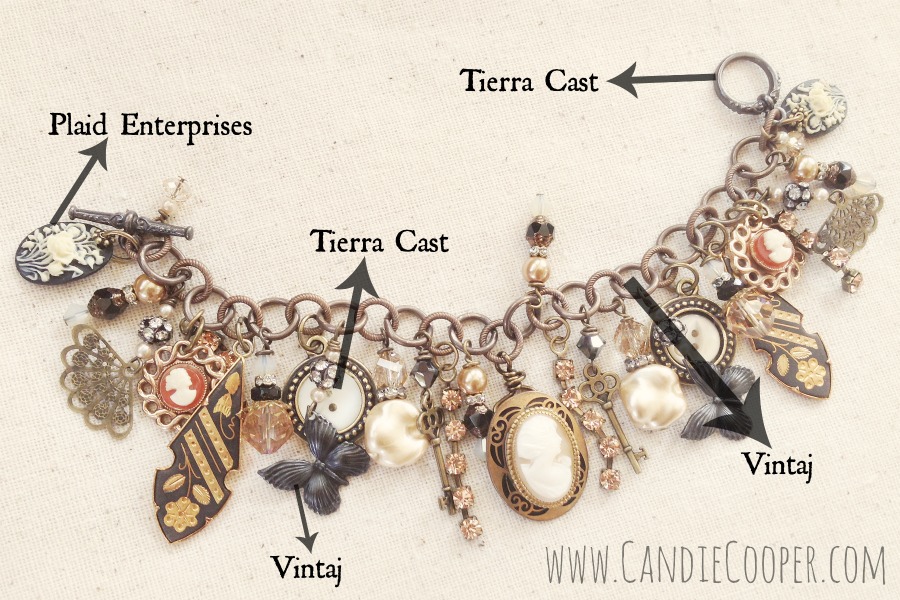 Here are a few elements with their manufacturer’s called out. Vintaj, Tierra Cast, and Plaid components were spread between vintage brooches, cut up vintage Swarovski necklaces and little recycled cameo earrings. This might be the first time I’ve ever used two different colors of metal for the chain and clasp. Rebel without matching components at your service. It worked. My guardian angels made that happen. I went to finish up the ends and thought, dear God, I don’t have a clasp to match this chain. Oh Lord, please don’t make me drive 30 minutes (back) to the craft store. Then the lights shined down on my Tierra Cast findings box and away I went. It was just another moment where the Universe showed me that I have everything I need.
DIY Elastic Skull Bracelets
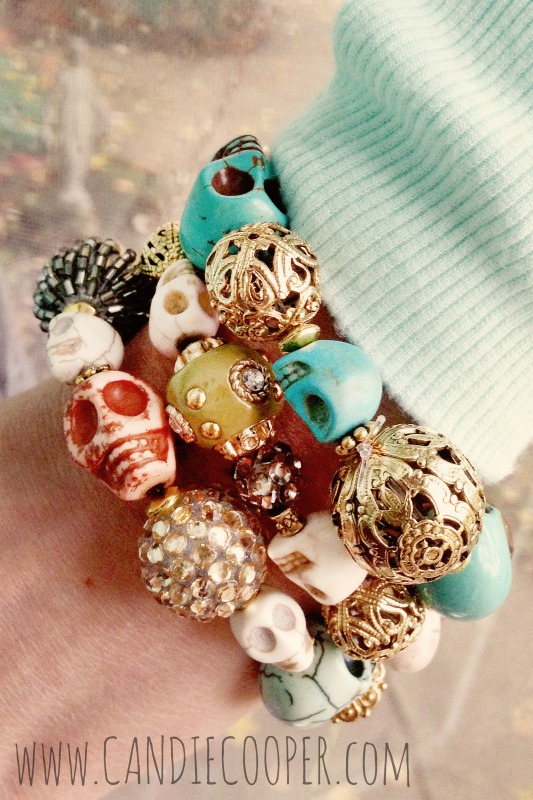 Do you ever have an idea that rolls around in your head for a year, but you can never find that extra hour you need to make it? Probably because it was jewelry solely for me. Anyway, that’s exactly what happened with this stack of bracelets. It all started with some gum-ball head skull beads. I wanted to make some Halloween jewelry without it really looking like Halloween jewelry. Know what I mean? No orange and black. No dangling skull charms. Very sneaky. This fancy design worked. People did double takes! My mother said, “Candice, are those skull beads?” “Why yes Mother, they are.” So fun to wear! Make one. Make eight! Don’t over-think the bead order–just string them! I made mine with hefty 1mm diameter beading elastic and Jesse James focal beads between the skulls. Tie the ends of the elastic in a surgeons knot and touch the knot with clear nail polish. Let it dry and go on with your bad self!
Sour Cream Apple Pie Recipe
 My husband officially has a plague of sorts. We call it “Buck Fever” around here. Buck Fever means every waking second revolves around hunting. We are in the second weekend of it. My family doesn’t hunt so this is something I’m adapting to. Slowly. Free nights and mornings? What’s a lonely housewife to do on a Saturday night except to start slicing apples for Sour Cream Apple pie. Sigh. While watching storm chasers. Double sigh.
 I will admit that Sour Cream Apple Pie is one of my favorite fall baking traditions. I’ve made one every year for the past 5 years. It’s creamy, it’s tart, it has cinnamon, it’s pretty much awesome top to bottom. I’d like to buy the world a slice of this stuff it’s so good. Try it. I know you’ll love it.
 Sour Cream Apple Pie
You can make your own crust (which is always my plan) or buy a pre-made pie crust (which is always what I end up doing).
-Topping-
- 3 tablespoons unsalted butter, softened
- 2 tablespoons all-purpose flour
- 1/4 cup plus 2 tablespoons sugar
- 1 teaspoon cinnamon
-Filling-
- 1 1/3 cups sour cream
- 2 teaspoons vanilla extract
- 2 large eggs
- 2/3 cup sugar
- 1/4 teaspoon salt
- 3 tablespoons all-purpose flour
- 5 large Granny Smith apples
Preheat the oven to 350 degrees.
Mix up the topping ingredients with a fork or you can use the paddle on your KitchenAid mixer to do the work. Refrigerate while working up the filling.
Slice the apples thin and put into a bowl. Mix up the other ingredients and then combine with the apples. Toss it all together.
Lay the pie crust in the pie dish and pinch the edge. Pour in the apple mixture.
Bake for 1 hr. 15 minutes (longest. wait. ever.).
In theory you are supposed to have enough self control to let it cool completely before serving, but we don’t know how to do that. Our philosophy is more like this: Seize the day. Dig in!

 Hi, I’m Candie. I design jewelry and crafts, author books, teach classes and host television programs. I thrive on simple ideas that anyone can achieve. I also love projects made from unexpected materials that stand the test of time. Join me as I lead a creative life!


