 It’s time for round two of Bead Fest near Philadelphia! I’ll be there teaching jewelry making classes, partnering with Jesse James Beads!
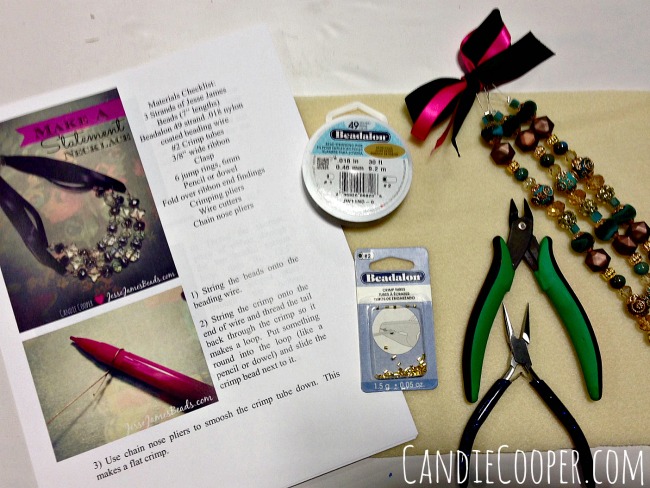 Doesn’t this look appetizing?!
  We are also collaborating with Beadalon–makers of great findings and tools!
 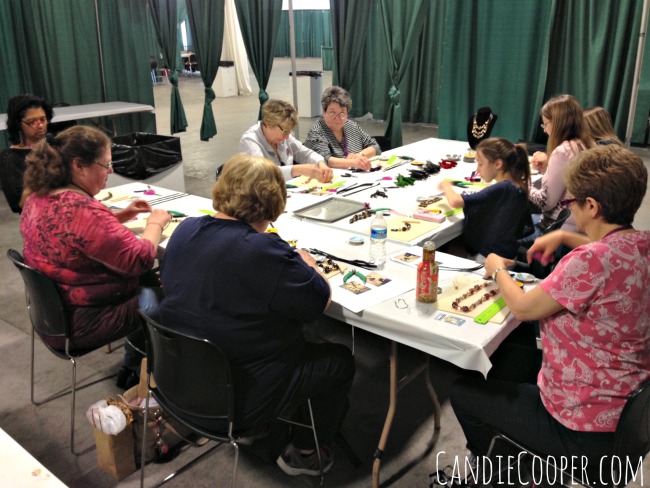 I taught two classes there in the Spring and the ladies were delightful. The other thing I love about working with them is everyone’s jewelry project turns out differently because we bring lots of beads to choose from.
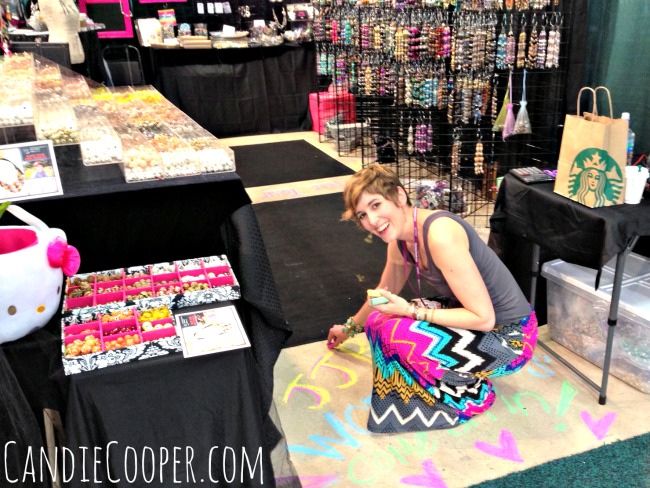 Here is a handy link so you can take a peek at the class offerings and if you can’t make a class, come say howdy at the Jesse James Beads booth! <3 It’s always a good time being around my fellow jewelry makers, playing in the piles of beads and talkin’ shop. I really do love it!
Back to Bead Fest with Jesse James Beads
Renovating an Old House Ideas
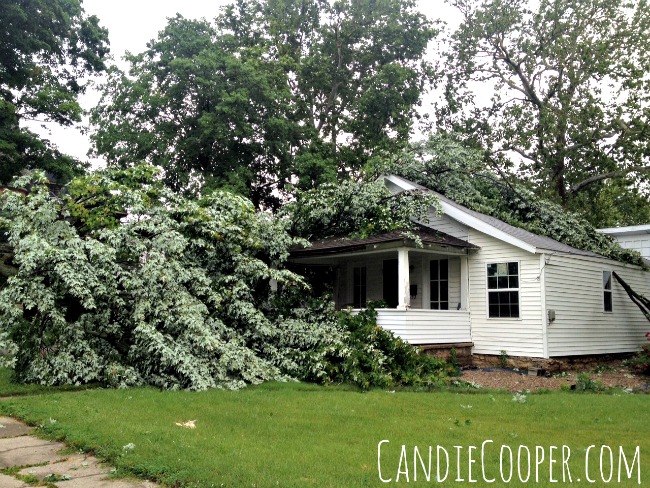 Wanna go for a ride? This is the story of one of my projects I’ve been (and a bunch of others) chipping away at for the last year. My sweet aunt left her home to me when she passed. To be honest, it took me a minute to figure out what I was going to do with it. We had just purchased a home in January of 13′. We got married in March of 13′. Then, in July of 13′, a tree fell on this extra house. Right in the middle of my book project deadline for Earringology I might add. Although, is there ever a good time for a billion year old tree to fall on a house?
  That tree was hollow to the core and wrapped itself over the top of the house. We felt so lucky no one was hurt. It did minimal damage to the house too. That will always amaze me. This house was built sometime before 1874 and those timbers were the real deal. Solid. It took us hours and hours to clean up. That pretty much cured me of wanting to work on it until January of this year.
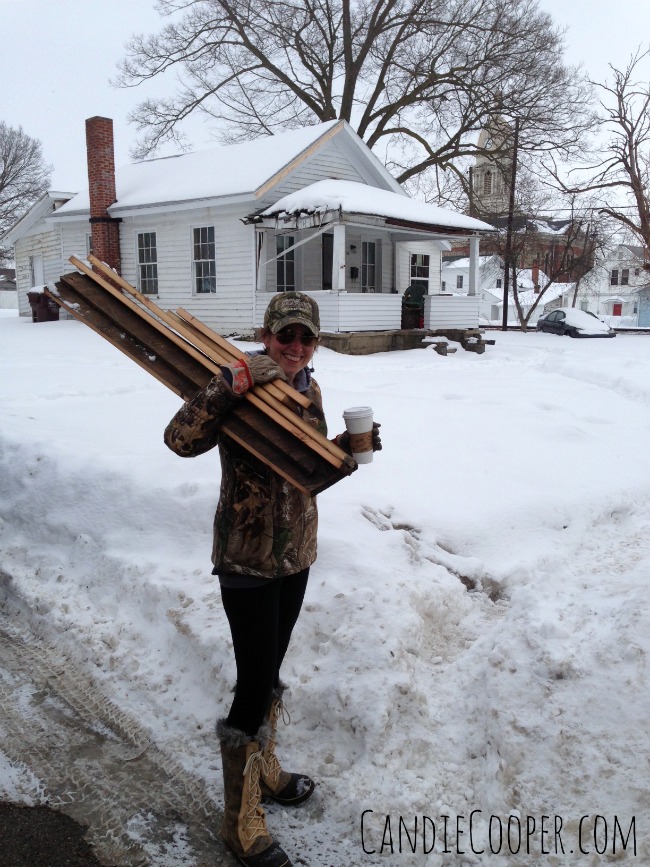 Remember all those winter storms? Something happened when I got off the Country Music Cruise–still not sure what, but I knew it was time to dig in. Luckily, I have the most supportive husband in the world. I said goodbye to my downtown studio and helloooooo DIY home improvement project! This is what I look like when I’m getting’ it done! I drove hub’s blue pick up around all winter collecting building stuff and cleaning out the rest of the house. Please guys, take a moment to appreciate my custom Mod Podged work gloves and beaded bead earrings with cammo jacket and hat. Let’s go inside…
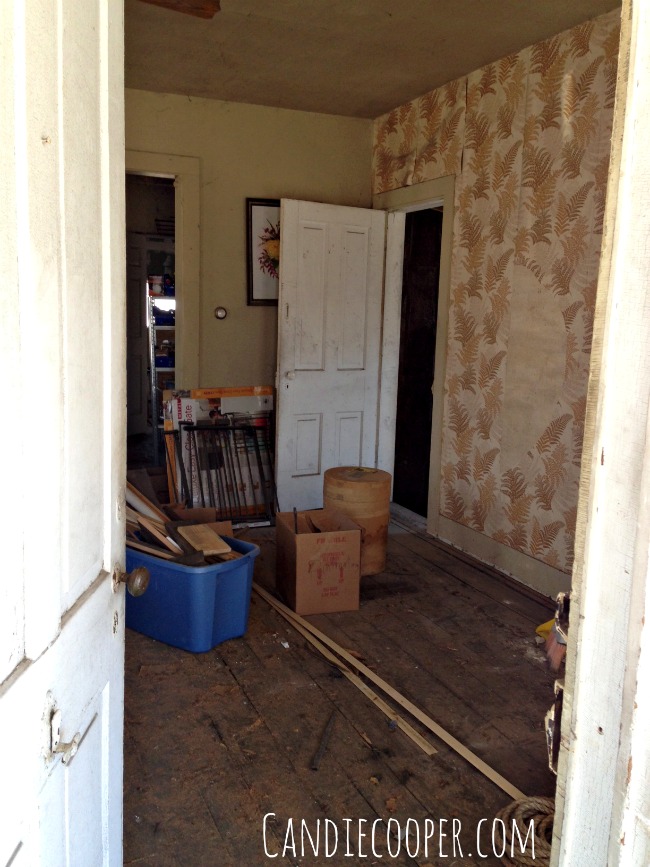 After the tree fell, hubs still had some gas in his tank and tore out all the carpets to reveal the original hardwood floors.
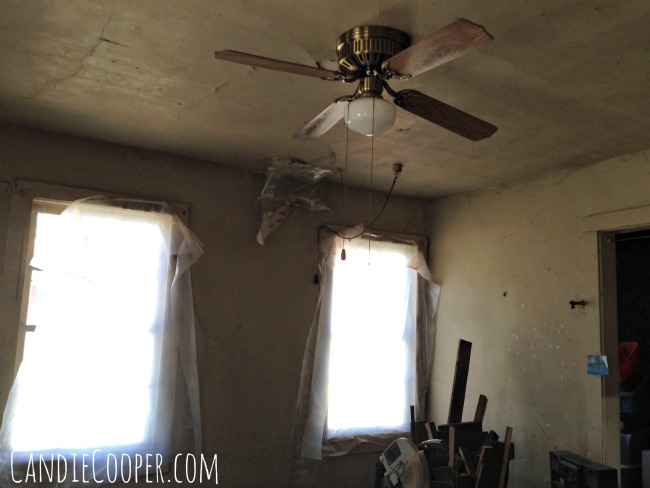 Eighty percent of the place (which is around 900 sq ft) was still plaster and lath. This is the front room. A little poking around on Pinterest, showing hubs pictures of the looks I was thinking and the rest is history. I’m creative, but not when it comes to interiors. Pinterest saved my booty.
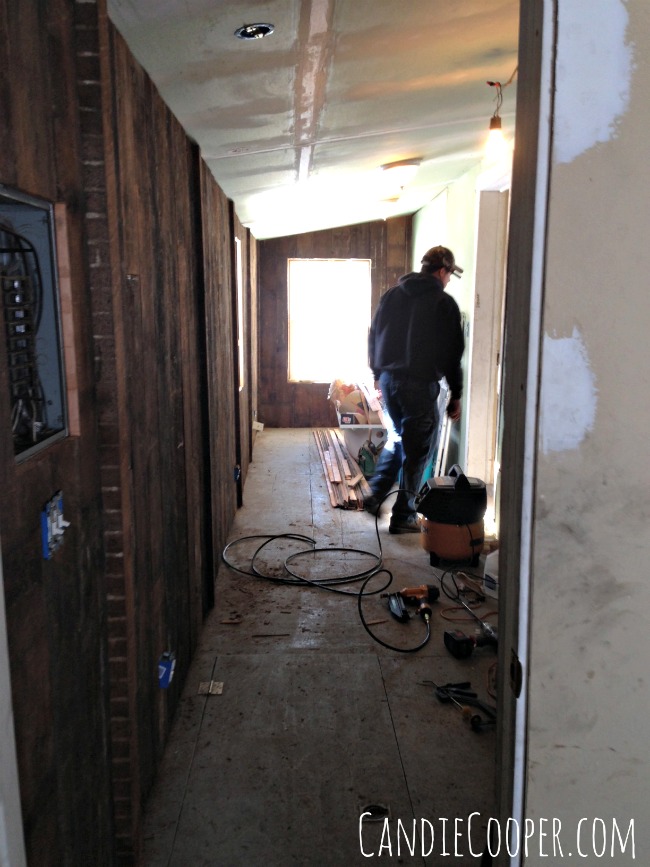 We started in the bathroom (which would end up two rooms later because why on earth do you need a bathroom 30 feet long? I told you I didn’t know what I was doing. Well, our friend Blake actually started the work. Hubs had enough sense to buy this huge pile of old wood at a barn sale the past summer for $200. I drew a picture on the wall of what I was thinking and Blake made it happen. I have some family roots from Kentucky, so I wanted this room to feel like a back porch with a tin roof. This was a double win because both of these treatments hid a lot of imperfections in the drywall.
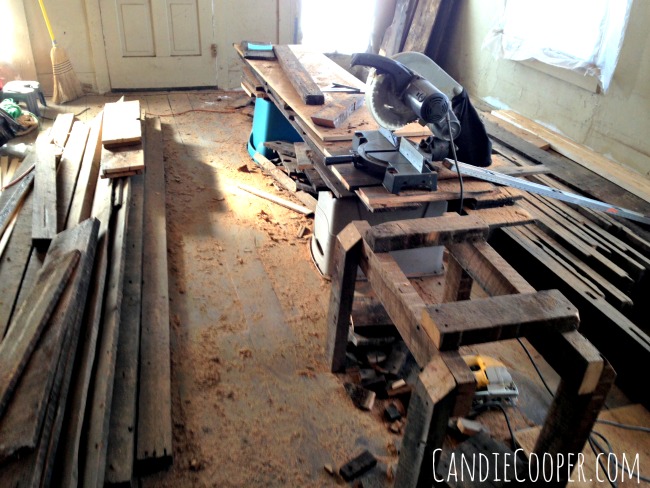 The front room was converted into a lumber yard/saw mill for the next few months.
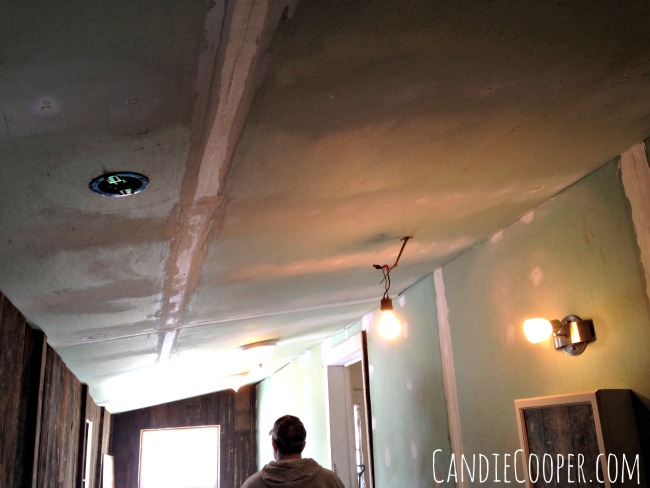 The wood walls were up and the sloped ceiling was begging for a tin roof! Thank you Lord, for Blake!
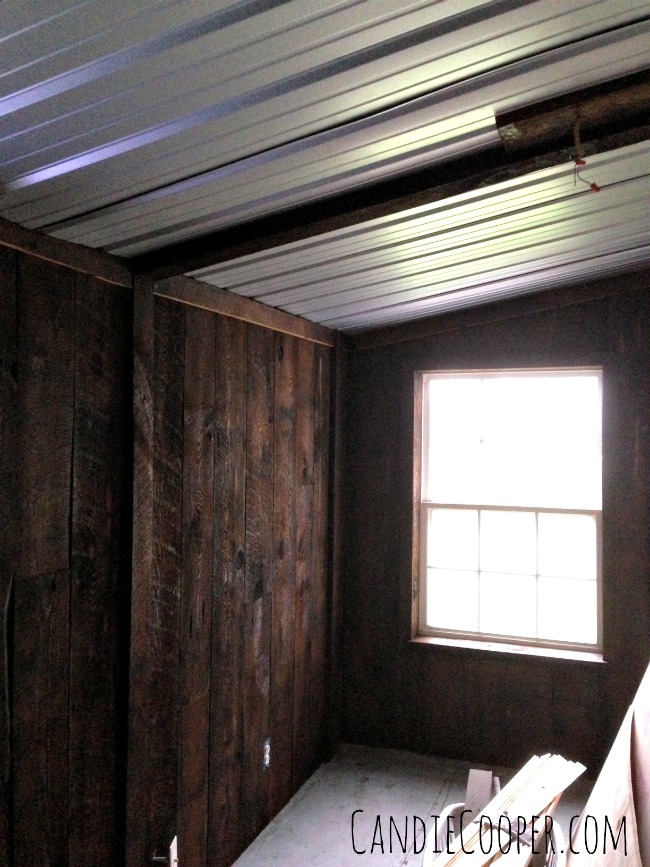 There you have it! But, we didn’t stop here with wall treatment. This is my mom’s studio where she can teach guitar and art lessons.
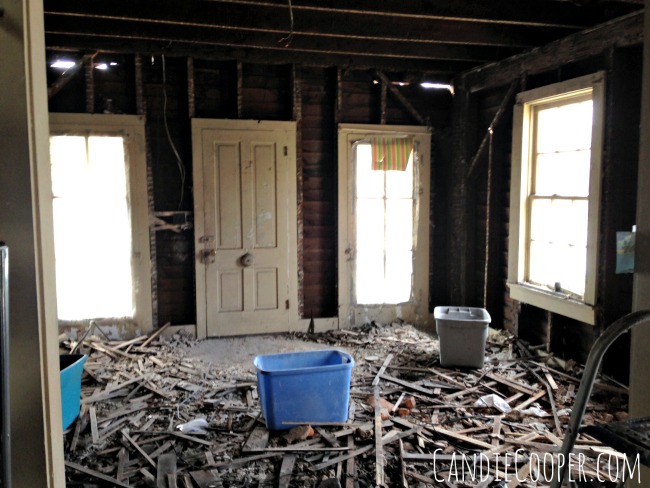 About that plaster and lath…it’s all gone! We kept the original door with doorbell plus the two front windows and that’s about all. The ceiling came down, the windows came out and we were moving upward and onwards with three months to get it finished before Earringology’s book signing party. Oh yes. By then, we had set a finish due date (because I am crazy). Nothing like the pressure of a deadline to get things done!
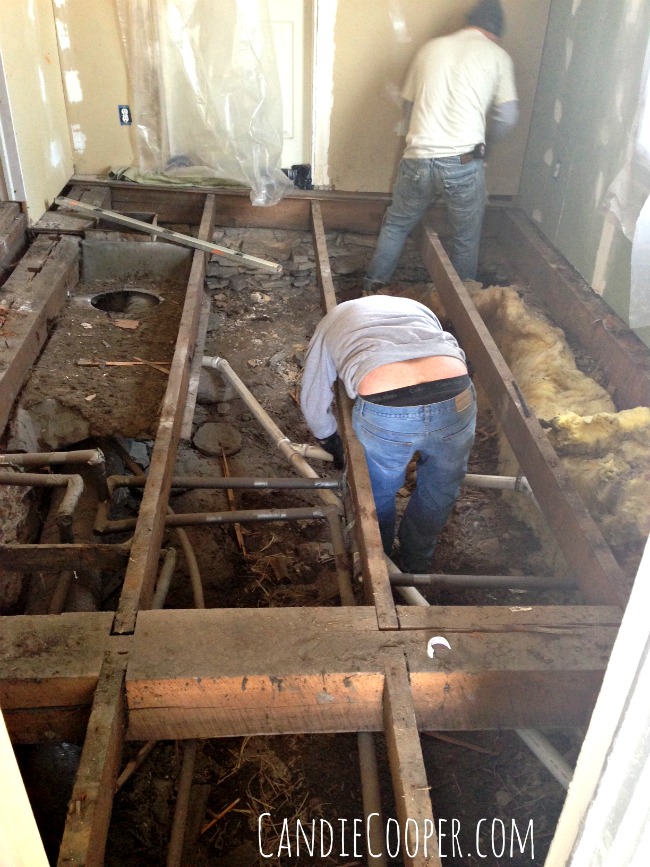 At about the same time we tore out the floor of what is now the office and tweaked it. I was sad to loose the original floors though. This room used to be a back porch on the house way back when. No hidden treasures, I’m sad to say. No skeletons either which is always good! I forgot, we had to get under this floor because we also had a busted pipe from that harsh winter. I could say something about why it’s important for men to wear belts, but I think you already figured that out.
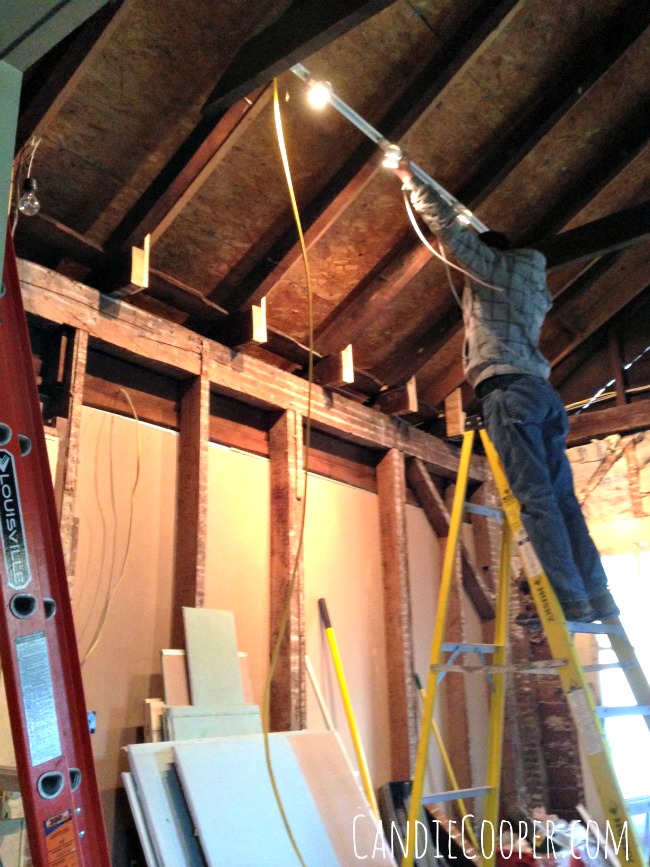 So we vaulted the ceiling, electrical was run, so was speaker wire and more… One of the Pinterest pictures showed a vaulted ceiling and Hubs said, “you know we could do that at the White House.” That’s what we call it: The White House or Wabash White House. I’m glad he suggested it, because it made that room more open. Amazing.
 Our friend that vaulted the ceiling also had the brilliant idea of leaving the space over the next room open for a storage loft. Now I really really really want a library ladder. Do you have one hiding in your garage that needs a good home? Drywall was starting to go up too. Things were moving! Fast!
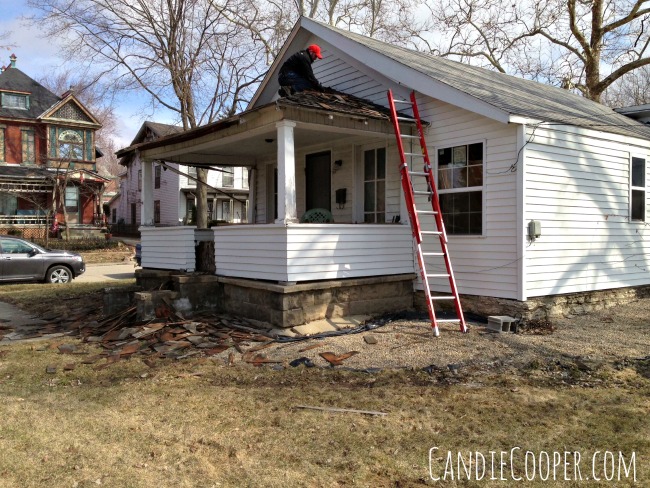 Meanwhile, Hubs (who by this point calls himself Tim the Tool-man Taylor) and my dad had been chipping away at the roof and fixing the porch damage. The old cedar shakes went buh-bye. I believe this was in April.
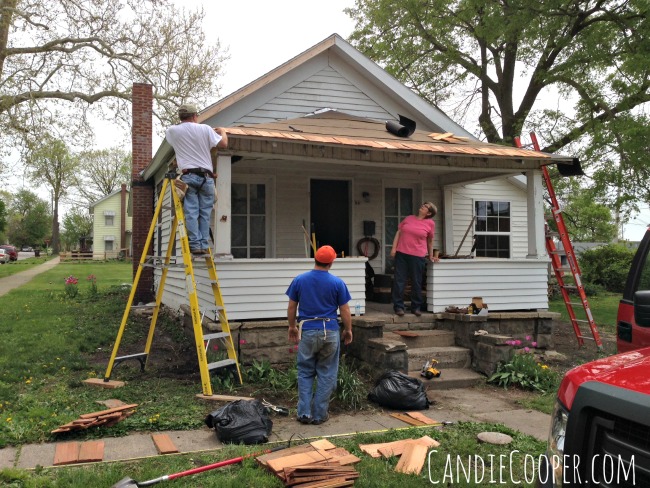 This is Mother’s Day weekend. Dad and I took mom antiquing to celebrate the day before, but this is a testament to what a team player my mom is. Working on a roof on Mother’s Day!
At some point, Hubs also decided he wanted the other side of the house sided. At this point I’m thinking really? We are on a deadline and the inside still looked like this at the end of May. My husband is a super optimist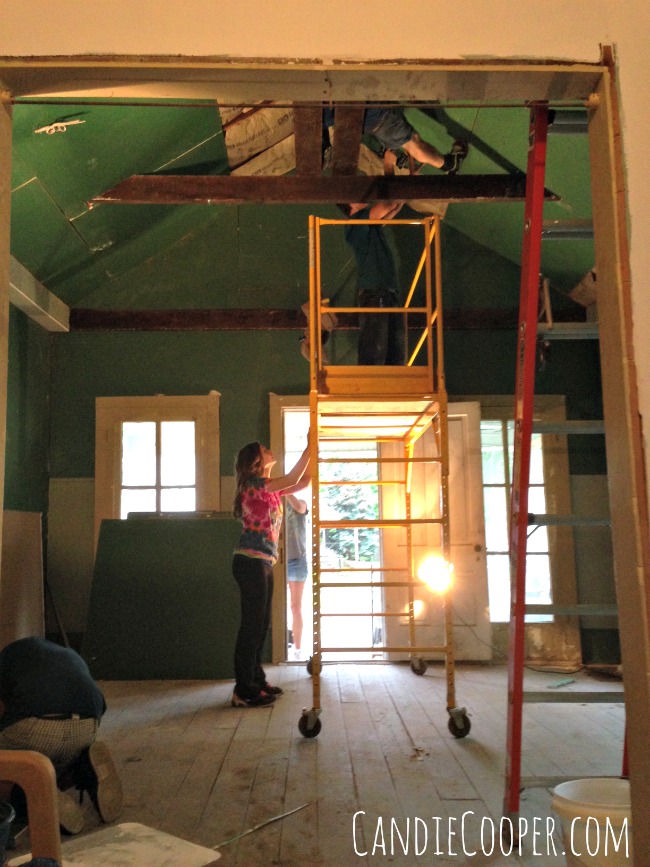 Did I mention the inside looked like this? (deep breaths…deep breaths….)
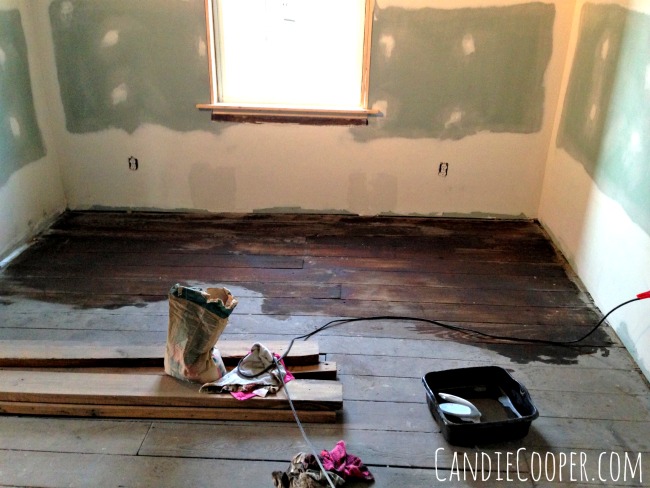 I was still traveling to bead shows with Jesse James Beads and working my regular job. This kind of stuff was happening at night and on weekends. That’s water on the old floors. When it dried it went back to chalky and gross. I wanted to cry.
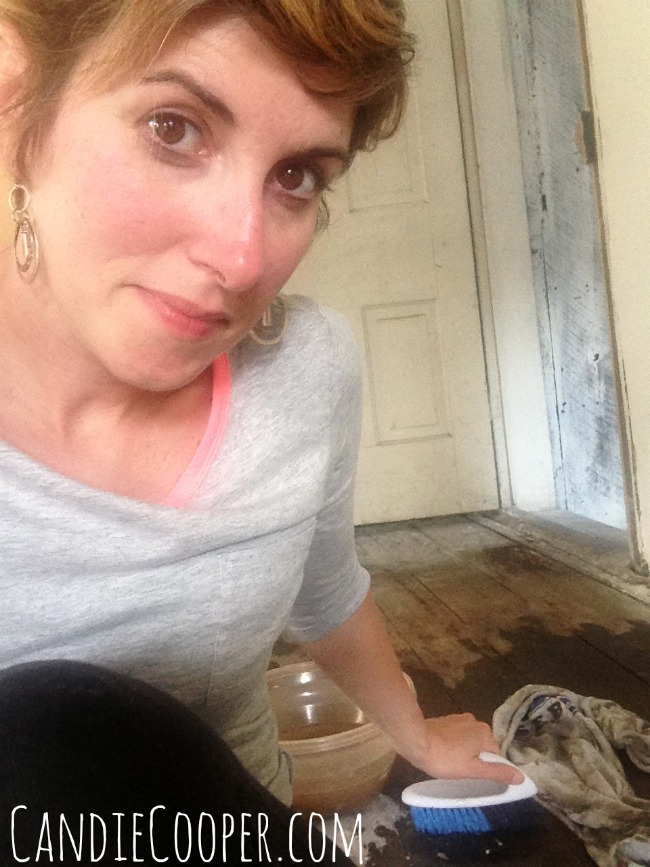 Here’s a picture of “Beaderella” after I got home from the Bead and Button show in Milwaukee. Needless to say I was….over it. But not. It “only” took 8 floor scrubbings to get them ready for stain. My sister saved the day by trying to clean the old floors them with TSP. I’d never heard of it, but we mixed up a solution of that and warm water, scrubbed with a really stiff brush and then went over it again with a rinse. The TSP brightened them right up. We went over them again with Murphy’s Oil Soap and a rinse. Then! They were ready.
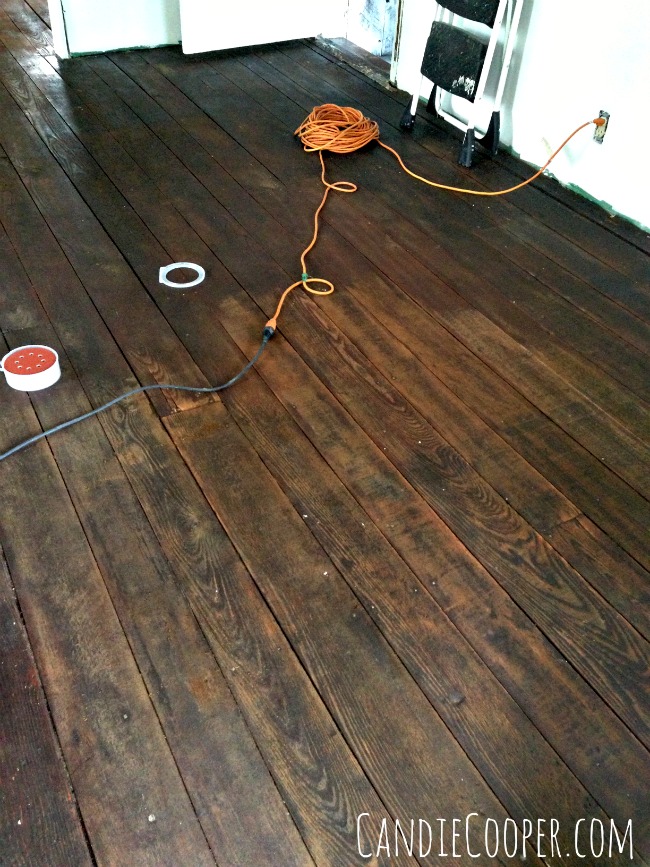 Hubs stained the floors while I was in Philly. Those floors were so thirsty, they soaked the stain up a little too much, loosing all signs of wood grain. Our friend came to the rescue with a sander and showed me how to use it. Thank you Dewalt rotary sander with velcro discs! I sanded each board with 80 grit and then wiped those floors down ONE MORE TIME with a damp cloth. Then, we threw some tarps over them and called it a day on the ol’ floors.
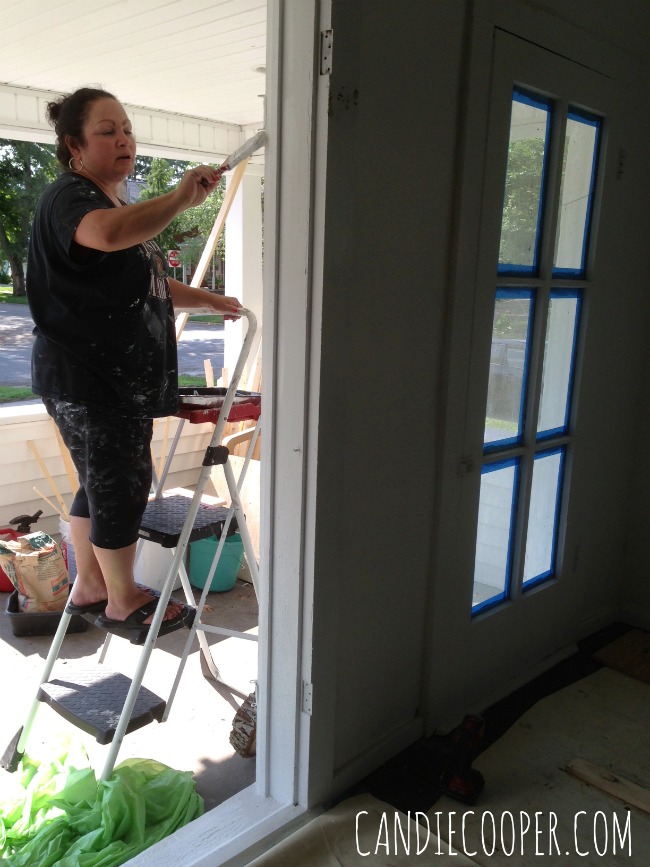 My mother and father in-law painted the place while I was out of town and up to the day before the party. My mother in-law was an absolute trooper. She cleaned. She painted. She ripped up tack strips. I’m sure she did more that I don’t know about too.
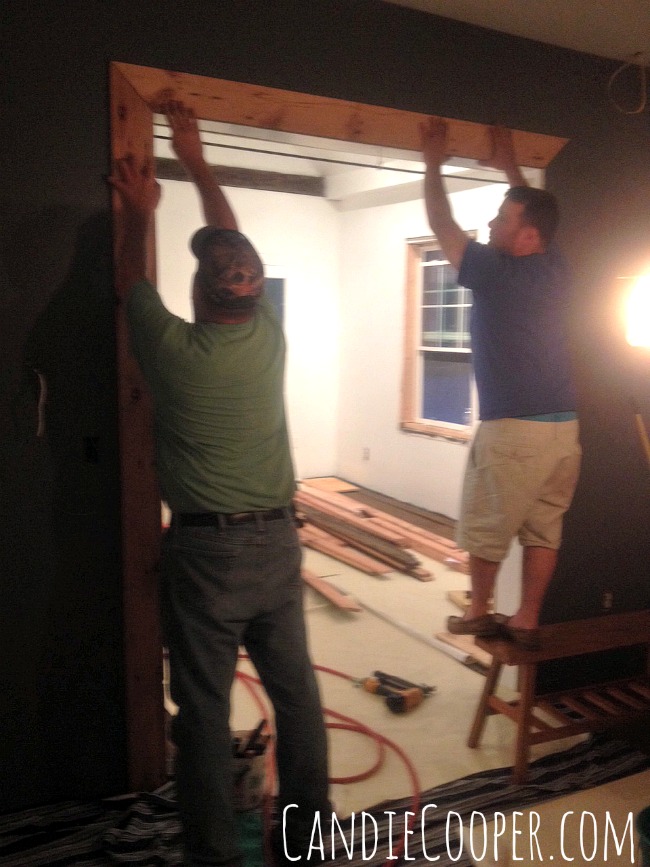 Trim was going up, thanks to my brother in-law. He taught hubs how to finish it off the week of the party. Thankfully, my sister and her husband came down for several weekends in a row to carry out the final push. I sit at their feet for that. I really don’t think the place would have gotten done had they not.
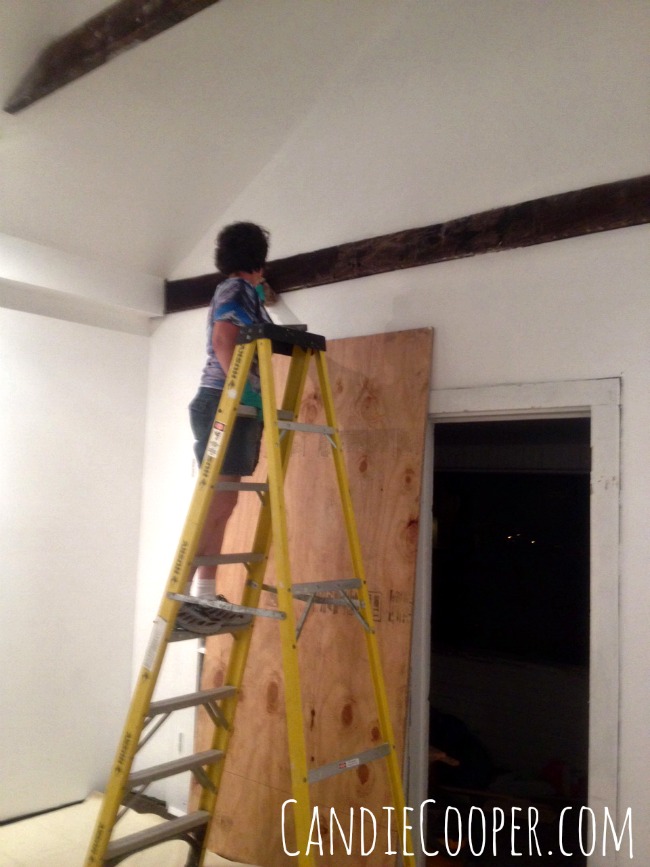 The place got dry walled! This is my sister up on a ten foot ladder scrubbing away drywall mud and dust. If you want to learn how to clean, call my sister. She is a whiz!! Now that I think about it, she got all the boobs AND THE cleaning skills. Lucky girl! I nicknamed myself “Clean-zilla” when I try to clean the house. I’m cranky. I’m clumsy. Blah. Poor Beaderella-Clean-Zilla. I’m smiling. Don’t feel sorry for me. I’m smart enough to phone-a-sister when I get myself into a real pickle like this.
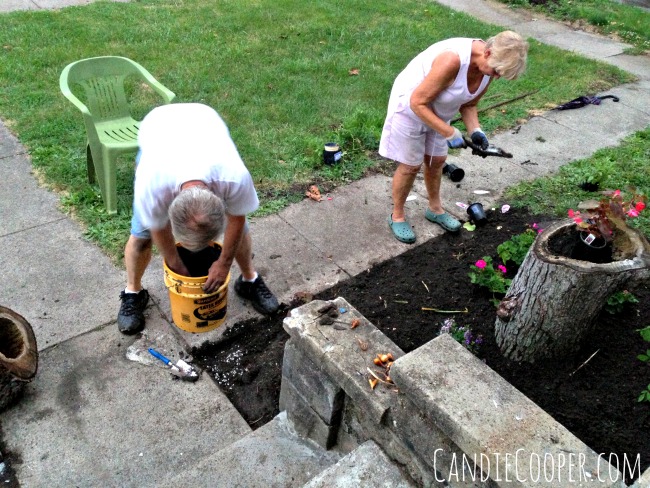 Outside, my grandparents came to put their touch on the landscaping out front. Flowers and making things beautiful is my grandparents specialty. I didn’t ask, they just came. They can take anything and make it pretty. I had saved a few hollow logs from the tree that fell the year before and gram worked them right in. Grandpa edged the area with a neat brick design. One thing that really struck me was how many times my gram remarked how great the soil was out front. Apparently, my other grandma that lived there babied her flower beds with fish heads over the years.
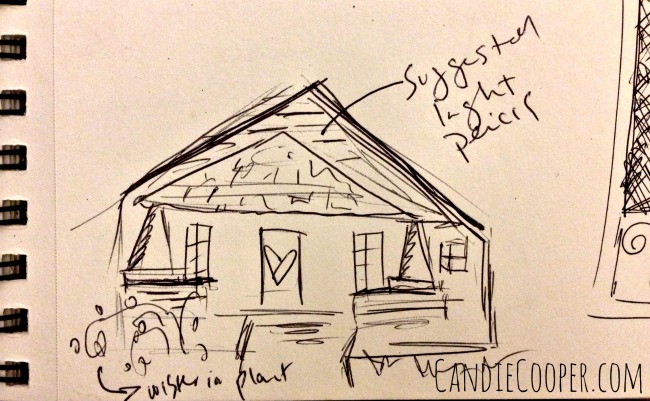 Lastly, I scrawled out a logo for my friend and she whipped it into something pretty. I’ll show that to you in the next post. This is before…
There were lots of before’s through this project, but one I didn’t expect was my relationships with my family and friends. It brought us together on a new level. Team work=Love. It was all very special and I could babble on and on, but I think you can imagine the ups and downs of what 6 months of intense renovations could bring. I know for sure, the place wouldn’t have come together had my family and friends not saved the day. It definitely would not be as special as it is. Thank you guys, from the bottom of my heart.
After pictures to come next week…but if you can’t wait:
Jesse James Beads Single Unique Beads Giveaway
Hello there!! This post is brought to you by the fine folks at JesseJamesBeads.com!
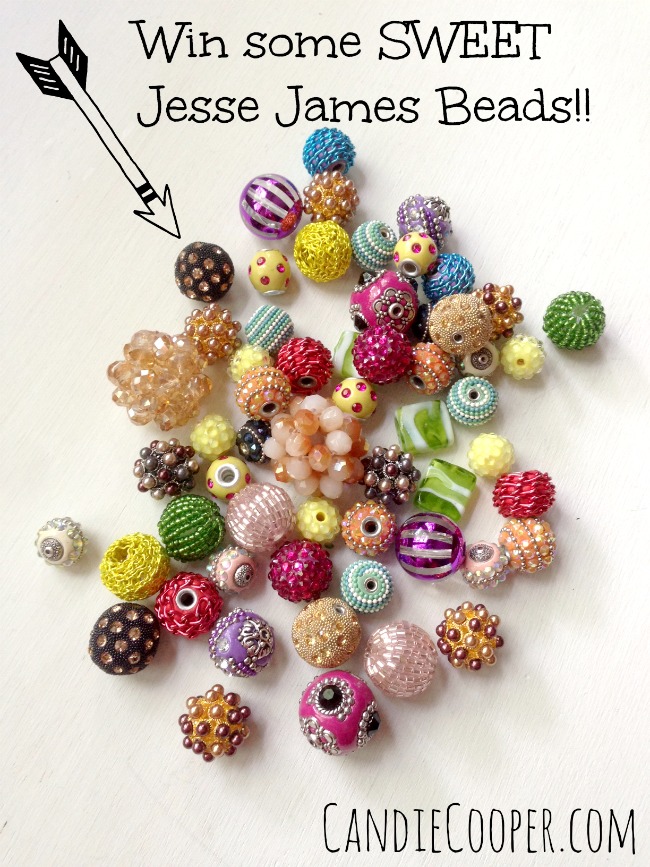 Is it officially summer yet?! It feels like it with the kids wrapping up school years and graduation announcements coming in the mail. With that, let’s get the bead rolling with a summer fun bead giveaway! Special thanks to JesseJamesBeads.com for the amazing loot!
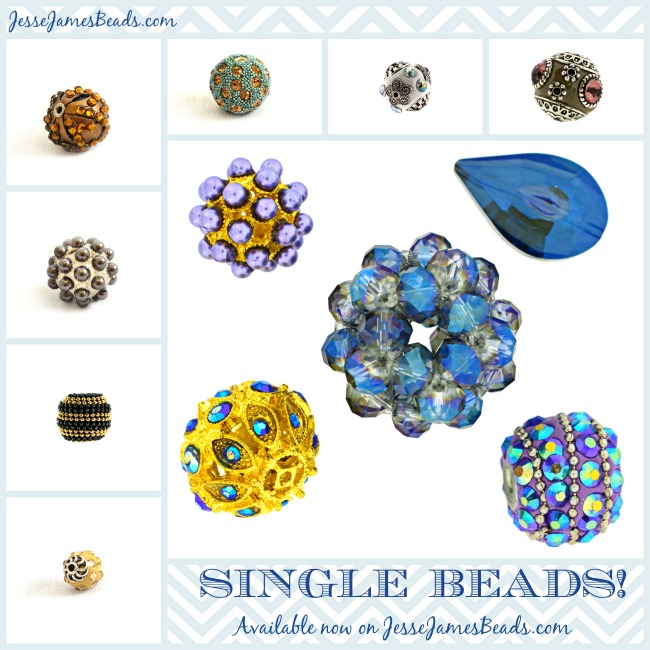 I’m actually heading out in a week to work with Jesse James Beads at the Bead and Button show in Milwaukee, WI? Are you coming? Here’s a free admission coupon if you are! Jesse James Beads is known for their unique and striking beads. They are truly sweet and sassy! You can find them online and at several retailers!
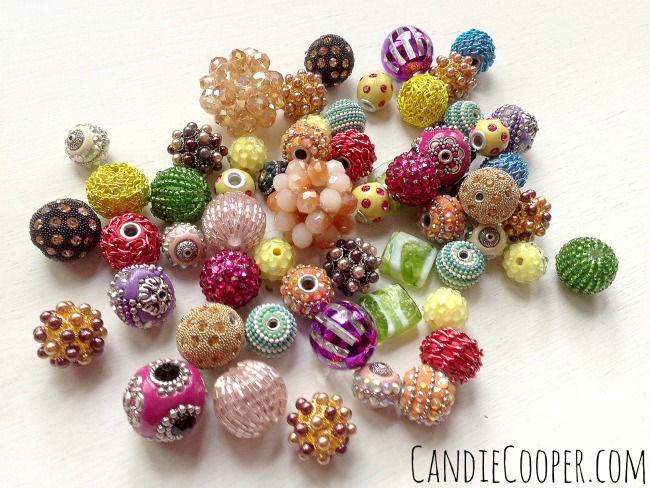 In this giveaway, you will get several pairs so you can make some sassy earrings like these:
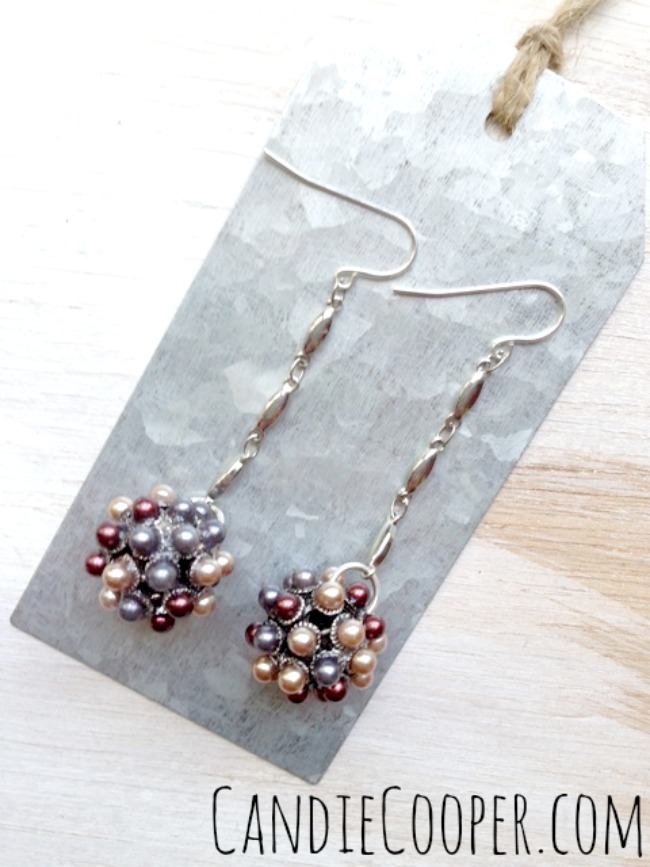 I made these and thought to myself, “Miley Cyrus called…. She wants her wrecking ball earrings back.”
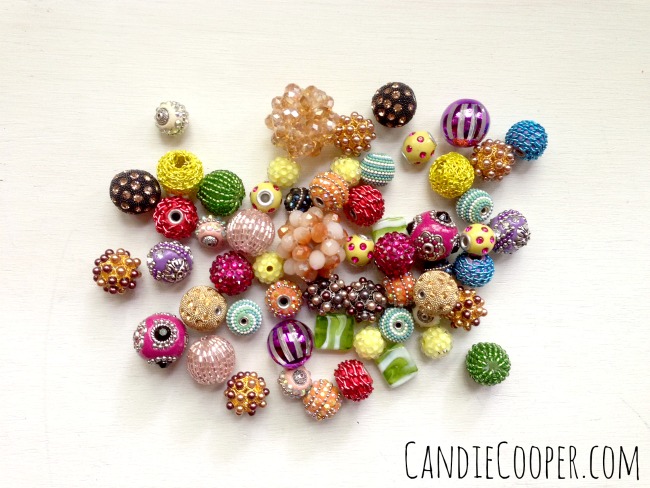
All you have to do for a chance to win is be sure to like and follow all the links below on social media. Each like or follow gets you an entry. Yee haw! Thanks for the love on the past giveaways. Fingers crossed for you on this biggie! Let’s get this party started! Thanks again Jesse James Beads!
Lockets and More In My Etsy Shop
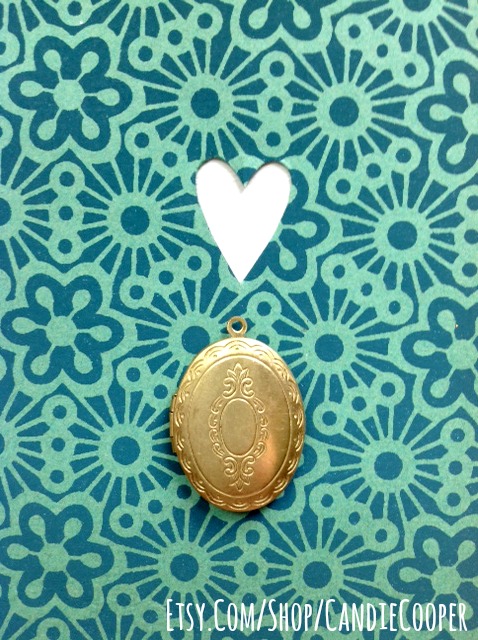
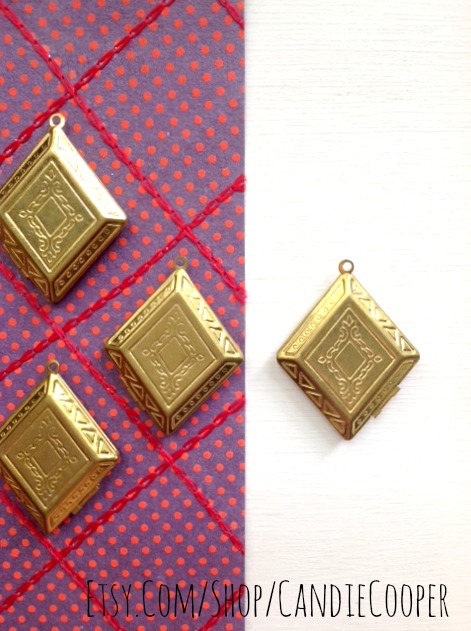
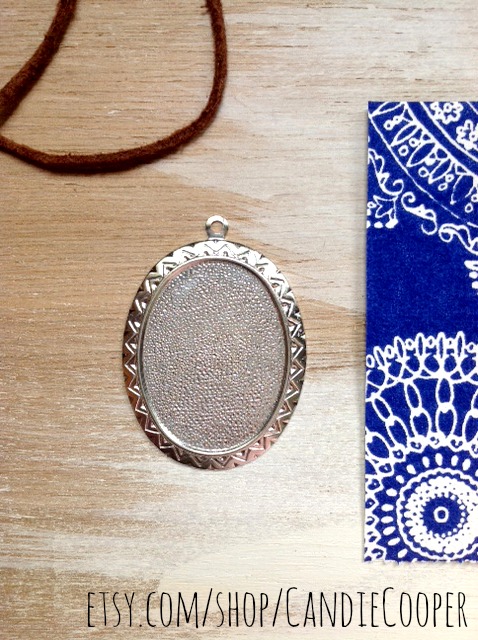 A few new treats and treasures are in my Etsy Shop! I love nostalgic jewelry so these vintage lockets are right up my alley! I also did a project using the silver bezel frame on the lovely Graphics Fairy blog. It’s a mermaid necklace painted metal tutorial. I think you’ll like it!
Have a great day!
Candie
How to Make a Boho Bead and Chain Necklace
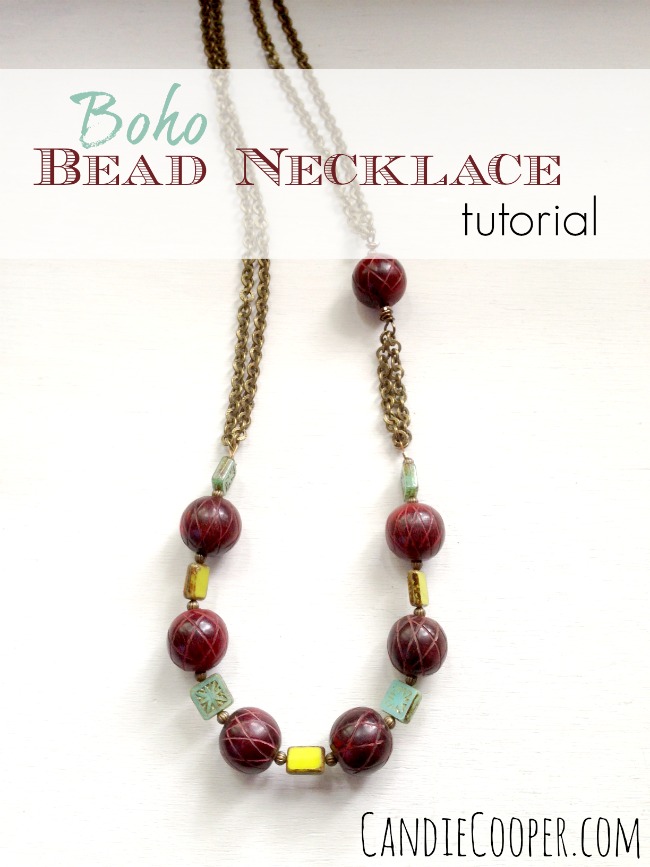 Hola beautiful people! How have you been? I’m doing better now that my blog is working again (thanks for asking). Sheesh. I went to upload pictures to this post and got errors. Then I updated to the new WordPress followed by a couple plugins only to find those actions were actually dominos of destruction that would lead to broken links, not being able to login etc…. I stayed up working late on Friday night in an attempt to fix it. At midnight, I surrendered and admitted to myself that I was in over my head. I thought, “why am I fighting this? Go to bed, Candice.” That brings us to this morning when I found even more quarks that happened and so I called my hosts hotline number. Thirty seconds later it was fixed. Dear Betsy! And praise the Lord! I just had to get that out. Thanks for listening. Moving on.
Now, I’ve got Romancing the Stone on and I’m ready to write. Just like Joan Wilder. My friend mentioned it the other day and that got the itch to watch it started. I watch it purely for the beginning of the movie. I love the scenery, I love watching her finish her book in tears, I love when she has notes all over to buy tissue, but she’s still out of tissue. Makes me feel completely normal.
This boho bead and chain necklace tutorial started when Beadalon asked for pieces for their “Tropical” trend board on Pinterest. I got the wood beads on clearance somewhere…a really really long time ago. Bead hoarders unite! I blended them in with tropical color czech glass beads. I like the contrast of the metal, glass and wood surfaces together.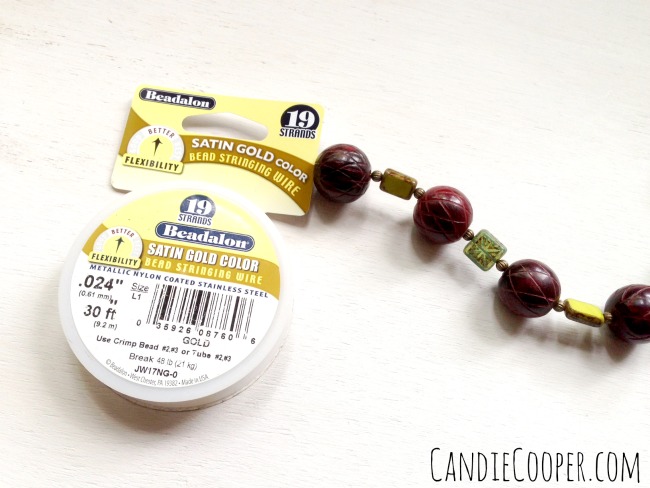 First, string your beads onto beading wire. I’m using Beadalon’s satin gold (19 strand, .024″) so it blends with the color of the chain.
 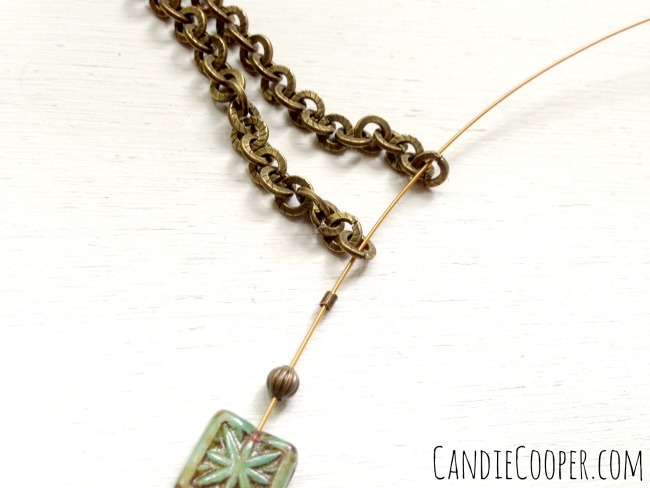 String a #2 crimp bead followed by the ends of the chain. For this necklace, I doubled over a piece of chain to make it thicker.
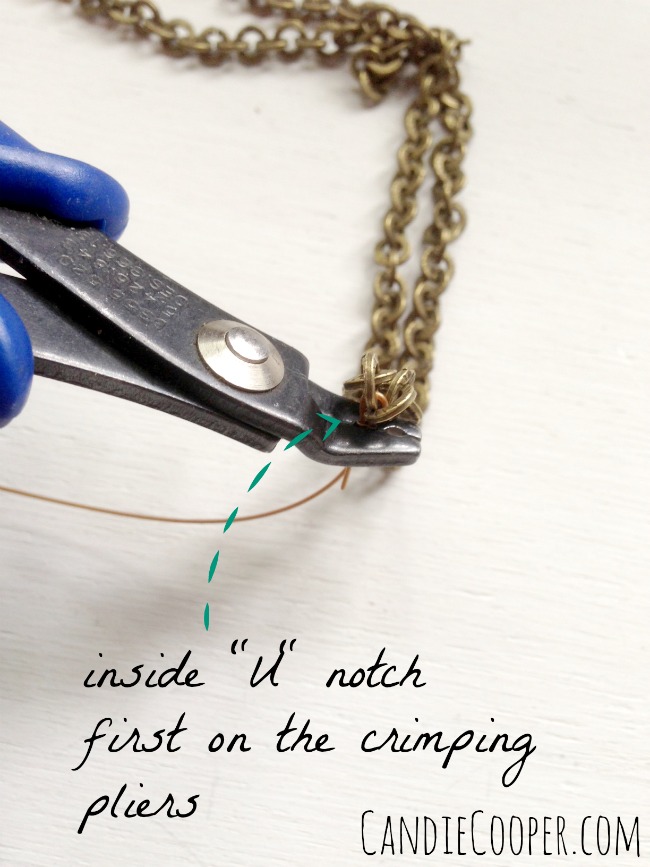 String the tail of wire through the crimp and slide the crimp bead up next to the chain. Now, put the crimp bead into the “U” shaped notch of your crimping pliers and clinch down.
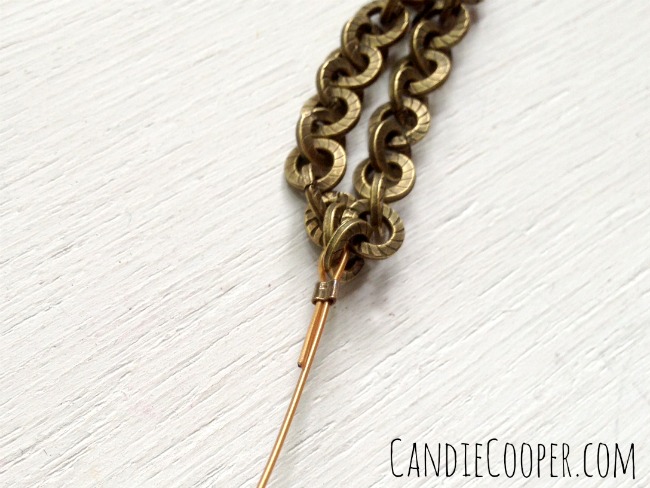 See the “U” shaped crimp bead?
 Now turn the “U” ninety degrees so it looks like a “C” and put it in the eye shaped slot of the crimp pliers and clinch down to fold the crimp bead over.
P.S. those are my husband’s hands. He walked by and saw me fumbling with my camera while trying to crimp and said, “I’ll be in the picture. I want to be in the picture.” If you know Aaron, this is completely normal. I love him.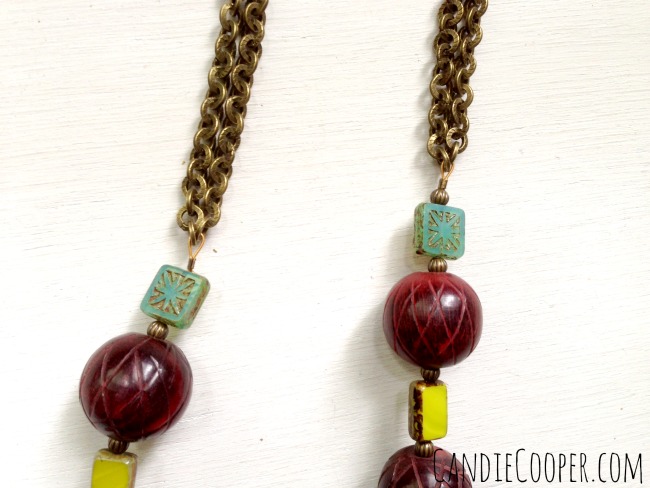 Now, slide the beads down to the finished end and repeat for the other side. Except do you see what I did? One side is not like the other one! Ai yi yi. I clearly got distracted by the cute man-hands crimping and forgot to add that one last tiny brass bead next to the crimp. I also didn’t realize this until I finished the entire necklace. I love it when that happens.
 Let’s take a break so Bebe can say “hi.” She’s been coming over off and on through this process and resting her head on my knee, my shoulder, the white board, begging to be petted. She’s our big girl that showed up one day, skin and bones and scared to death. Aaron worked with her to earn her trust and the rest is history. She doesn’t know a stranger. Have I told you how much I love that man?
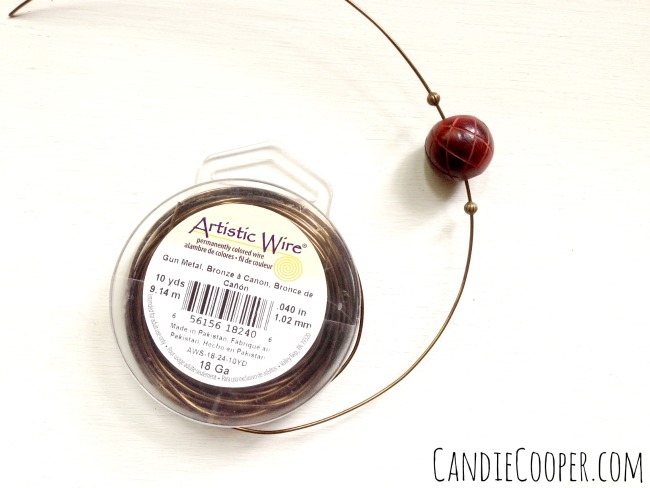 Let’s make a wrapped bead link. I’m using 18g Artistic Wire in gunmetal bronze so it matches the chain. String your beeads onto the wire.
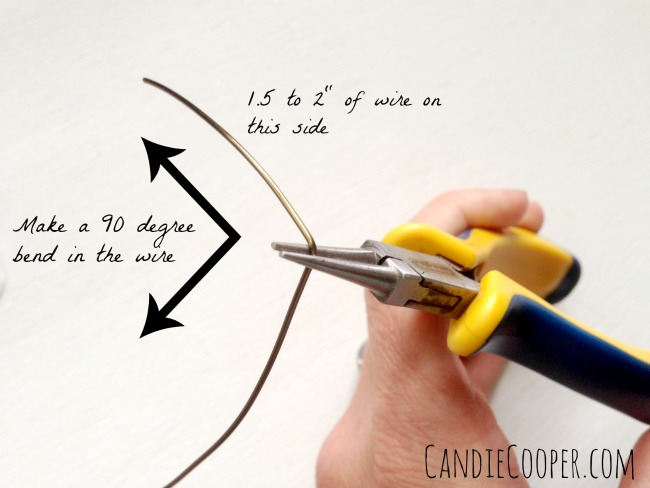 Grab your round nose pliers and make a ninety degree bend in the wire.
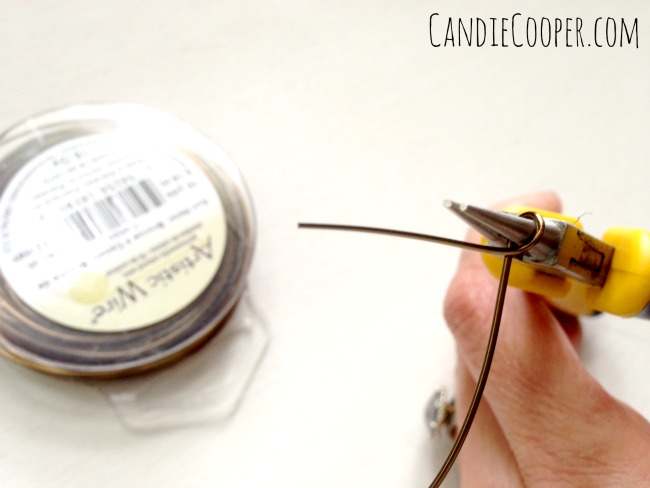 Bring the tail of the wire up and over the top of the pliers so it crosses in front of the other wire.
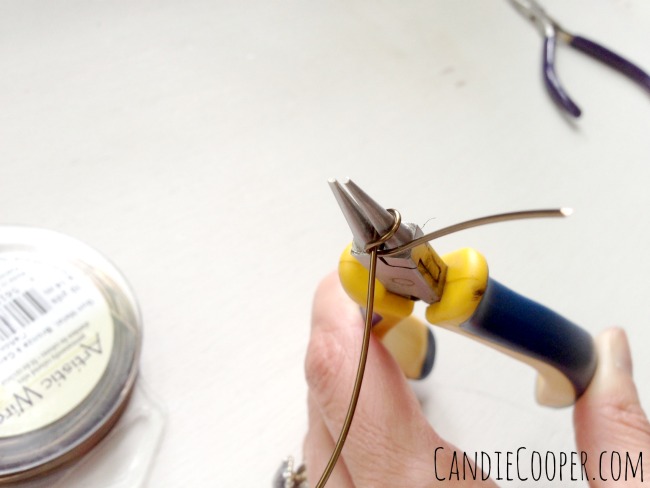 Start wrapping the tail of wire around the long wire–as many times as you like.
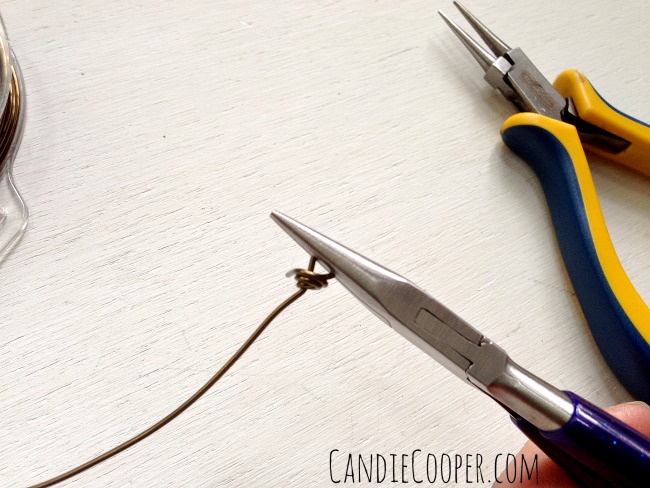 Sometimes it helps to hold the loop with chain nose pliers so it stays flat/in shape while wrapping. Trim the tiny, pokey/stabby part with wire cutters. Or tighten it inward with the chain nose pliers.
 Slide the bead against the finished wrapped loop and make another ninety degree bend in the opposite side of the wire.
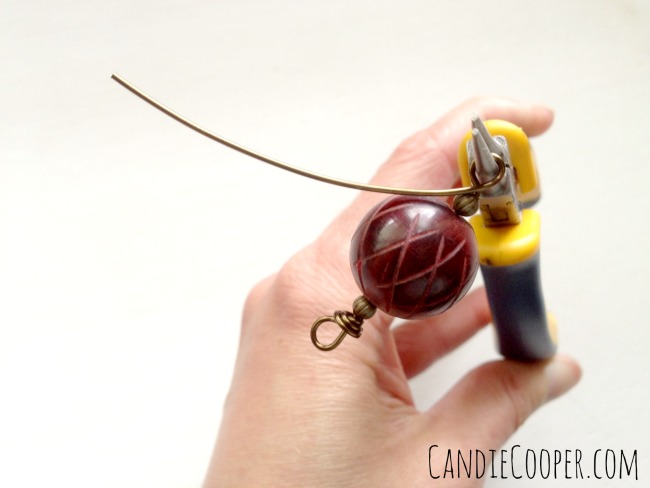 Trim the wire from the spool and start again with the wrapped loop technique.
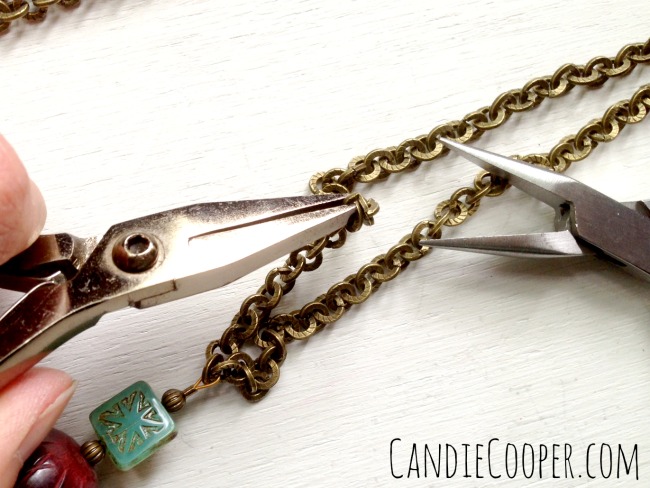 Split open the chain with two flat nose pliers. Open the link side to side on each piece of chain. Remove the sections so they are equal to the length of the beaded link.
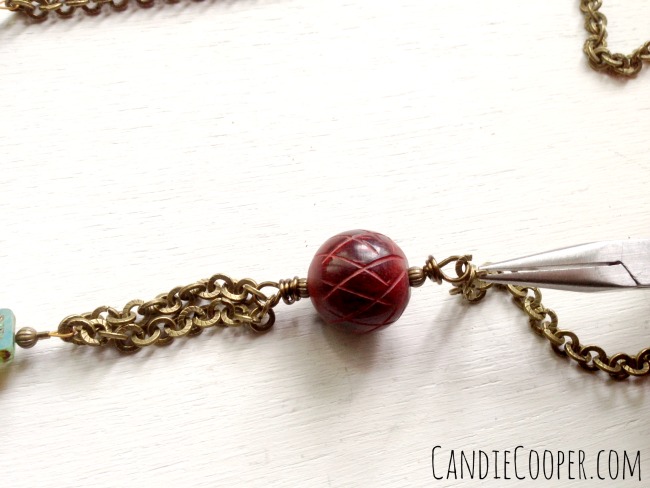 You can save those chain sections for a pair of earrings perhaps. I only did one beaded link as sort of a random surprise element to the necklace. Annnnnd possibly because I only had one bead left. Figured, I might as well use it!
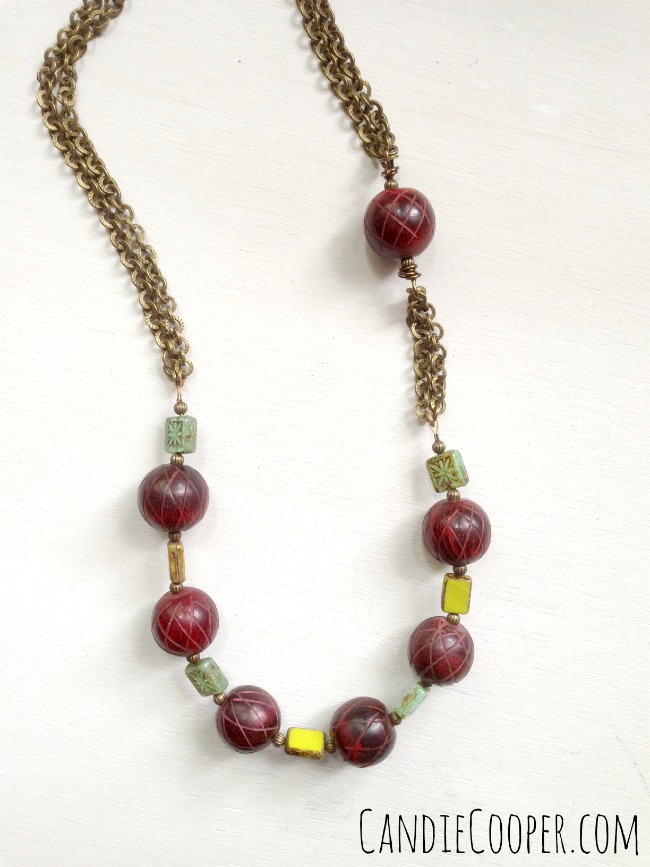 (insert big dramatic bead finale with tears and no tissue) I’m off to talk to my dogs and ask them if they want to celebrate.
Note: If you’ve not seen Romancing the Stone, that last bit will not make a lick of sense.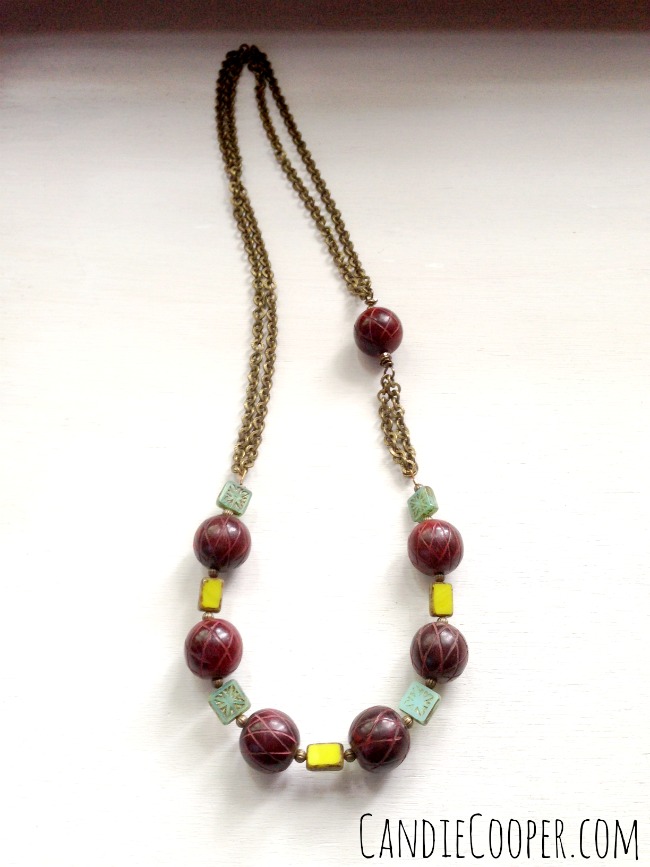 Love,
Love,
Candie
(your hopeless romantic bead and craft blogger)
Mother’s Day Birthstone Necklace Idea
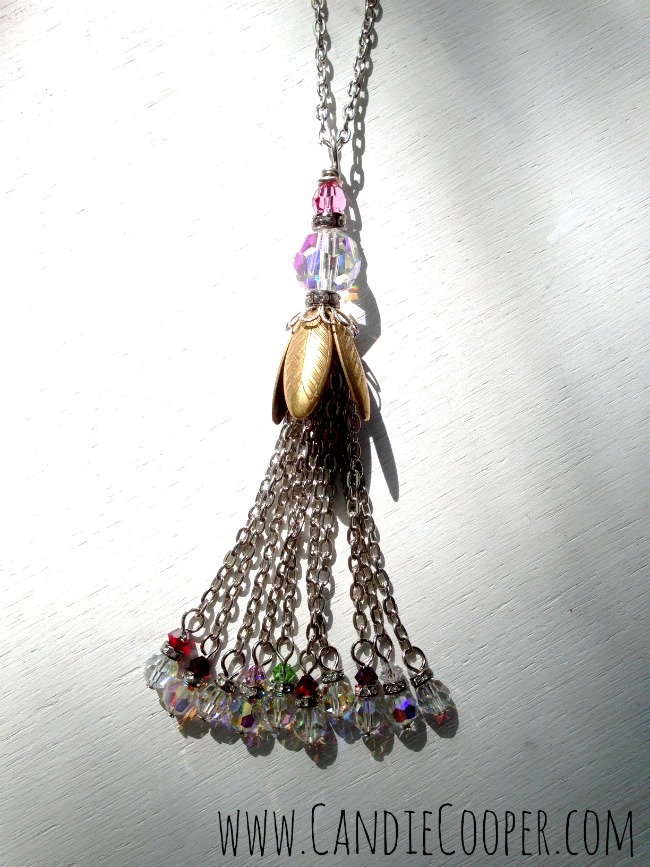 This idea came about when someone asked me if I could make their mom a necklace for Mother’s Day. I thought about it for awhile and my feeling about custom jewelry is, if you’re going to have something custom made, it should be yours. Plus, I love telling a story through my jewelry!
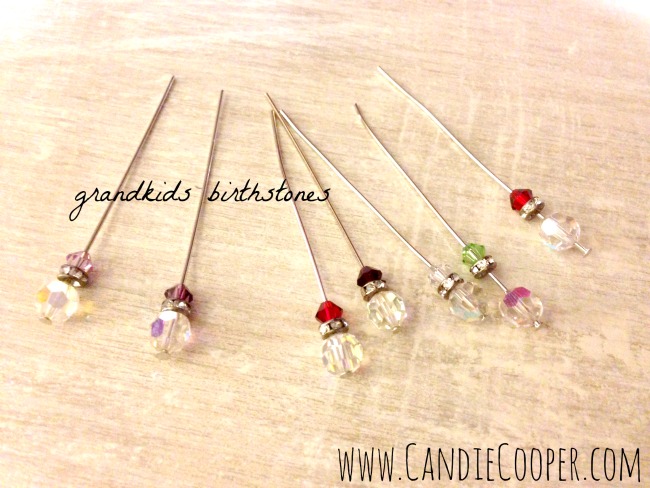 Families are gardens that grow each year. The tassel has each of her grandkids birthstones dangling at the end. I love the rainbow effect. At the top, you’ll see a small pink crystal–that is her husband’s birthstone color.
You could also include her children within the tassel as well. If I were going to do that, I might make those a different shape or size of crystal. Oh the symbolism of it all. Makes my heart flutter!
I hope this sparks some ideas for you. Make one for your friend, your mom, for you…
Lots of Love,
Candie
P.S. If you’re new to jewelry making, you can see how to make these tassels in my craftsy class: Beading with Wire Chain and Leather. Also, the big pretty brass flower bead cap is from Ornamentea.com.
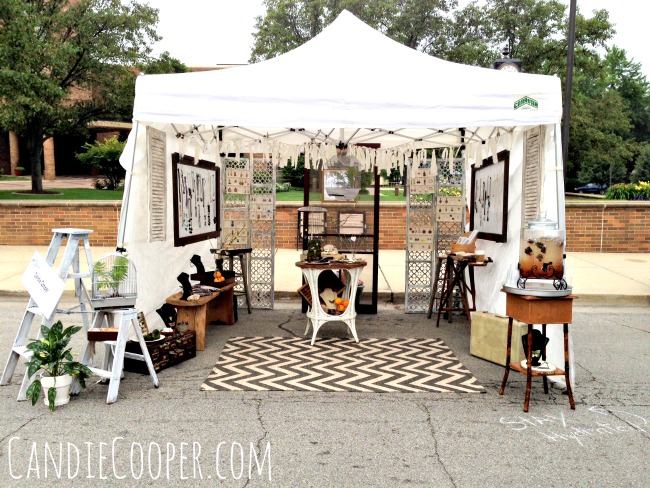
 Hi, I’m Candie. I design jewelry and crafts, author books, teach classes and host television programs. I thrive on simple ideas that anyone can achieve. I also love projects made from unexpected materials that stand the test of time. Join me as I lead a creative life!


