The Crafter’s Book of Clever Ideas Review and Giveaway!

The Crafter's Book of Clever Ideas by Andrea and Cliff CurrieAs we head into fall, back to school etc… I wanted to share with you a sweet book that I think is super great for tween crafters.  It’s called the Crafter’s Book of Clever Ideas by Andrea and Cliff Currie.  I know the Currie’s and they are genuinely fun folks!  Their personality and wit really comes through in their projects and book.
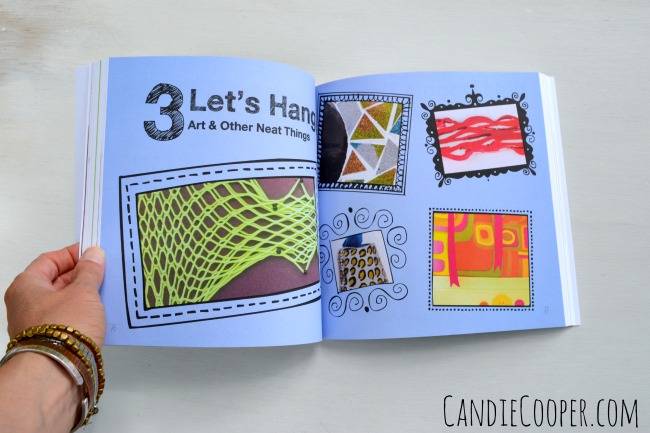
The Crafter's Book of Clever IdeasOne of my favorite things about this book is the layout and feel of the pages.  It’s trendy and colorful.  Look at the doodles around the project previews!
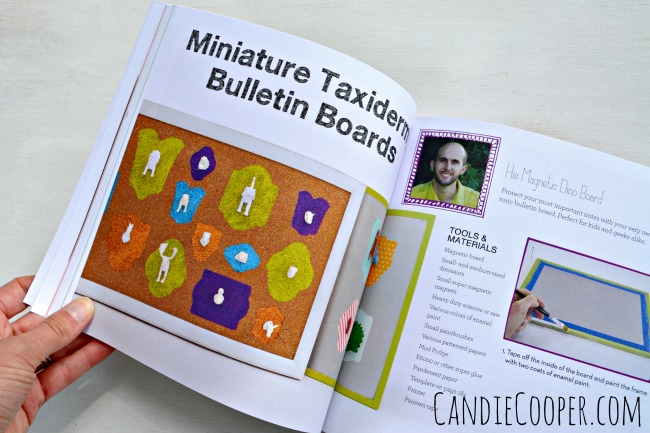
Bulletin Board Idea from The Crafter's Book of Clever IdeasProjects rotate between his and hers.  I really like this mini taxidermy project by Cliff Currie, especially for young guy makers.  I’m in Indiana and I know a lot of boys that would think it’s cool to make miniature taxidermy heads (including my husband, the hunter).
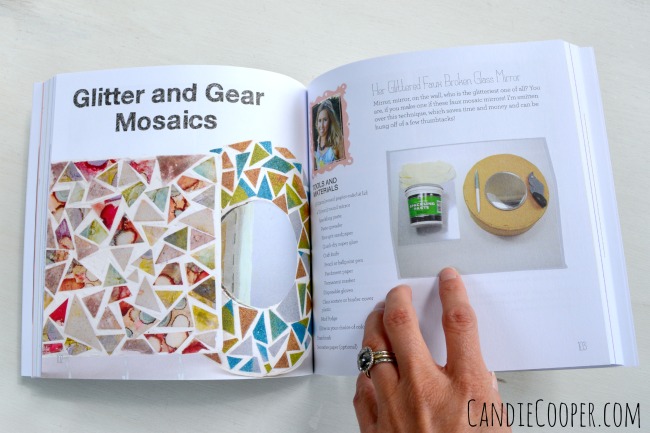
Mosaic Idea from The Crafter's Book of Clever IdeasThere are tried and true techniques with new and funky spins.  I appreciate this too for young crafters.   You’ll find some projects you want to make alongside your teen.  Make it together!  Hip hip hooray!

Two thumbs up for the Currie’s!  It’s a really fun book!!
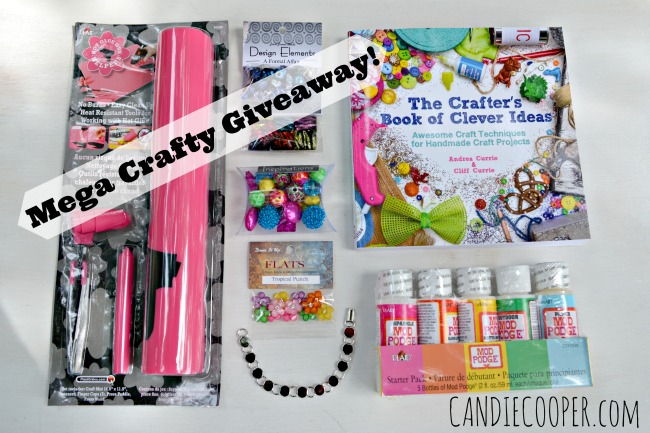
The Crafter's Book of Clever Ideas GiveawayTo celebrate craftiness, I’m giving away a bunch of good stuff THANKS to Plaid Crafts, Dress It Up Buttons and the Currie’s.

The mother-load of crafty goodies includes:

Mod Podge Starter Pack—Hot Glue Gun Helper Set—3 Dress It Up Embellishment Packs—Button bracelet form—Jesse James Beads Inspiration pack—AND the Currie’s new Crafter’s Book of Clever Ideas!

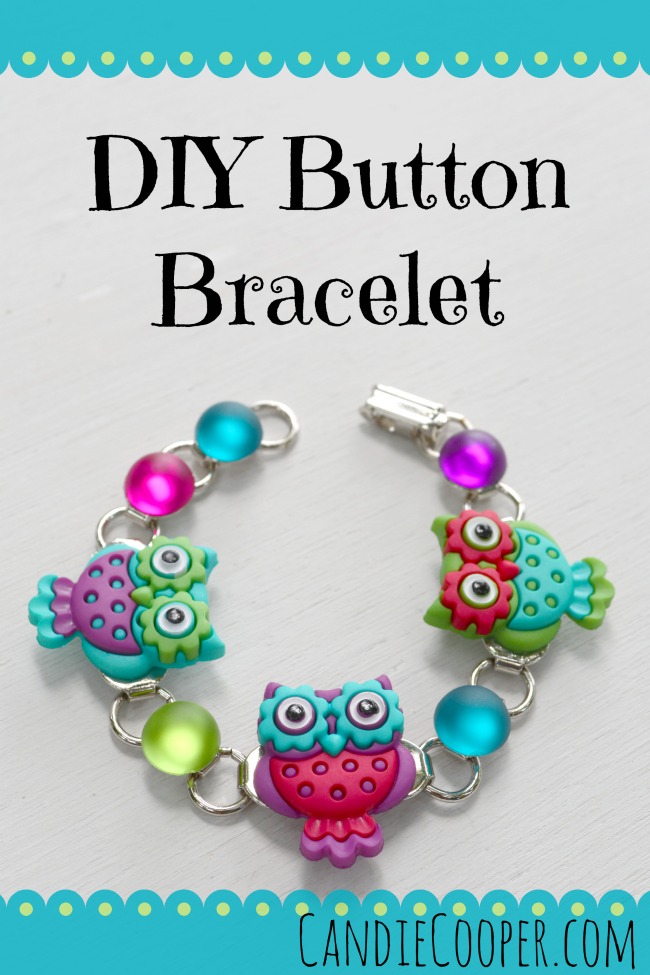
I’m excited!  You can use the bracelet and buttons to make a button bracelet like THIS!

Check out the details below to win!
a Rafflecopter giveaway

crafty giveaway winner.09.18 AMWE HAVE A WINNER!  Thanks again everyone for the awesome comments!!!
Old Fashioned Blueberry Muffin Recipe

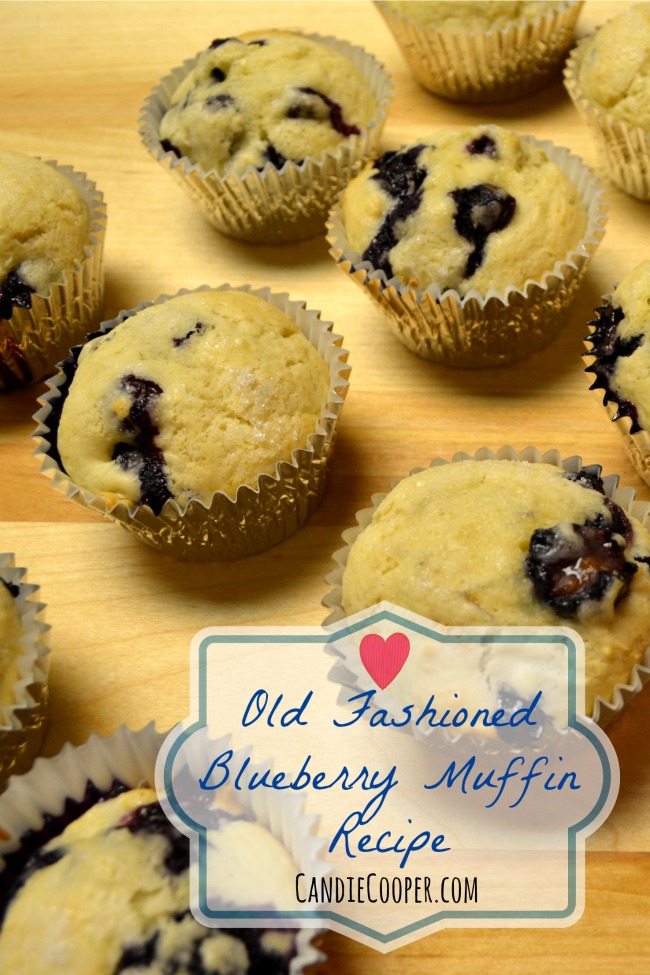
Old fashioned Blueberry Muffin RecipeThis is a summertime favorite around our house.  It’s my grandma’s blueberry muffin recipe.  I call it old fashion because it’s made from scratch and uses shortening.  Does that qualify it as old fashion?  I don’t know, but I love the ring of it.  The fresh veggies and fruits are flowing here in Indiana.  A dinner of corn on the cob and these muffins is a perfectly acceptable dinner in the summer.

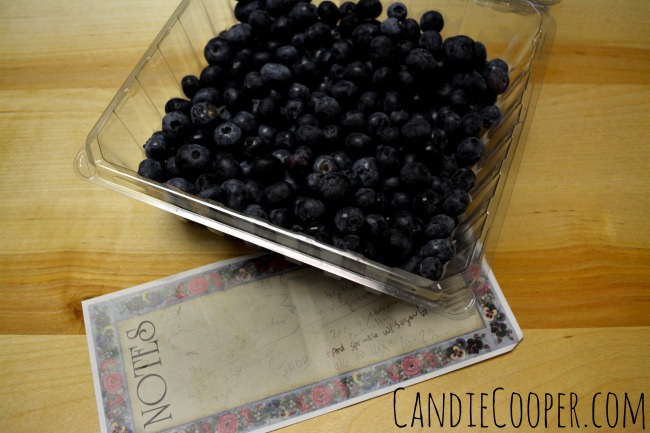
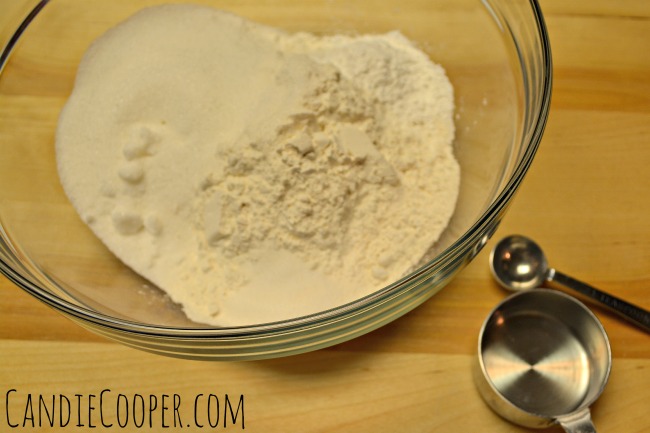
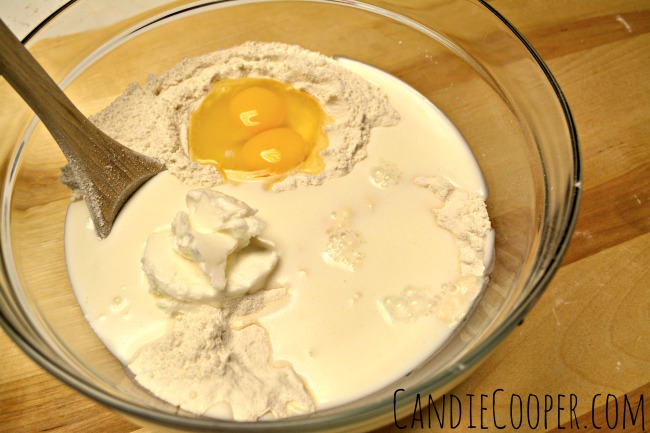
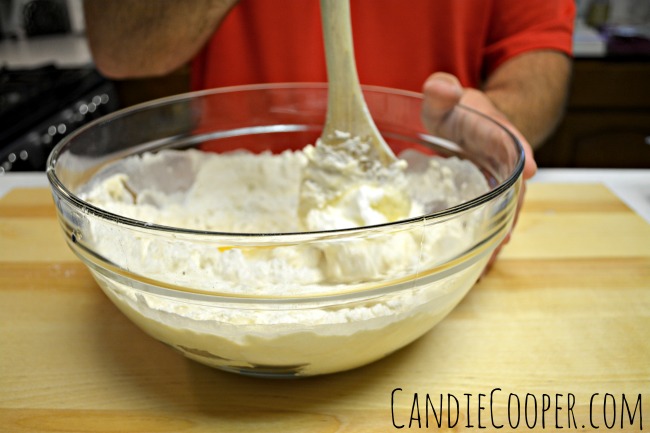
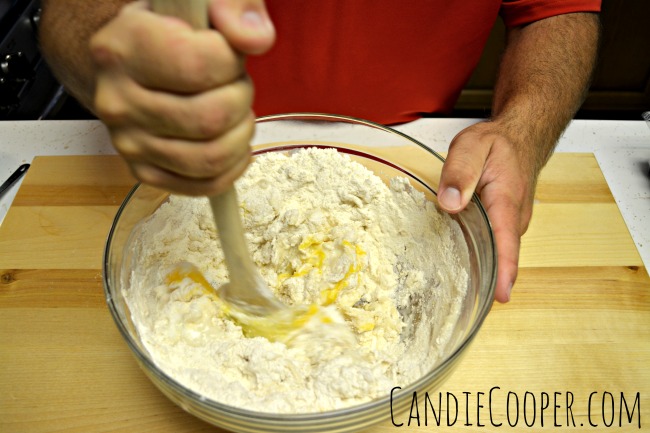
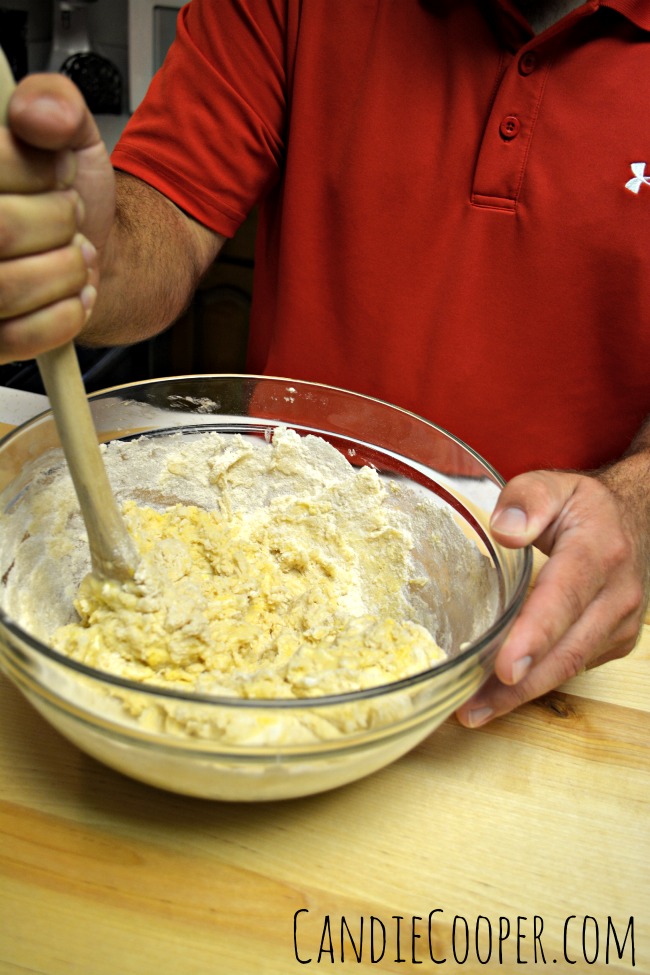
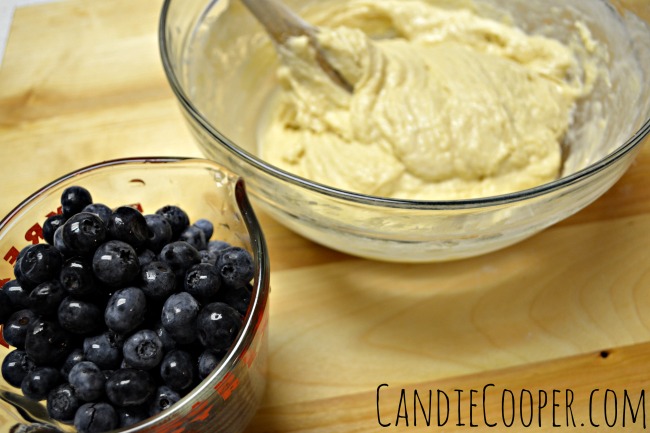
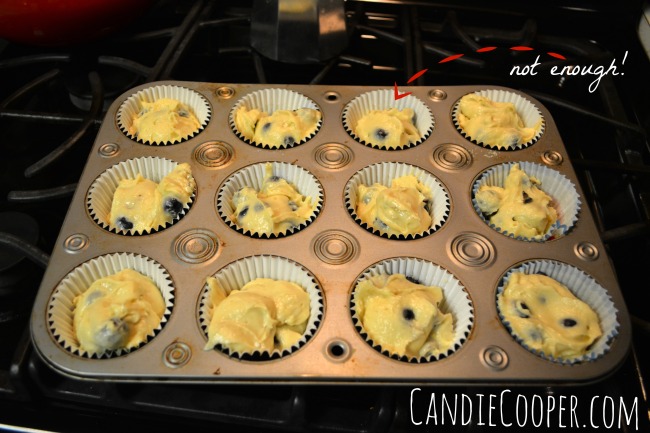
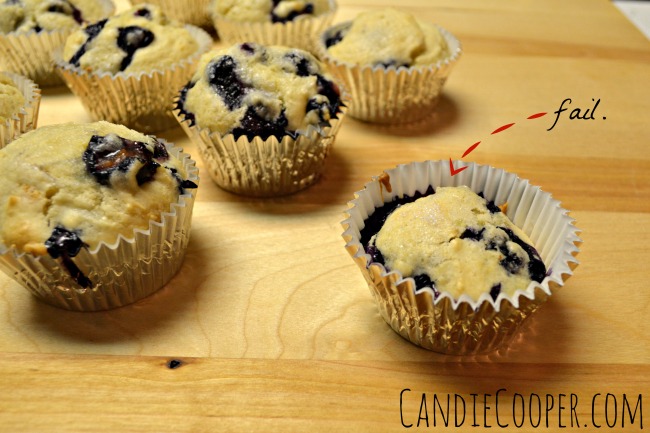
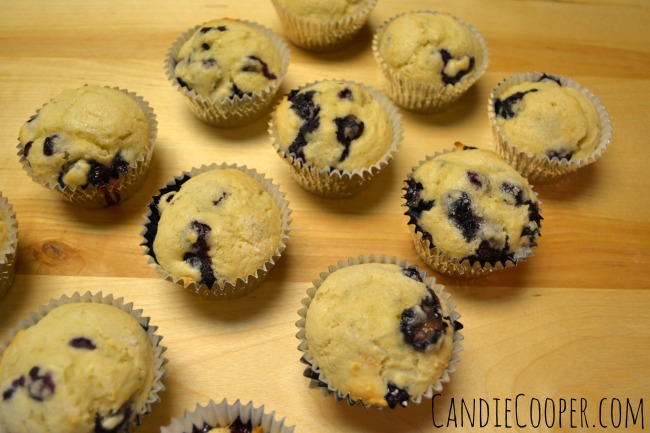
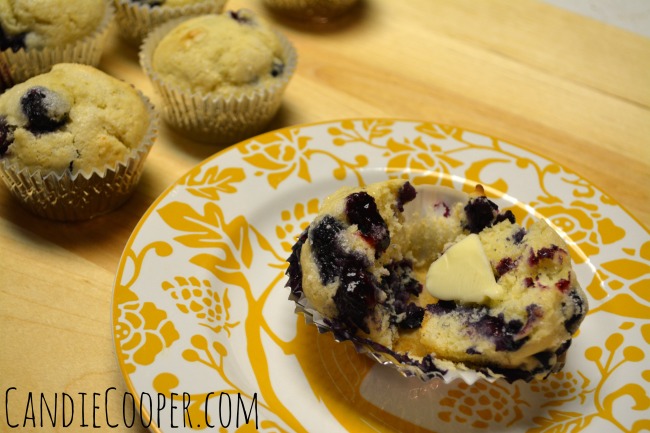
I’ll post a few pictures and the full recipe at the end if you want to try it.  A fair warning though–these muffins are not super sweet.  If you love super sweet, turn and go the other way.  These remind me of more of a muffin scone hybrid if that makes sense.Blueberry Muffin RecipeThis is the recipe that I copied on gram’s note paper that I can’t get rid of.  I break it out every summer.  Just love it.Blueberry Muffin Recipe Mixing up the Flour SugarYes, I measured all the flour out with 1/3 measuring cup because I was too lazy to wash my 1 cup.Blueberry Muffin Recipe adding the liquidsAfter making many box muffin mixes, it’s strange to use Crisco in as-is form.  I always think, shouldn’t I melt it?  This is the only recipe I have that uses shortening.  Oh wait.  Grandma’s sugar cookie recipe uses it too.  Now’s about the time to find some muscle to stir up the batter.Mixing Up Blueberry Muffin recipeLike this.Mixing up blueberry muffins recipeAnd this.Mixing up blueberry muffins recipe with hubsHe did ask a couple times why we weren’t using the Kitchenaid mixer and to tell you the truth, I don’t know either.  I didn’t tell him that though.  I simply replied, “because it’s more fun to watch you stir.”Adding blueberries to mixMy hubs is a bowl in a china shop so I sent him on his way, thanking him over and over and proceeded with gently folding in the berries.Filling blueberry muffin cupsUse an ice cream scoop to drop the dough in the cups.  I fill my 3/4 full except I missed one at the top.  Also, sprinkle the tops with sugar if you like.Muffin cup fillingNough’ said.  Lesson learned (again).  The bonus here is that if you’re making these for a party, you have to eat this one.  Right now.  It’s simply not fit to be out on the table. (wink)Blueberry Muffins RecipeThat’s all there is too it.Land o lakes butter on blueberry muffinWhile they are still piping hot, drop a pat of Land O’ Lakes butter on top.  Oh. Heaven.  Now stand around the counter with your hubs and eat three each.  Ok, it might’ve been four.

Here’s that recipe!

Old Fashioned Blueberry Muffin Recipe:

Makes 24

Preheat oven to 400 degrees

Sift together:

3 C. flour

1 C. sugar

4 tsp. baking powder

1 tsp. salt

Add:

1/2 C. shortening

2 eggs

1 C. milk

Note: this batter is thick!  I sometimes add a splash of milk to it to thin it out just a tiny bit.

Blend in:

2 C. blueberries

Fill the muffin cups 3/4 full and sprinkle the tops with sugar.

BAKE: 20 to 25 minutes

Make Easy Earrings!

DIY Jewelry Making- Red boho earringsThe Blue Plate Special radio show is streaming from my phone and I’m enjoying the dog days of summer.  Ok, I don’t love the heat, but I do love the farmer’s market, weekend breakfasts at lakeside cafes, and thinking about heading south at the end of the month to my husband’s family reunion.  It’s in Kentucky near the birthplace of sassy singer, Loretta Lynn.  My embroidery project is being plotted and my magazine stack is ready.  I love a good road trip.

I’ve moved my studio to the back porch of the house temporarily because it’s cooler.  The view is peaceful and I’m embracing it. This is a quick pair of earrings I made for the Jesse James Beads Facebook page that uses the same technique found in this tutorial.  I thought they were too darn sweet not to share with you.  Like a slice of cherry pie!

Great.  Now, I’ve got cherry pie on the brain.

How to Make a Button Bracelet

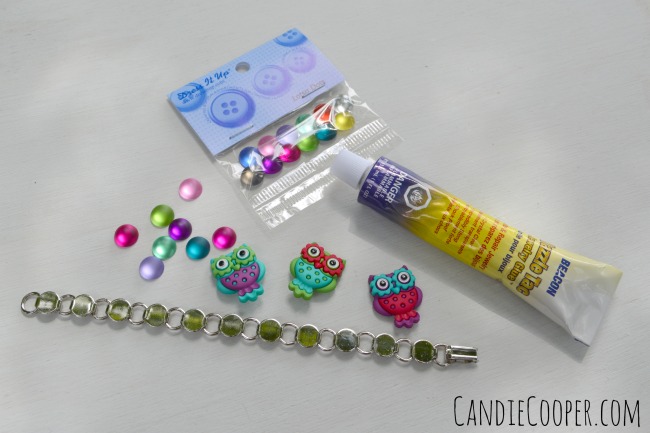
How to Make a Button Bracelet for tweensYesterday around 3pm when I should’ve been writing this post, I decided to skip town and go to a quilt show (and spend all my yard sale money).  Fat quarters are the devil.  They’re so perfectly sized and for someone who loves scrappy quilts, they’re a problem.  I had the best time looking at the quilts and pretty fabrics, leaving mega inspired ready to sew everything.  Never mind, penniless too!AudienceEarlier in the day, I snuck outside to take pictures for this button bracelet tutorial.  It was so pretty and not humid so I had to soak some of that up.  Had to.  No choice.  This is always my audience when making tutorials.  Meet Rocker and Bebe.Button Bracelet MaterialsMaterials for this little button bracelet are from Dress It Up Buttons (found in all the craft stores and lots of independent quilt shops as I learned yesterday), Beacon Adhesives Dazzle Tack, and the bracelet with glue pads from Rings and Things.  The reason I really love this bracelet finding is because you can remove links and make it smaller.

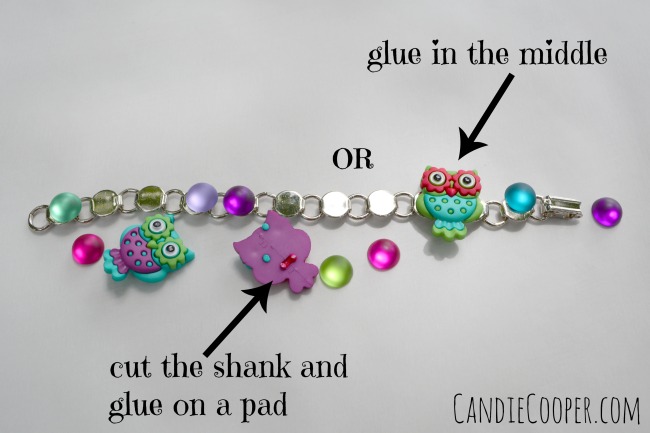
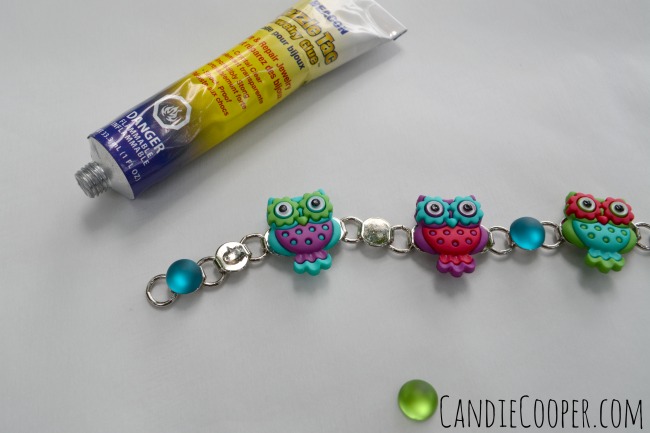
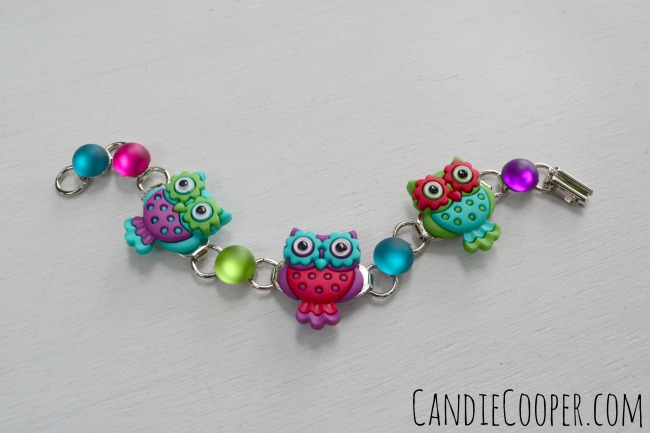
*A word about gluing:  Even though this project looks kid friendly, this adhesive is for grown ups and should be used in a well vented area.  If you want to make it with smaller hands, I suggest a game of “jewelry designer and jewelry manufacturer.”  In other words, grown ups do the gluing wherever the designer tells them to. 😉How to Make a button braceletLay out the pieces along the bracelet.  There are two choices for gluing buttons with shanks:  cut the shank off with heavy wire cutters and glue on the silver disc/glue pad OR don’t cut the shank and glue it so the button uses two silver discs.Jewelry Making GlueThis glue comes out fast!  Less is more too!  My philosophy is, you can aways add more glue, but dang it’s hard to get off when you have it oozing from every angle, on your fingers, etc…etc…  You know what I’m talkin’ about!  So go easy.Kids Jewelry Making IdeaOnce you’re finished gluing, double check no buttons have slid out of place and set this little cutie aside to dry!

Now, I gotta get back to petting my fat quarters (that doesn’t sound right, but you know what I mean).

Have a great day!

<3 Candie

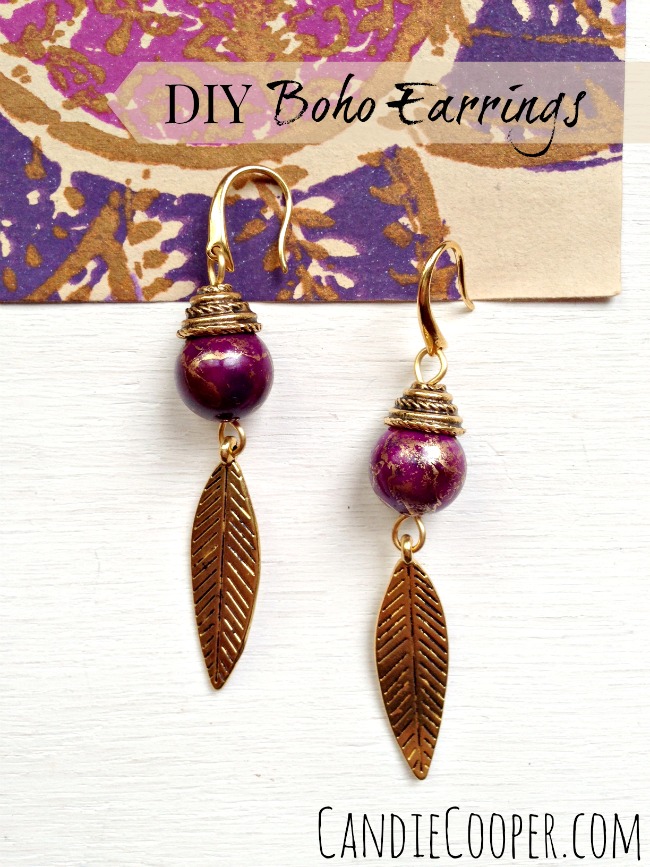
DIY Earring Making: Boho Style

Boho Earring TutorialWhat a dreary day, this day started out to be.  By 6:30 this evening the sun popped out coupled with a cool breeze.  I didn’t see that coming!  Thank you, Mother Nature.  My hubs fixed hot dogs, I made mac and cheese and after we ate (2 hot dogs each I might add), we felt we needed to take the dogs on a walk.

It was a great day.  I got a nice note from one of my Etsy customers first thing this morning.  She lives in Tel Aviv, Israel.  This amazes me.  I moved through my deadline/to-do list nice and easy and topped it off with a walk.   Now we are watching the Outsiders.  Well, I’m 3/4 watching and writing.

Now about these Boho earrings!  This is the final pair of orchid colored earrings for awhile.  I promise!  This tutorial will show you how to make an eye pin or a bead link.
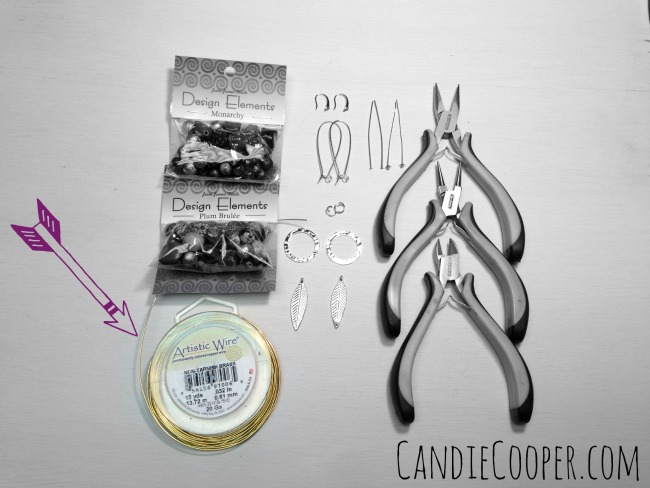
Jewelry Making: DIY Boho EarringsTo do this, I am using Beadalon’s Artistic Wire 20g.  The pictures tell the story.  I’ll chime in from time to time if there’s something specific I want to show you (and also because I’m a babbling brook and just can’t help myself).
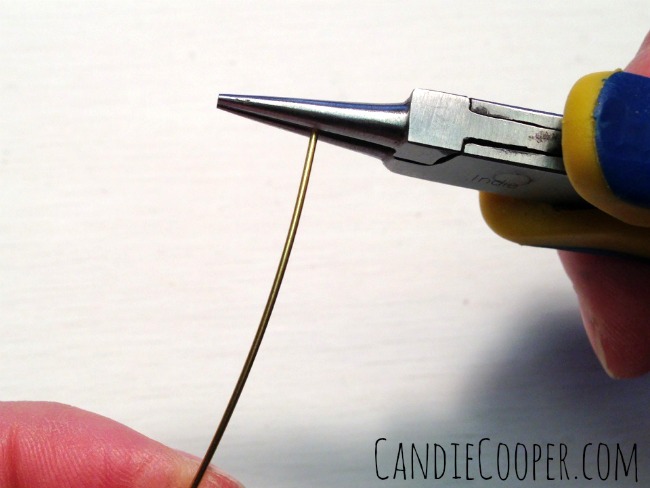
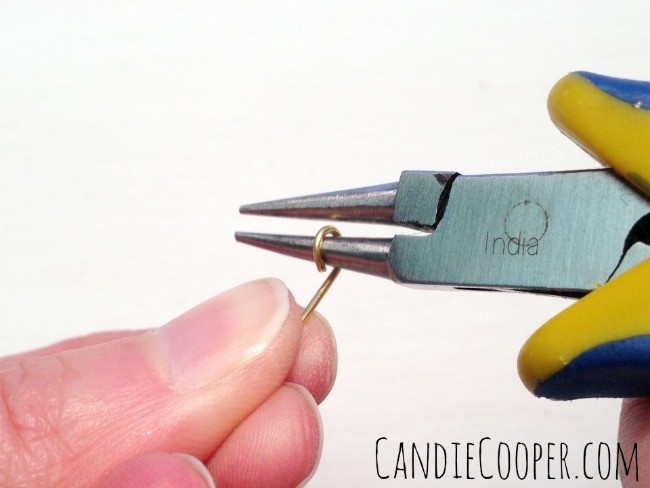
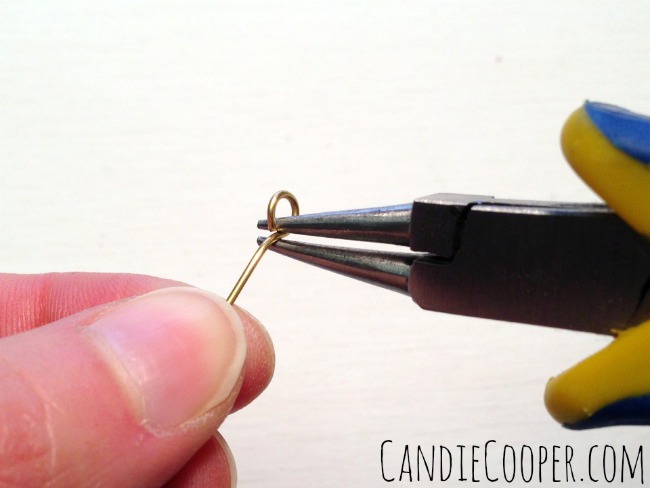
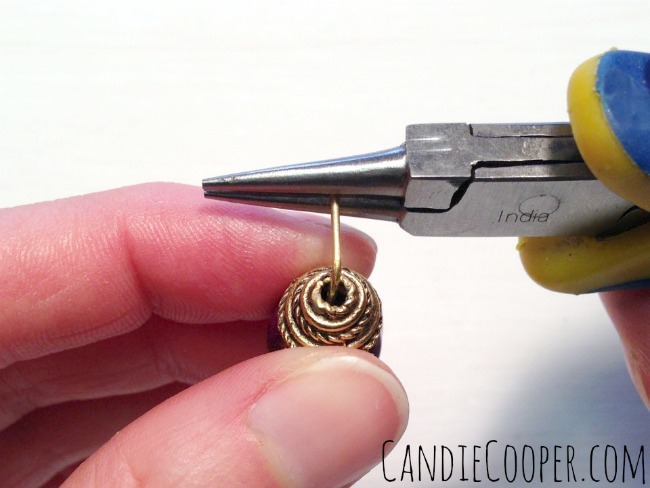
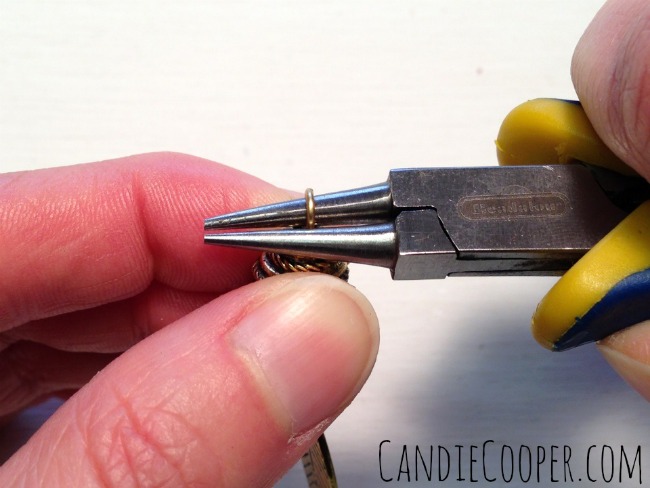
How to make a simple loop at the end of a wire 1Grasp the end of the wire at the point on the round nose pliers where you want that diameter of loop.  Tiny loop at the tip–bigger loop at the back of the jaw.
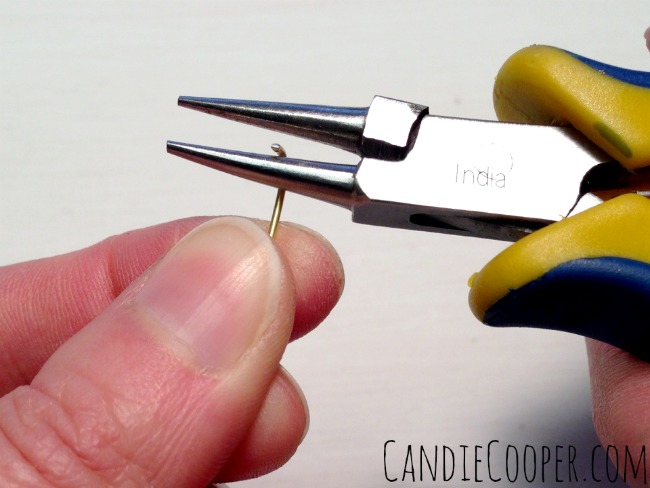
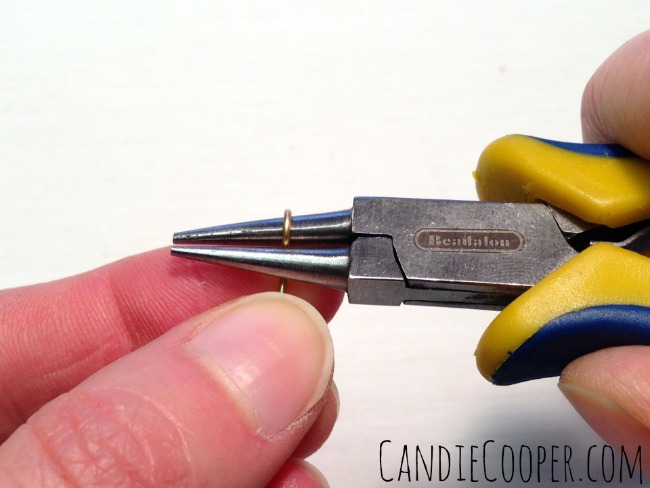
How to make a simple loop on a wire 2
How to make a simple loop in jewelry making
Round out the Simple Loop
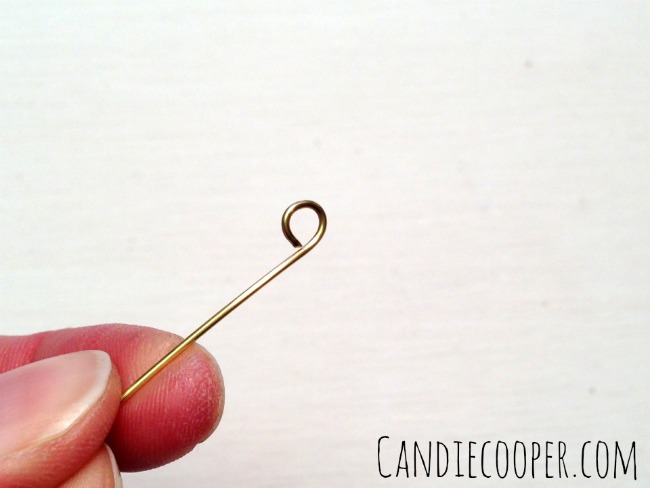
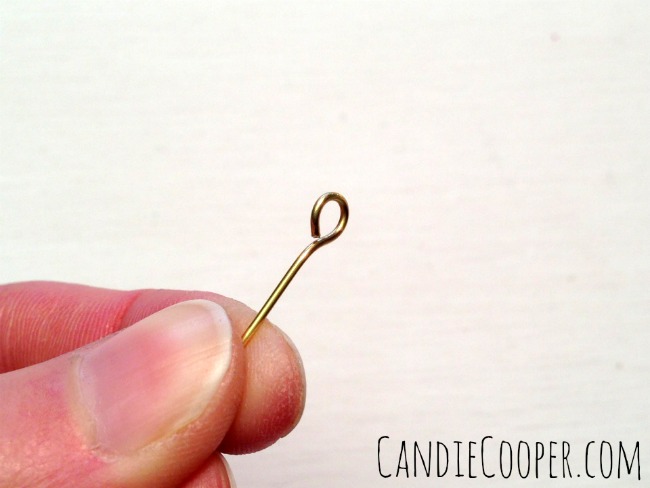
Straighten the loopWhen you get the loop completely formed, it’s going to be wonky.  Here’s how you fix it:
Straighten the eye pin
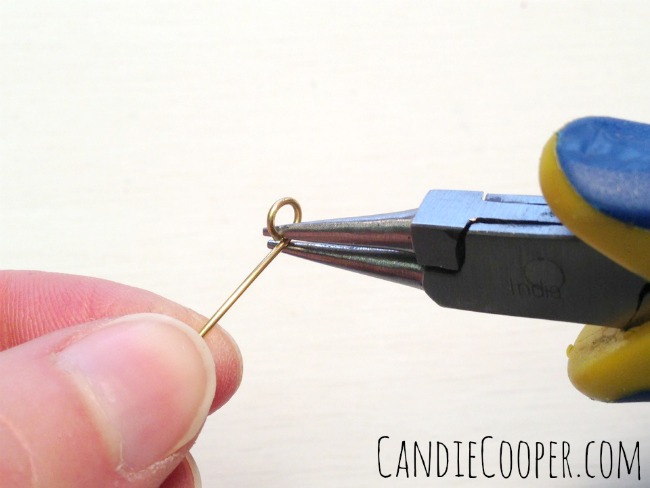
Square up the loopBasically grab the loop at the back side and tweak it backwards.
How To Make A Wire Loop for Jewelry Making
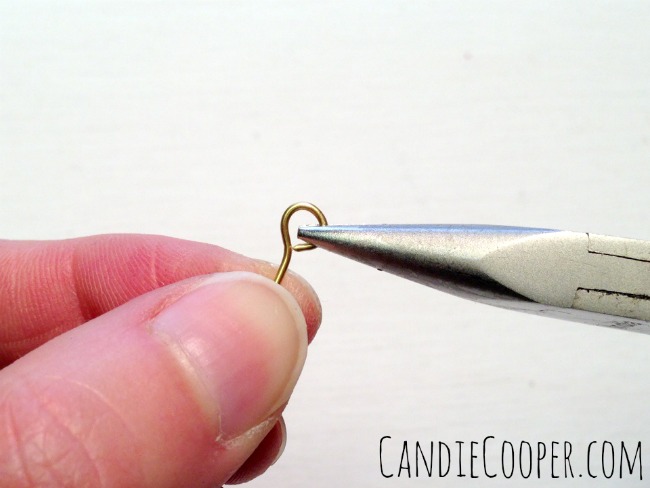
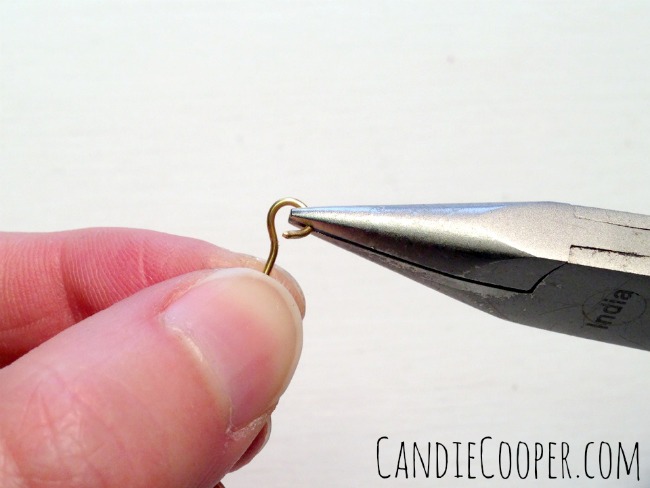
How To Open a simple loop or eye pinTo open an eye pin, switch to your chain nose pliers and open the loop from side to side.
How to open an eye pin
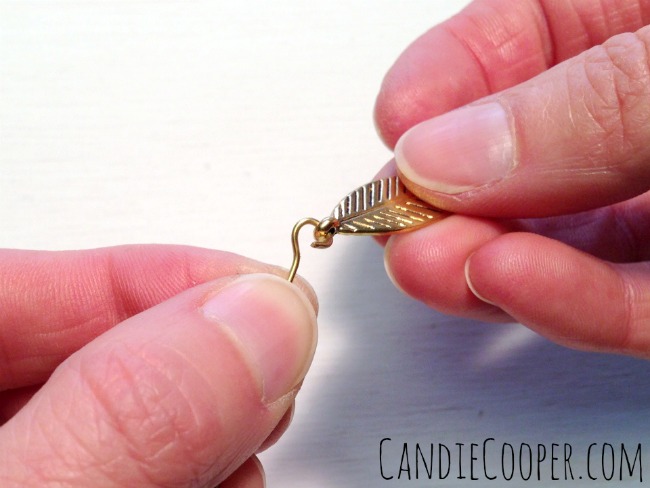
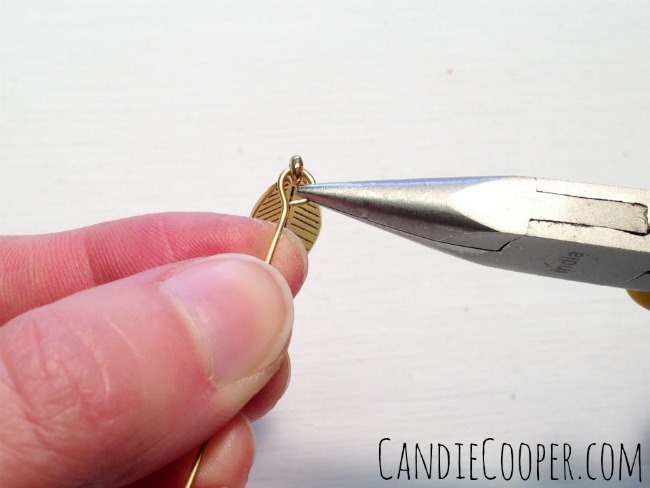
Connect a leaf charm to the eye pin
Close the loop to secure the charmClose it in the same fashion.  See how it keeps its shape?
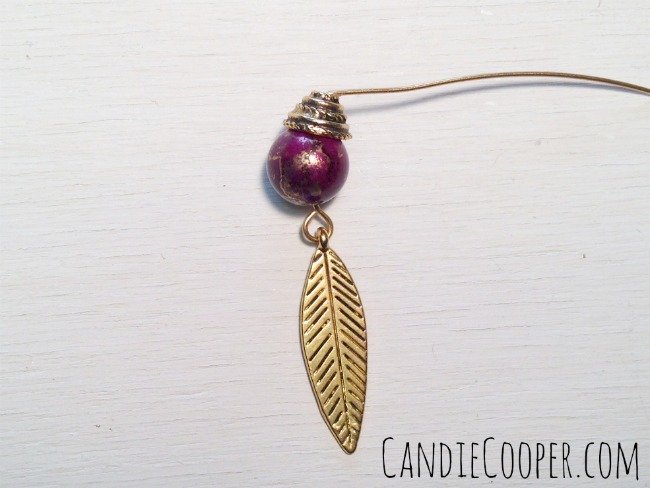
Finish the end of the wire in a loopString your select beads (by the way, those are from a Jesse James Beads Design Pack) and make a 90 degree bend at the top of the last bead.
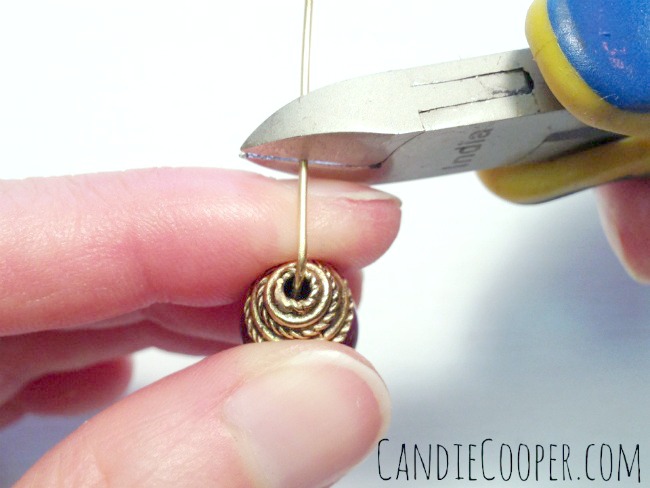
Trim the WireTrim leaving approximately 3/8″ (or the width of the side of your finger like I do).
Jewelry Making  Earring LoopRoll the end of the wire into a loop with the round nose pliers.How to Form a Simple Loop in jewelry making
Finished Simple Loop on Earring
Open the loop from side to side
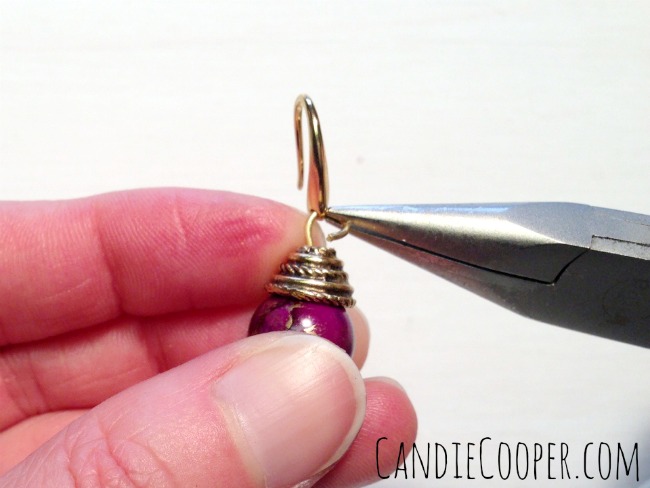
Attaching an ear wire
Boho Earring TutorialThis type of loop isn’t as secure as a wrapped loop, but for earrings, it should be ok since they aren’t in a high traffic area while worn.

On another note, the names in this movie are great!!  Pony Boy, Sodapop, Darry and Two-Bit.  I’m pretty sure we had to read this in school.  My memory is vacant, but Hubs says he actually read it.  Decorating my locker was more of a priority than reading if that tells you anything.
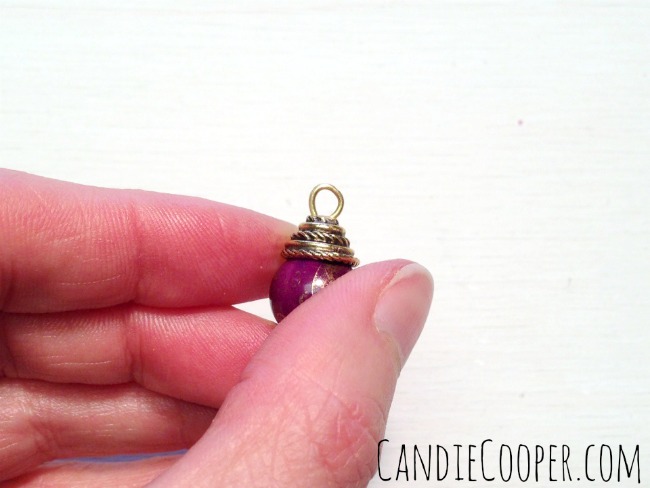
Funny how things change.  These days, I love reading and thankful for that change.

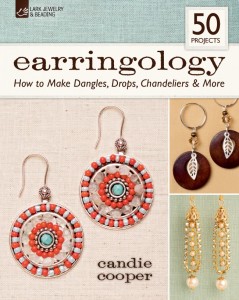
Earringology by Candie CooperReady to get on the earring making train?  May I humbly suggest Earringology, my latest book geared for beginners to enthusiasts looking for some new inspiration.

P.S. Katie Hacker is giving away a copy of Earringology on her blog!  Check it out!
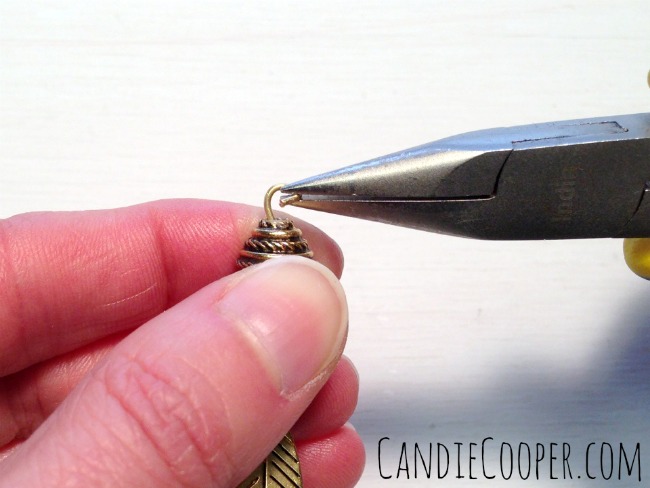
**Earring resources:

Findings from Beadalon.

Beads from JesseJamesBeads.com

Kids Watercolor Art Project Idea

Paul Klee Kids Art Project via CandieCooper.comI’m just going to start this post off by saying, I just watched the ZEDD concert on #GMA this morning.  He’s only 24.  He had the Central Park crowd so pumped up.  It gave me goosebumps.  But the part that made my eyes tear is when after the song Clarity was over…HE clapped for his audience.  Am I getting old if stuff like this warms my heart?  Gratitude really is beautiful.

Ok, Cooper, get it together.

In my past life, I went to school to be an art teacher.  I never ended up in the traditional classroom, but have always enjoyed keeping my foot in the children’s art world.  I’ve done that through a variety of ways the past few years, designing kids art and craft projects for the industry, teaching at the Honeywell Center (our local art center) and hosting a children’s craft show on PBS.  I’ll show you more later, but the primary focus of the newly renovated White House is to create experiences for children to make things.  Creativity builds self esteem and good for problem solving skills (plus a whole. lot. more).  I want to promote this!  Once a week, I’d like to share a kids project over here on my blog.  I hope it inspires you to make things along side your children, grandchildren, nieces and nephews, bible school groups, or even at lunch time with your colleagues simply to take time to play.

This project requires: Oil pastels, Watercolor paper, a pencil, tube of watercolor pigment, soft large paint brush, a pencil and eraser.

These are the brands I use when making this project.  To be totally honest, I’ve worked with both of the below companies in the past through different projects.  However, neither are paying me to promote them right now.  I use these companies art materials because I know they work.  The paper isn’t going to fall apart if it gets a little too wet and the oil pastels are going to be bright and go on easy.  I also believe it’s better to create within your budget than to not create at all.  Ya feel me?

Here are some Amazon links:

Sakura Craypas and Koi Watercolors

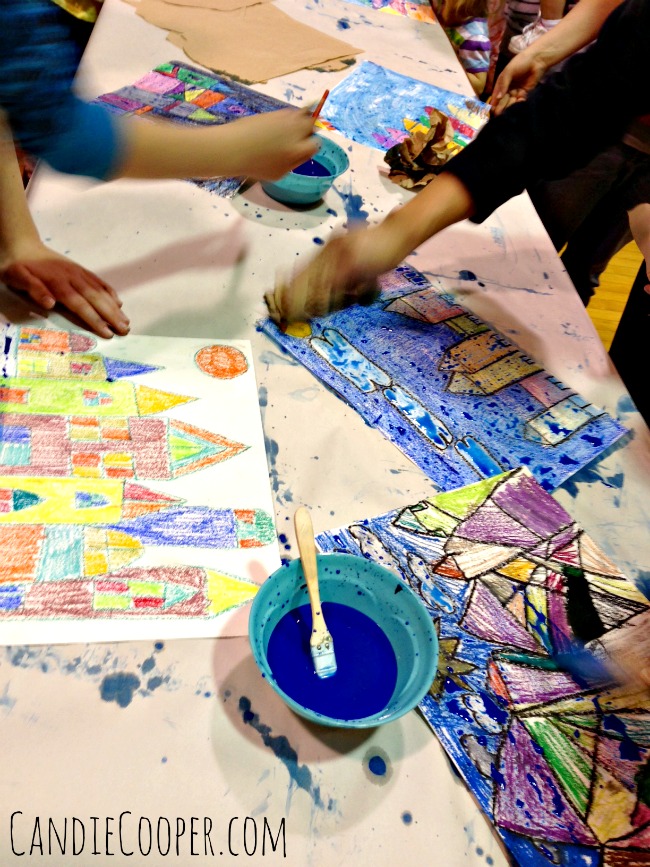
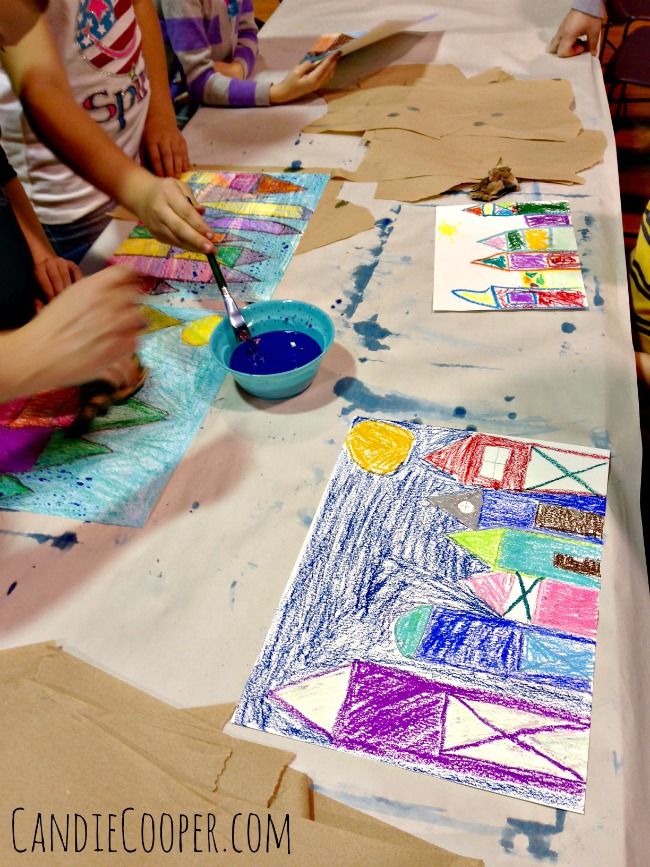
Canson Watercolor PaperPaul Klee Kids Art Project with Water Color and Sakura CraypasThese are a few shots from a class I taught at our local art center.  We worked with about 45 kids at a time in a big gymnasium.  Sometimes I forget to take pictures with all that excitement.

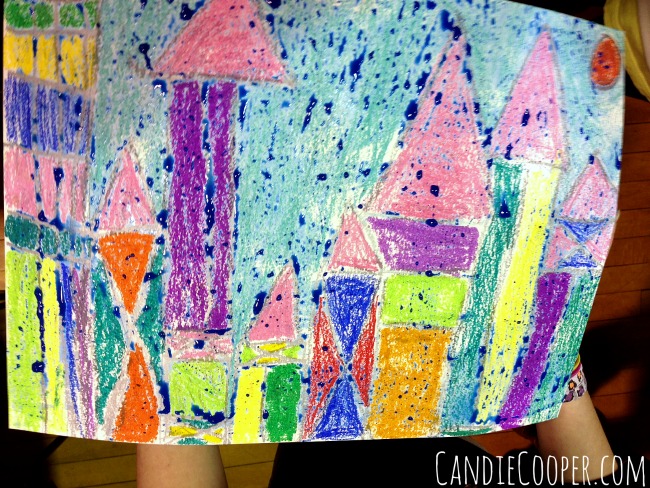
This class started out by discussing Paul Klee’s Sun and Castle.  We talk about what shapes they see and then what they think those shapes might actually be.  I love hearing their answers.

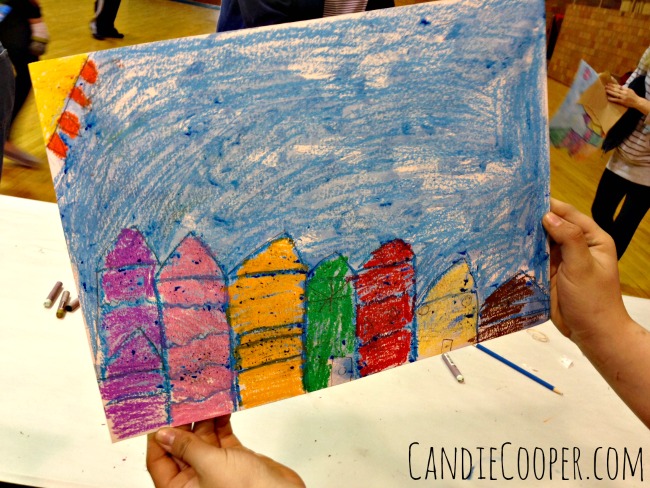
Then they set to drawing their own geometric town or neighborhood or castle or a house (or whatever the painting just inspired them to do).

I’ll insert a video of this project at the end so you can get the full skinny.Watercolor Painting for KidsWe had trays of Craypas on the tables and then one big long table set up with bowls of watercolor wash ready to roll.  You’ll also want to have paper towels on hand in case they want to blot some of the excess wash off.  When it comes to mixing a watercolor wash, I go pretty strong with the pigment/water ratio.  Start with a teaspoon of watercolor and add a 1/3 cup of water, mix and see if you like the effect on a scrap piece of paper.  Adjust if needed.  I store leftover washes in the fridge in tupperware (probably should label them too).  Craft supply hoarders unite!Paul Klee Kids ARt Project ExampleThis class had 5 year olds up to teens making it.  That’s one of my favorite things about this project in that a wide age range loves the art making process.

Paul Klee Kids Art Project Example 2Alrighty–now here’s the video how to.  Message me if you have questions!  Thanks for peeking and happy creating!

And please don’t judge for that Diet Coke I accidentally left on the stove during the video taping. Momma needs her caffeine.


Earring Making Tutorial

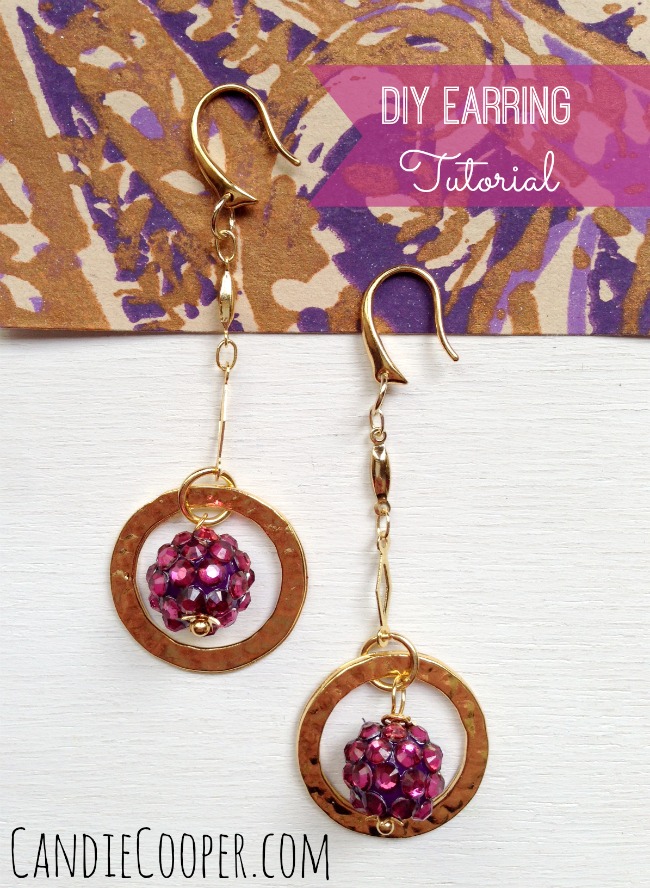
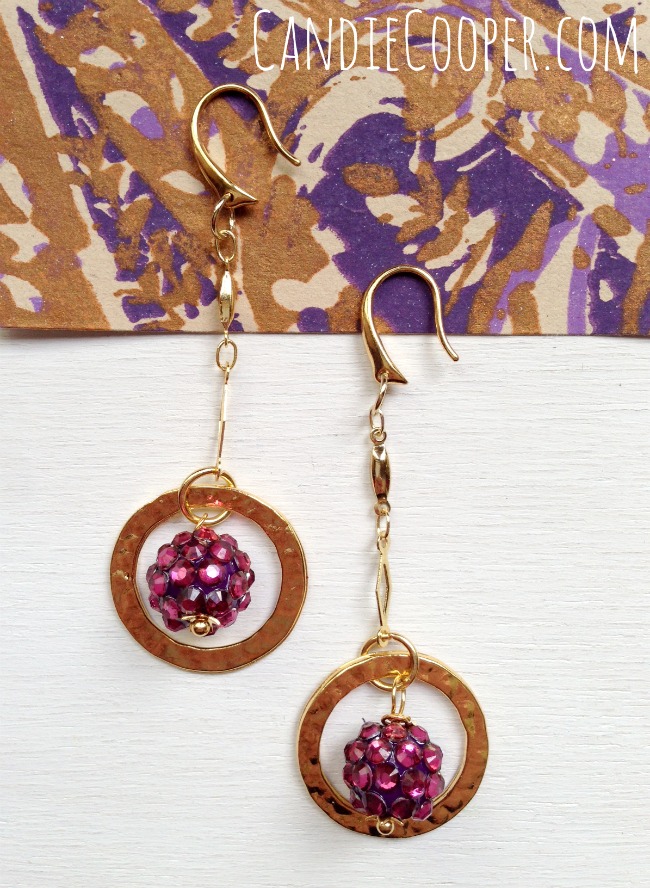
Earringology by Candie CooperI’m so proud to say that Earringology is officially available!  To celebrate, I’ve got a quick earring tutorial for you today!Jewelry Making Berry DIY Earring Tutorial from CandieCooper.comMy Aunt Jane has been talking about picking berries.  I want some.  Right now.  I can eat them like popcorn annnnd I usually pay for it later, but they’re so worth it!  Do you have any favorite berry recipes?

Oh Summer, please stick around for as long as you can.

These beads make me think of berries.  That’s why all the berry talk.  Sorry.

The berry beads and chain are from JesseJamesBeads.com and the remaining findings are from Beadalon.  The thing I love about this design is that they are light and dangly with just the right amount of sparkle.

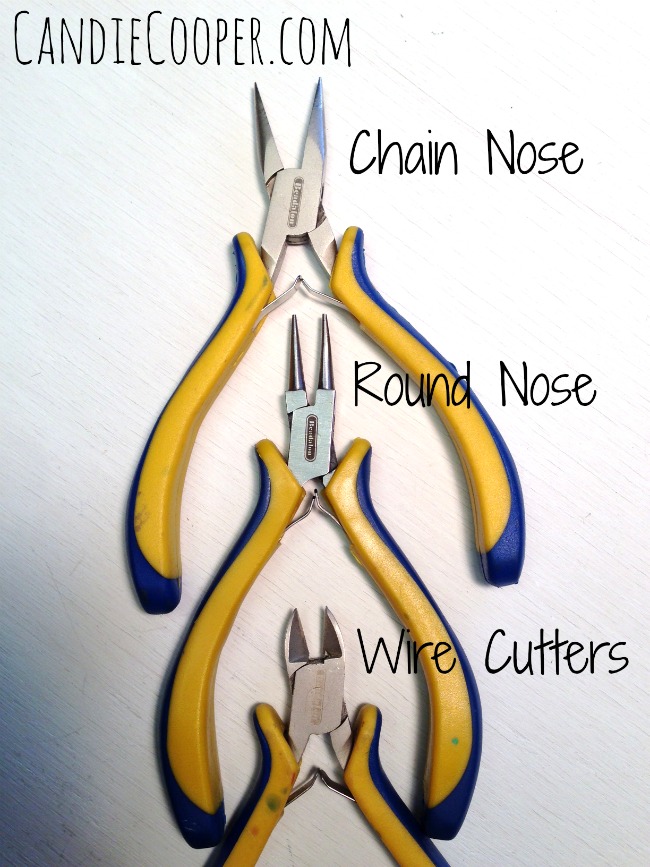
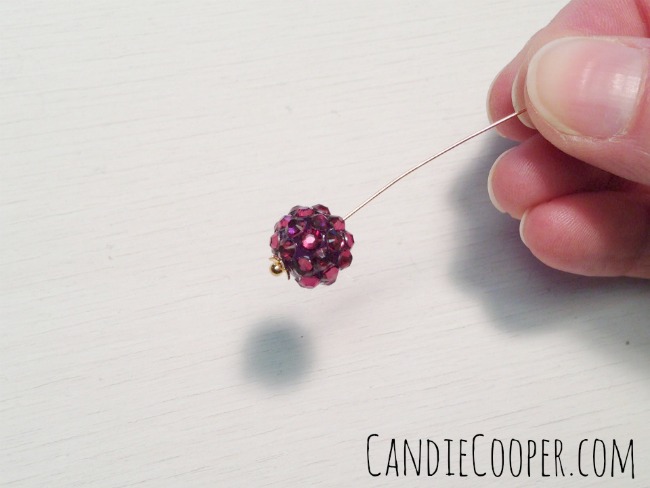
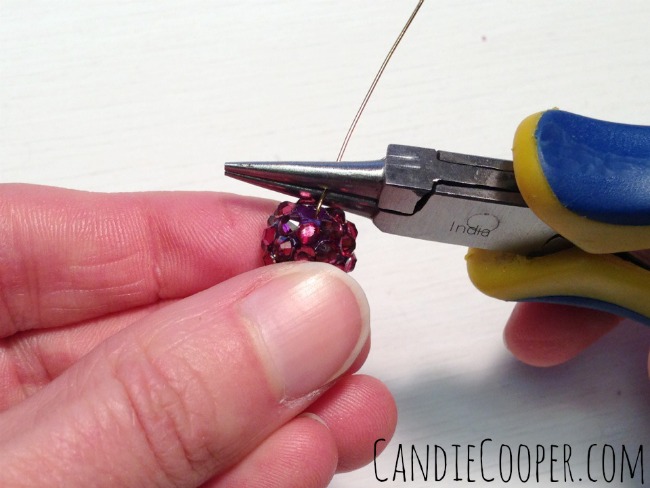
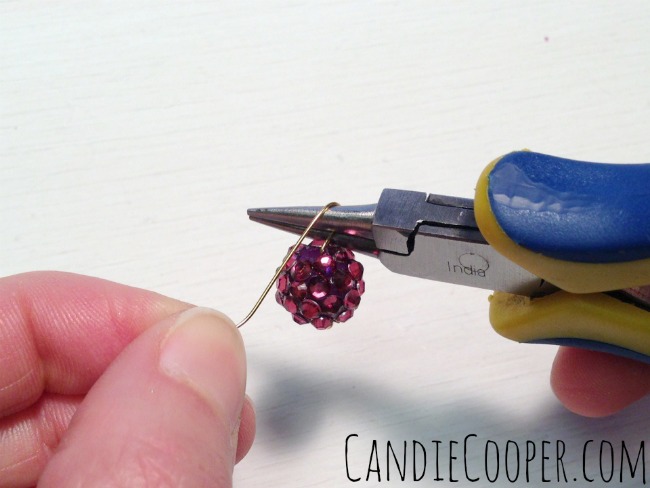
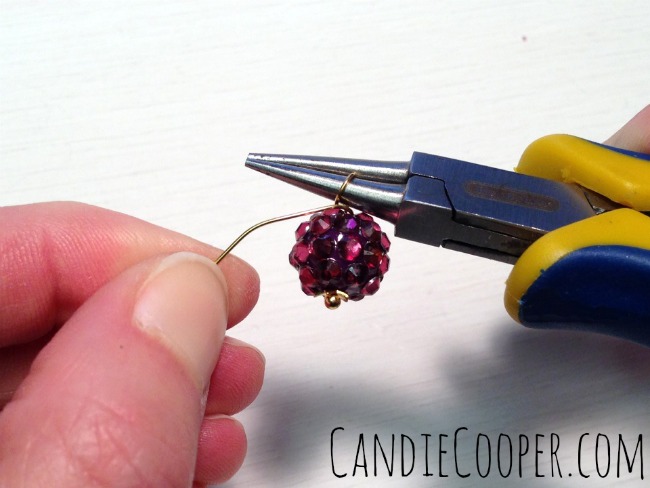
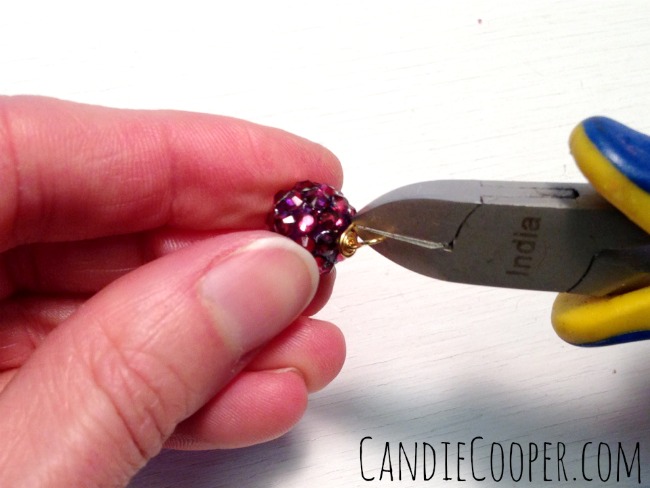
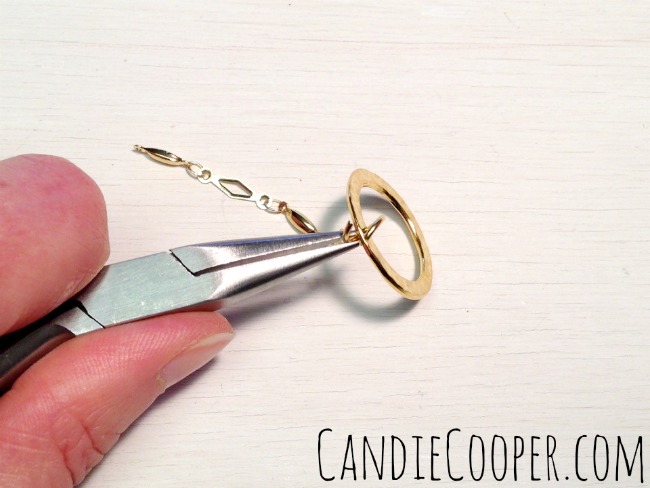
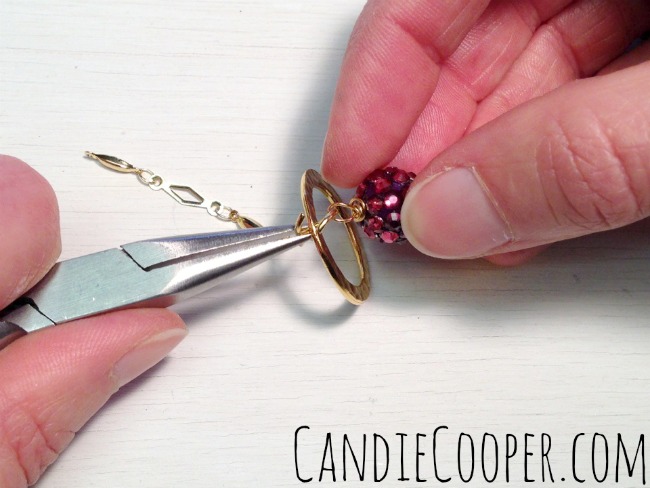
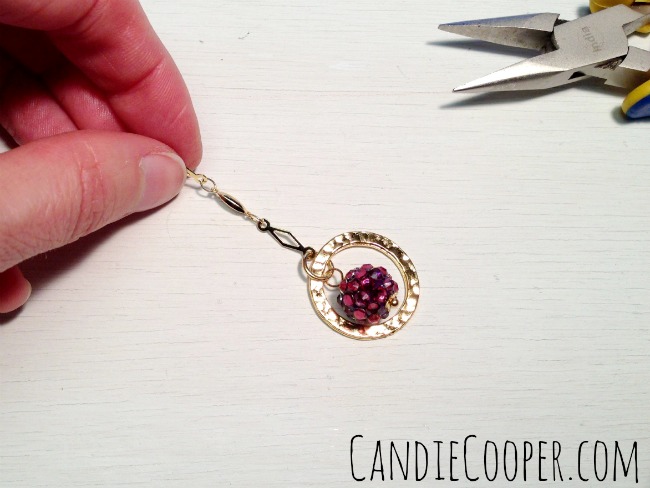
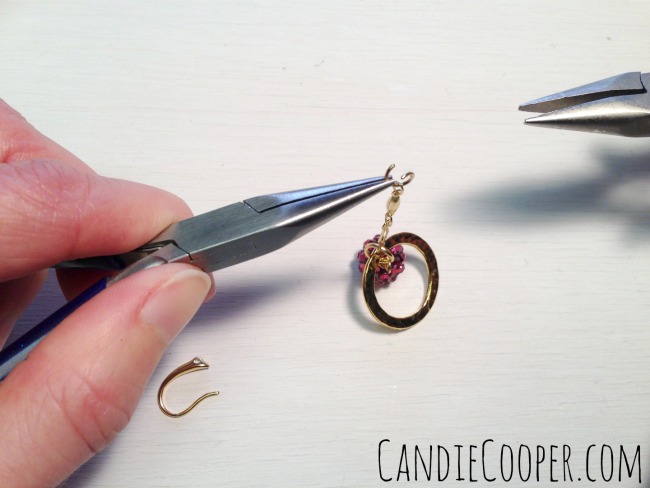
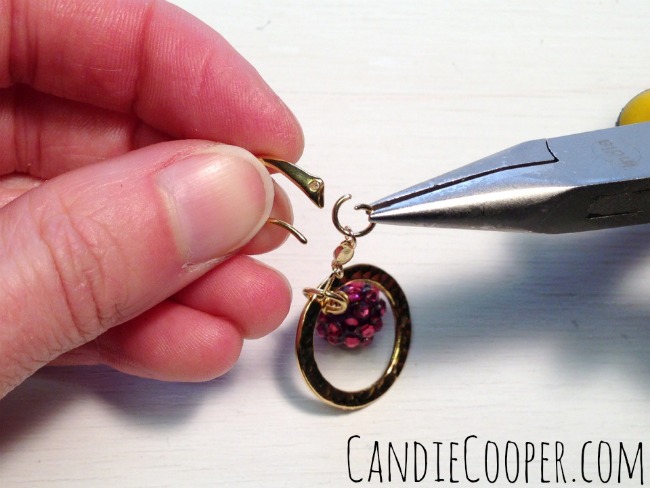
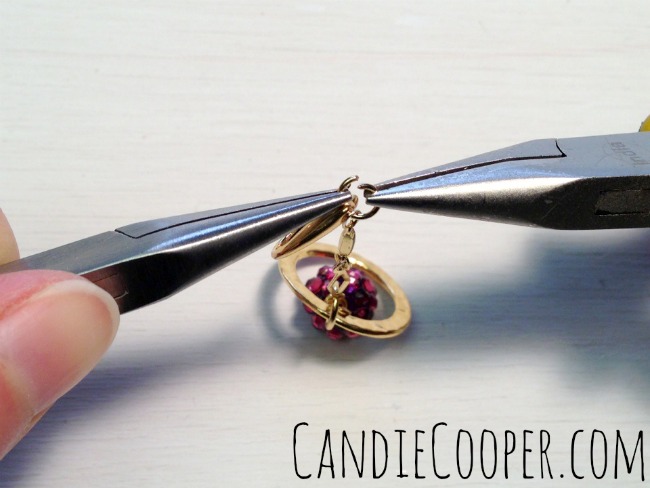
Ok, enough rambling…let’s do this!Jewelry Making Pliers SetI use Beadalon Ergo pliers.  Have for years!  I’m a loyal dog.  You can find a set of pliers that feel comfy to you.String the beadString the bead onto the decorative head pin wire and finish with a wrapped loop following the pictures.Wrap the wire around the top of the pliersMake a 90 degree bend at the end of the wire.  Grasp the wire with the round nose pliers next to the bead.  Ding! Move to the next picture.Wrap the wire over the top of the pliers and around the top of the beadRemember those tapes and story books?  Or were they film strips?  Maybe both.  Anyway!  Wrap the wire up and over the top of the round nose pliers.  This will form the loop nicely.Wrap the excess wire around the base of the loopNow, wrap the extra wire around the base of the loop as many times as you can or like.Trim away the excess wireDoes it look kind of like this?  Good deal!Trim away the wireTrim the excess wire (even though the picture before said that already).  Did I mention you need to trim that wire?Connect the chain to the ring and bead dangleOpen a jump ring with chain nose pliers and connect the chain to the ring and then…. (ding)Connect the ring and the bead danglethe berry dangle.Chain and bead connected with jump ringClose the ring.  At this point, you can decide how long you want the chain section and trim it to that length.  I left mine about 1.5″ long because this pair of earrings is ready to party!How to open a jump ringOpen another jump ring and connect to the opposite end of the chain.Connect the ear wireThen attach the ear wire to the jump ring.How to close a jump ringAnd close the ring!  Easy peasy!Earring Tutorial via CandieCooper.comOn that note, I’ve gotta run.  My to-do list is calling my name.  Back to school craft projects are at the top of the list.  Already??  I know.

Have a great day!  And let me know if you decide to take a peek at Earringology.  I care what you think of it! <3Earringology by Candie Cooper