DIY Bolo Cord Leather Jewelry Making

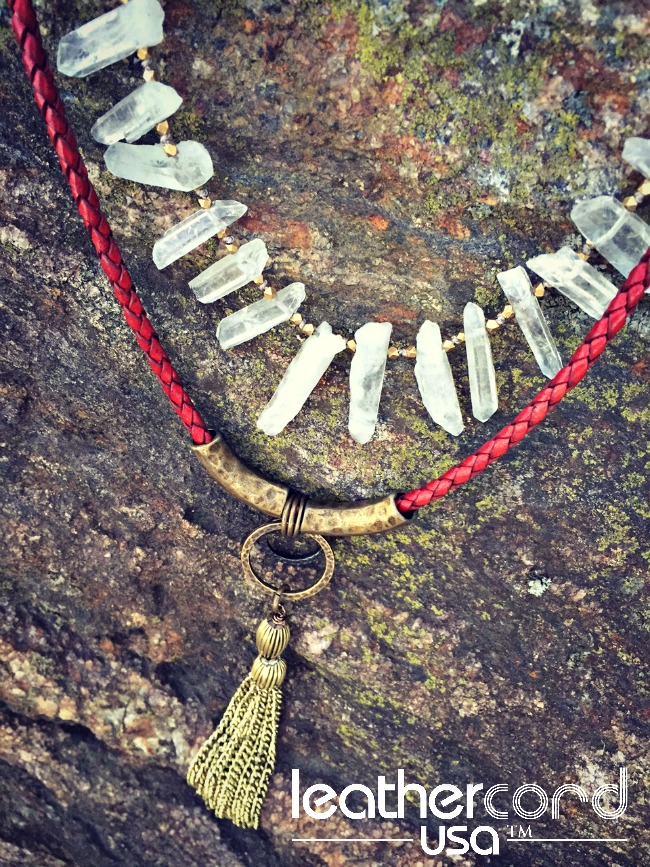
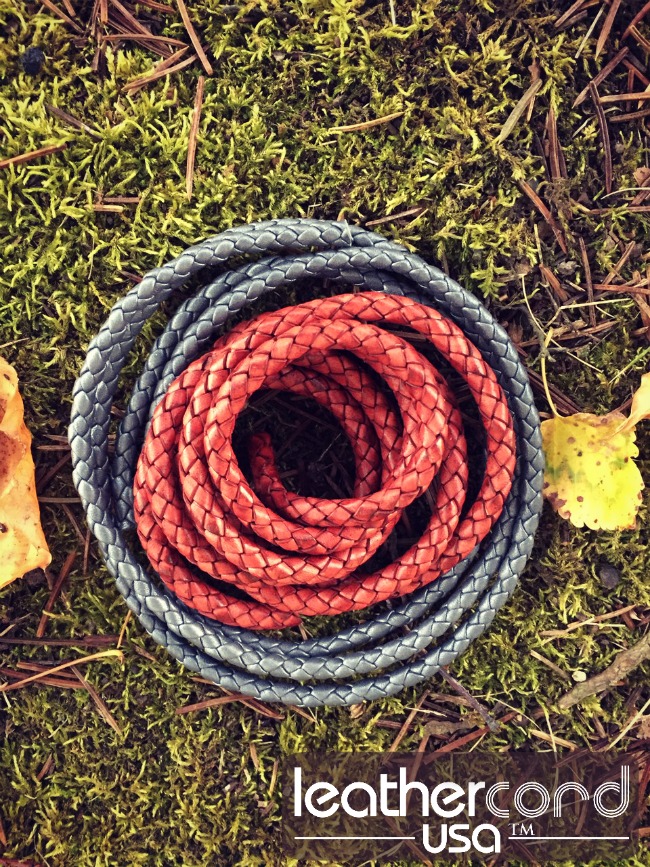
This post brought to you by LeatherCordUSA.com.LeatherCord USA red leather bolo cord for leather jewelry making and craftsGolds and antique brass are in and I am embracing it!
I recently returned home from two different filming trips.  One for Beads, Baubles and Jewels and another for ArtBeads.com with LeatherCordUSA.com.  Both very good trips, but not much time for blogging with all the prep that is involved.

If you find yourself with not much time for making, you’ll like this necklace because it goes together fast.  Really fast.LeatherCordUSA.com bolo cordRound Braided Bolo cord from LeatherCordUSA.com comes in all different colors and diameters.  You know this if you’ve read any of my LeatherCord USA posts here.  But I’m a good squeaky wheel and will keep reminding you.Leather necklaceHere’s the secret for making this piece fast: wire wrapping.  You can string all the beads and charms onto the bolo cord and then wrap it up.  Literally.
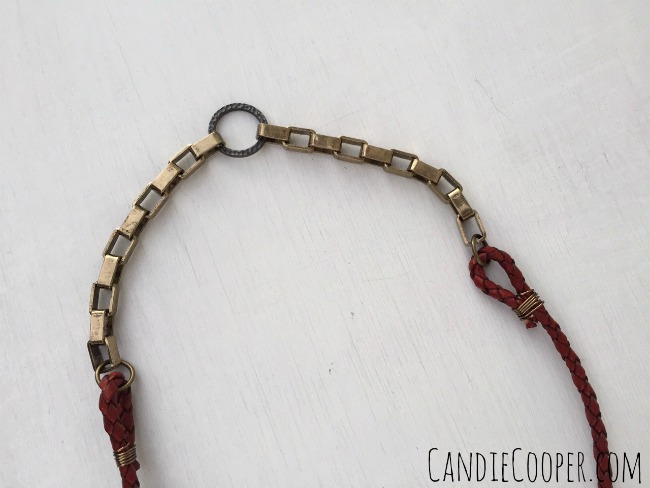
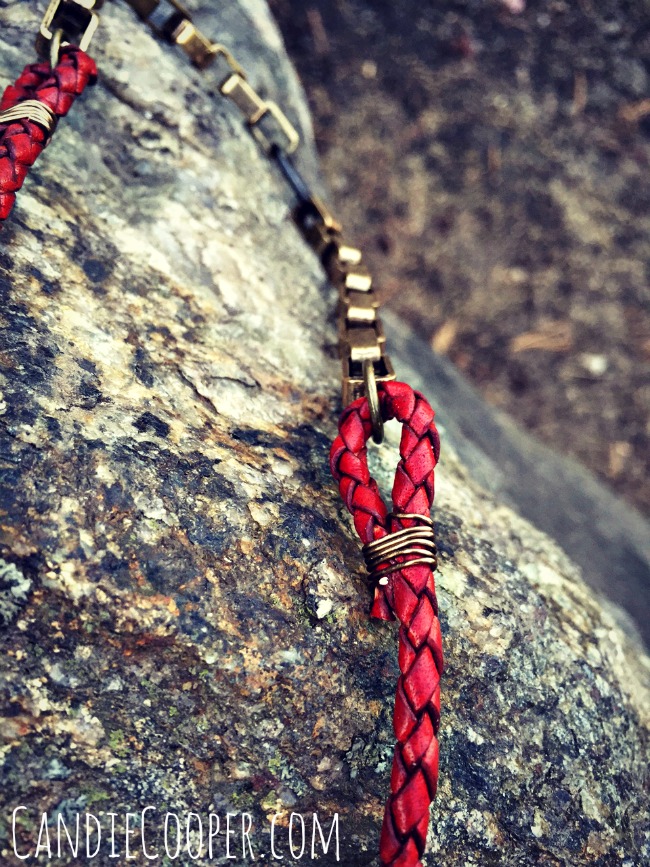
I’m into over-the-head necklaces right now and so I cut the cord and the chain to the length I wanted, threaded the bolo cord through the ends of the chains and then folded the cord over.  You could add a touch of adhesive or just wrap it with Beadalon 20g. wire.

Done.DIY Jewlery Making  Working with red leather bolo cord from LeatherCordUSA.comI do like to give it a little smoosh with chain nose pliers to crimp the wire a bit.how to layer jewelry ideasNow let’s talk a minute about how to layer these bad boys.LeatherCordUSA.com single red bolo necklace for layeringYou could wear it alone.  But why?  Well with a t-shirt and boots, I think.  That would be a good reason why.  Maybe a jean jacket too.Layering jewelry ideas on candiecooper.comYou could also add a knotted strand of crystals that’s a bit shorter to add another texture.  This piece has brass chain so it works with the first leather bolo necklace.LeatherCordUSA.com Red bolo necklace for layeringAnd then you could go big, adding a chunky flat brass chain.  Go big or go home.  I would probably wear this look with a t-shirt too.  I like my accessories.
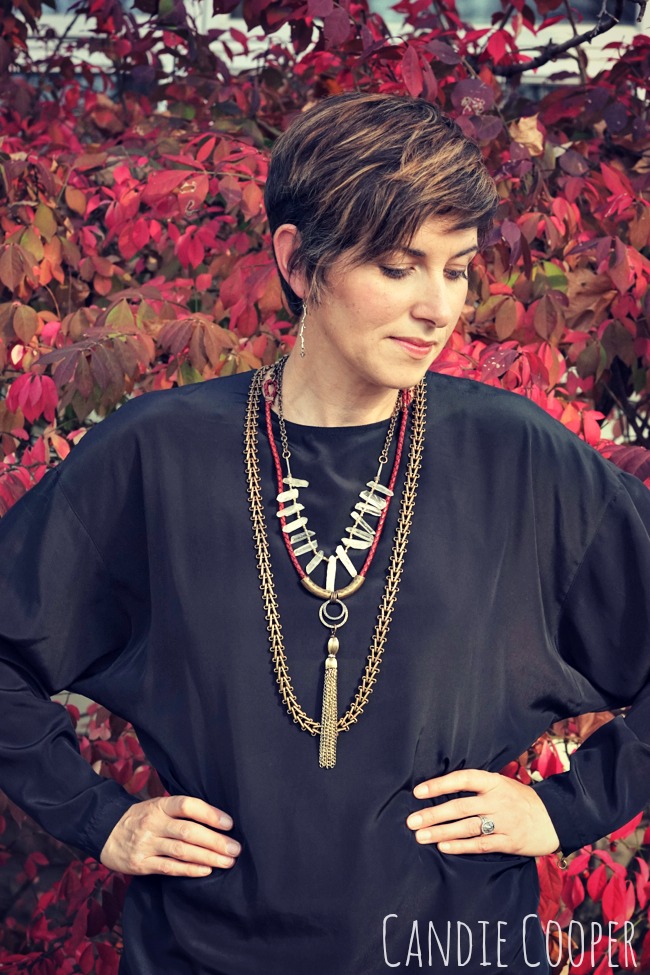
P.S.  This is my vintage Dianne VonFurstenburg shirt I found thrifting for $3.50 a few years back.  If there were other shoppers there, I probably would’ve held my hand up and started giving high fives.  That was a good day.Necklaces for Layering ideaIs anyone else hungry?  Three more days until Thanksgiving.

Wishing you a happy one!
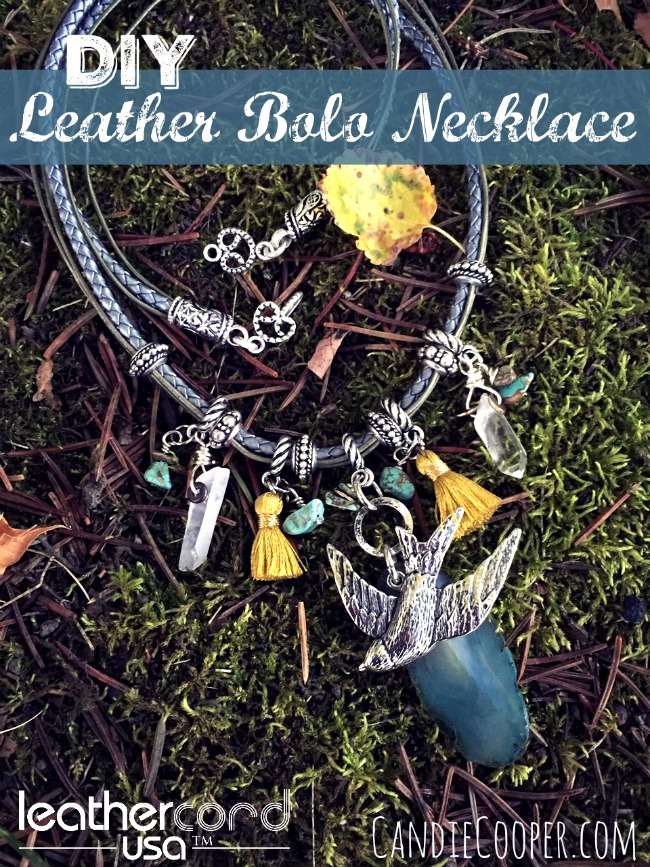
DIY Bolo Leather Layering Necklace

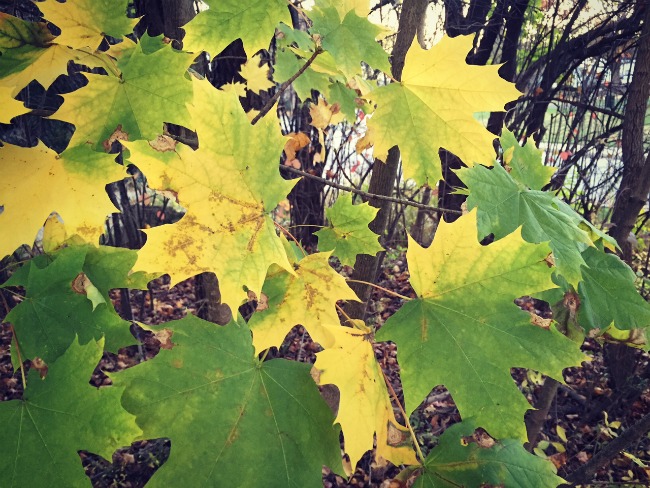
This post brought to you by LEATHERCORDUSA.com.DIY Leather Bolo Necklace from LeatherCordUSA.comFall leaf inspirationThe leaves are turning fast around here.  We’ve had some amazing weather too.  70s and sunny?!

Be jealous, California.

The weather guy said there was 8″ of snow on the ground back in 64′!

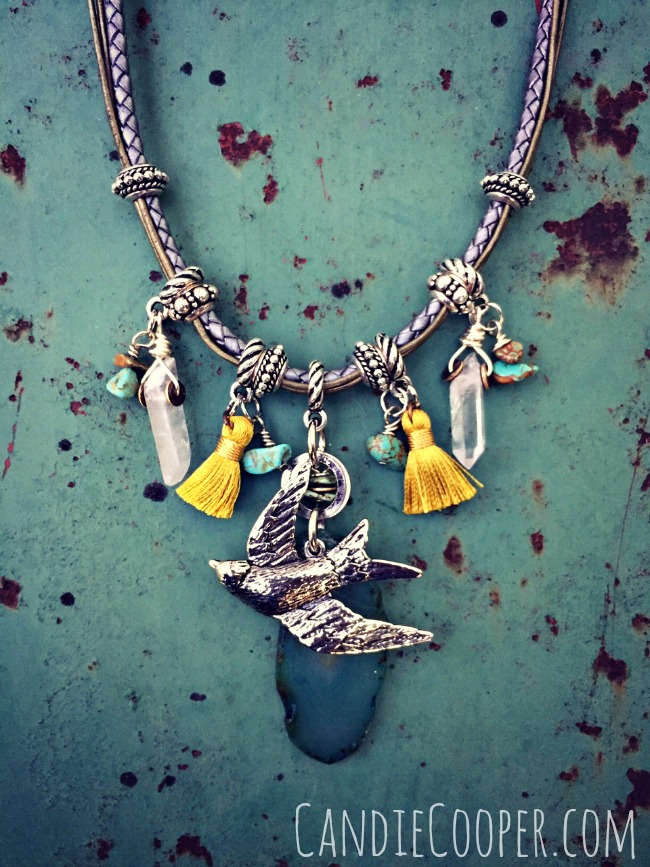
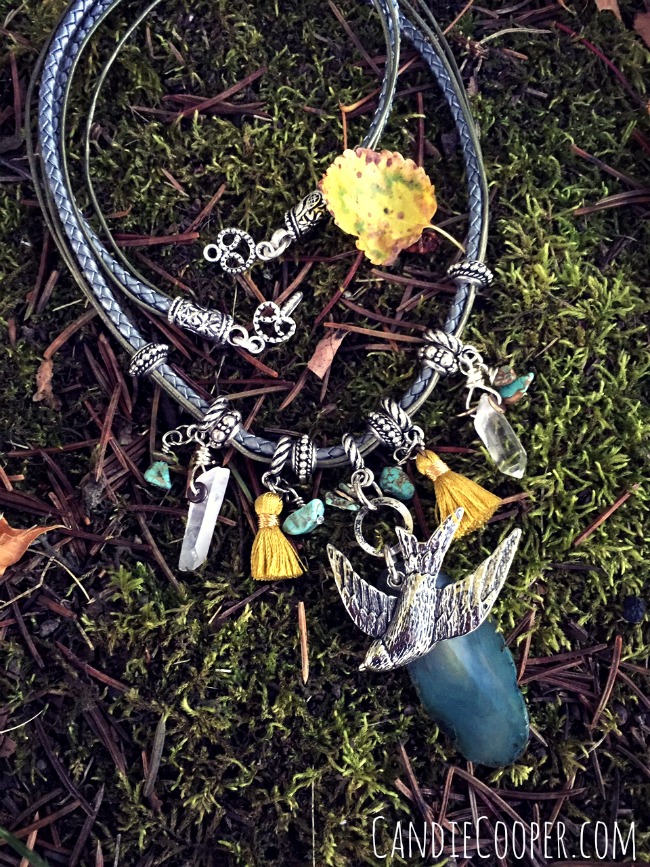
I’ve been painting our floors with oil based paint and it’s been a blessing to be able to work outside at our picnic table.  Not to mention inspiring!  Fresh air is good on so many levels.  Why do I forget that so easily?  Oh I know, because there are piles of things to do inside.  LOLLeatherCordUSA.com bolo cordThis is a necklace I’ve had on my mind for a long time.  It uses beautiful bolo braided cord from LeatherCordUSA.com.  The cord comes in all different finishes from metallic to matte and natural.  Another bonus is that you’ll find it in many diameters–from 3.0 to 13.0mm!Leather Jewelry Making DIY Leathercordusa.com bolo necklaceYou know I love layering bits and pieces together and the leather is no different.  Bolo cord bundles with two strands of metallic kansa 1.0mm round leather does my heart good.

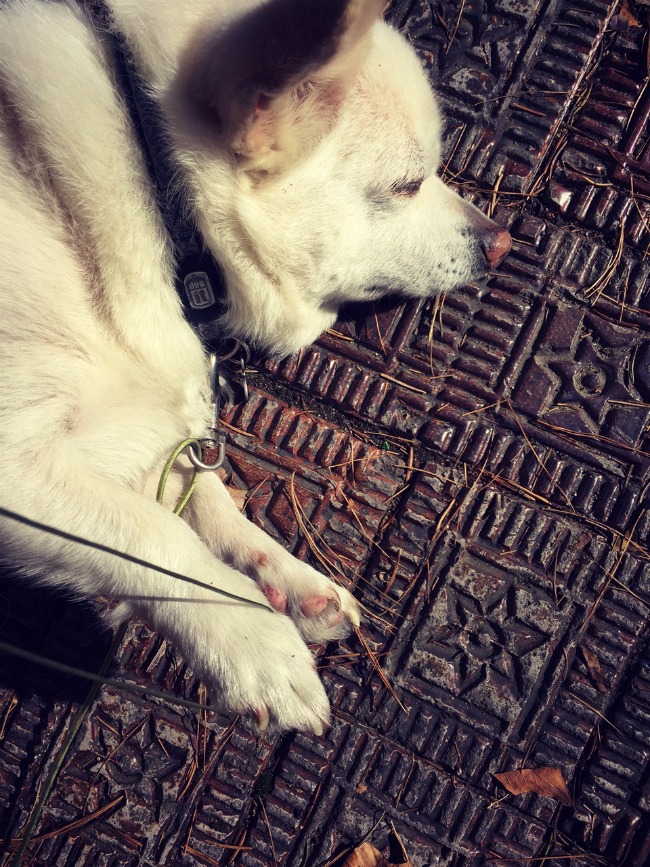
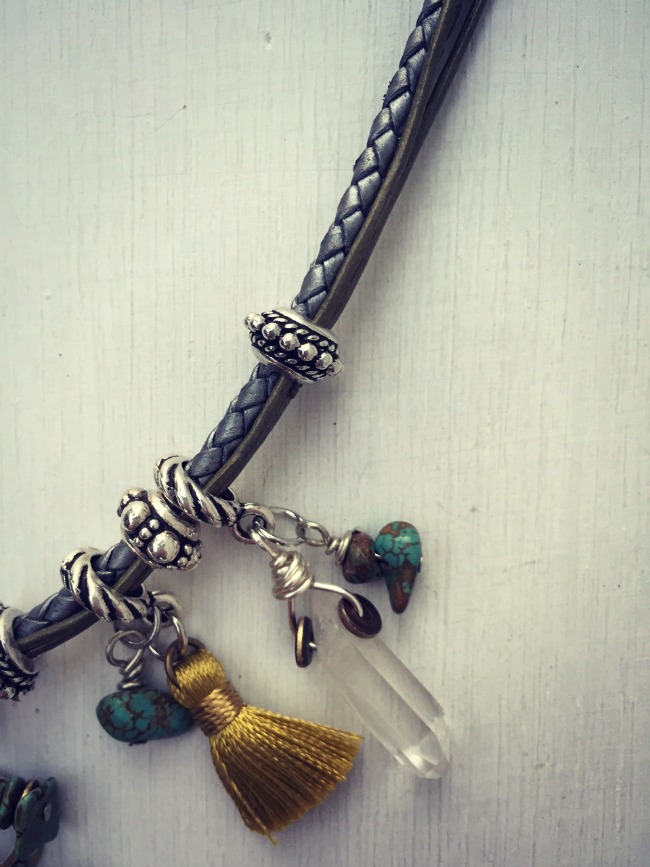
Looking at this photo, I think the next paint job needs to be on our cellar doors!Leather jewelry making assistantMy dog, Rock likes the round kansa leather cord too!  I was working it through the beads and wondered why it wasn’t moving.  It was caught up on Rocky’s paw.   The funny thing is that he didn’t move.  I pulled his paw went up and then down, up and down.  This is just another day in Rocker’s world.   He does what he can around here.  Thanks, good dog.Large hole beads keep multi-strand leather pieces togetherThe large holed silver beads are from Tierra Cast.  I got the baby tassels in Tucson–I think they are made in Taiwan.  They are so sweet on anything! The crystals have been a bit of an obsession the past year or so.  I have a little stash of them.  Needless to say, mixing and matching all these surfaces makes me happy.  I think I’ll wear this necklace today.
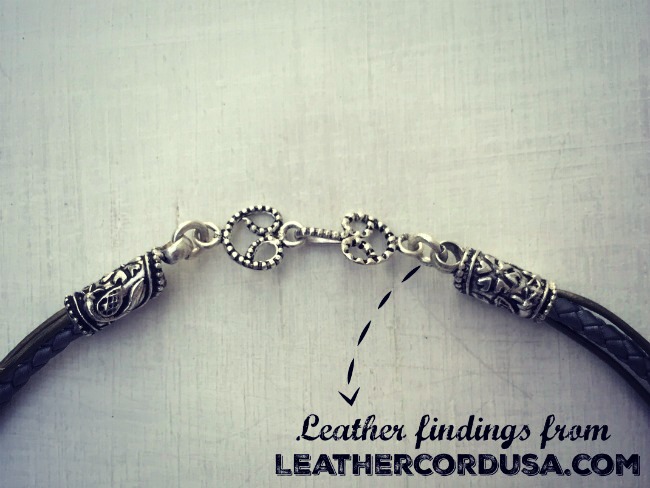
Leather findings from LeatherCordUSA.comI finished the ends with these stunning Glue and Go findings also from LeatherCordUSA.com.  They matched the beads perfectly, so it was a no-brainer.  These findings were actually a touch too big for the bolo cord so it worked out well to add the extra kansa green cords to fill up the space.

Use this glue to adhere leather and metal together.LeatherCord USA necklaceFollow me on Instagram @candiecooper to see behind the scenes action when making pieces like this!

Happy day!

The Leather Scout Bracelet

This post brought to you by LeatherCordUSA.com.
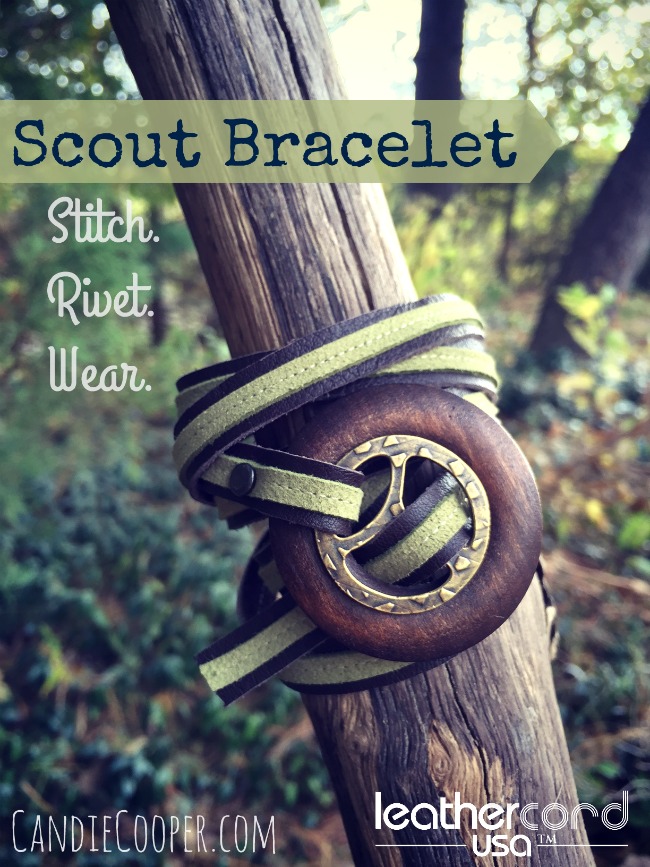
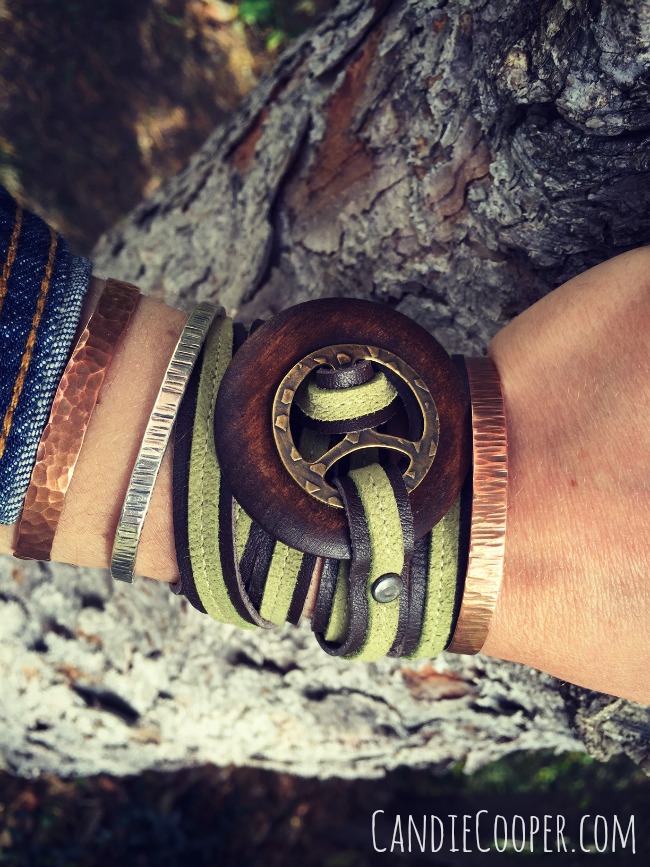
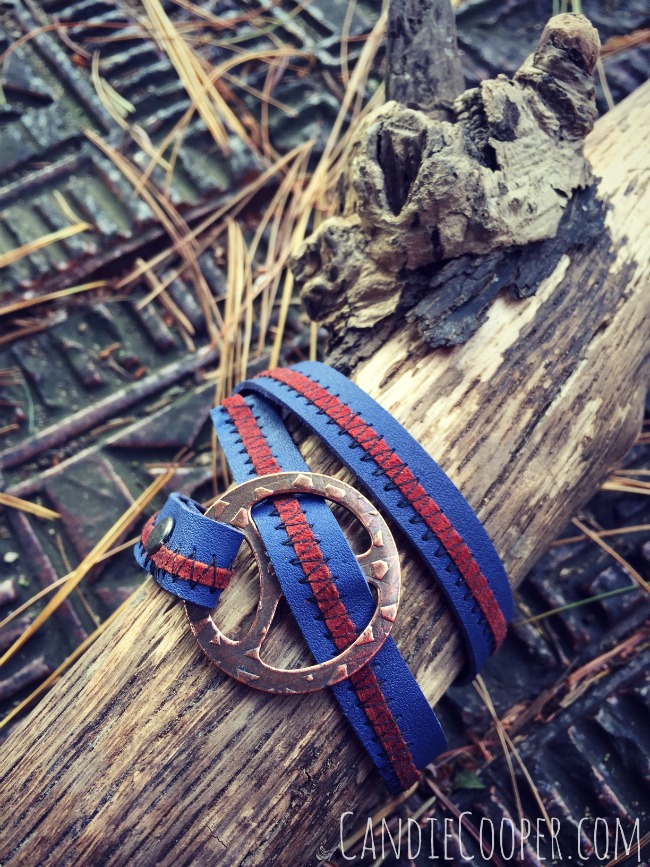
Jewelry Making-leather stitched bracelet on @candiecooper blogGood morning, campers!  Autumn is here and the mornings are brisk, making that hot coffee taste extra amazing.  I call this the scout bracelet because of the colors, textures and the fact that it seems kind of multi-purpose:  you can wear it as a bracelet, a necklace, or tie the tent pulls together (you know, if you need too).
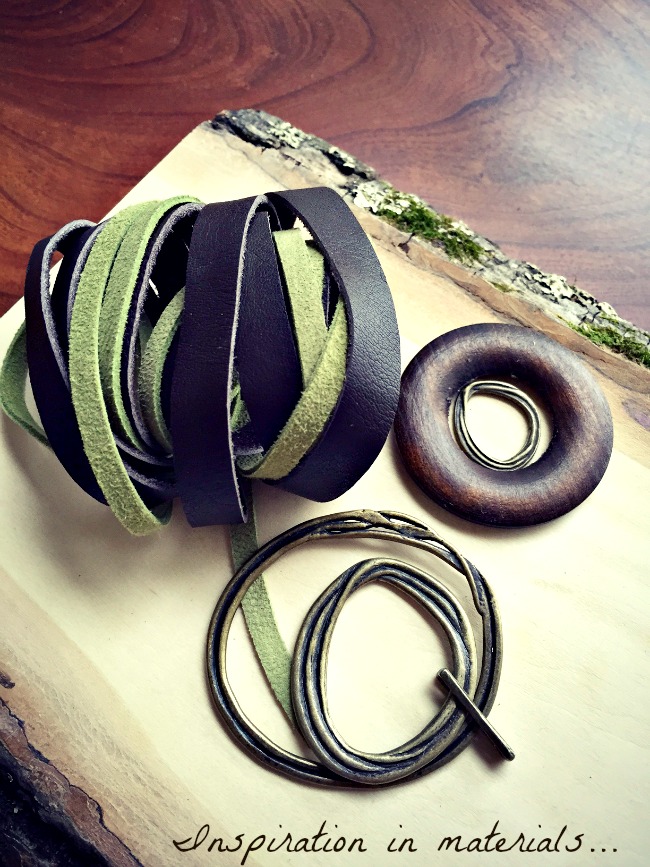
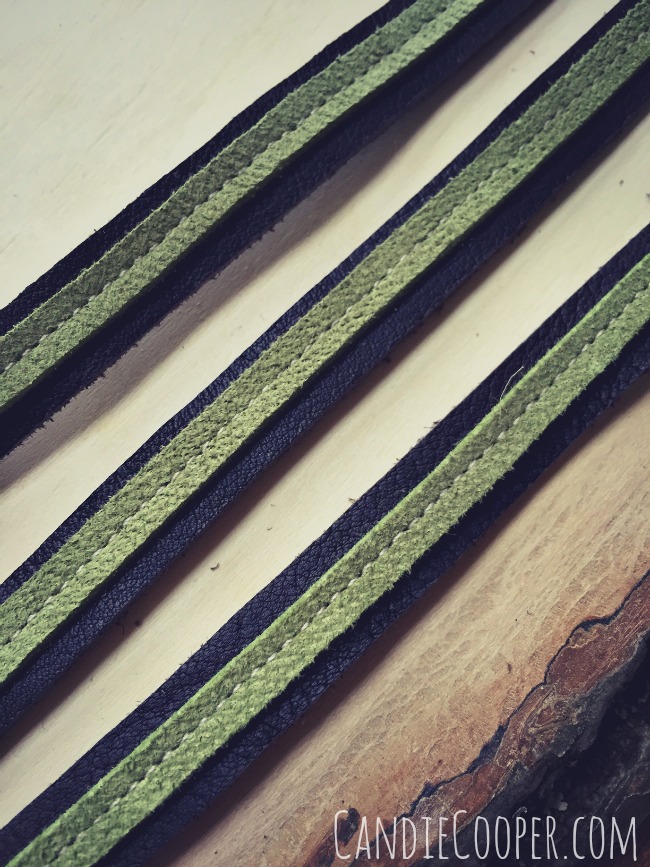
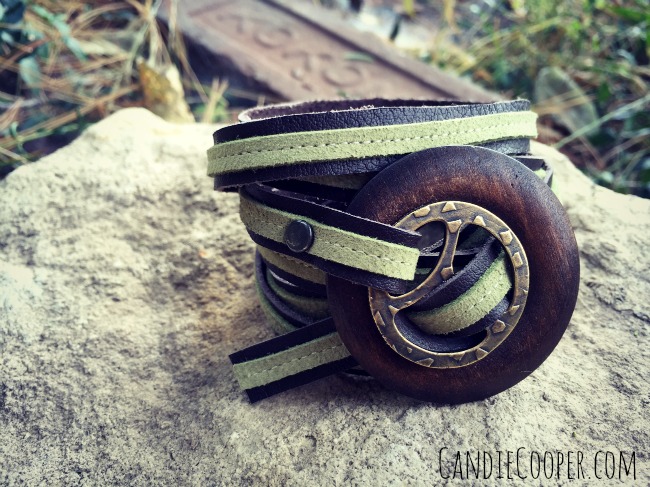
LeatherCord USA leatherWhere do you find inspiration?  For me, it’s often in the materials.  I was collecting and gathering things around my studio to use with the LeatherCord USA  suede and 10mm wide deertan lace.  It comes in a ton of colors, but this green and brown combo was perfect for a fall statement bracelet.
Jewelry Making  Stitching on leather - Steampunk JeweleryI really didn’t want to cut this nice long piece of lace so the first thing I did was experiment with stitching the two leather types together.  The pair has a nice contrast with the matte suede and smooth deertan lace surfaces.
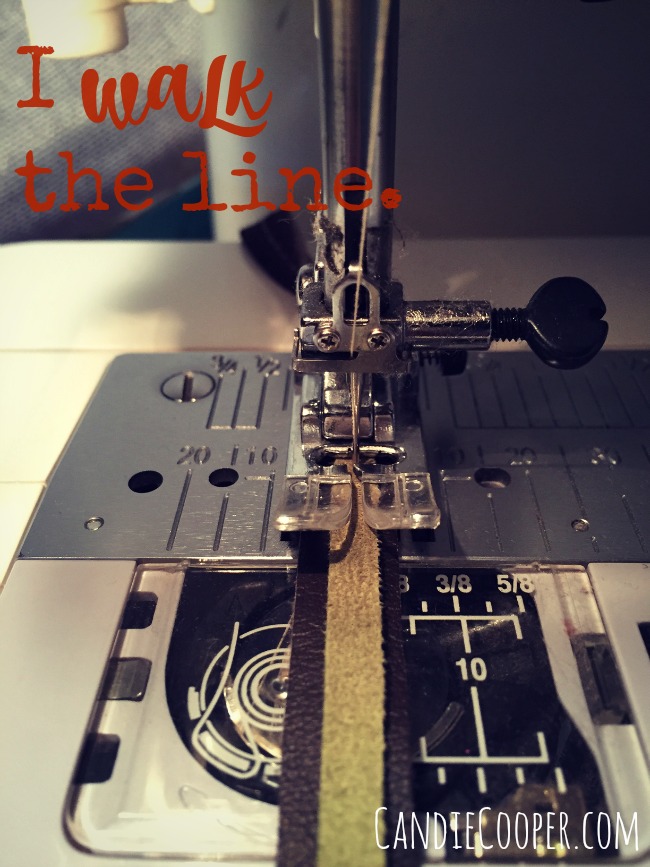
Sewing on leather with LeatherCord USA strap and suedeNot going to lie—it was tricky keeping the leather and stitches in the center.  I slowed the machine to “as slow as it would go” speed.  This is an all purpose needle, but I plan to put a new one in before I start piecing fabric together again.  After a yard of sewing leather, it’s sure to be dull.
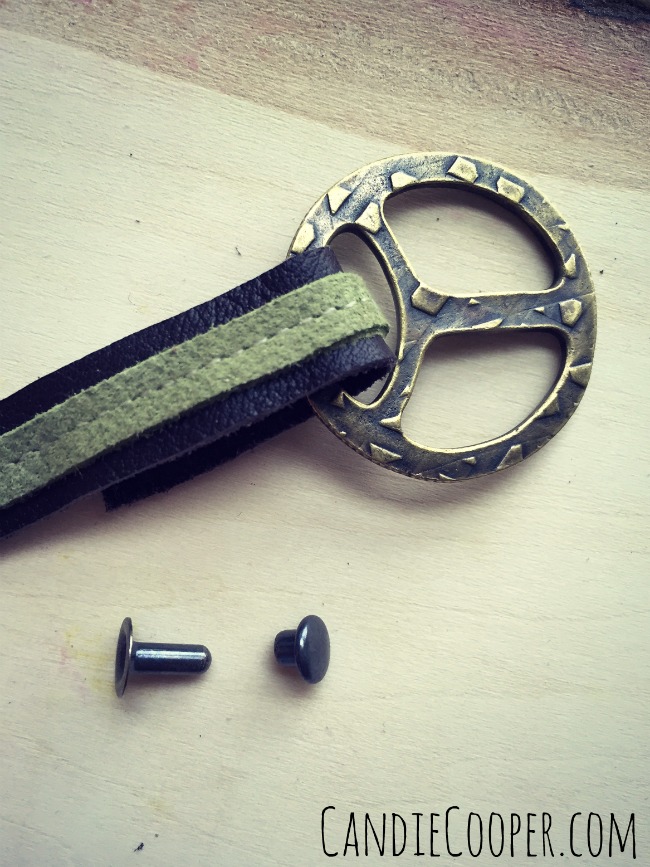
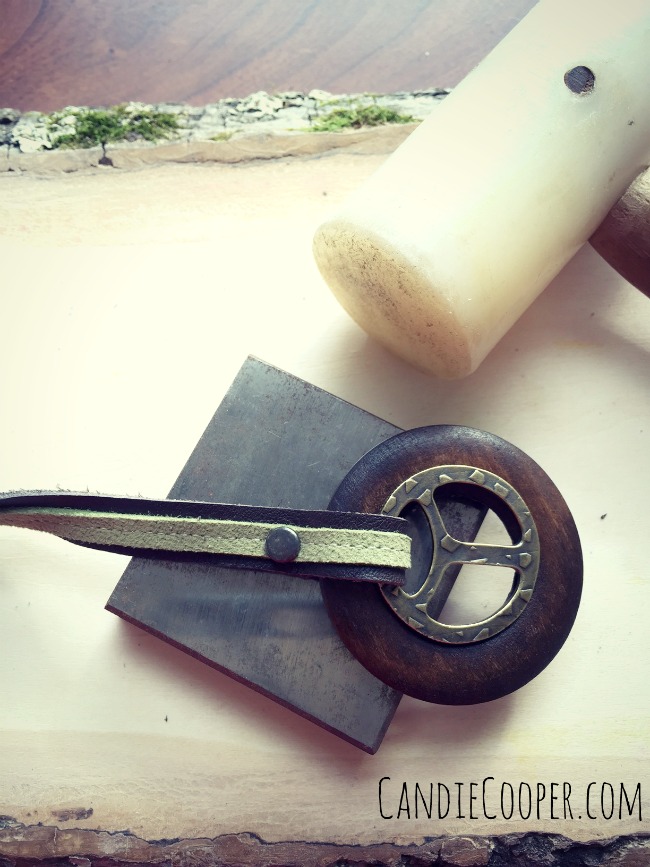
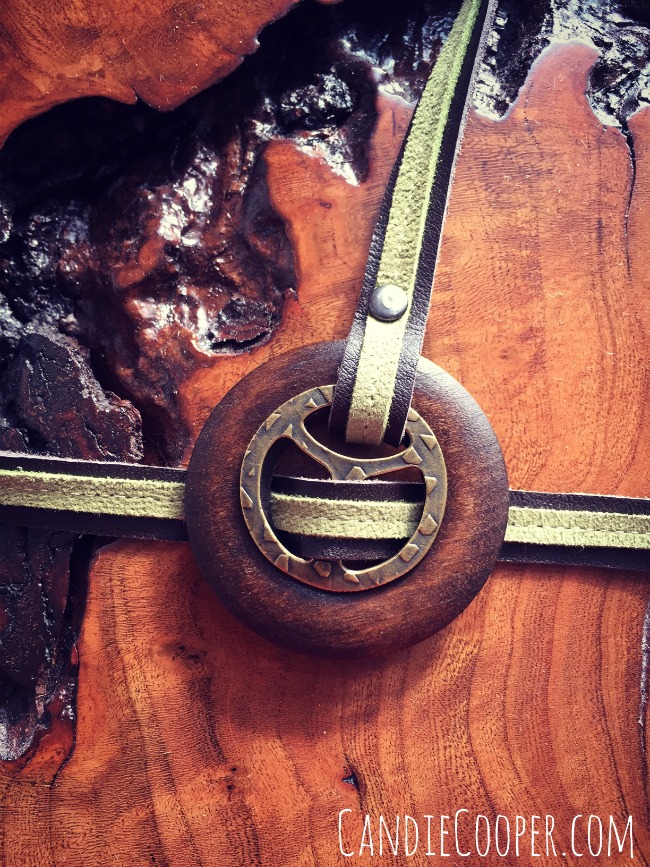
Making a leather bracelet with a rivet and buckleNot in the photo is this buckle clasp and rivet from Tierra Cast.
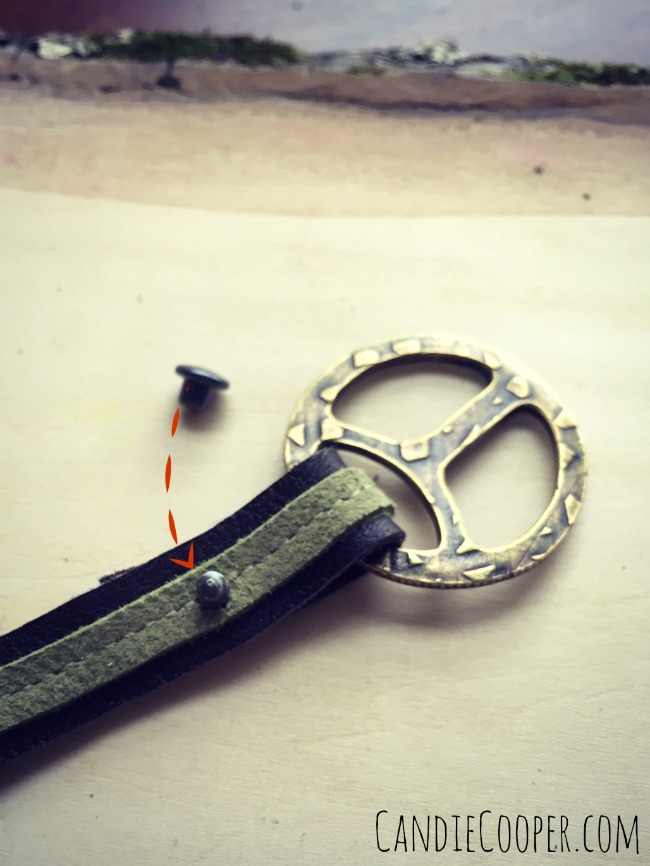
Riveting Leather in Jewelry MakingYou’ll need to hole punch the leather so it fits perfectly with the rivet diameter.  Put the skinny part in through the layers back to front and top with the mushroom piece.
Riveting leather together how-toI changed the buckle piece up a bit by adding the wood ring to make the bracelet a little more chunky.  Place the rivet section on top of a steel block and tap the top of the rivet with an eyelet setter or simply a plastic mallet.

Tip-seal the back side of the leather at the end with Fieblings Leather glue to keep the stitches from unraveling.
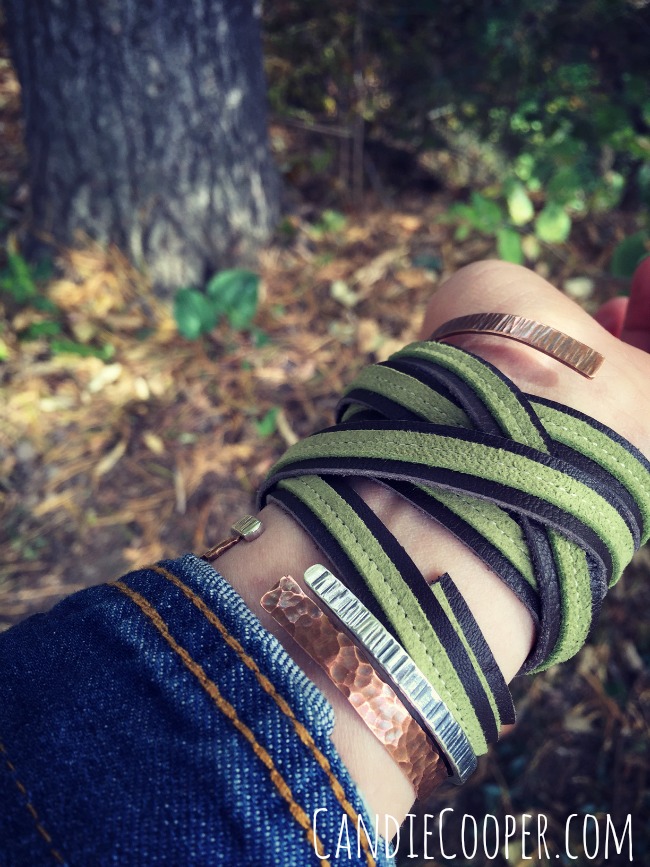
Jewelry Making-Wrap Around leather braceletWrap and roll.  I love lots of wraps, but you could do a couple and trim the leather exactly how you want.
Steampunk Jewelry Idea with leatherLeather wrap around bracelet with LeatherCordUSA.com leatherDid I mention I love lots of wraps?
Steampunk Jewelry Idea-Wraparound stitched leather braceletHere’s another experiment with zig zag stitching and colorful leather.  Only a couple wraps here…and you don’t have to “walk the line” while sewing!  For the free spirits in my life.
The Scout Bracelet- Steampunk Jewelry IdeaThis would make a great steampunk jewelry accessory piece too.

Visit LeatherCord USA for great leather products and more ideas.

How to Use the Conetastic Inverted Attachments

This post brought to you by BEADALON!Wire Working-Sandra Lupo's Conetastic Tool for Jewelry MakingAre you into wire working?  Then you need to know Sandra Lupo!
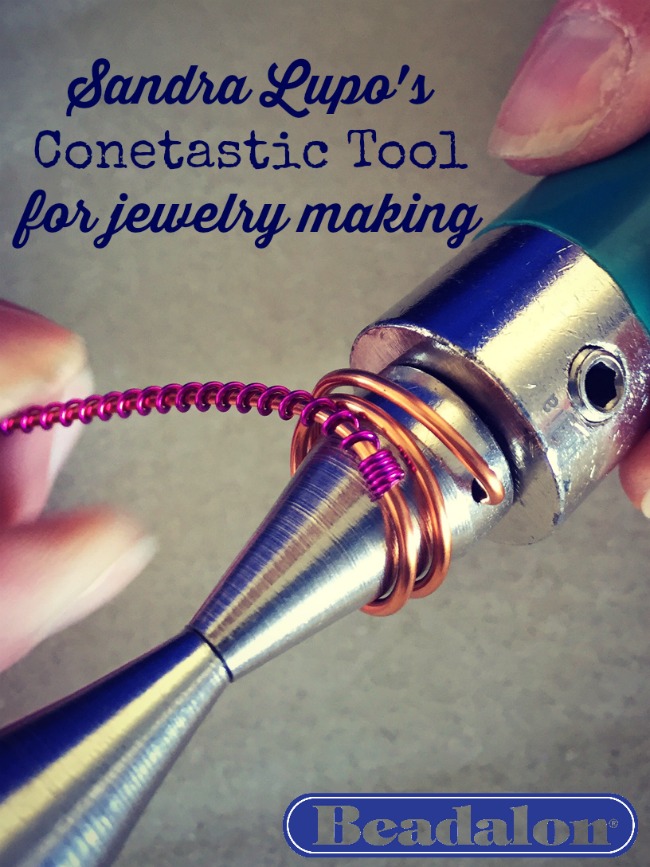
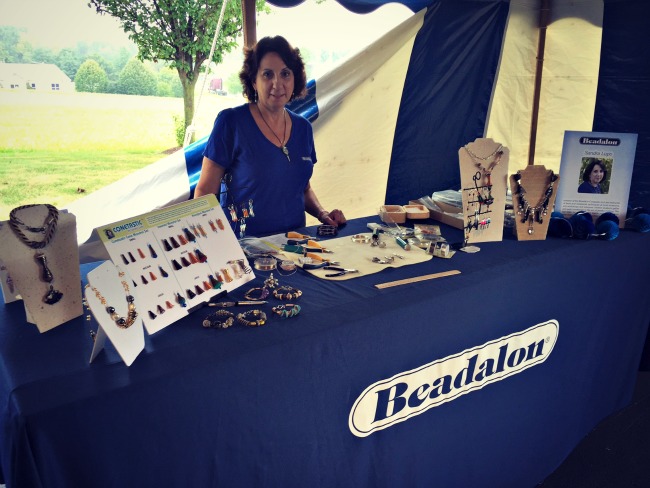
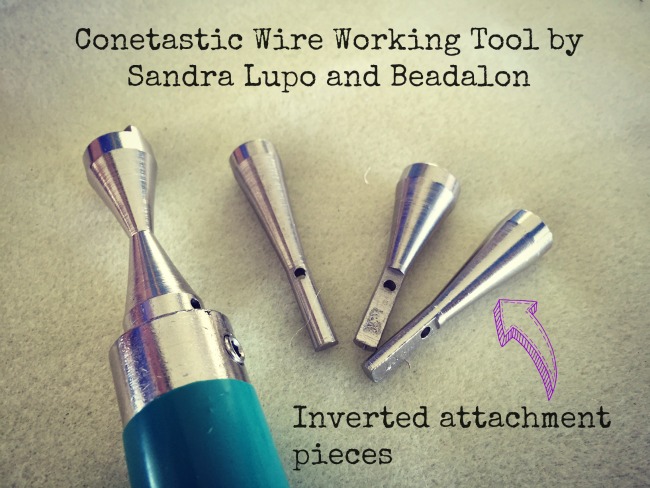
Sandra Lupo demoing her Conetastic tool at the Beadalon Tent SaleShe is the inventor of the Conetastic tool for Beadalon.  The Conetastic is a fun tool that makes wrapping wire into well, a cone shape!  I’ve gotten to know Sandra over the last year and she is one of the most delightful people in the DIY jewelry making industry.  That makes using her tool that much nicer, doesn’t it?Conetastic tool invertedFor the tent sale, Sandra showed off her new Inverted Conetastic attachment pieces.  Now you can make two bead cones at once OR a cool bead piece like she did for this tutorial.  Remember those Steampunk earrings I made about a year ago?  Those were made with Conetastic 1.0 attachments.
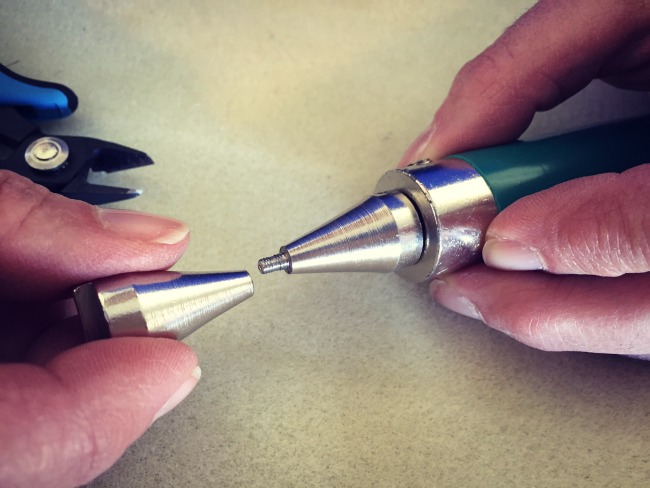
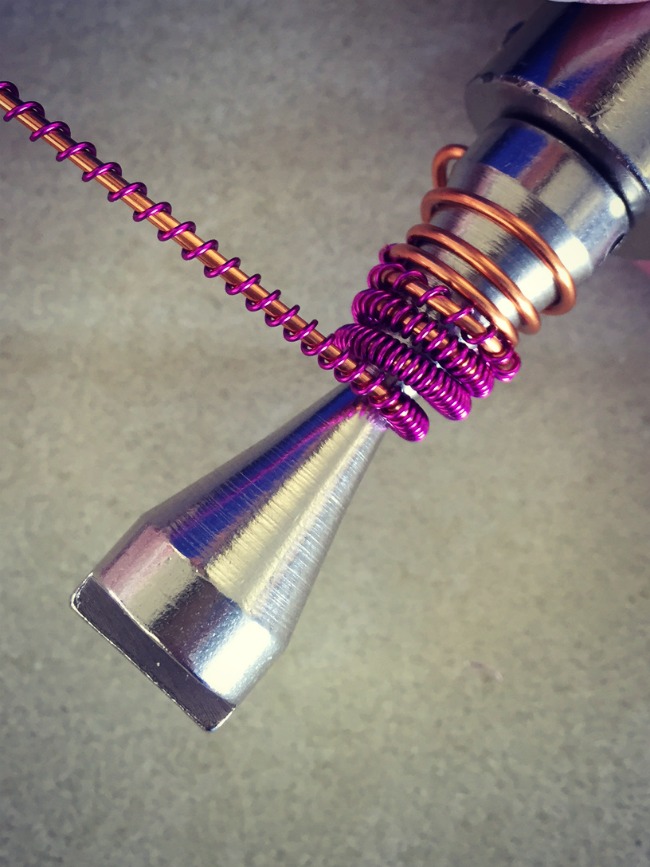
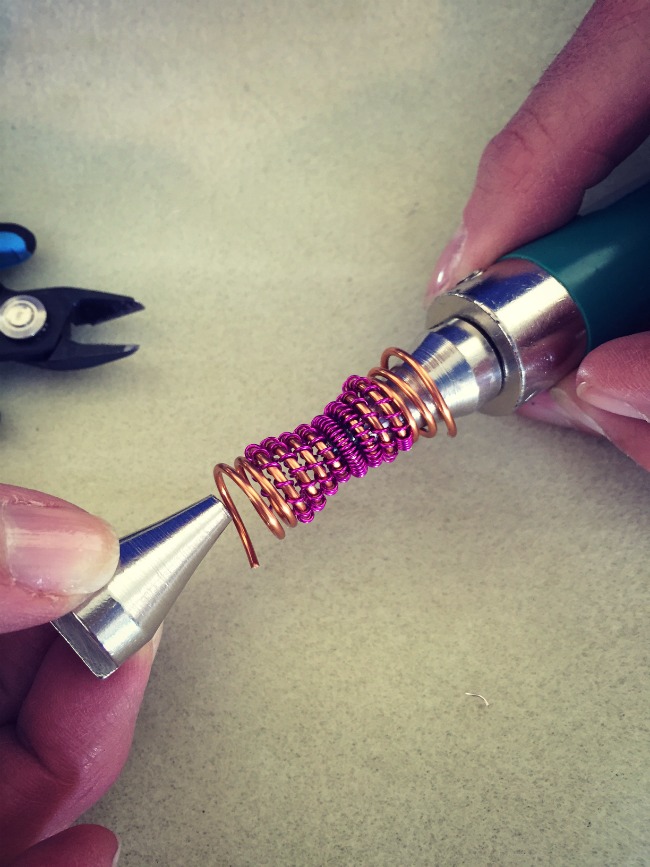
Inverted Conetastic Tool how toJust like before, the inverted version comes in multiple sizes, so pick your size and attach one end to the Conetastic handle piece and the opposite cone piece threads onto the tip.  It should look like an hour glass shape.

These are the days of our jewelry making lives….

Sorry, I couldn’t help it.
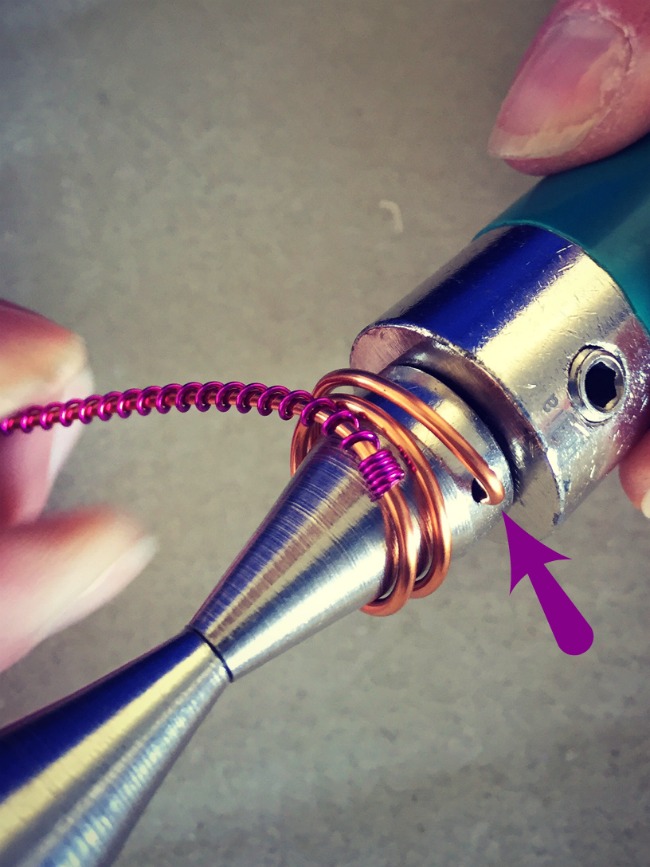
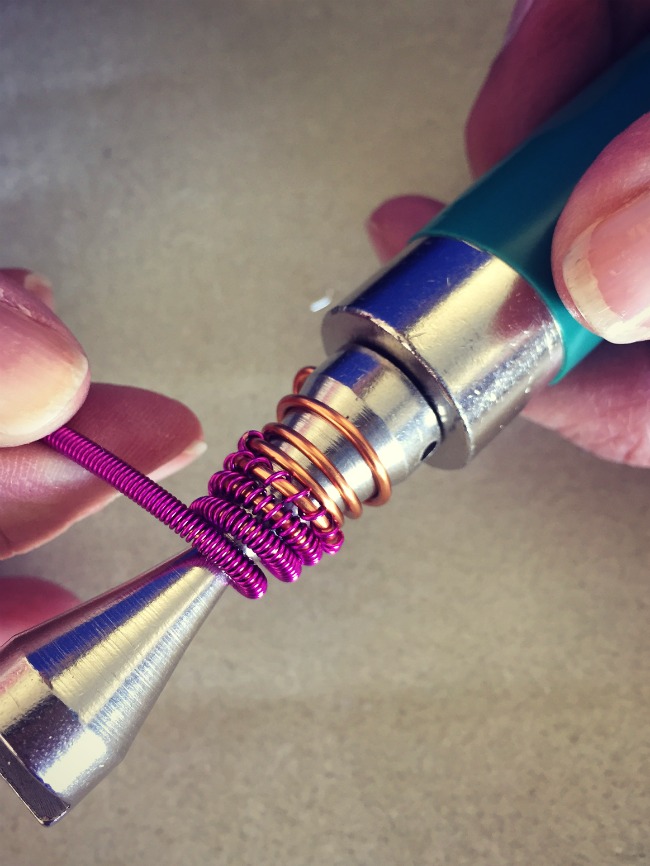
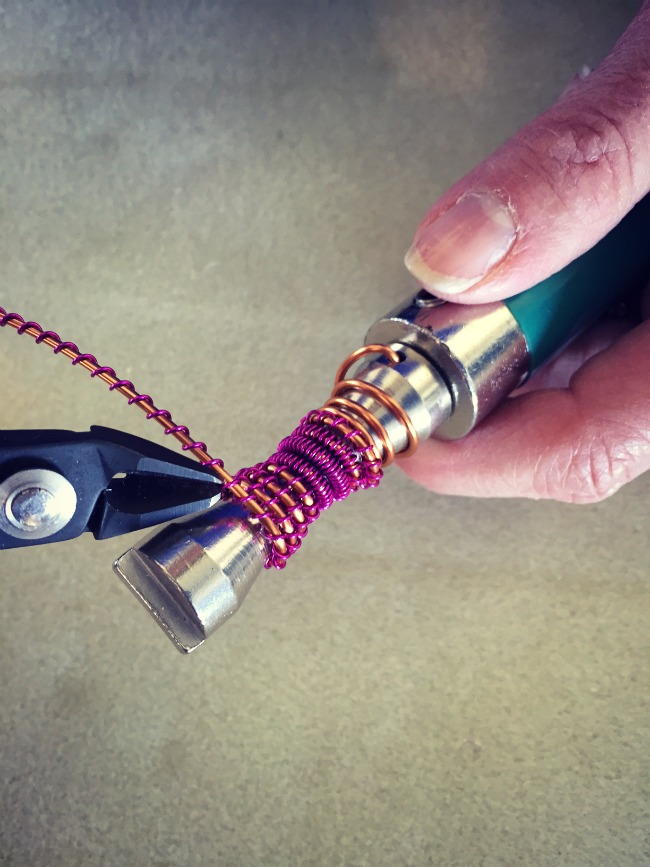
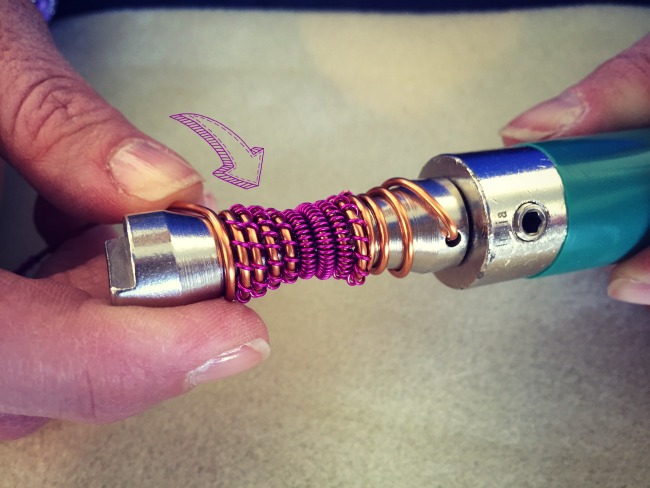
Wire working-make bead cones wth the Conetastic toolAnchor your wire in the hole at the base of the cone (see the arrow?) and start turning that wire!  For this one, Sandra made a long coil in pink thin Artistic Wire using the Coiling Gizmo (also by Beadalon) and slid them onto the copper colored wire to add a second layer.Conetastic bead cone making tool in actionKeep wrapping through the hourglass shape.
Jewelry Making Conetastic tool with Coiling Gizmo coilsShe pulled the coil out so you can see some of the metal underneath.  I was loving all of this layering action!
Conetastic tool for making jewelry findings by BeadalonThen she snipped the pink wire and finished wrapping how she started with only the copper wire.
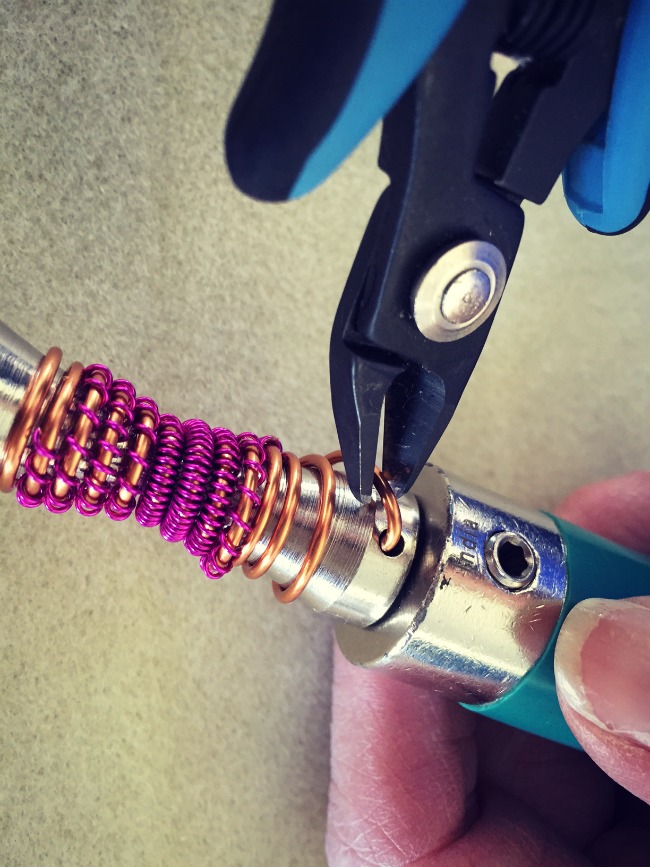
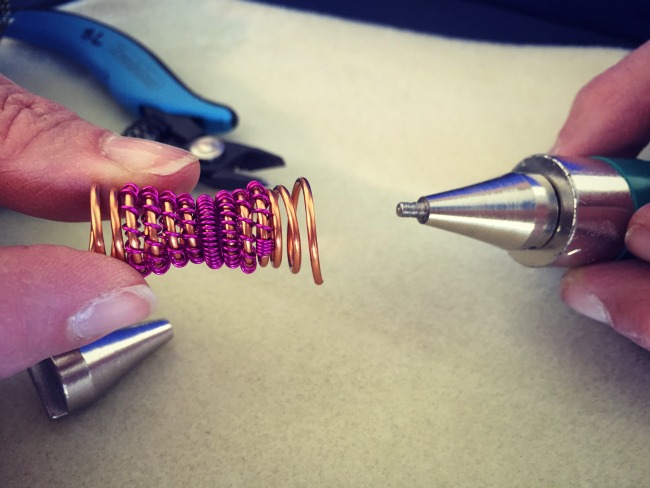
Inverted Conetastic tool from BeadalonThe variation in copper and layered pink is really fun right?  The possibilities! Conetastic bead cone makerNow to free your coiled bead from the Conetastic tool, cut the anchor wire…
Jewelry Making - Inverted conetastic maker tool from Beadalon and Sandra Lupoand unscrew the top cone attachment piece.
Wire working for jewelry makers - Inverted Conetastic Tool to make beadsShore up the wire ends and tuck them in with pliers.  Ready to string.  You guys, this thing took seconds to whip up!  Amazing.  Here are a few ideas from Sandra’s stash on her table.
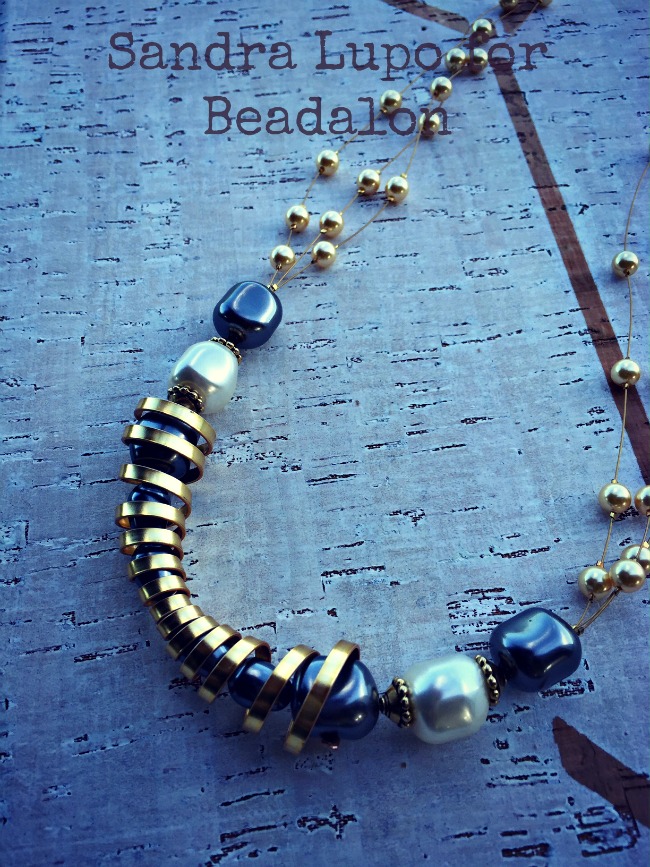
Sandra Lupo for Beadalon using the Conetastic toolCheck out how she stacked the cones on top of each other?  Also, how about that twisted Artistic wire in the bottom bracelet??  Hot.Using the Inverted Conetastic tool by Sandra Lupo with flat Artistic WireAnd for this one she used Artistic Flat wire.  The beads nestled down in had me at helloooo.

Good stuff Sandra!  Thanks for showing us how to use the Inverted Conetastic tool!  Here’s a link to Sandra’s website so you can see more Conetastic inspiration!

Katie Hacker and Artistic Wire Braid and Flat Wire

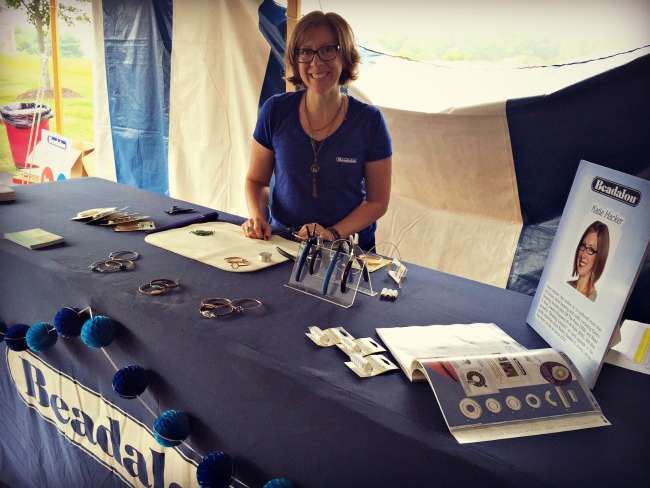
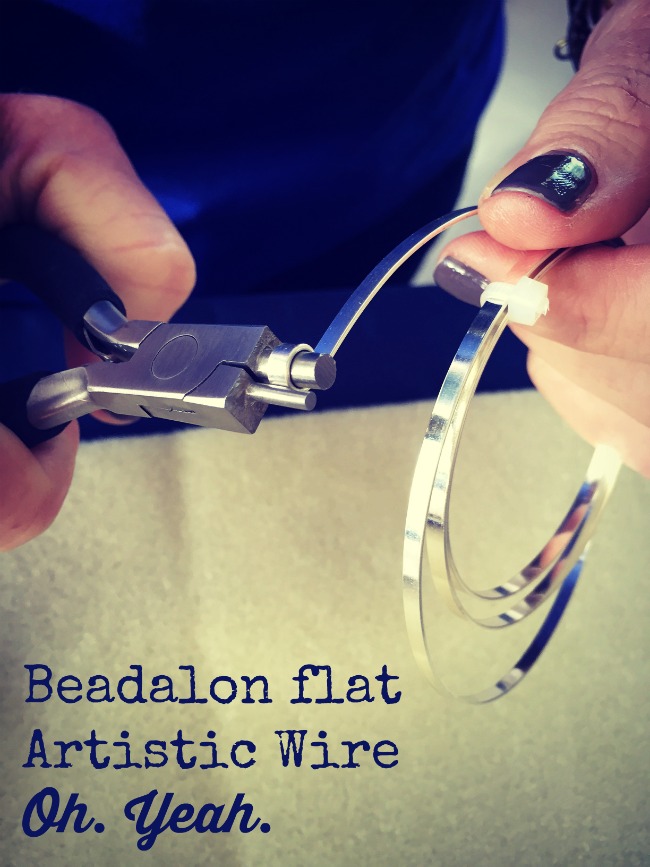
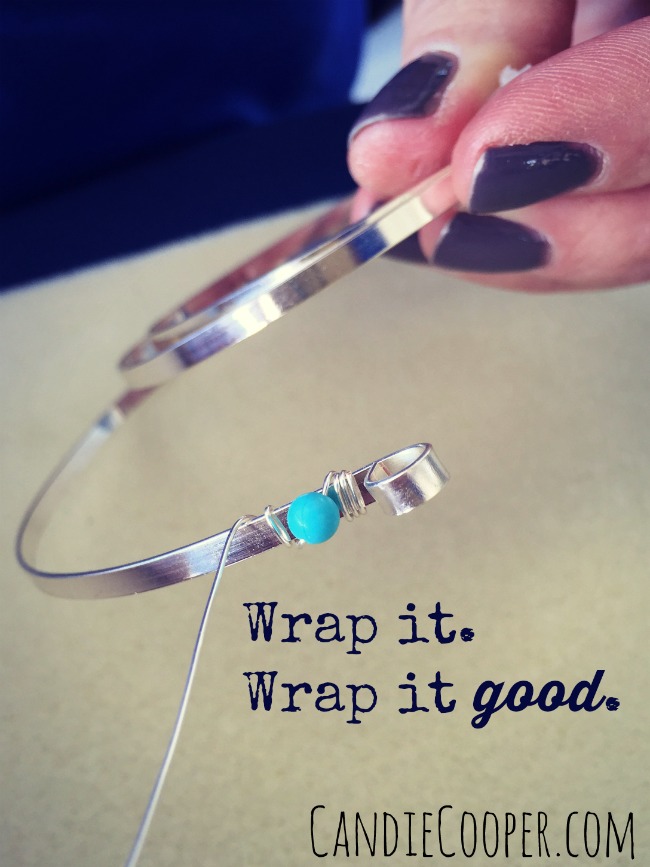
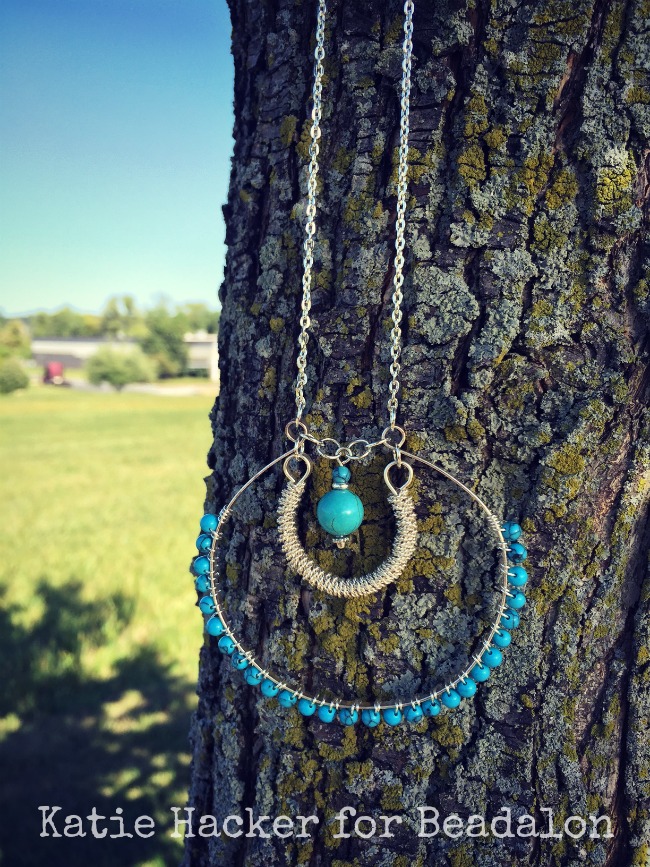
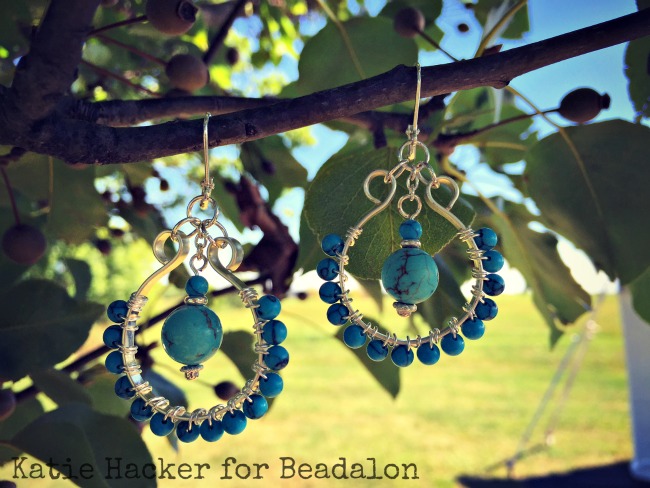
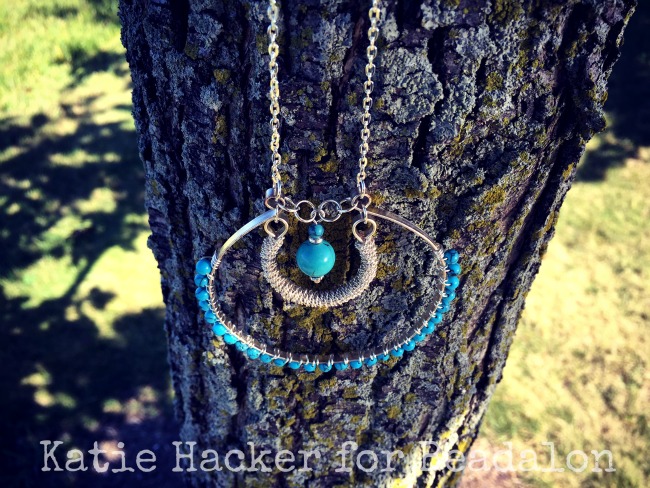
This post brought to you by the Beadalon crew!Beadalon Tent Sale Post PartyWelcome to day 3 of the party where we visit with Miss Kaaaatie Hacker!Good ol' Katie Hacker at the Beadalon tent saleIf you’ve been in the DIY jewelry world for any length of time, I’m positive you know Katie. She’s a good egg and one of my favorite people.  She also hosts the popular television show, Beads, Baubles, and Jewels on PBS.  Katie is the author of many jewelry making books and has been on the Beadalon design team for years.  Needless to say, she is a pillar in the DIY jewelry making community and I’m honored to call her a friend.Beadalon Braid wire adds texture to jewelryFor the tent sale, Katie was showing off Artistic Wire in braid (above) and flat versions (below).Wire wrapping Bracelets with flat Artistic WireBoth wires come in multiple metal finishes.  The wire is super sturdy so it holds and shapes beautifully.  I especially love hammering it.  Didn’t I mention yesterday on the blog that I wanted to hammer some metal links?  It might be my next favorite technique next to fringe….if fringe were a technique that is.Beadalon flat Artistic Wire in silverThe wire wraps easily and you can use regular round nose pliers to make loops at the end of it.  But! Have you seen Beadalon’s large bail making pliers?  They have a consistent cylinder tip vs conical.  Handy.Jewelry making Wire wrapping with Artistic Wire from BeadalonWhen you have your piece formed, you can wrap it with more wire and the like.  This will make it even more sturdy and add a little texture to the smooth surface.
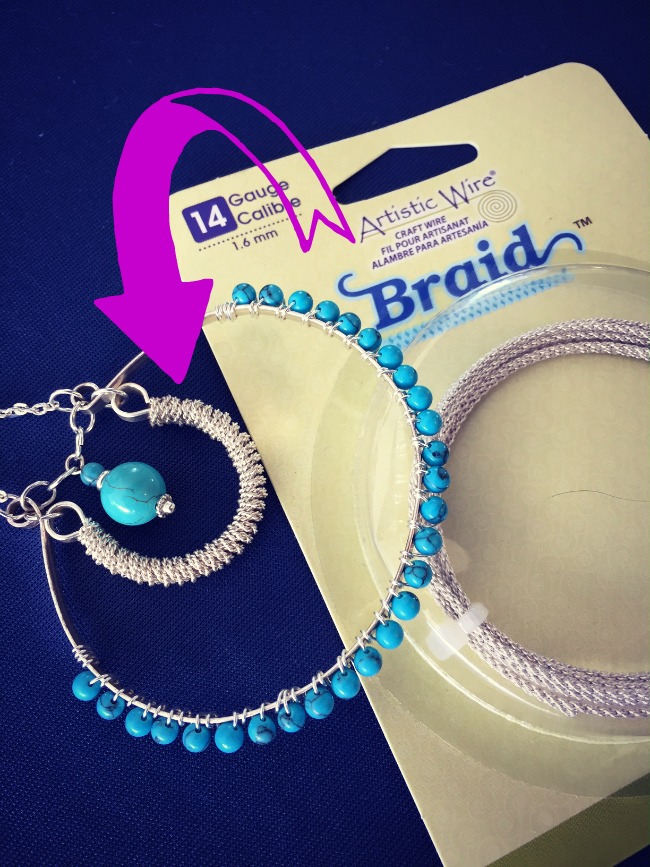
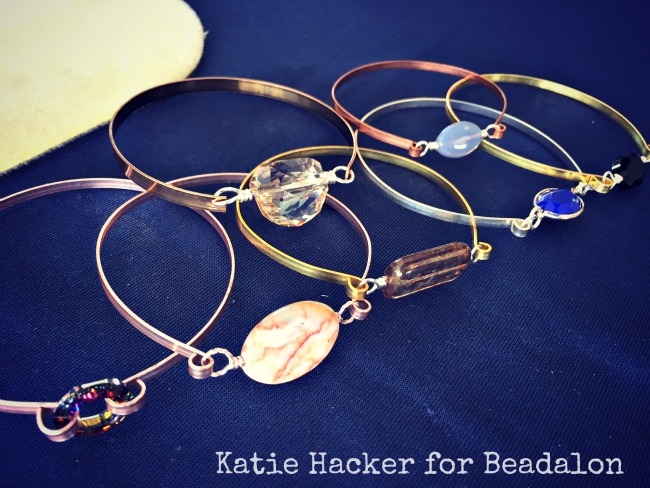
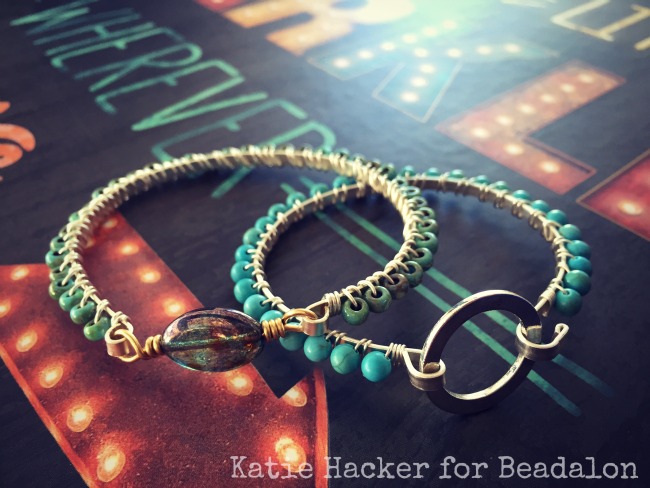
I love texture.Jewlery Making Wire wrapped bracelets by Katie Hacker for Beadalon with Artistic WireKatie Hacker's necklace with Beadalon flat Artistic Wire and BraidThis is the class that Katie taught at the tent sale. Katie Hacker Earrings with Beadalon findingsShe is masterful at designing projects that look like it took hours to make, but you could make in an evening.  I love that kind of instant gratification.Beadalon flat and braid Artistic wire - Design by Katie HackerDid I mention all the classes were $25 at the tent sale?!?  And it included all the supplies and then some!Candie and KatieKatie and I flew out to Pensylvania together and first stop…Michaels Craft store for some last minute supplies (and a few treats for ourselves).

Enter the giveaway below for some surprise Beadalon swag!  I’m picking 4 winners this time.  Best of luck!
a Rafflecopter giveaway

Artistic Wire JIG Mini Tutorial

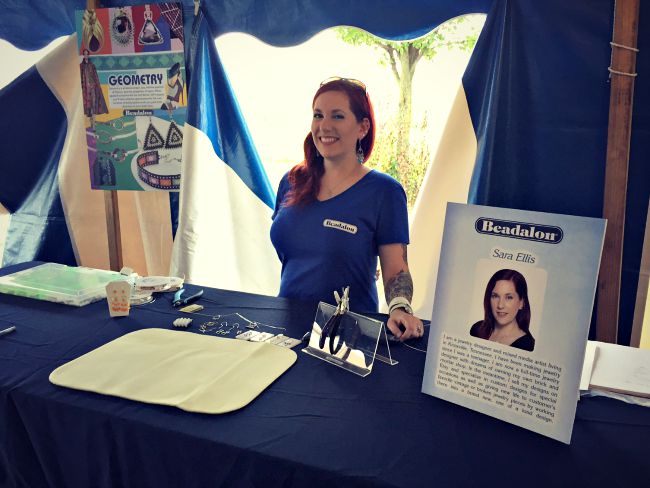
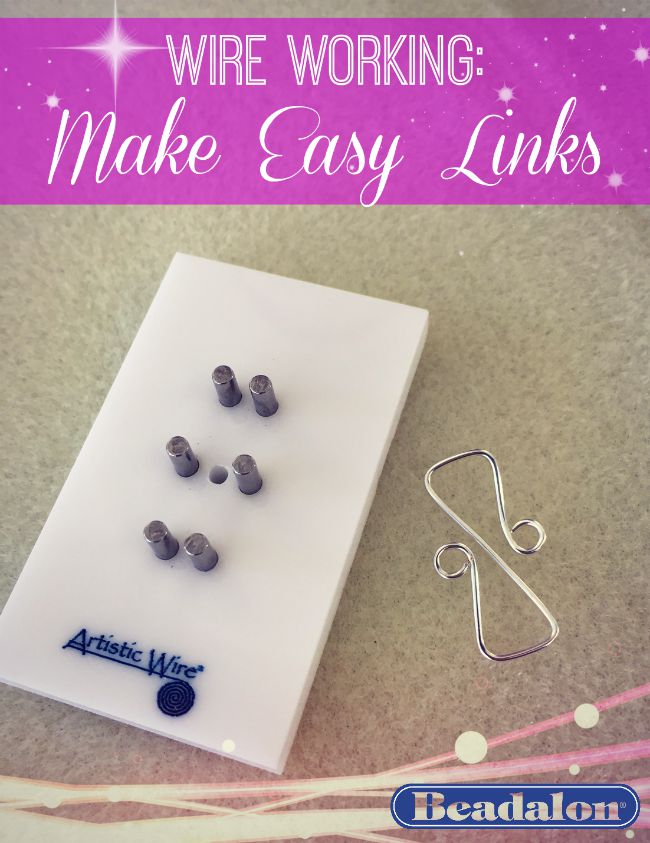
This post brought to you by BEADALON!Beadalon Tent Sale Post PartyDay 2 of the Beadalon Tent sale post party is here and I want to introduce you to Sara Ellis!Sarah Ellis for BeadalonSara designs all sorts of intricate pieces and at the tent sale, she was working with Beadalon’s Artistic Wire Findings Forms.  You can see them all here.  Here’s a quick little tutorial we shot from her demo table.  I think you’ll find it gives you some ideas from making clasps to links!  And if you’re like me and struggle with wire working, you’ll like the findings forms because they keep everything nice and consistent.
Jewelry Making Beadalon Artistic Wire jig Make clasps or linksSo on the left we have the findings form and on the right the finished product.  I’m not going to lie–I’m dying to hammer one of these with a chasing hammer.
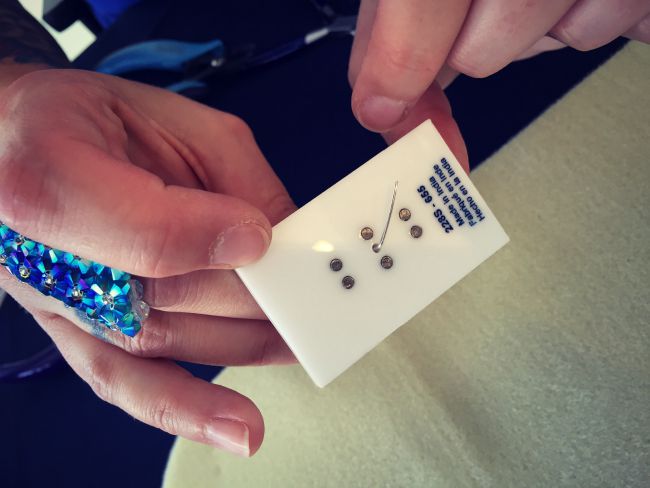
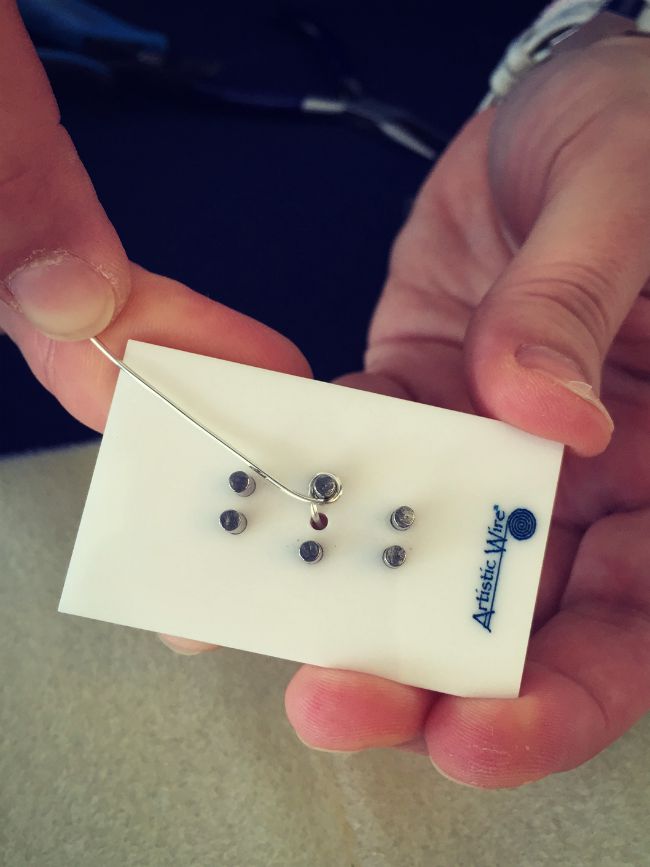
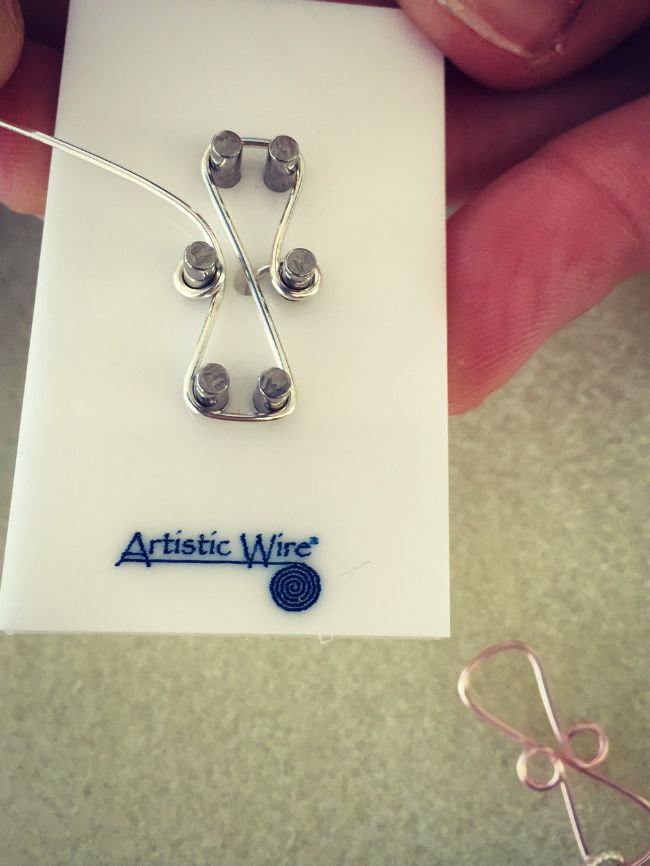
Artistic Wire jig tutorialYou start by poking your wire through the hole from the front to the back.  This anchors it while you wind and wrap on the front.
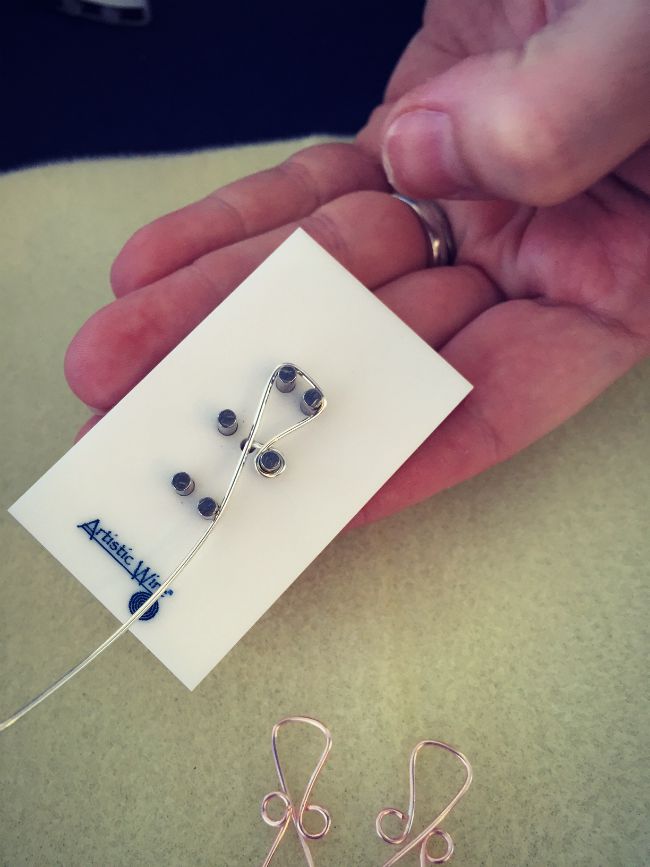
Artistic Wire jig link tutorialEach form comes with a nice set of instructions with ideas of where and what direction to wrap the wire.
Artistic Wire jig tutorial from Beadalon.comJewelry Making Artistic Wire jig from BeadalonFor this link, she used 20g. Artistic Wire in bright silver.
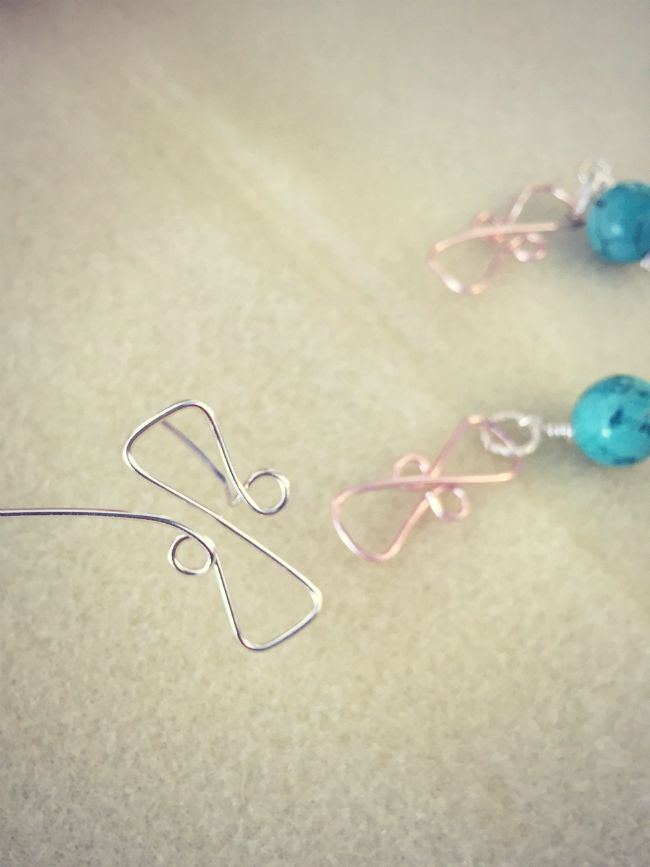
Jewelry making Artistic Wire link tutorialWhen you come to the end, slide the wire link from the form and trim the ends.  Now, you can hammer the link or add more wire wrapping.
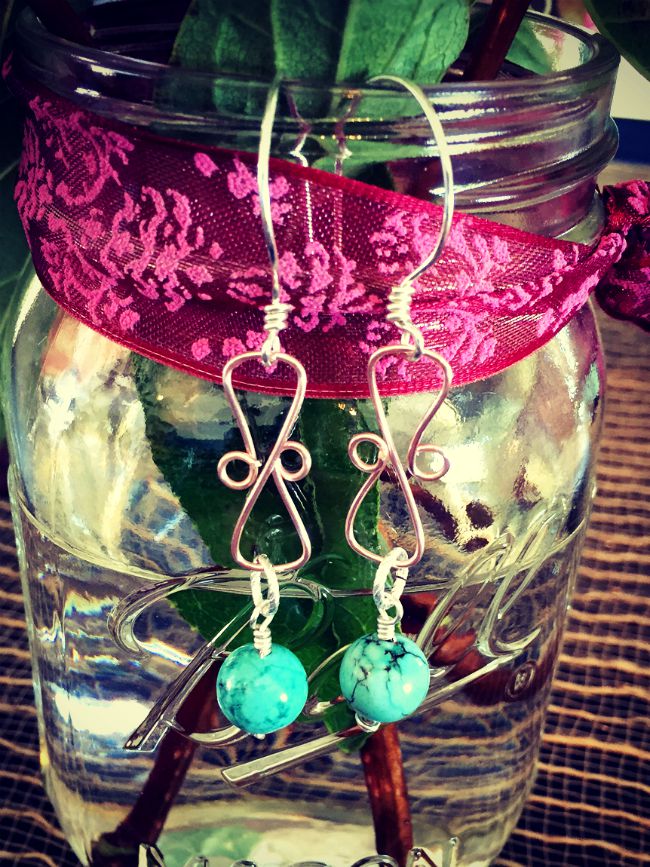
Artistic Wire earrings made by Sarah Ellis for Beadalon.comHere’s a sweet little pair of earrings Sara made with pink wire and beaded drops.  I do believe this would be a really great activity for teens looking to get into jewelry making!
Beadalon crew Sarah, Yvette, Katie and SandraJust another peek at the fun after work.  Sara, Yvette, Katie and Sandra at the top!  Haha!
IMG_0877This is the class that Sara taught while at the tent sale.  It features this findings form.

I asked Sara what some of her favorite jewelry techniques were and she said:  wire wrapping and stringing!

Then I asked what some of her hobbies are and she said: painting, decoupage, shopping and writing.

Be sure to check out and subscribe to Sara’s amazing YouTube channel where she has lots of tutorials featuring many Beadalon products!

And for sure enter to win some Beadalon goodie swag below!  Winners announced next week!
a Rafflecopter giveaway

Stringing Magazine plus a GIVEAWAY

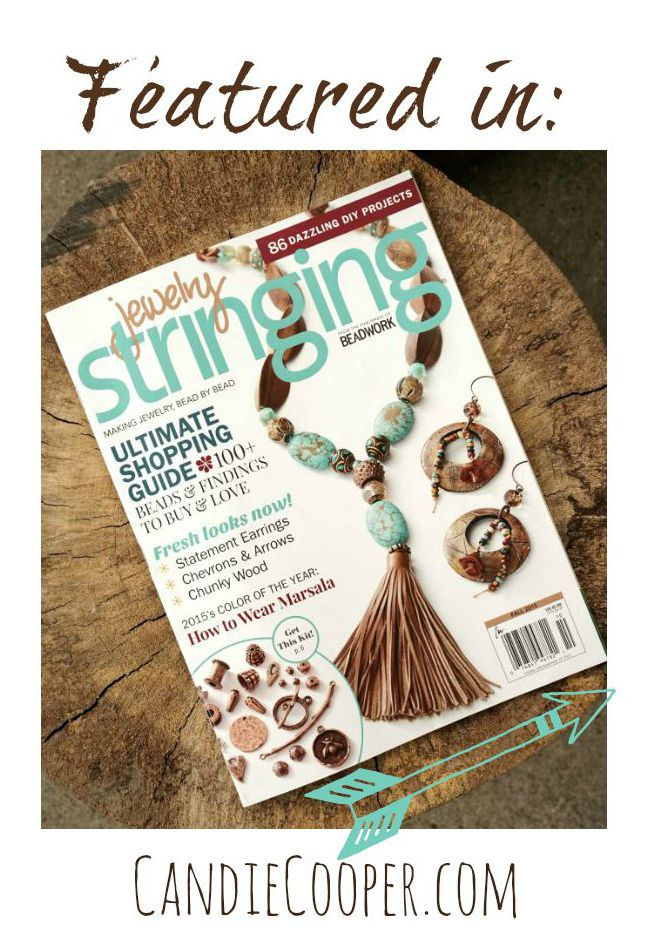
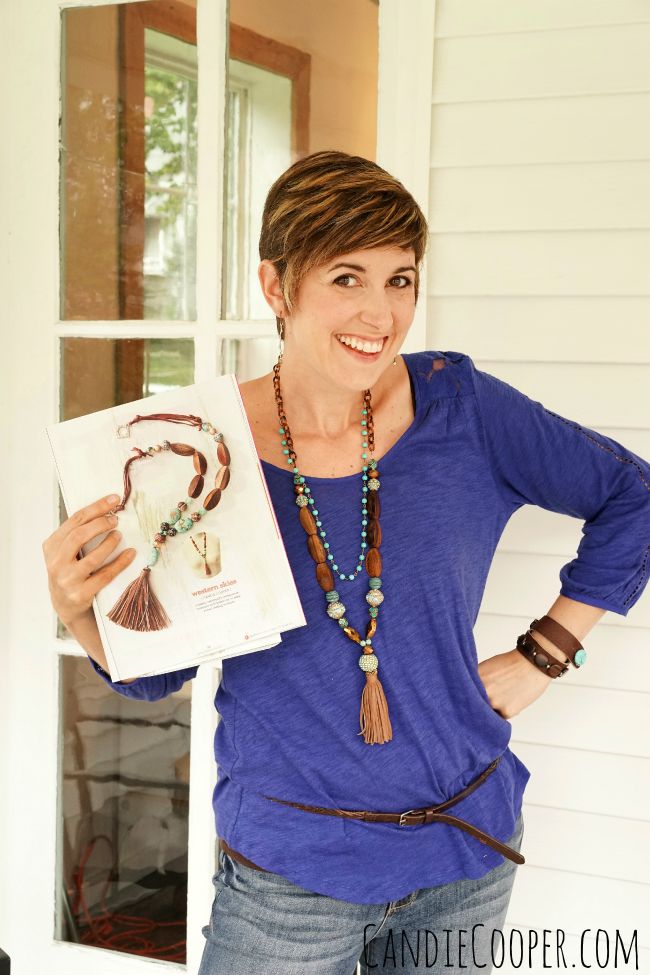
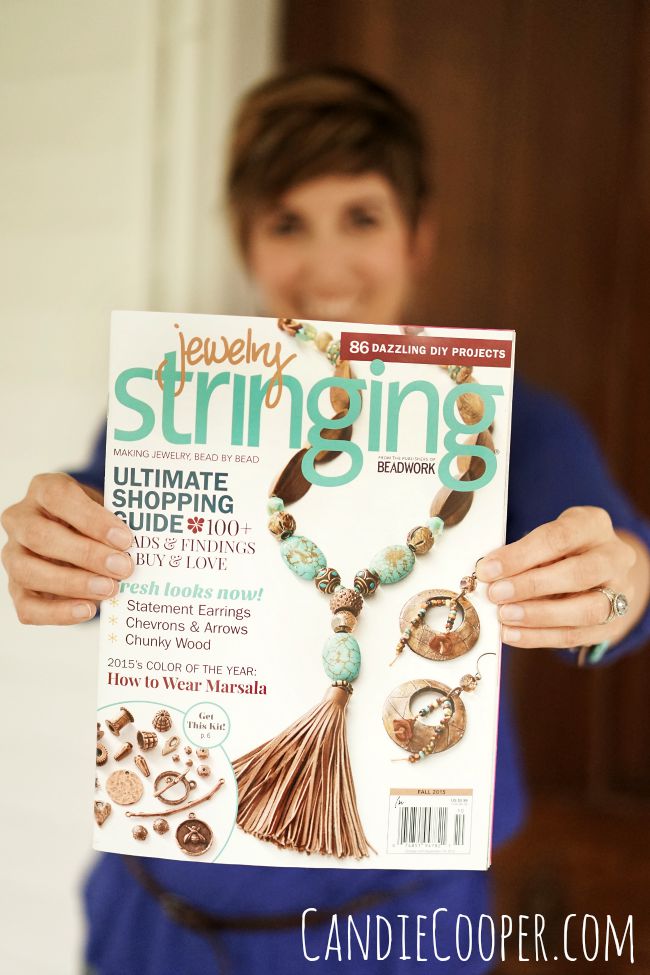
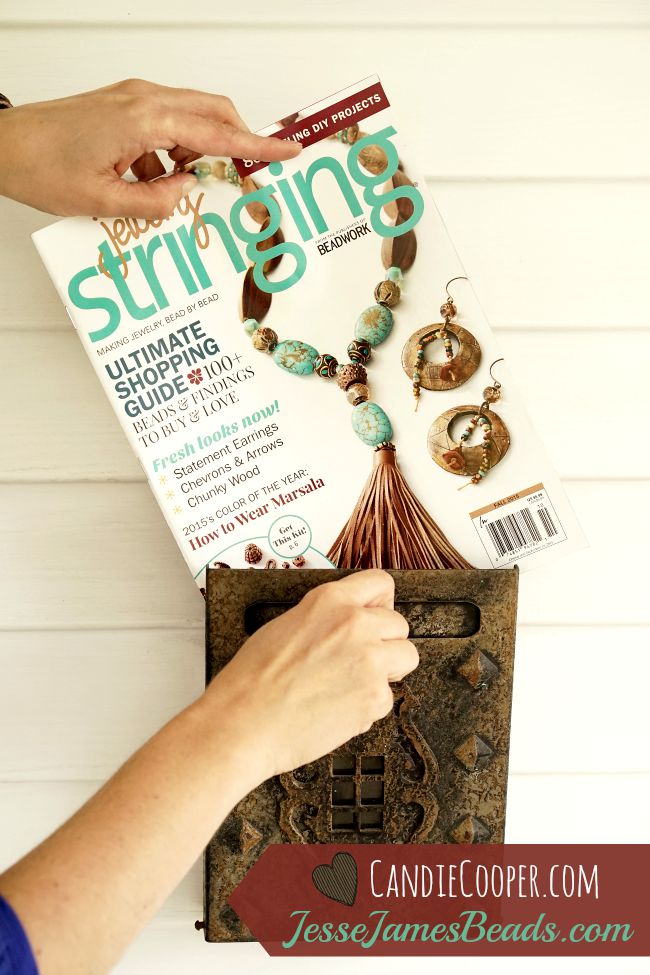
Jewelry Making Candie Cooper featured in Fall Stringing MagazineIt’s an honor to be featured on and in the Fall issue of Stringing Magazine!It’s been many years since I submitted designs to Stringing and I was so touched to have four designs in this issue (including the one on the cover!).  Big humble THANK YOU, Interweave/F&W Media.Stringing magazine tassel necklace how to from Candie CooperThis is a slightly different version that I’m wearing versus the one on the cover which is one of the reasons I love this design so much—You can adapt it however you like.

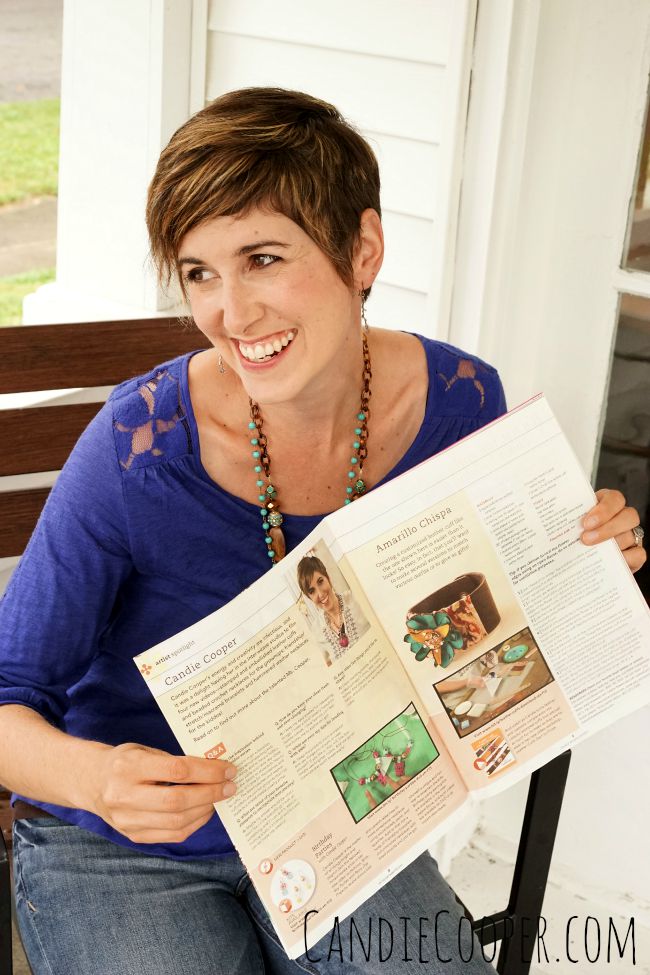
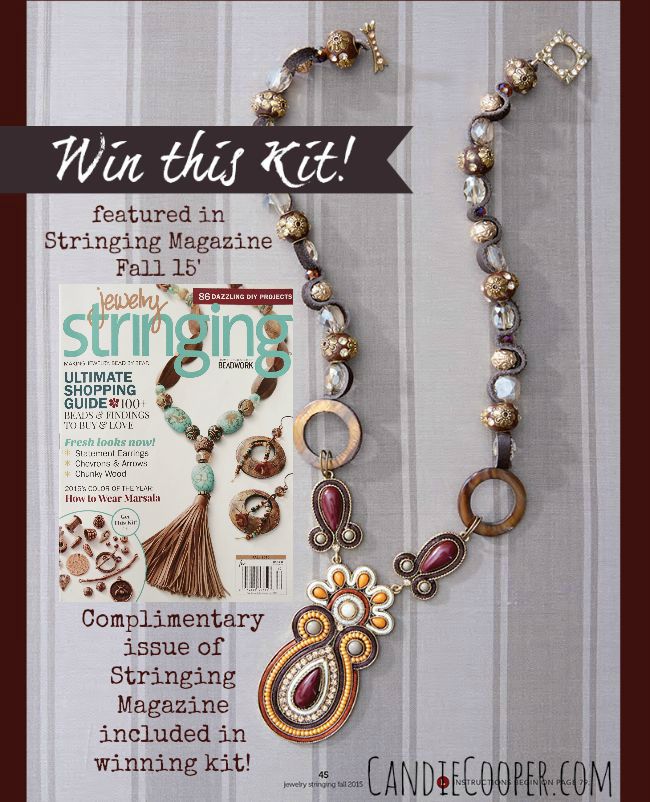
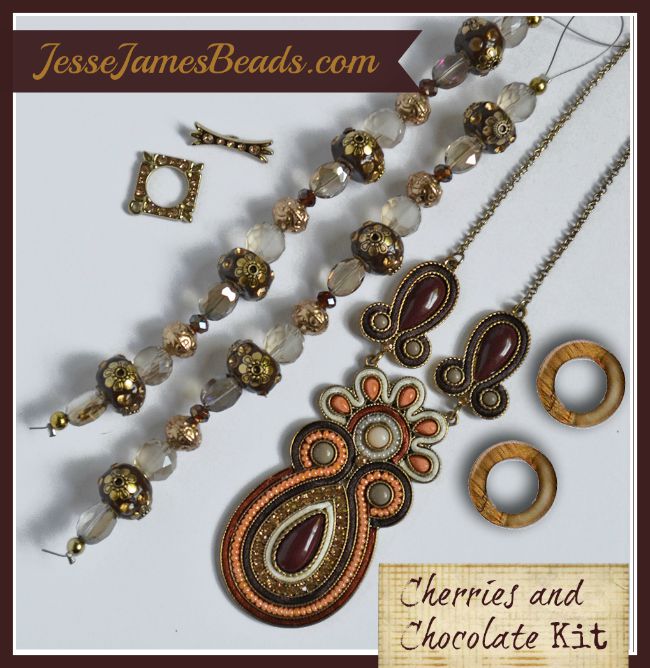
Speaking of design, this is definitely one from my heart.  You guys know my love for fringe…and leather…and a touch of sparkle.  I was diddling (is that really a word?) around one morning, working on classes for Jesse James Beads for Bead Fest April and I thought, I’m making myself a necklace. There is always a small (ok, really huge) collection of Jesse James Beads laying around and I have a few strands that I hoard because I LOVE them.  These teal and brown Inspiration strands were part of that hoard.  The wood beads were some I found in Tucson and Sarah from Jesse James Beads really loved them too, so they were added to the JJB site.  For me, designing jewelry is all about mixing and matching surfaces with color. This piece went together really fast.  I was in the flow for sure and that’s how I knew it was a good one (if I do say so myself…and I am)!Jewelry Stringing Magazine Candie Cooper's cover necklaceCandie Cooper featured artist in Stringing Fall issueRemember those beading videos I did with Interweave?  There is also a little feature article about those in this issue.  PLUS!  A bonus project from the Leather Cuffs video.Jewelry Making Candie Cooper and JesseJamesBeads.com projects in Stringing Fall 15 magazineMost of the projects in this issue feature beads from JesseJamesBeads.com so guess what!?!Cherries and Chocolate Giveaway kit from Candie Cooper, JesseJamesBeads.com and Stringing Magazine!You can win a kit of one of my projects in Stringing thanks to JesseJamesBeads.com!  PLUS!  Stringing magazine is throwing in a copy of this issue!cherries and chocolate kitHere’s a close up of what you’ll win.  It’s the Cherries and Chocolate kit featuring one of JesseJamesBeads.com’s soutache necklace!  Enter the rafflecopter below for a chance to win!

a Rafflecopter giveaway