Now Watch Me Whip…This Wire Pendant Up

This post brought to you by Beadalon.com–maker of jewelry findings in all types and metal colors.
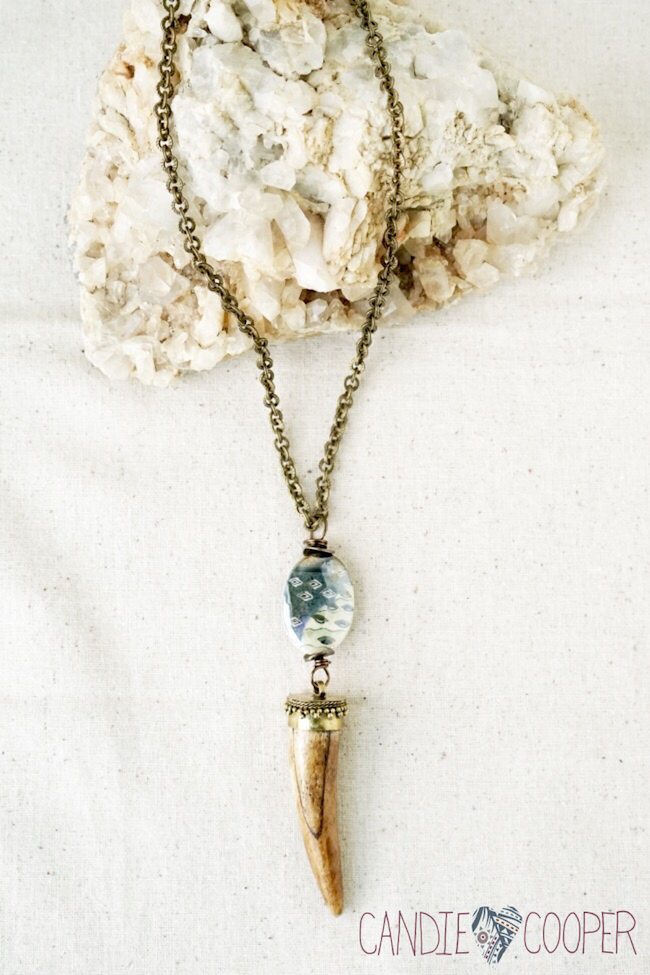
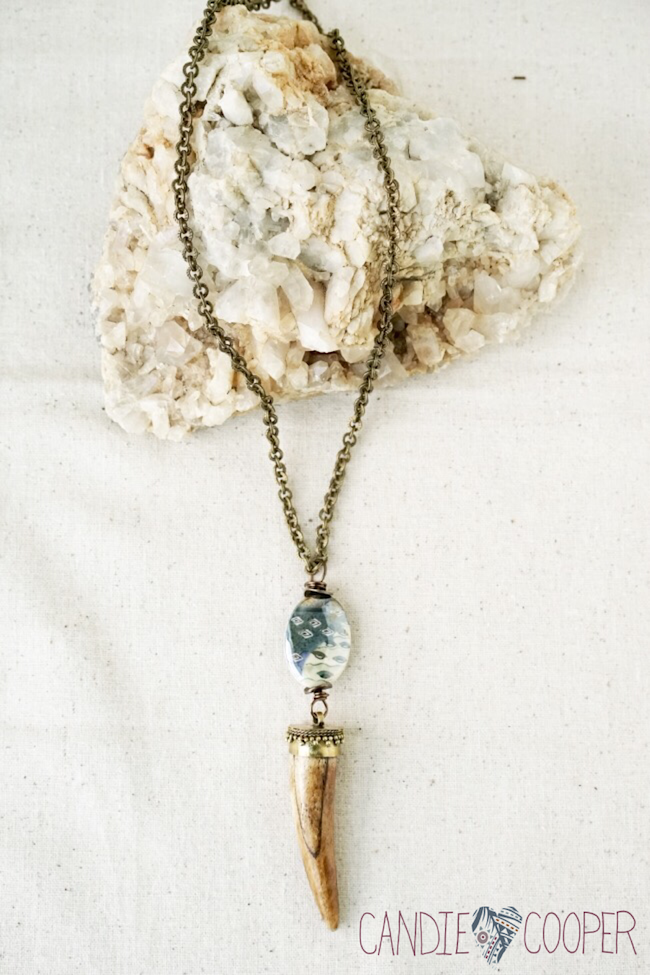
DIY jewelry Making Wire Wrapped Horn Pendant with chainRemember that pendant I made a couple weeks ago with the wire piece from the hardware store?

Meet it’s new BFF.

DIY bead wrapped horn pendant. Wearing multiple necklaces in fashionThe idea of wearing these chains together was a coincidence.  I had the first two pendants on when we shot the tutorial.  Naturally, I needed this statement horn piece to complete the look.
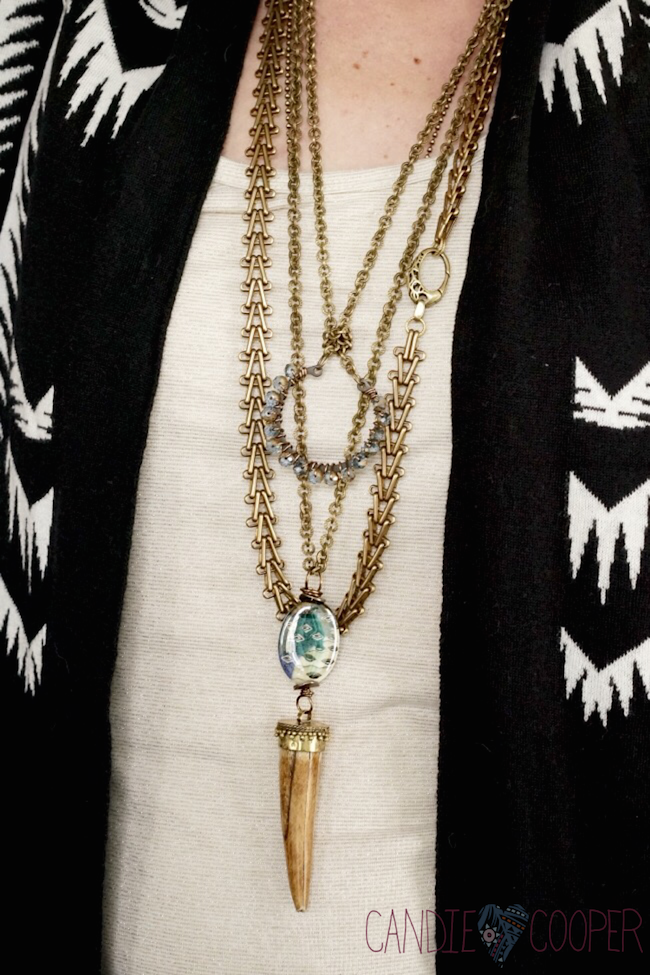
Can you say, power play?DIY jewelry making toolsI’m using Beadalon’s new bail making pliers at in this tutorial.  More on those later, plus:
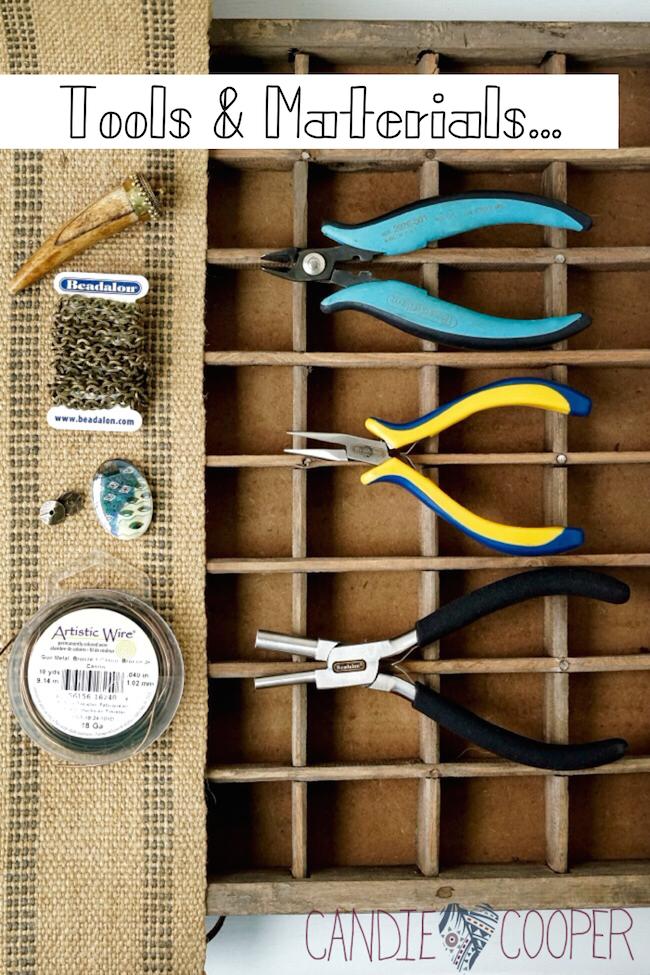
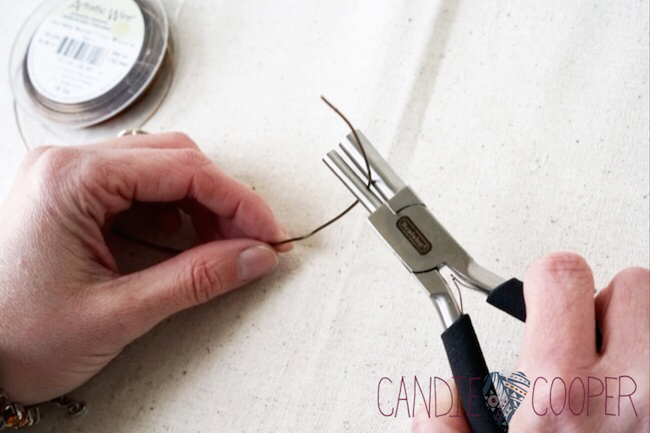
Beadalon bail making pliers tool for wire wrappingSo first, make a loop using the bail making pliers.  The thing I like about these pliers is that they are not conical like round nose pliers.  This makes it easy to get consistent size loops every….single….time!  And that makes me happy!
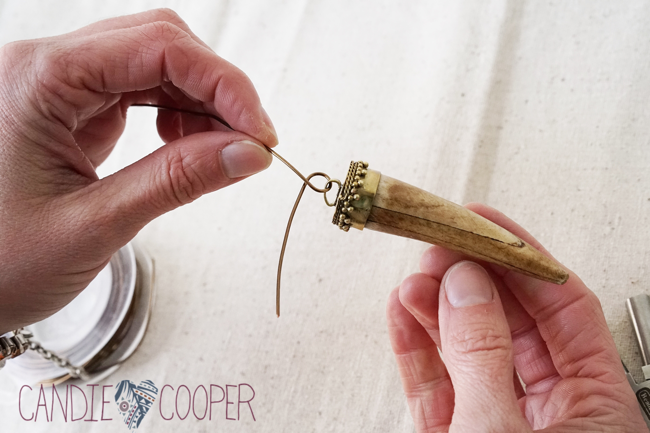
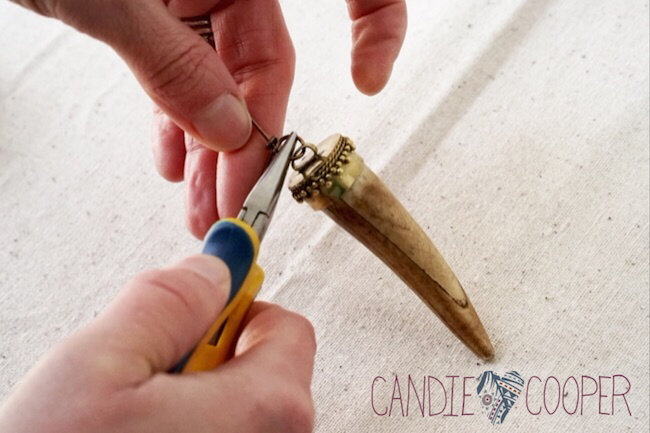
Horn necklaceLoop in the horn pendant.How to make jewelry with beads and wireGrab the chain nose pliers and hold the loop while you wrap the extra wire.
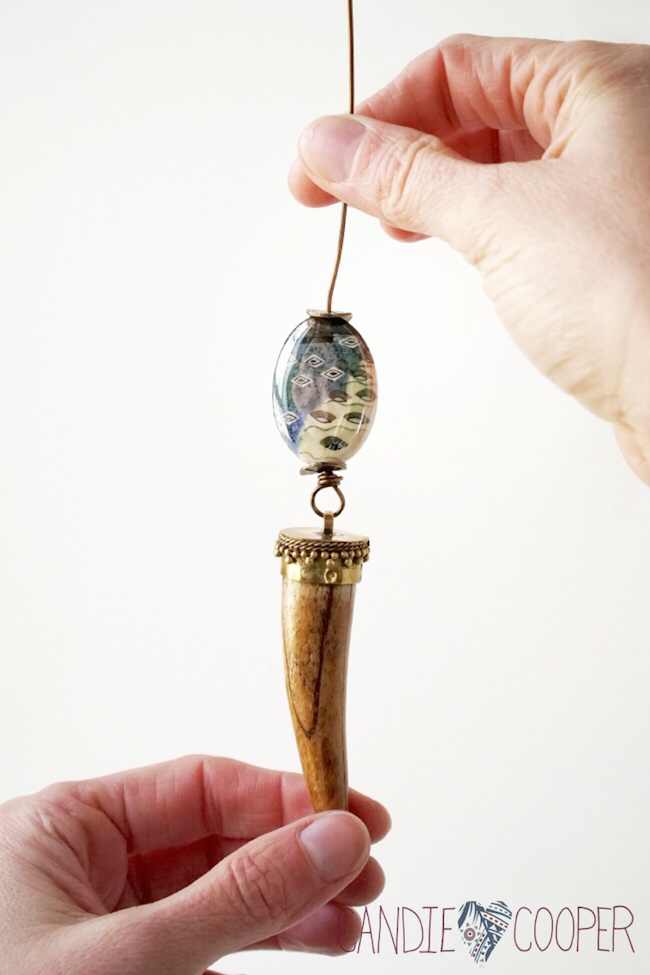
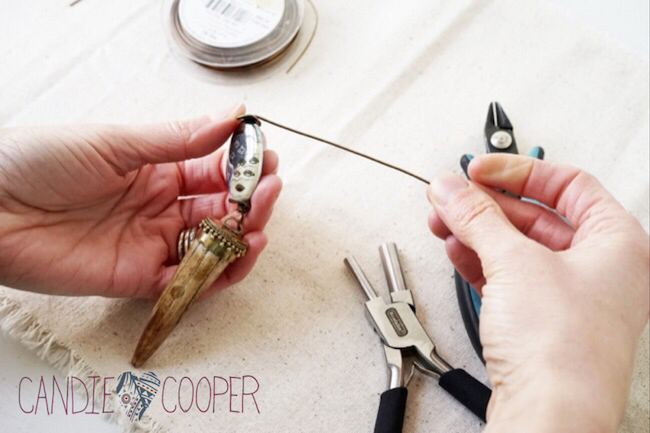
How to make a perfect wrapped bead link in jewelry makingString some unique beads…
Artistic Wire for making wrapped bead link jewelryand make a 90-degree bend just above the last bead.
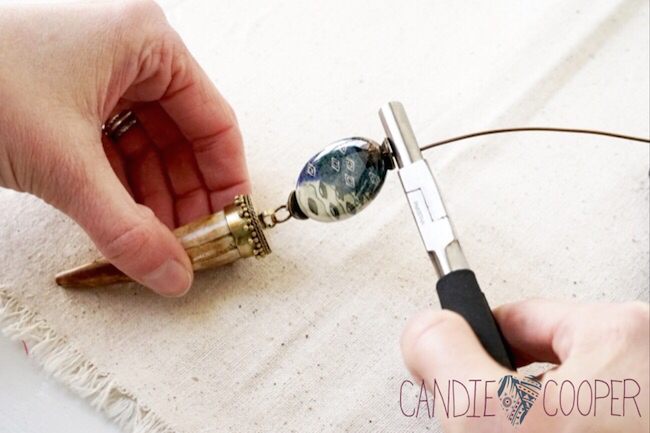
DIY jewelry-Beadalon bail making pliersUse the large section on the bail making pliers and wrap the wire up and around.How to make a Wire wrapped bead linkNow wrap the extra wire above the last bead.
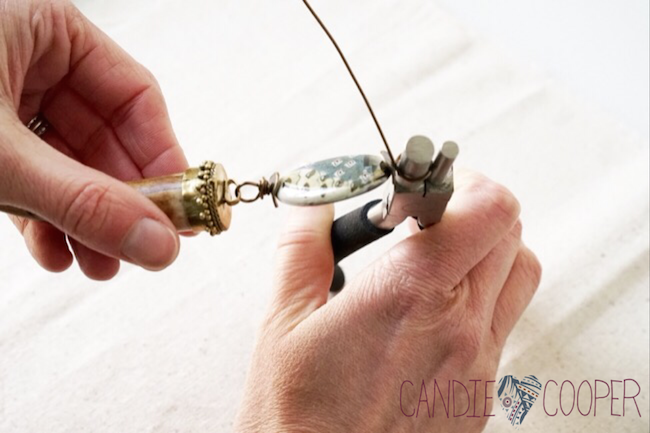
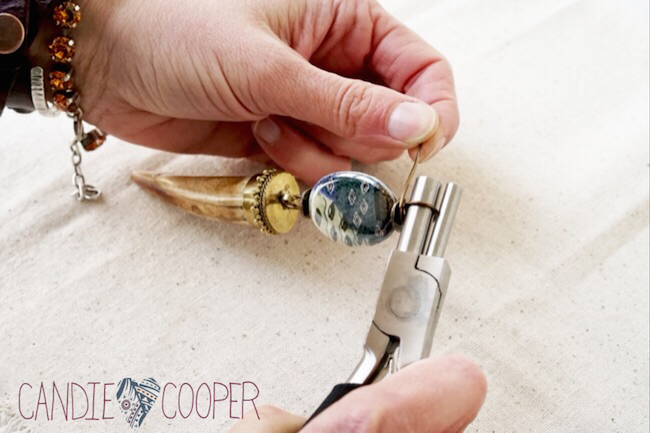
DIY wire wrapped jewelry with Beadalon bail making pliersSo easy!
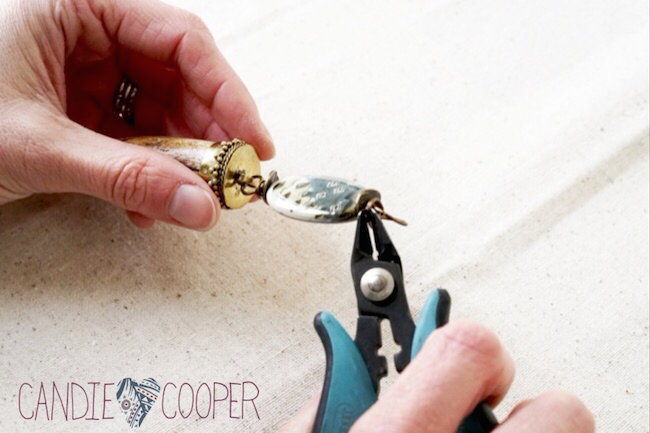
DIY jewelry with wireCut away any extra wire with the flush cutters.
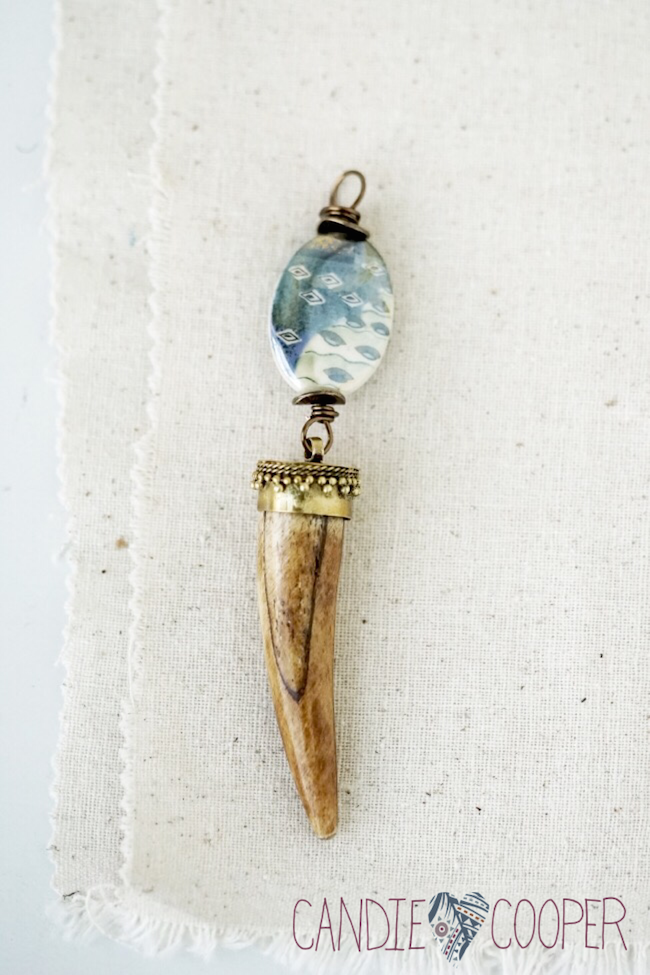
Wire Wrapped beads DIY pendantHave I ever told you that I think there should be no spacer beads left behind?  That’s my philosophy–I think beads look so nice in a spacer bead frame.
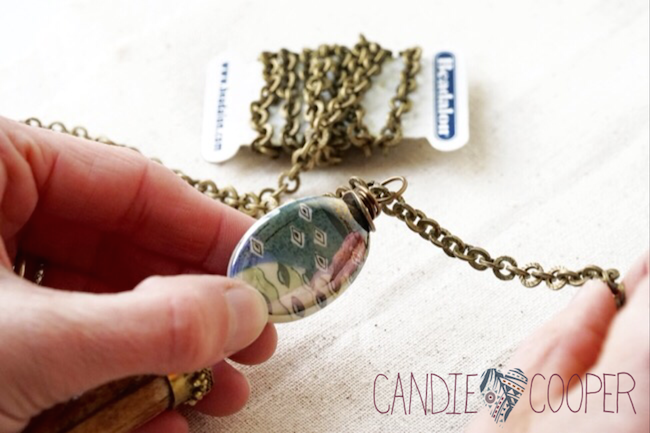
DIY jewelry Making Wire Wrapped Horn Pendant and brass chainjpegThread the chain through the wire loop.
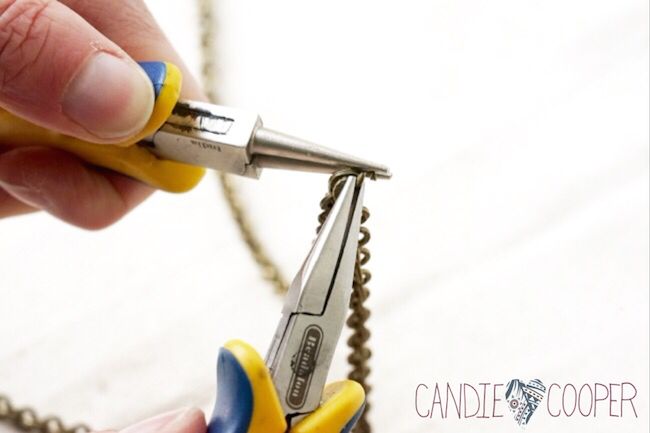
DIY jewelry Making Wire Wrapped Horn Pendant -- how to link chainDetermine the length of the necklace that you want, open a link and connect the ends–No clasp needed.DIY jewelry Making Wire Wrapped Horn Pendant with brass chainDIY jewelry Making Wire Wrapped Horn Pendant with chains from Candie CooperThat’s all there is to it!  Let me know if you decide to try those bail pliers!
Have a great weekend!
Ouch! A Remedy for Chapped Hands and a New Issue of Stringing Magazine

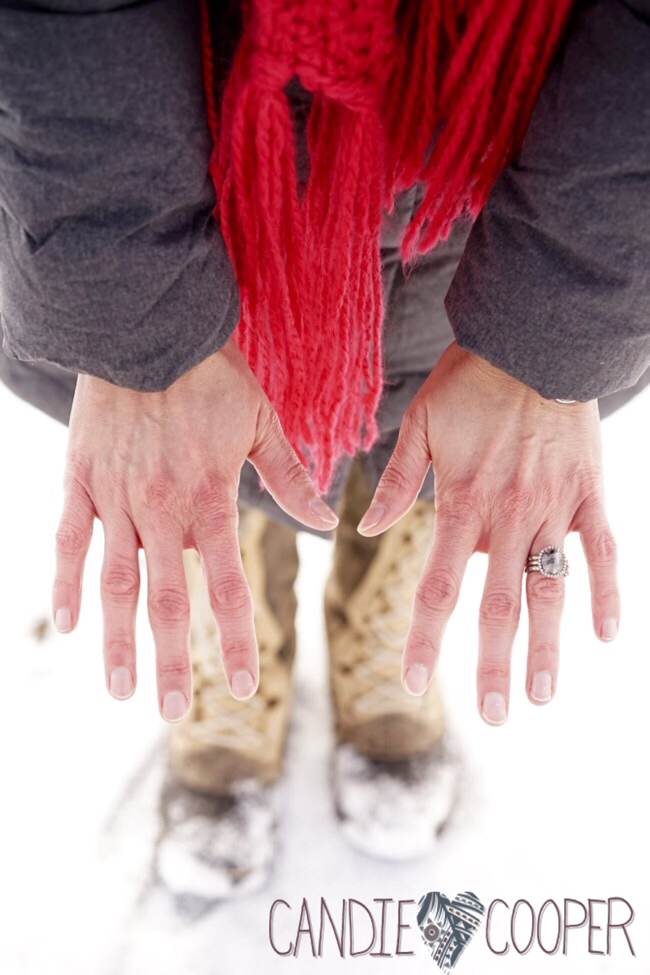
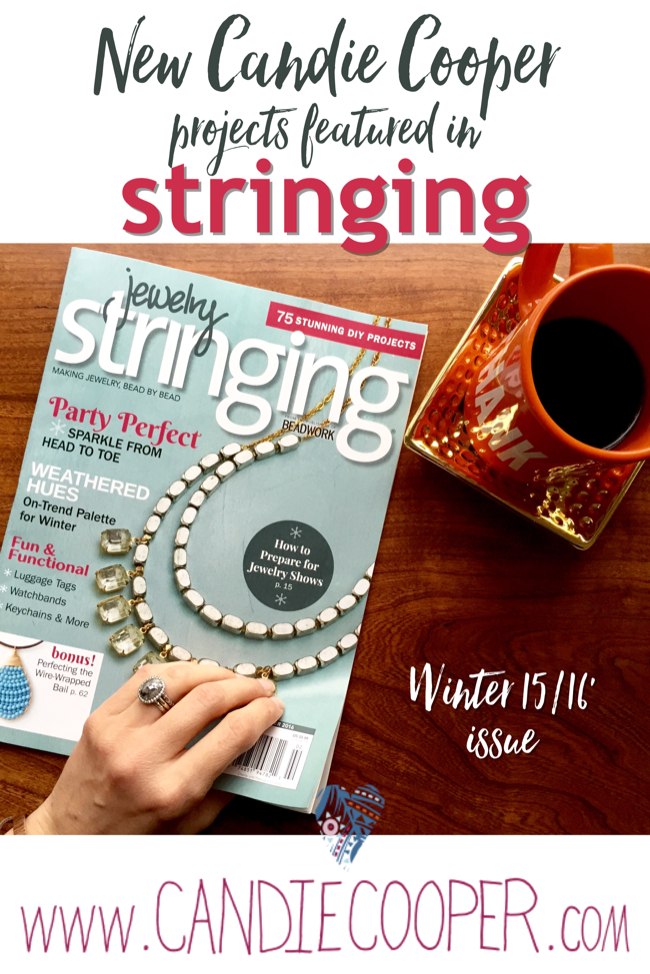
Candie Cooper in winter Stringing jewelry magazineIt’s always exciting to see my projects go to print.  Big thanks to Stringing magazine for including three of my designs in their winter issue!  I don’t like to kiss and tell so this is as much as I’ll show.  It’s on newsstands now or there are digital copies available which are especially great for tablet users!dry chapped handsWinter is still here.

Still here.

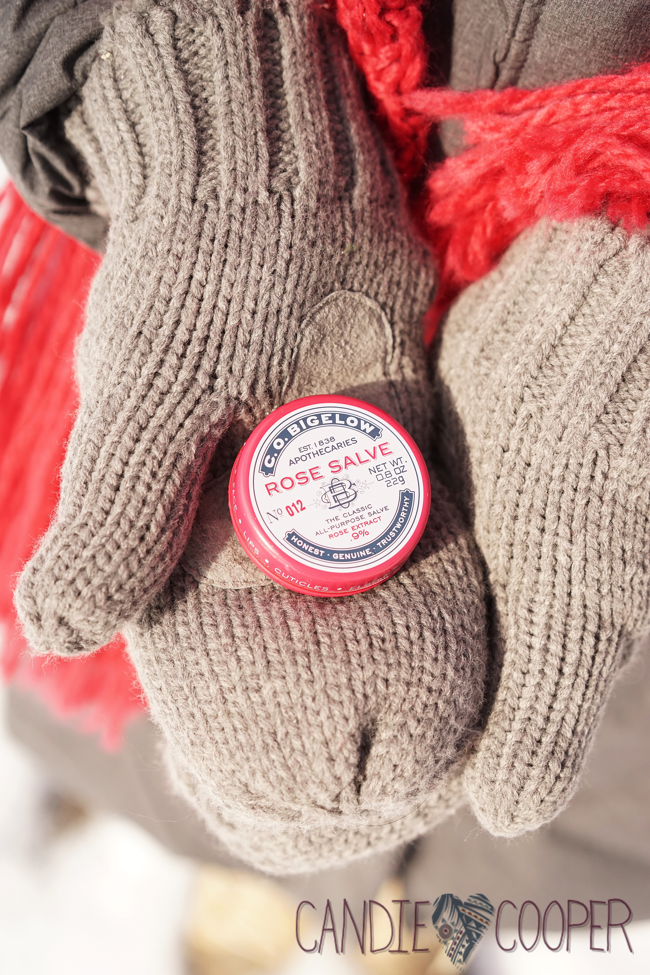
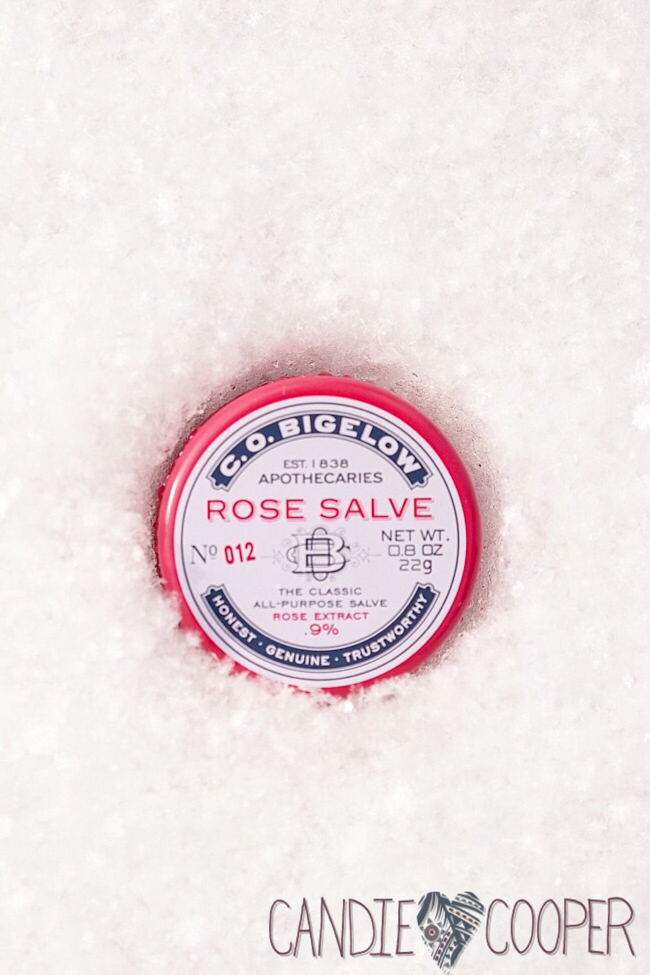
And my hands are dry and chapped.  I wanted to share one of my new favorite fixes:Rose salve remedy for chapped handsC.O. Bigelow’s Rose Salve No. 012.  You can get it Bath and Body Works or online of courseRose Salve heals dry chapped hands in winterThere are lots of things I love about it–it’s pink, it smells nice, all in a compact tin.  I keep it in my jewelry making pliers kit.

I don’t know about you, but by the end of winter, my skin is comparable to a 220 grit piece of sand paper.  I try to drink more water, use lotions after showering and so on, but inevitably I am dried up.

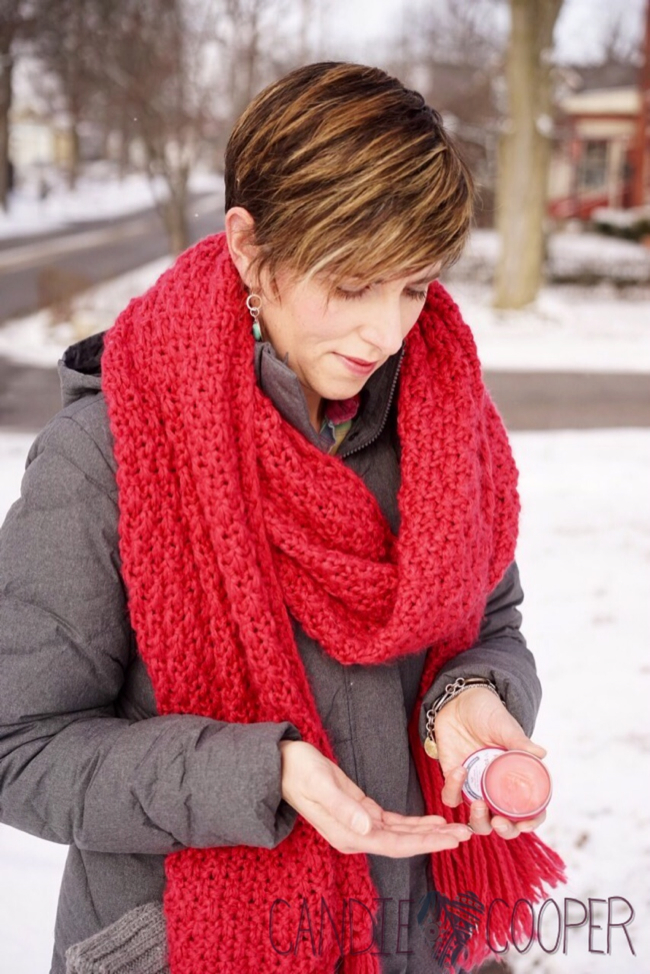
Totes.Rose Salve relief from dry chapped handsSo this has been one of my recent treats for my dried up, cracked and chapped handsies.My happy hands hahaThe thing is, don’t stop after one application.  As soon as your hands feel good, put it on again….and then again to rehydrate them.

Happy hands make good jewelry.C.O. Bigelow Rose Salve heals dry skinPlus, I’m a sucker for a vintage looking tin.  I will totally recycle this thing into jewelry when it’s empty (and that won’t be long if we keep getting hammered with these cold bursts!).

Until next time, sweet people!

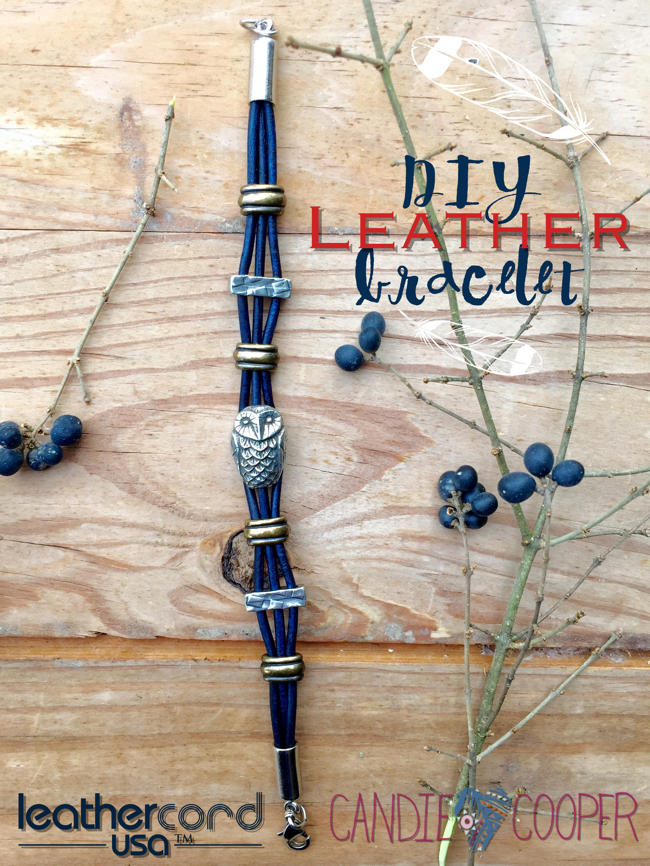
Moonlit Owl – DIY Leather Bracelet

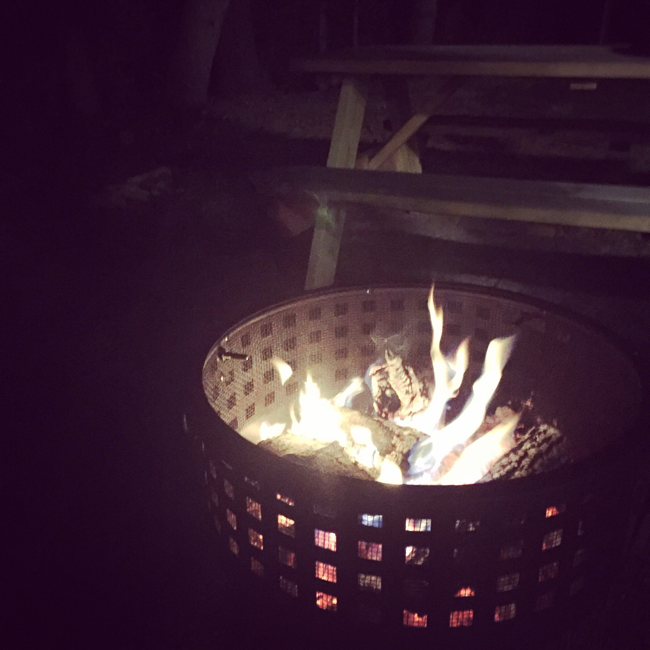
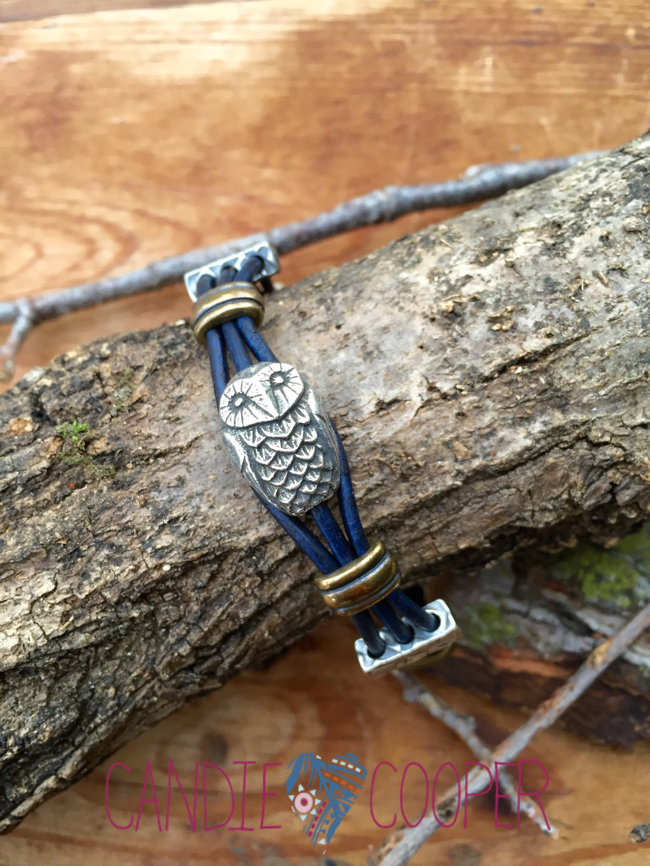
This post brought to you by LeatherCord USA.DIY owl bracelet with LeatherCordUSA leatherWe’ve had a break in the weather today—-perfect for you know what this weekend!  Yes!  A cozy fire in our new fire pit.Fire pitSitting around a fire in nature is so restorative for my soul (not to sound dramatic, haha).  I just love the ambience of it: the sounds, being outside, toasty hoodies…. We like to make sandwiches and treats in our pie irons for these winter picnics.  It is these simple pleasures that make life sweet.

Today’s project is brought to you by LeatherCord USA.com  I put this little DIY owl bracelet on my Instagram feed (@candiecooper if you want to see behind the scenes in real time) and had a few people ask about buying it!  I love that.  I’ve worn it a few times and gotten compliments too so I think it’s worth sharing so you can make your own.

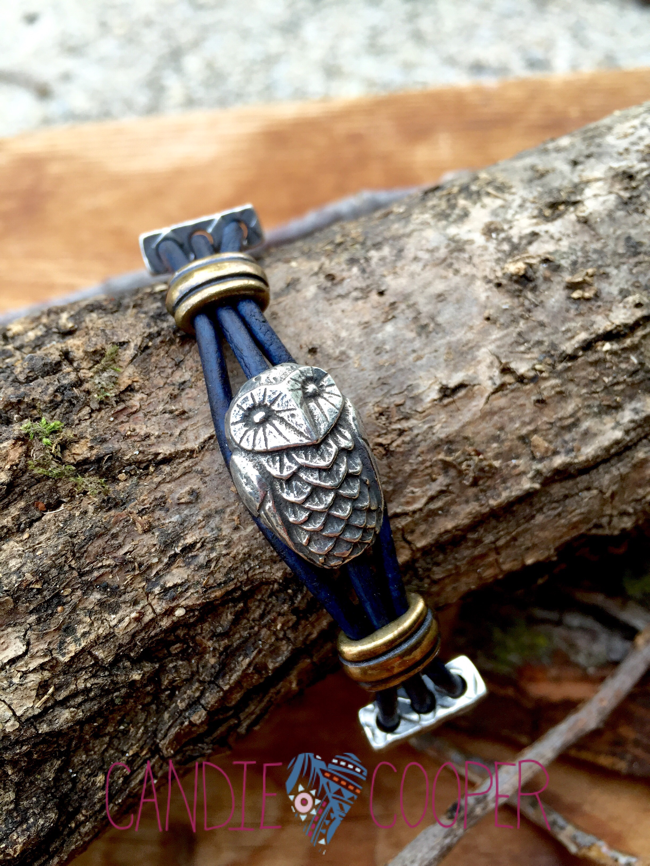
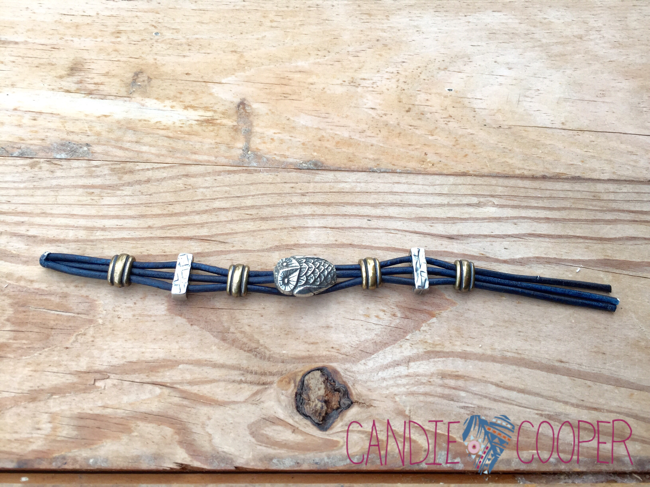
DIY owl bracelet with LeatherCordUSA natural blue round leatherThe secret is having large holed beads that work perfectly with the 1.5 diameter natural blue round leather cord.  You can braid and weave the leather easily through beads like this to get a solid look.  These beads are from Tierra Cast and the owl from Green Girls Studio.File Feb 19, 3 11 04 PMOnce you get the beads in place, it’s time to CAREFULLY measure.  Michelle at leatherCord USA and I have a joke about measuring many times before cutting–somehow we always make things too small.  I want to show you a trick so you can get yours to fit just right.

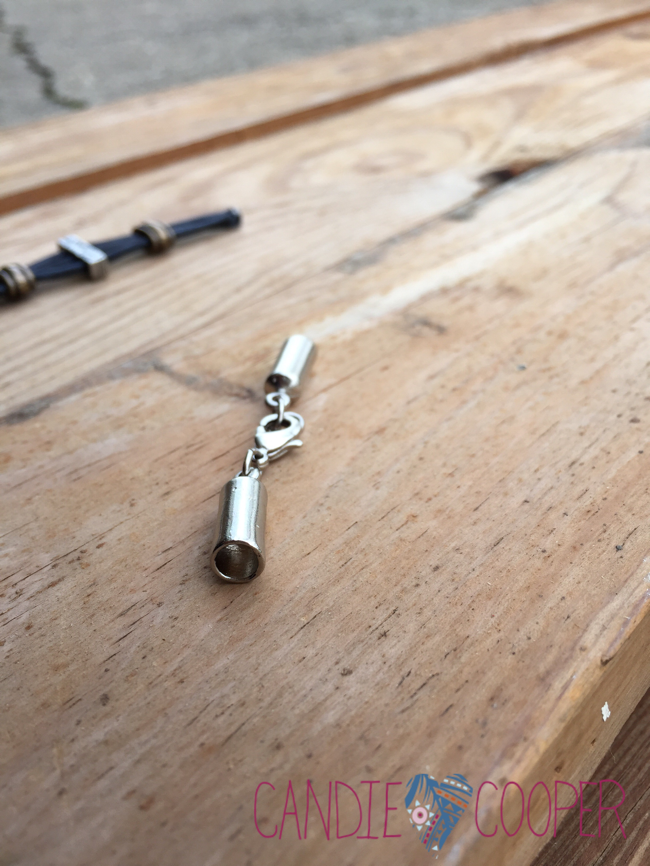
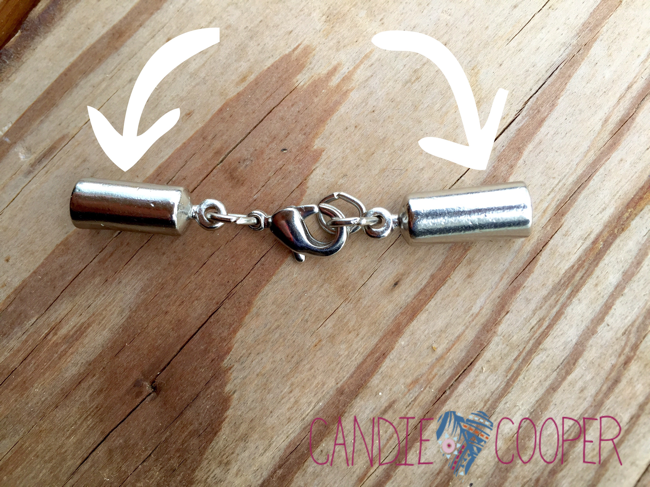
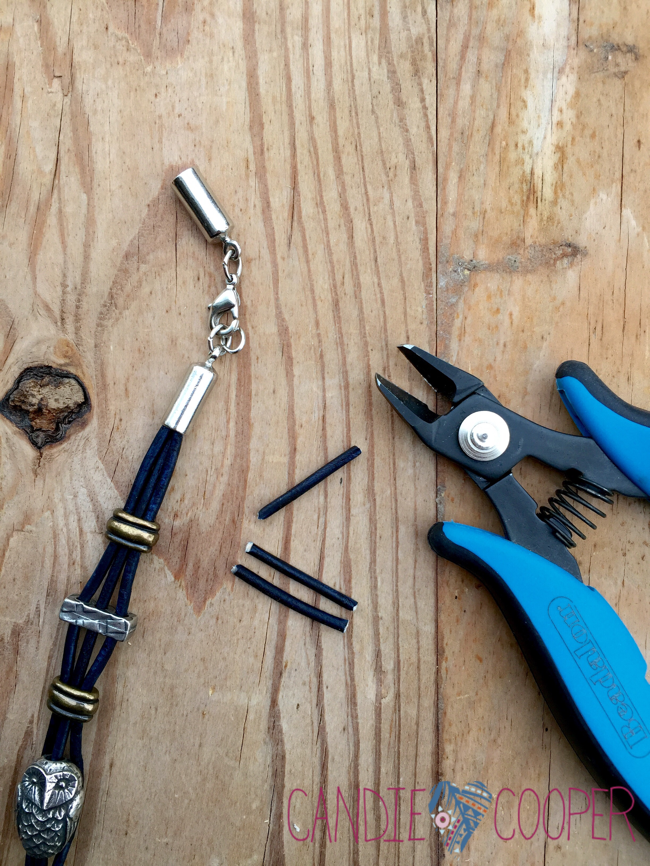
Do as I say…not as I do. Haha.Glue and Go leather jewelry finding from LeatherCordUSA.comThese are leatherCord USA’s Glue and Go findings.  They come in all different diameters, styles, and metal colors.  The key to sizing your bracelet is remembering to account for the recessed area inside the finding.Using Glue and Go findings from LeathercordUSA.comMeasure this piece end to end and subtract it from your finished bracelet size, then add 1/2″ (1/4″ on each side) for the recessed areas and this is what length you should cut your leather pieces.

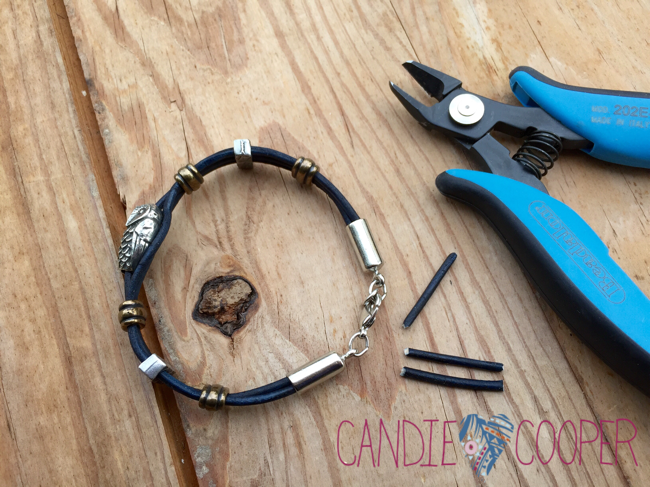
Clear as mud right?DIY owl bracelet with LeatherCordUSA leather -gluing leatherYou can always shave a little off at a time and test the fit as you go.DIY owl bracelet with LeatherCordUSA leather on Candie Cooper's blogWhen you’re positive you have the right length, use the Loctite Adhesive to glue the ends in.DIY Jewelry making Leather Owl braceletThe natural leather finishes are some of my very favorites.  With the earthy fashions this spring, these leather cords for jewelry making are going to be hot!  You’ll find them on this page at the bottom of the color chart–look for natural before the color name.

Get fine leather and the special Glue and Go findings from leatherCordUSA.com.

Red Carpet Ready Earrings!

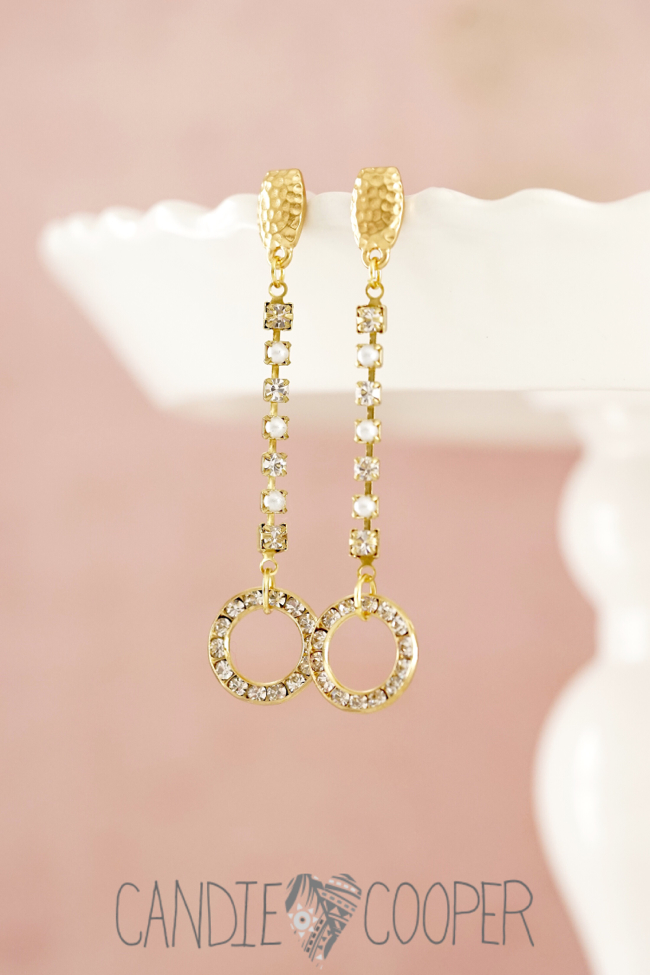
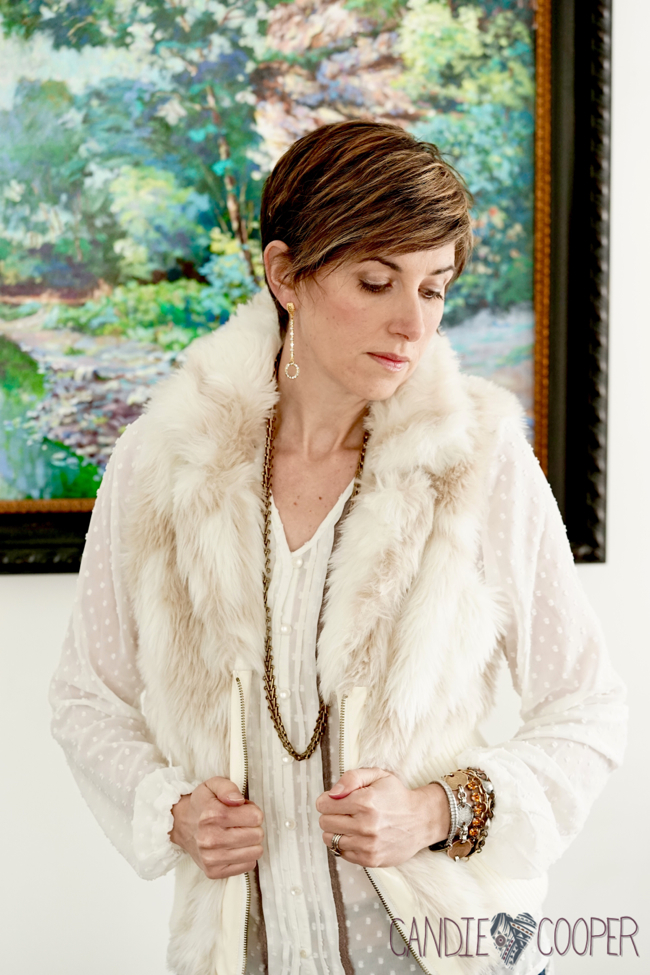
DIY Jewelry how to make these crystal earrings from Candie Cooper9Have you been watching any of the award shows?  I was watching the Golden Globes when I noticed the slim earring designs here and there on the red carpet.  You can see a couple of them here.DIY Jewelry how to make these crystal earrings from Candie Cooper13Do you like my faux fur vest? Haha!  It’s hilarious.  I get petted every time I wear it!  I don’t know why?!

After watching the Globes, I decided I could make some for myself.  Here we go…
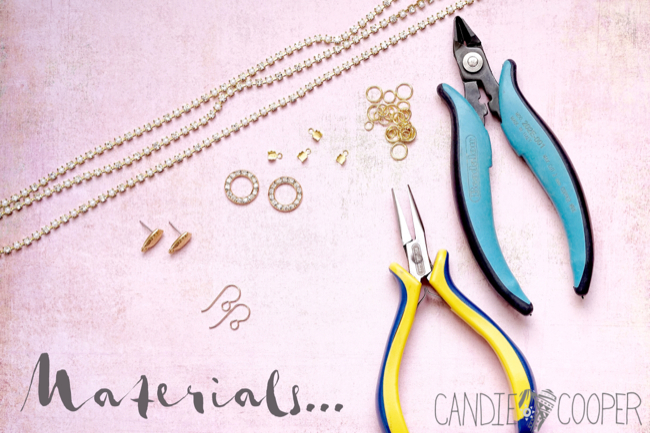
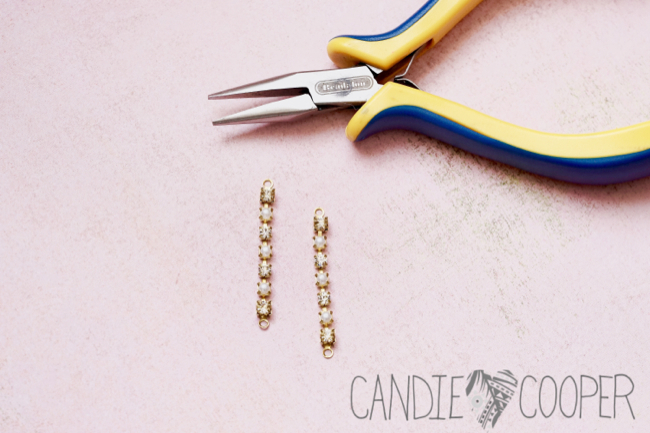
DIY Jewelry how to make these crystal earrings from Candie Cooper1Basic Materials:

Tierra Cast post earrings (or you can use good ol’ french ear wires)

Cup chain and 4 end findings from Jesse James Beads

Via Murano round crystal rings

Jump ring assortment

Beadalon wire cutters and chain nose pliers
DIY Jewelry how to make these crystal earrings from Candie Cooper4First, determine how long you want the earrings and cut the cup chain to that length.
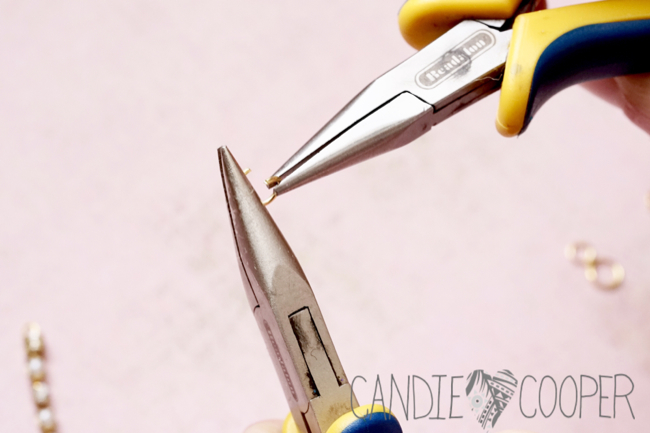
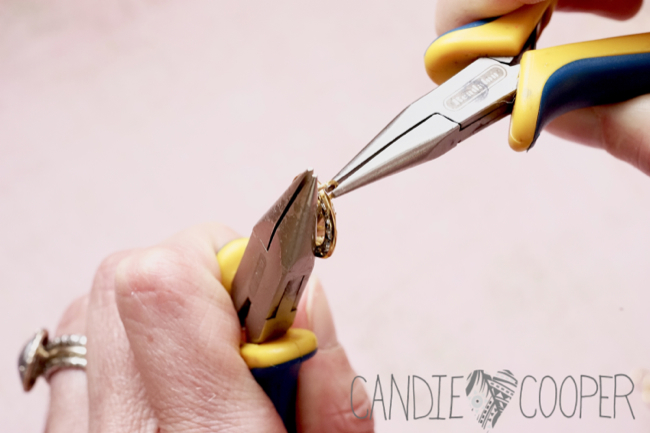
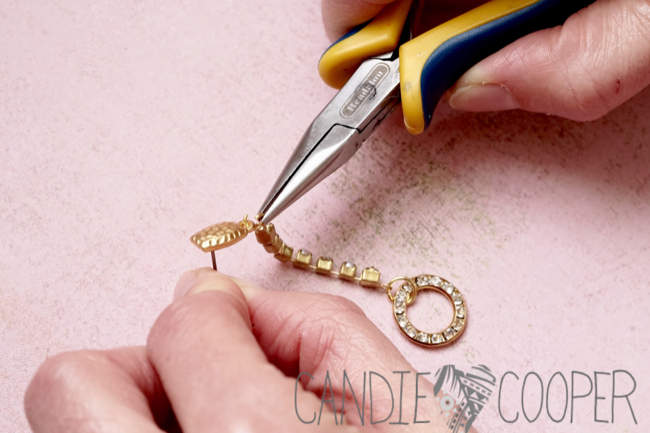
DIY Jewelry how to make these crystal earrings from Candie Cooper3Attach the end findings to both ends of the cup chain.  It’s easy!  Set the last link of the cup chain in the finding and push the prongs over with chain nose pliers.
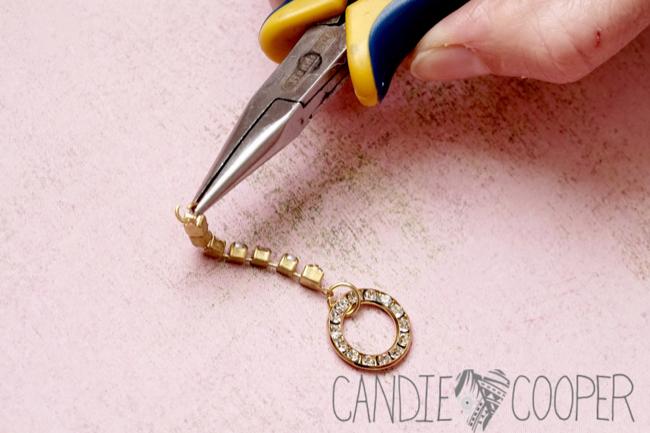
DIY Jewelry how to make these crystal earrings from Candie Cooper5Open a jump ring from side to side.
DIY Jewelry how to make these crystal earrings from Candie Cooper7Attach the ring…DIY Jewelry how to make these crystal earrings from Candie Cooper6followed by the chain piece.  Close the ring so it’s secure.
DIY Jewelry how to make these crystal earrings from Candie Cooper10Open a small jump ring….
DIY Jewelry how to make these crystal earrings from Candie Cooper11 and attach to the post finding.  Seriously!  It’s that easy.
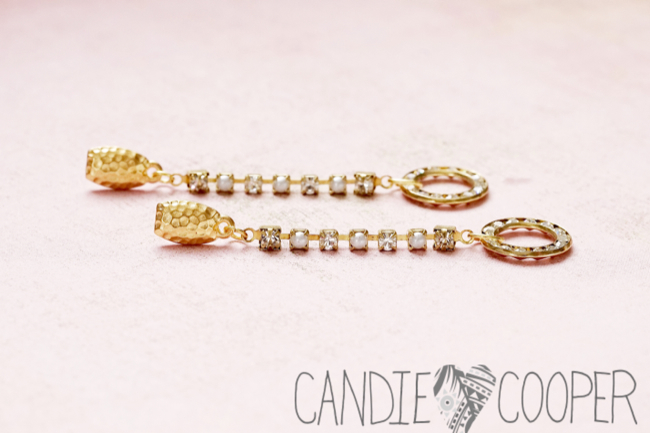
DIY Jewelry how to make these crystal earrings from Candie Cooper9They are so pretty!  The best part is you can make them as long as you want!
DIY Jewelry how to make these crystal earrings from Candie Cooper15DIY Jewelry how to make these crystal earrings from Candie Cooper12DIY Jewelry how to make these crystal earrings from Candie Cooper14Thanks for stopping by!Red Carpet Ready Blog Hop on Candie Cooper's blog

Be sure to check out the other earrings in the Red Carpet Ready hop here.

Red Carpet Ready: DIY Earrings Blog Hop

Red Carpet Ready Blog Hop on Candie Cooper's blog

Welcome to the Red Carpet Ready DIY Earring hop.  Thank you for joining me to celebrate fashion, pop culture and the upcoming Oscars!  

Sharing is caring–If you’re leaving a link please will you… 

 1.  Share the above graphic on your blog posts

2.  Comment on other red carpet blog designs

3.  Link to this post on your social media channels

Thank you again!  Let’s get this party started!

 Loading InLinkz ...

Red Carpet Ready Blog Hop on Candie Cooper's blog 250

Thank You!

Behind the scenes with Candie Cooper and BeadalonJust wanted to drop a note of thanks for checking in on my blog.  I love making these tutorials for you.  I’ve been making jewelry since 6th grade–and it is you that allows me to continue that passion.  For that, I am so thankful.

Many of you make things with your kids and grandkids and I want to especially thank you for sharing that gift with children.  We know the power of making something with our hands and the benefits that come from it–thank you for passing that down to our youth.

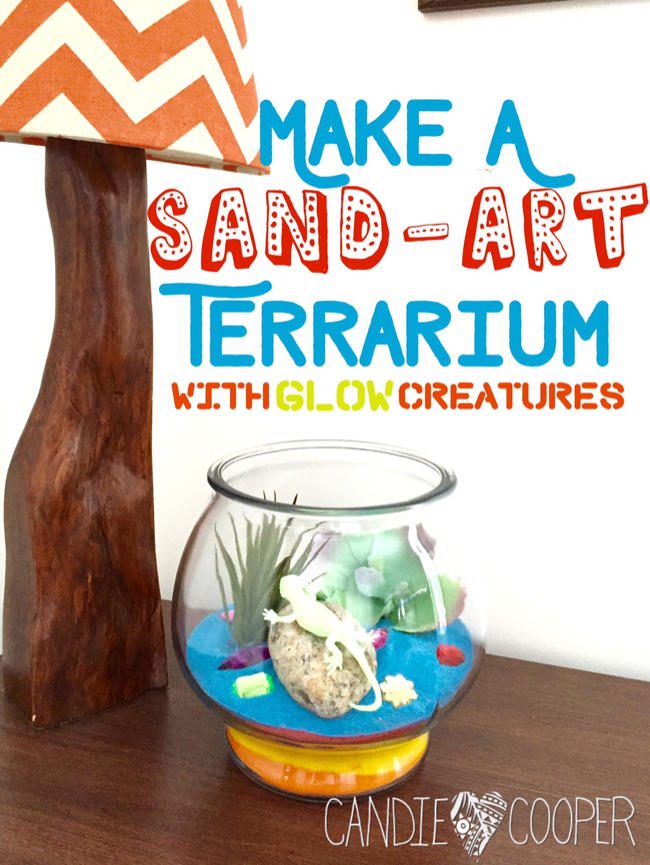
Down in the Desert-Kids Sand Art Terrarium with Glow Creatures

This post brought to you by ACTIVA Products.  Love Sand Art?  You’ll love ACTIVA–makers of radiant colored sand and air dry clays!Tucson hot air balloon in desert via Candie CooperWould you like to riiiide in mah beautifulll baloooon?!

Sorry.

Guys, it’s winter here.  These posts could get cheesier and cheesier as the snow and cold drag on.  I took a photo of the snowy backyard yesterday for my friend that’s in Florida.  When I looked at it, I literally had to check to see if I accidentally hit the black and white filter.  THAT is how gray it was.

Speaking of backyards, let’s rewind to two weeks ago when I was in sunny Tucson for the gem show.  Calgon, take me away.  Look at all this sunny desert!?  Those snowbirds are livin’ right!  One day on our way to work, we saw a hot air balloon pretty low to the ground.  Sure enough, it landed in the road because there wasn’t enough wind.  Seven people piled out of that thing!  It was beautiful in that brown desert.  HUGE!
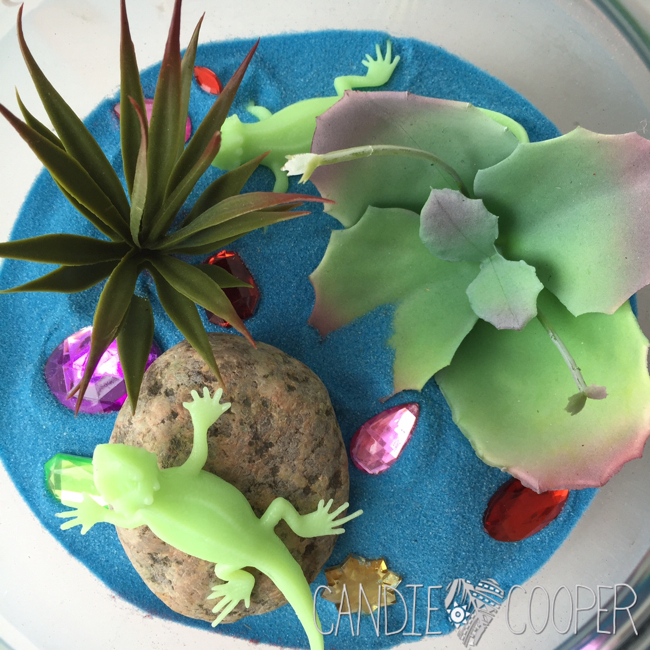
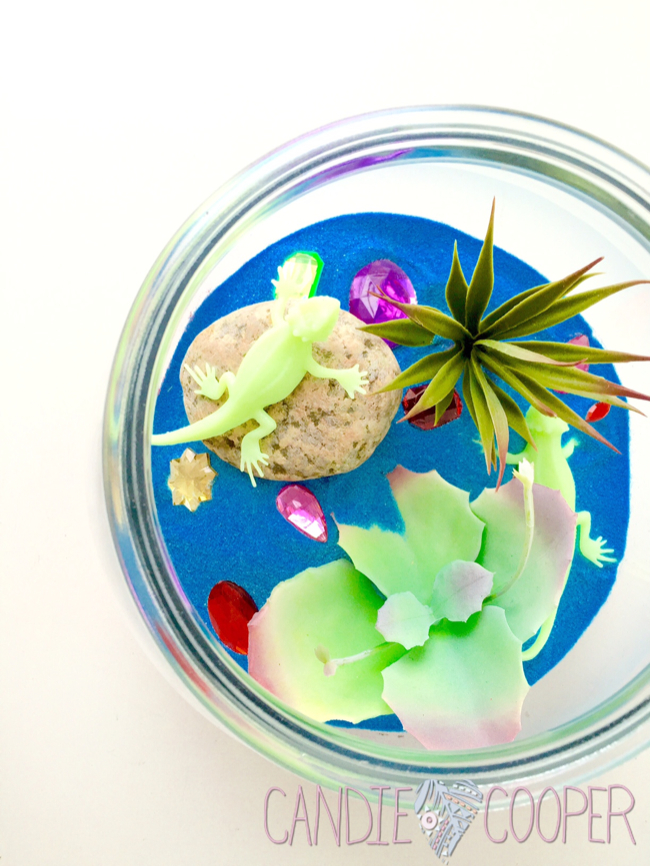
ACTIVA Sand Art Terrarium Kids Craft Idea with glow in the dark creatures7When I came home, I was ready to bring a touch of desert home and make a fun kids project.  Plus, it never hurts to bring some color inside during winter!
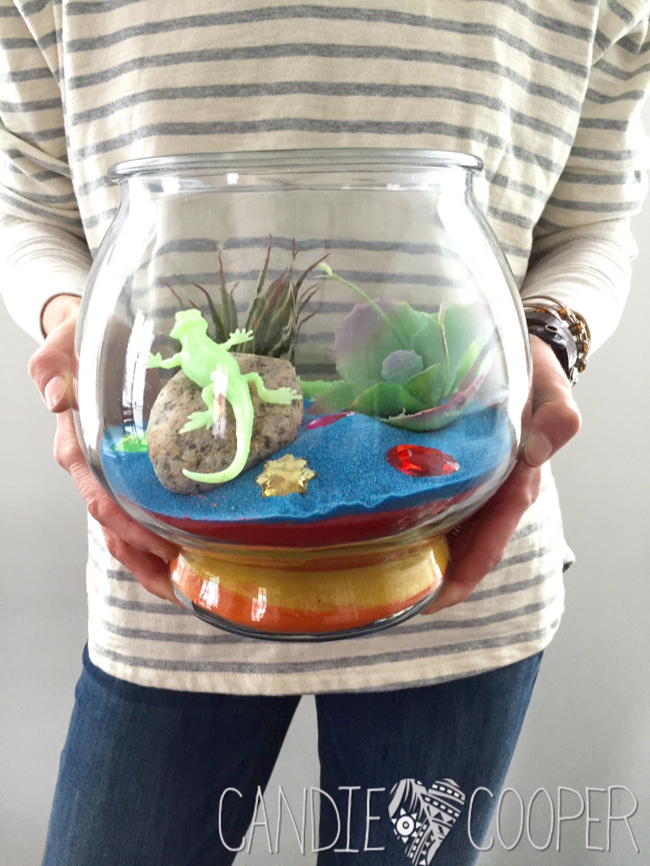
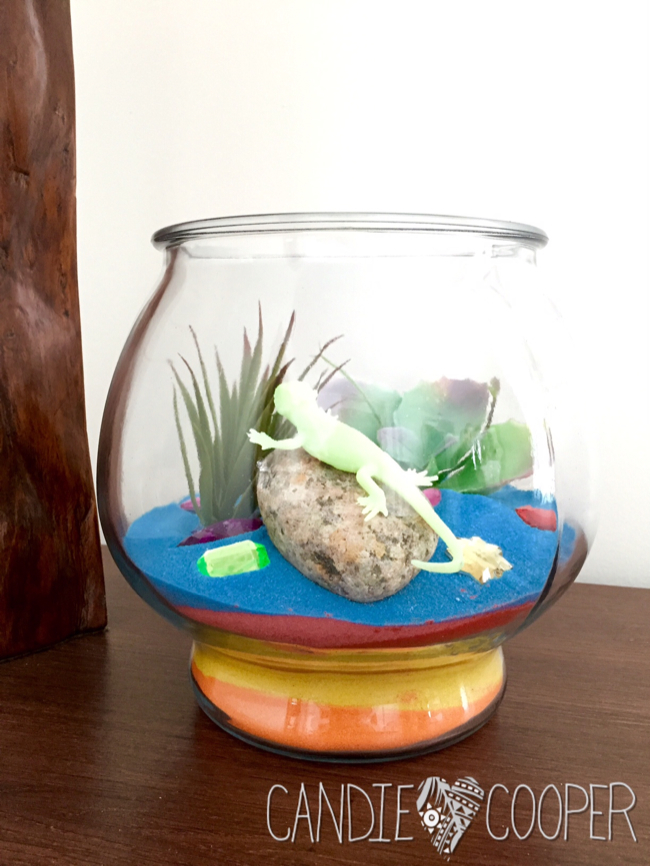
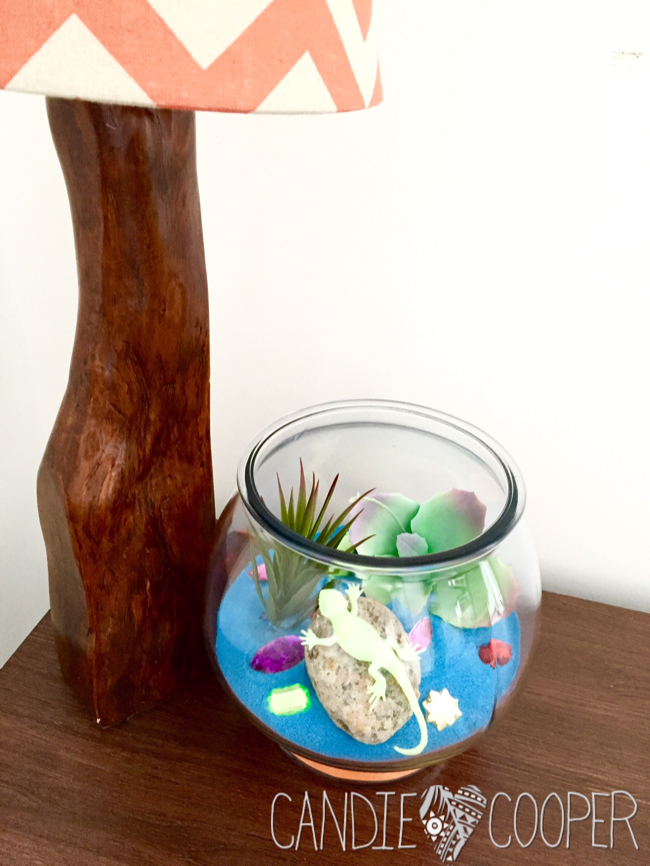
ACTIVA Sand Art Terrarium Kids Craft Idea with glow in the dark creatures21This faux terrarium goes together in a snap!  The best part is you can’t kill the plants or the pets!  I’m all for low maintenance these days…
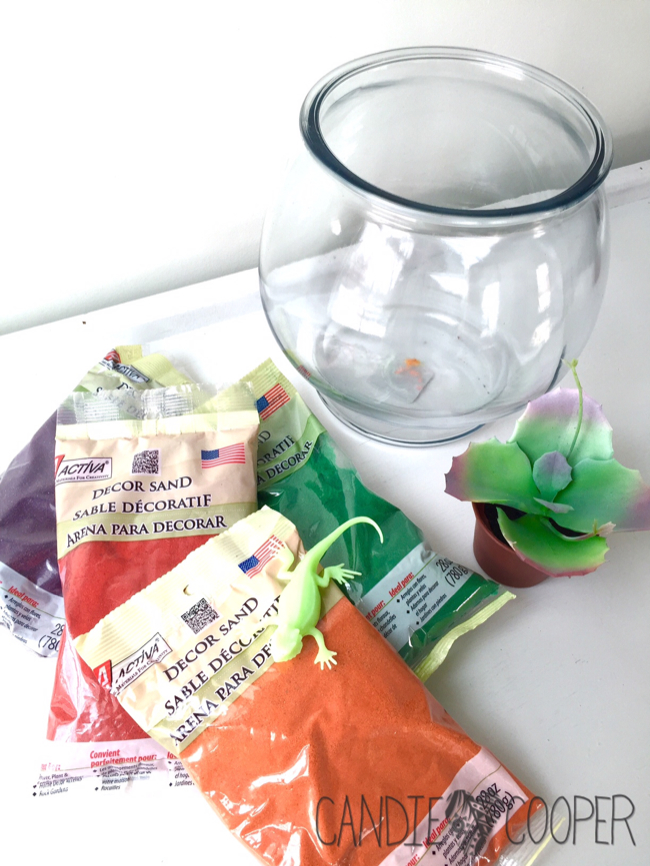
ACTIVA Sand Art Terrarium Kids Craft Idea with glow in the dark creatures20Materials List:

ACTIVA colorful sand in desired colors (1 lb bags).  I love that this product is made in America by the way!

-Fish bowl or jar

-Glow creatures

-Plastic Succulents

-Large flatback gems

-Rocks or twigs

*You can find the glow creatures and faux succulents at the Dollar Tree
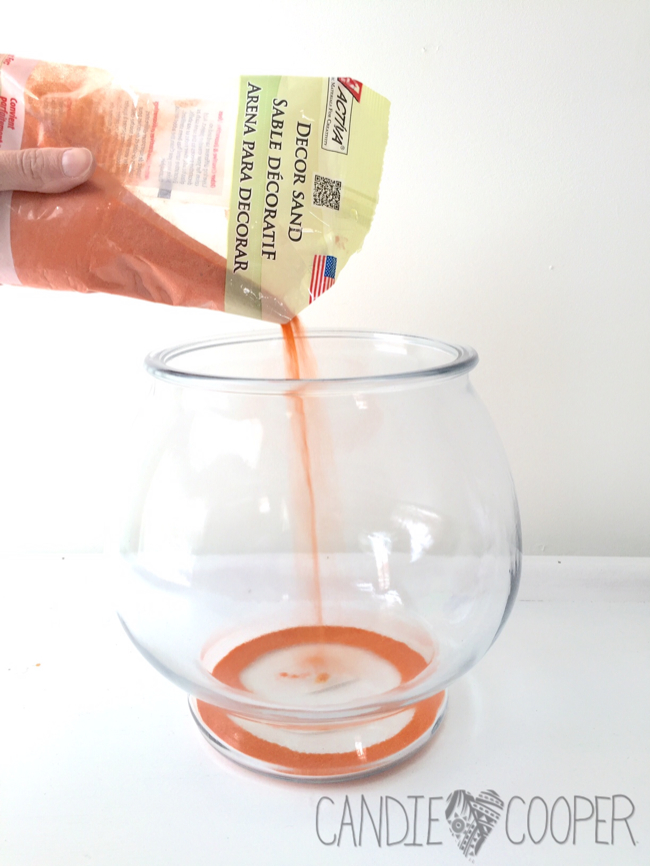
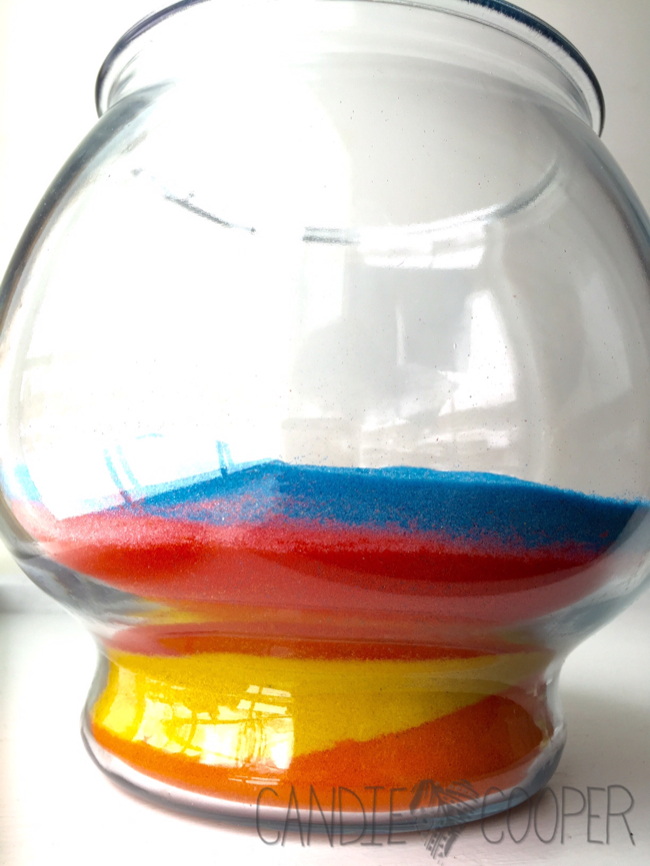
ACTIVA Sand Art Terrarium Kids Craft Idea with glow in the dark creatures19First, cut a corner from the package and pour in the sand–so fun watching sand drizzle out of a bag.

These are the days of our crafty lives…

You can tap the glass bowl down on the table to gently level out the sand.
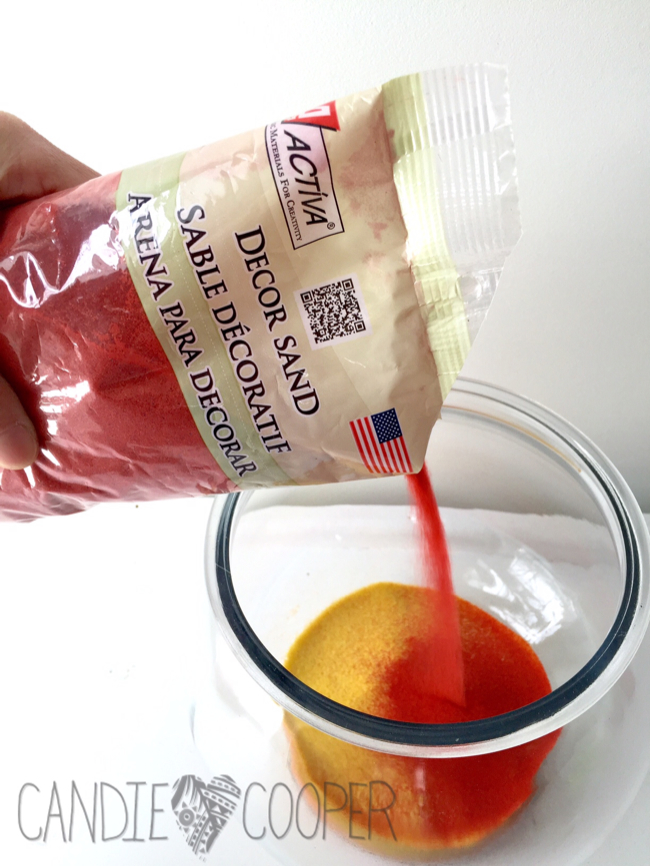
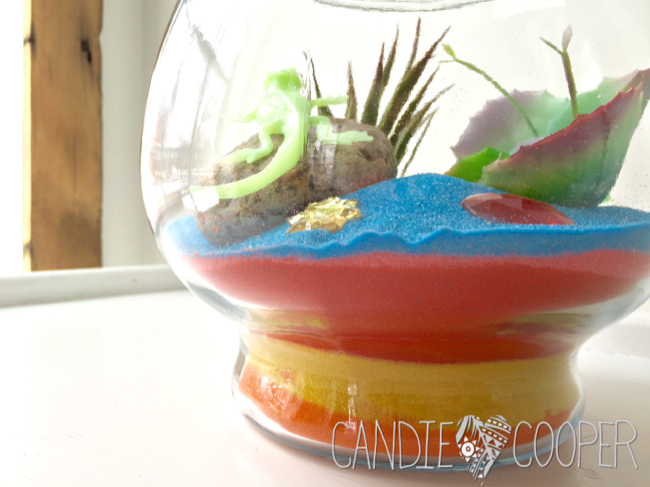
ACTIVA Sand Art Terrarium Kids Craft Idea with glow in the dark creatures18Repeat adding more layers/colors of sand.
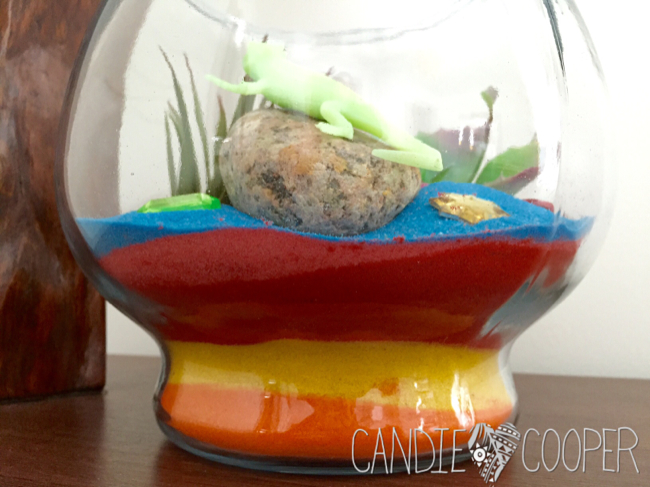
ACTIVA Sand Art Terrarium Kids Craft Idea with glow in the dark creatures17Looks like the painted desert right?
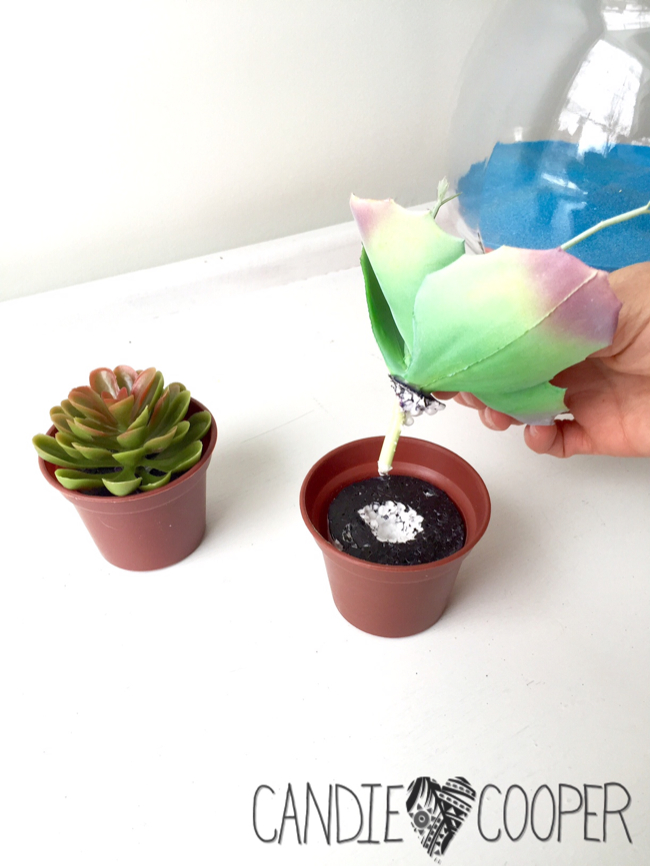
ACTIVA Sand Art Terrarium Kids Craft Idea with glow in the dark creatures16Remove the plants from the pots by plucking them out of the foam.
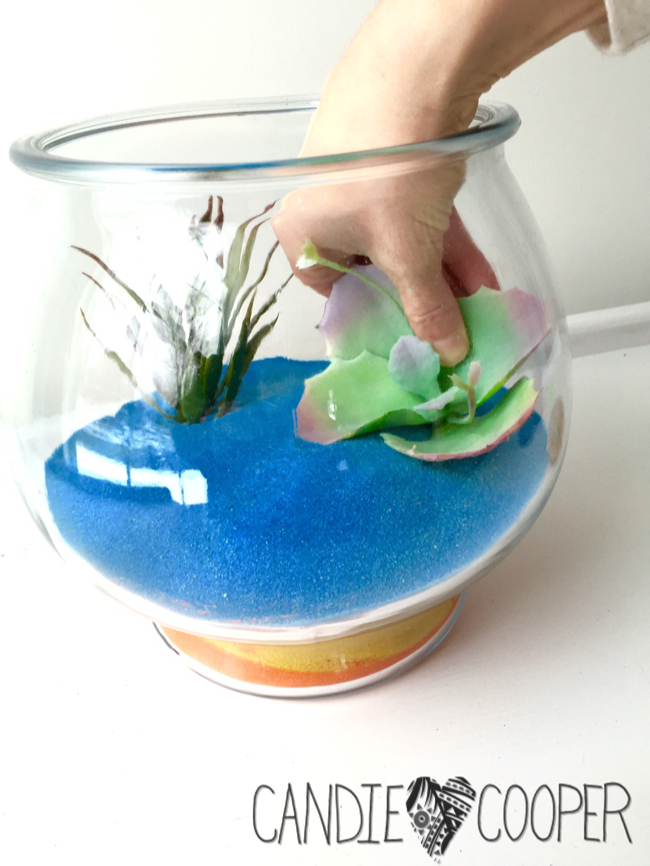
ACTIVA Sand Art Terrarium Kids Craft Idea with glow in the dark creatures15Nestle them down in the sand where you like.
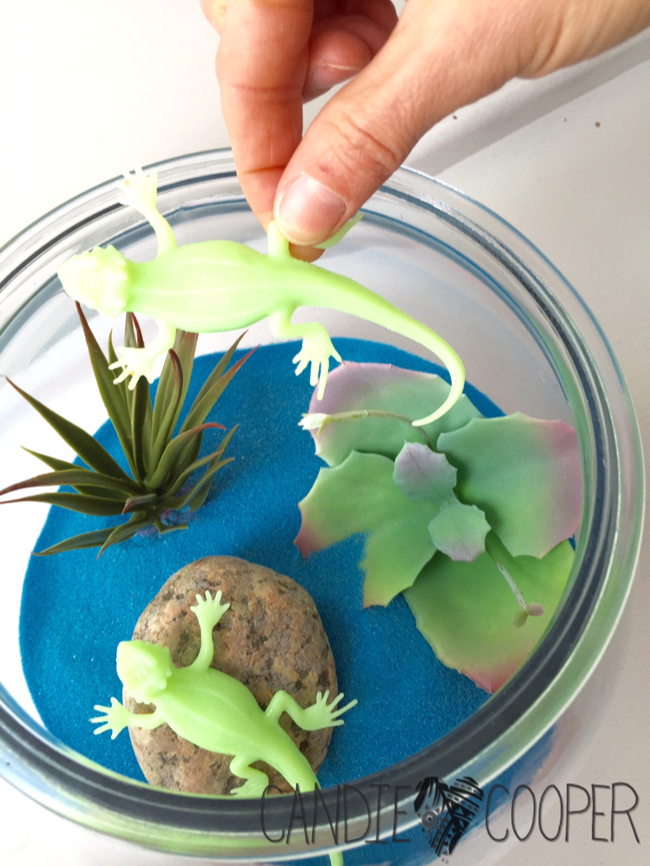
ACTIVA Sand Art Terrarium Kids Craft Idea with glow in the dark creatures14Add rocks and glow creatures!
ACTIVA Sand Art Terrarium Kids Craft Idea with glow in the dark creatures12And gems!  A little sparkle ain’t ever hurt nobody!
ACTIVA Sand Art Terrarium Kids Craft Idea with glow in the dark creatures13There are lots of craft supplies that would be fun to add to the terrarium.  Little signs, pom poms, glass pebbles….  Look around the house and see what you have.  You could paint the rocks to add even more color.
ACTIVA Sand Art Terrarium Kids Craft Idea with glow in the dark creatures10SO fun!  I know this is a kid project, but I had a blast putting it together.
ACTIVA Sand Art Terrarium Kids Craft Idea with glow in the dark creatures9ACTIVA Decor Sand comes in a ton of colors too.  You can find it in the floral section of the craft store or online.
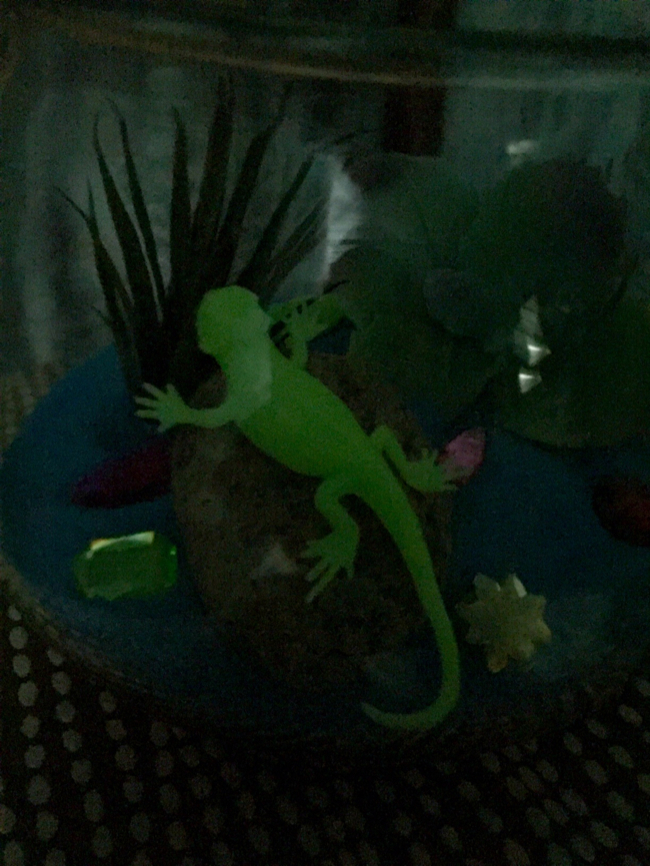
ACTIVA Sand Art Terrarium Kids Craft Idea with glow in the dark creatures5ACTIVA Sand Art Terrarium Kids Craft Idea with glow in the dark creatures1ACTIVA Sand Art Terrarium Kids Craft Idea with glow in the dark creatures3ACTIVA Sand Art Terrarium Kids Craft Idea with glow in the dark creatures6ACTIVA Sand Art Terrarium Kids Craft Idea with glow in the dark creatures7Optionally, you could add a blacklight to make the terrarium glow even more.  Can you tell I’ve really thought about this?

ACTIVA for American made colorful sand.

Until next time!