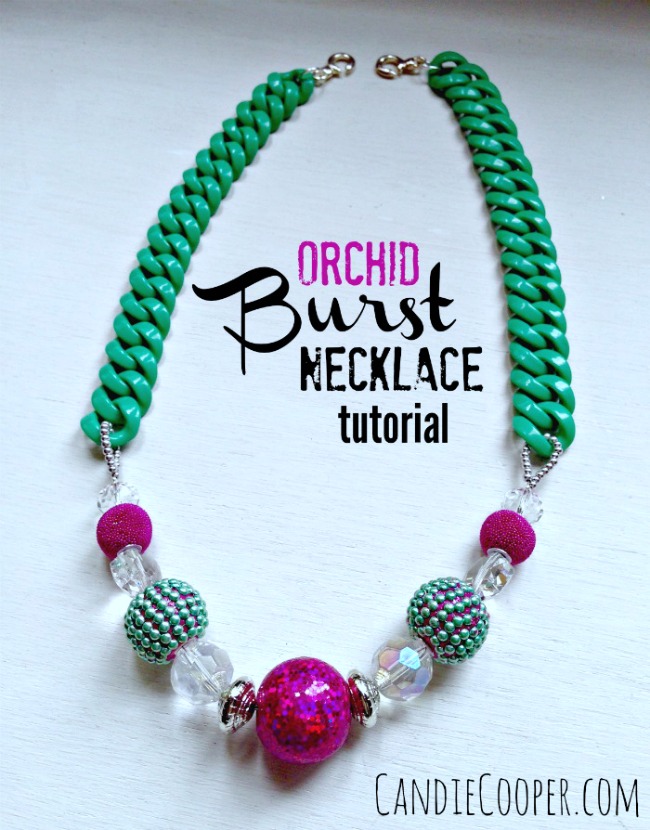
 Have you seen the resin chains at Hobby Lobby? I like them so much because they are reminiscent of Bakelite. They are bold and bright, fun for spring fashion, but how do you transform them into jewelry pieces? Here is one easy idea from me to you with love.
P.S. Sorry in advance for my color tint issues. I’m just not that savvy with my photo edits (YET!), but I’ll get there. Thanks for hanging in with me.
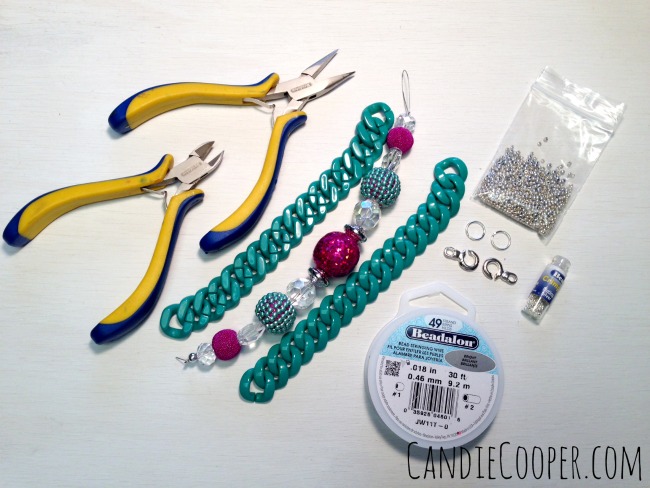 Basic supplies for this necklace are: chain nose pliers, wire cutters, 2, 7″ chain pieces, 7″ strand of Jesse James Beads, silver seed beads, 2 12mm jump rings, Beadalon duet clasp, 49 strand .018 nylon coated beading wire and #2 crimp tubes.
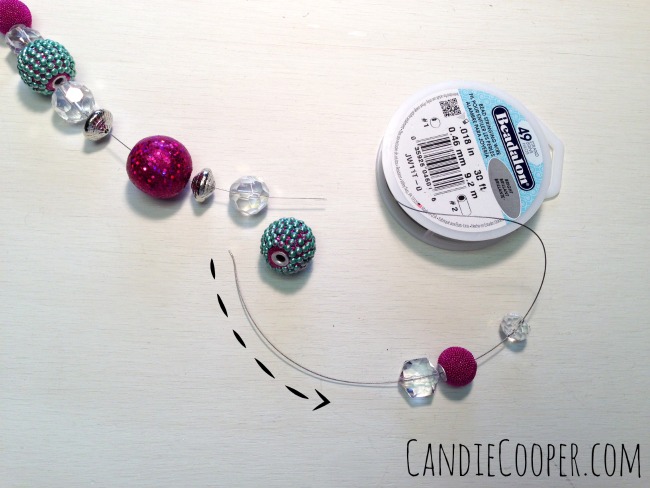 String the beads onto the beading wire.
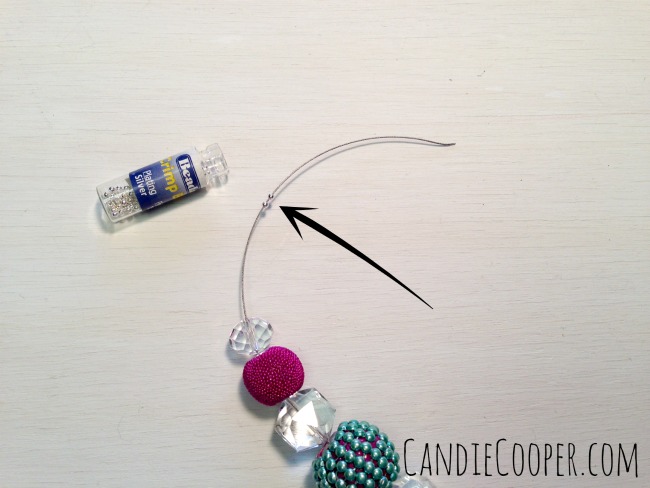 Followed by 2, #2 crimp beads.
It’s so important that the crimp beads match the beading wire. Too big of crimp beads equals potentially-embarrassing-beads-crashing-to-the-floor scene. Never good.
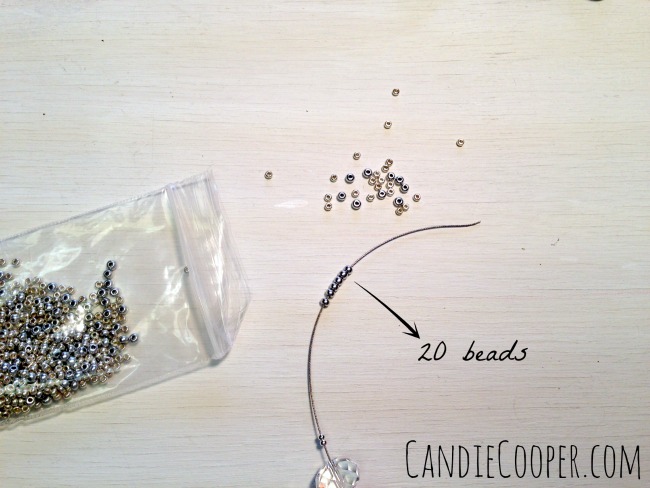 Now string 20 silver seed beads onto the wire. Don’t be like me and mix and match your silver seed beads (see in the bag), thinking, I won’t care if I have to pick out the same colored ones. I do care, past self. That was a bad idea.
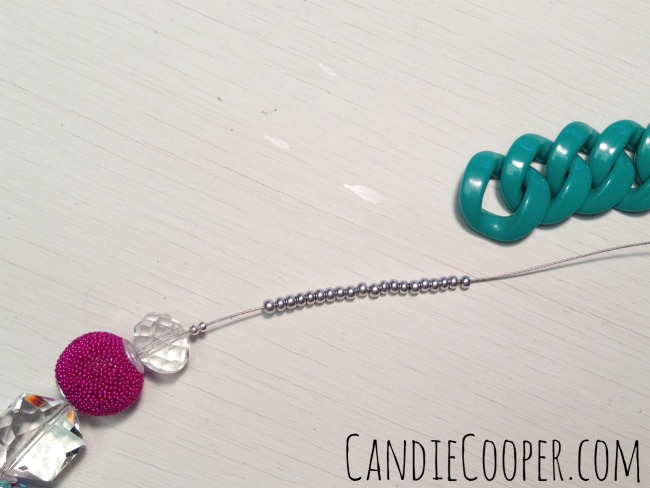 Ok, so now we have 2 crimps and 20 seed beads.
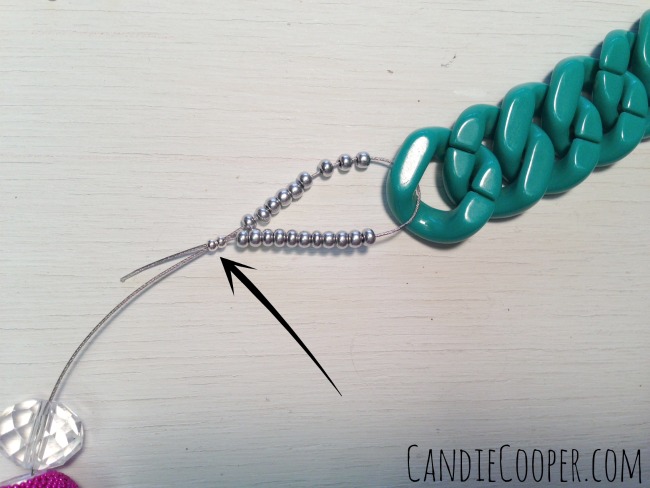 Loop the tail of wire through the end of the chain and back through the crimp beads, creating a seed bead loop. Now, you might have a couple questions….
1) Why are you using 2 crimp beads?
A) Because of the flat crimping technique and the large beads, I want to add double the security.
2) Why the seed bead loop?
A) See the splits in the chain? The seed beads add a bit of thickness (and design aesthetic is a bonus) so the wire can’t sneak out of the split. This gets us out of another potentially embarrassing moment. I’ve had jewelry break on me in front of people and it’s SO humiliating. I always say, “who made this anyway!?!?” with a big smile and a wink.
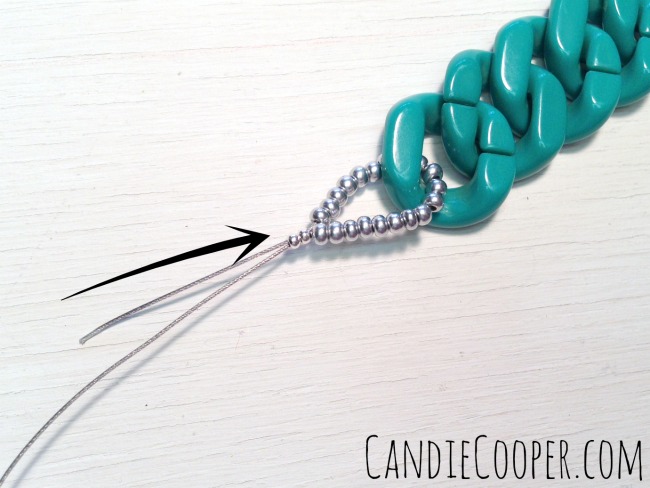 Slide the two crimp beads up next to the seed beads to cinch up the loop.
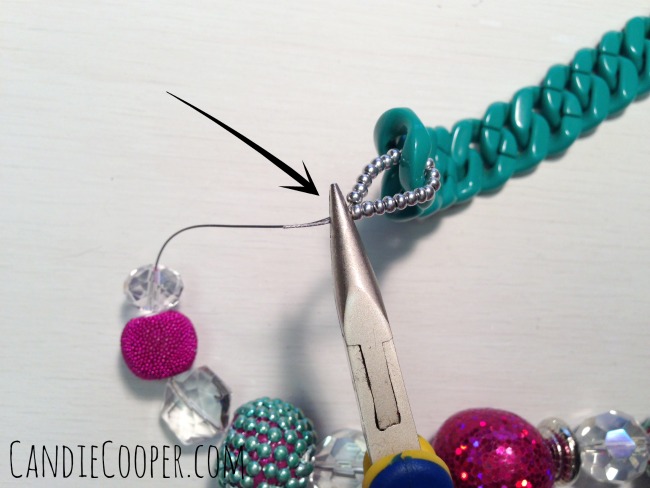 Use your chain nose pliers to smash the crimp beads down. That’s right, I said smash.
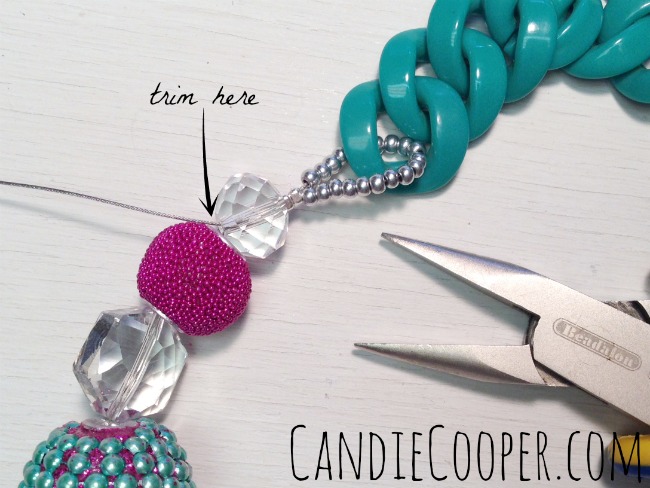 Slide the big colorful beads up, threading the tail through the first bead and trim away the excess.
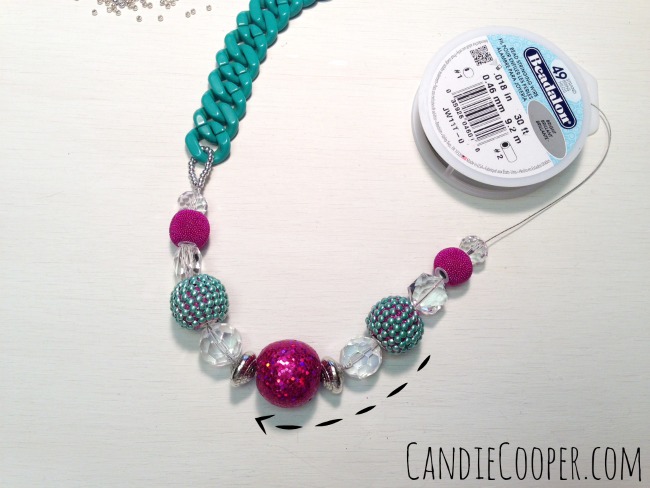 Now, scoot all the beads over towards our crimped end. Trim the wire so you have 4″ approximately.
 String 2 crimp beads and 20 seed beads. Run the tail of wire through the chain, down through the crimps and first bead, pull out all the slack in the beaded section. This can take some finagling. Use your chain nose pliers to tug on the end of the wire to help remove the slack.
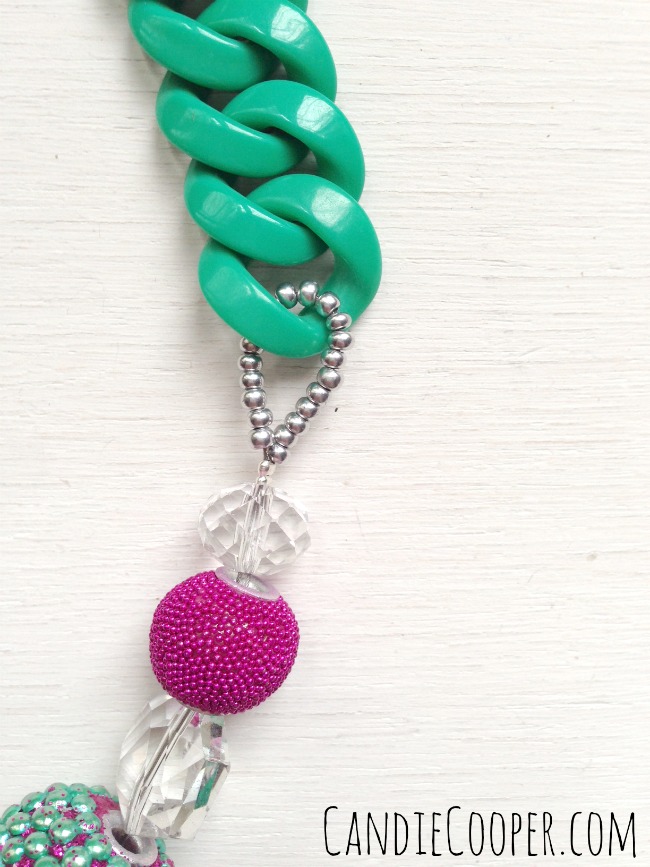 Looks good! I use the seed bead loop for so many designs. It is my beady lasso of sorts.
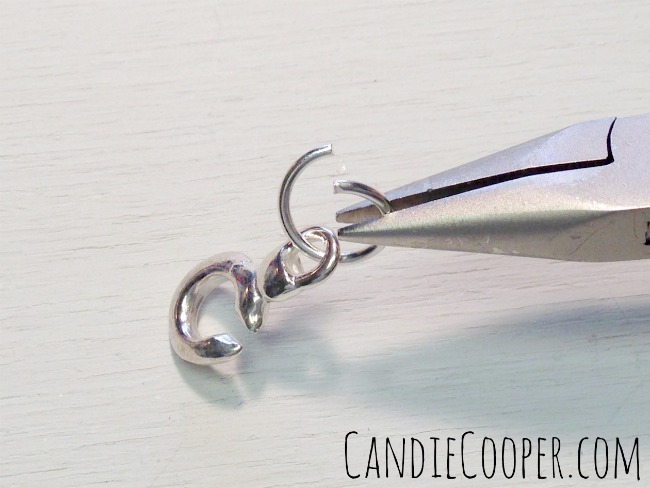 Let’s finish’er up! Open a jump ring with chain nose pliers–from side to side.
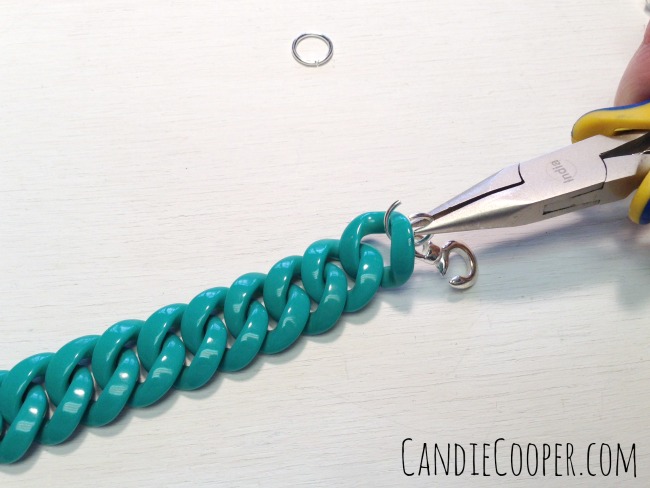 Connect one end of the duet clasp to the end of the chain.
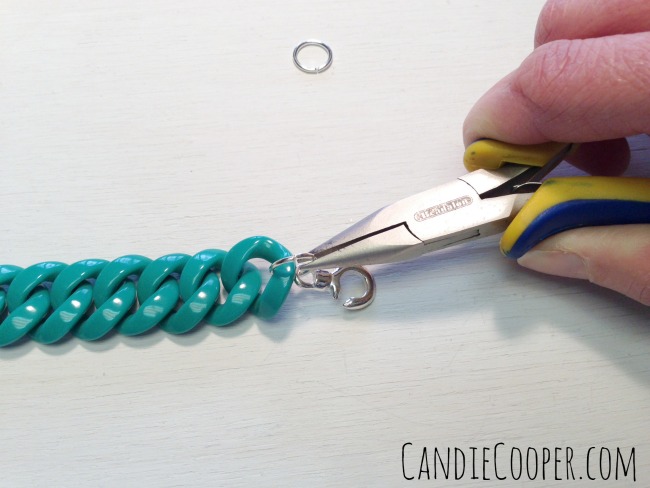 Close the ring so it’s nice and snug.
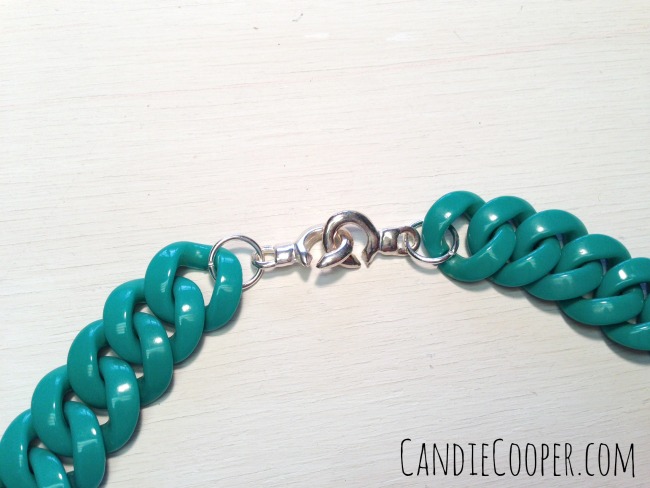 Repeat for the opposite side. It’s a cute little clasp pair, don’t you think?
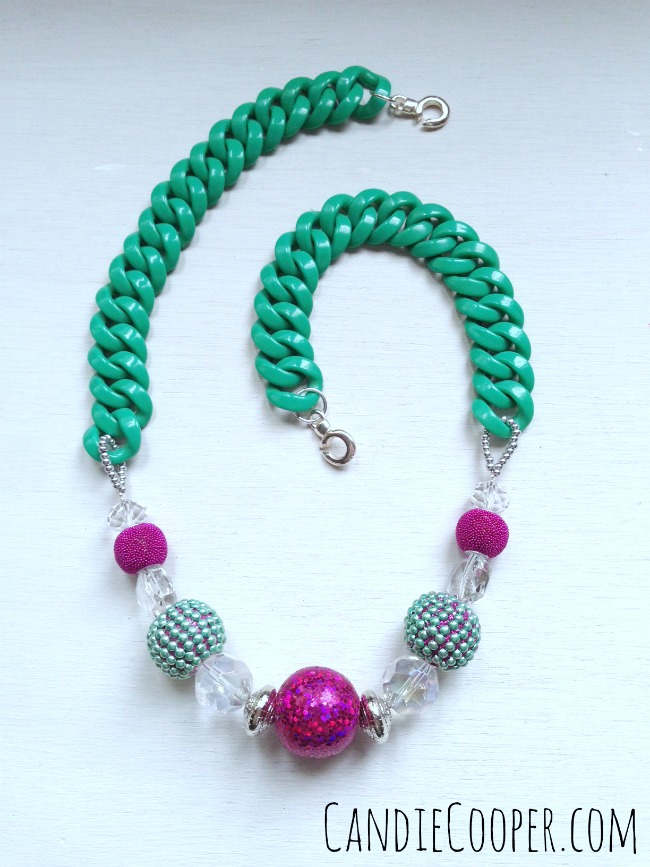 Praise the Lord, we made it! A burst of color for you! I’m so excited!
 And here I am wearing it so you can see the full look and how it hangs.
Expect more resin chain projects here. I only bought every color they had. Have you made anything with them? I wanna see!
Happy day!
XO.
Candie
 Hi, I’m Candie. I design jewelry and crafts, author books, teach classes and host television programs. I thrive on simple ideas that anyone can achieve. I also love projects made from unexpected materials that stand the test of time. Join me as I lead a creative life!


Gorgeous statement necklace! Would be a great project for AllFreeJewelryMaking.com: http://www.allfreejewelrymaking.com/index.php/hct/Submit-Pattern
can’t find the resin chain – where do i get it? what is is called or brand?
Hi Marcia! It’s at Hobby Lobby and they have a lot of delicious colors. It’s on the side of the aisle with the large bright plastic beads. 🙂
Love this. Found the resin chain at Hobby Lobby in the ribbon/fabric section. I used smaller beads. Going to switch it out with larger beads!!
High fives!! Send pictures!