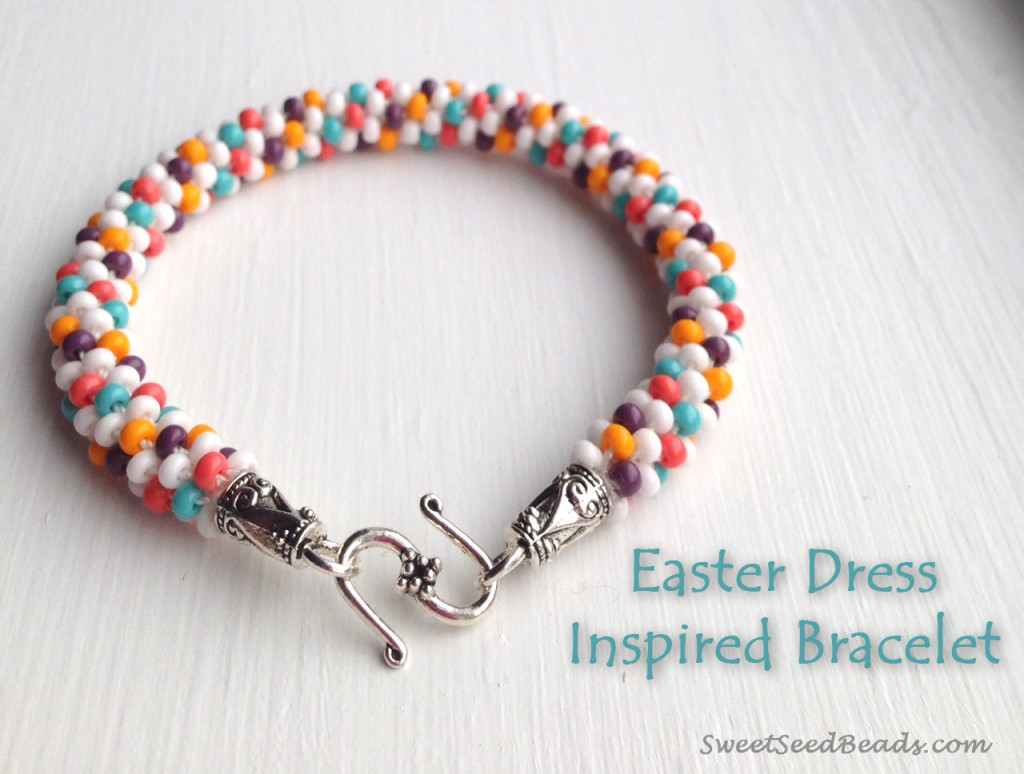
 Hey CC fans! I’m Jamie and normally I can be found blogging over at SweetSeedBeads (check it out!). Today I’m guest posting here for Candie (whom I absolutely LOVE) and I couldn’t be more excited to share a fun, last minute, Easter dress inspired bracelet with you : )
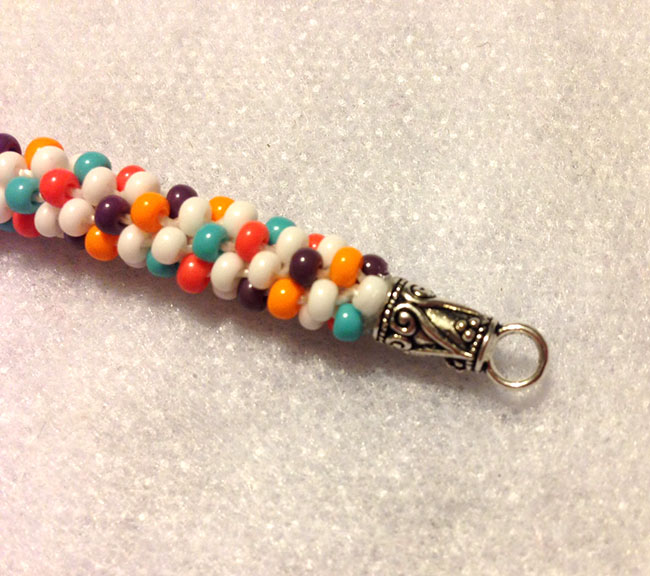
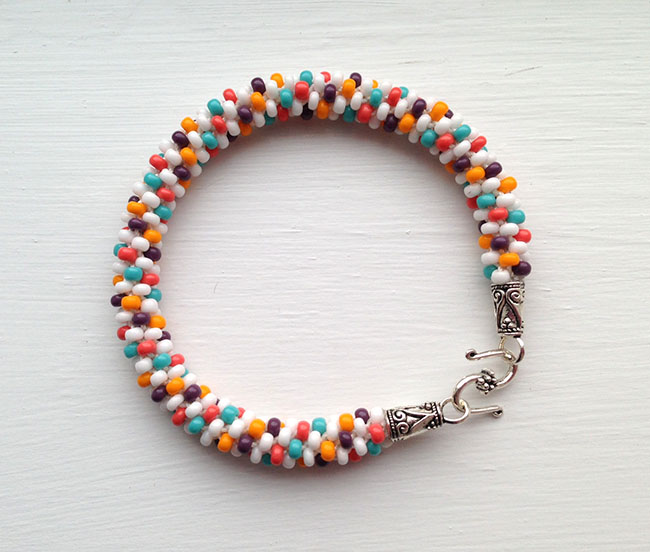
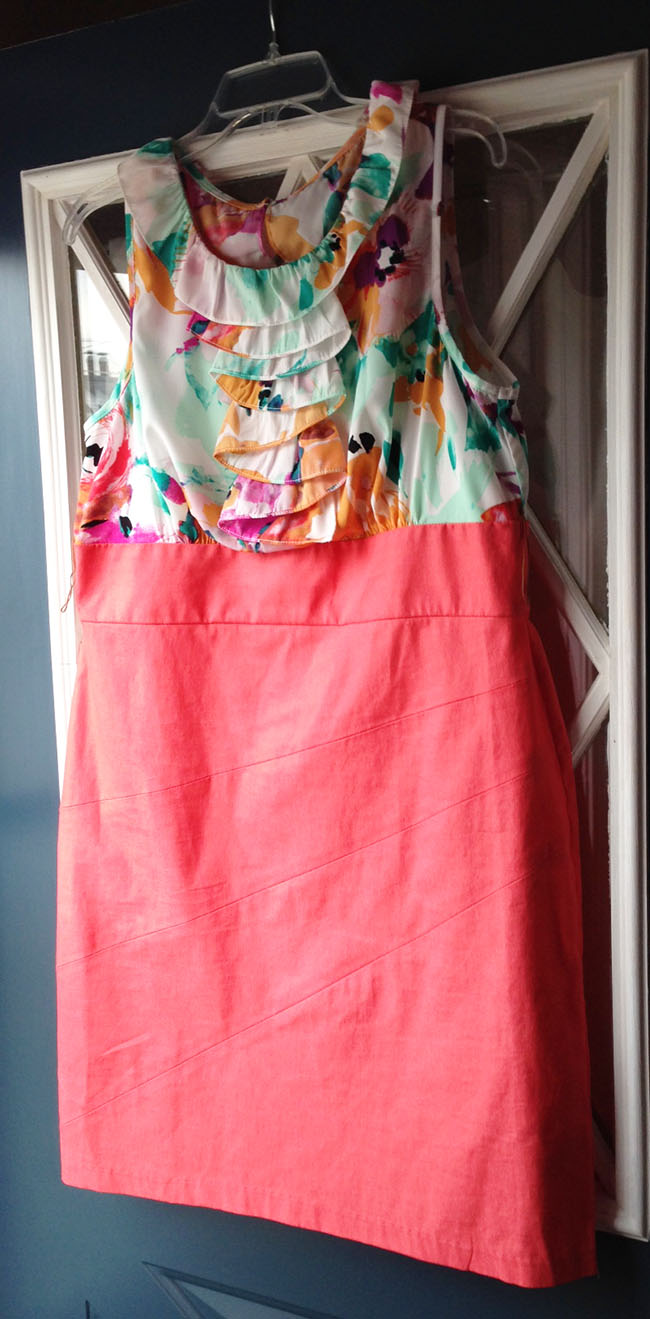 My Easter dress is “so last year” but I snatched it up for like $14 at the end of the season and am still in love with it…and who doesn’t like a bargain, right? Finding jewels to match all these fun, spring colors could be quite the challenge though…so, of course, I made my own. This bracelet was made using a kumihimo braiding technique…here’s how you can make yours!
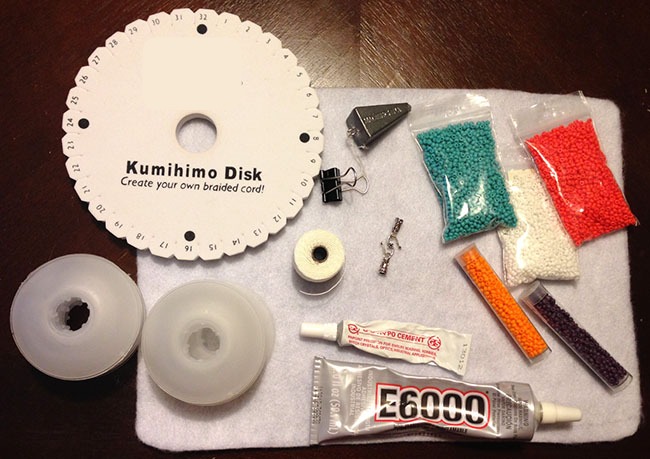
First, gather your supplies. You will need:
Kumihimo Braiding Disc
8 Plastic Bobbins
White S-Lon Cord
Size 8/0 Seed Beads (in the color of your dress)
Glue-on Cord Ends and Clasp
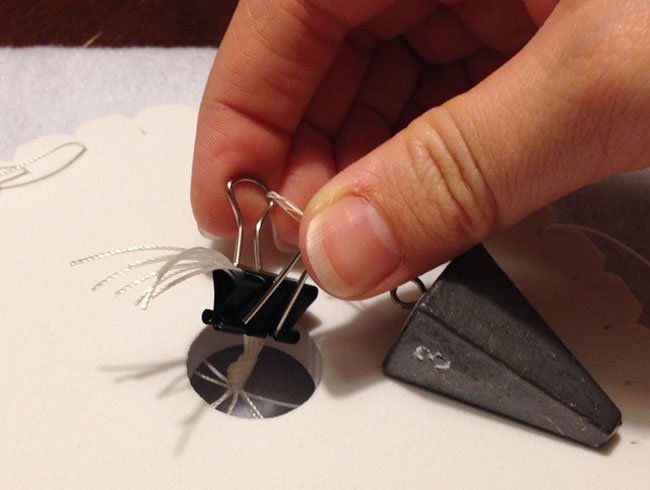
Kumihimo Weight (mine is my boyfriend’s fishing sinker tied to a binder clip…totally works)
G-S Hypo Cement
E6000 Adhesive
Scissors
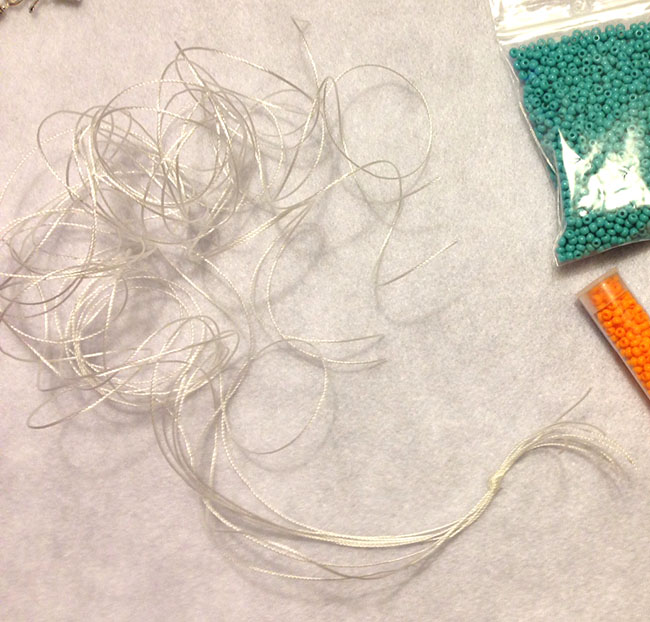
 Step 1. Measure and cut eight, 35″ lengths of S-Lon cord. Tie all ends together in a knot.
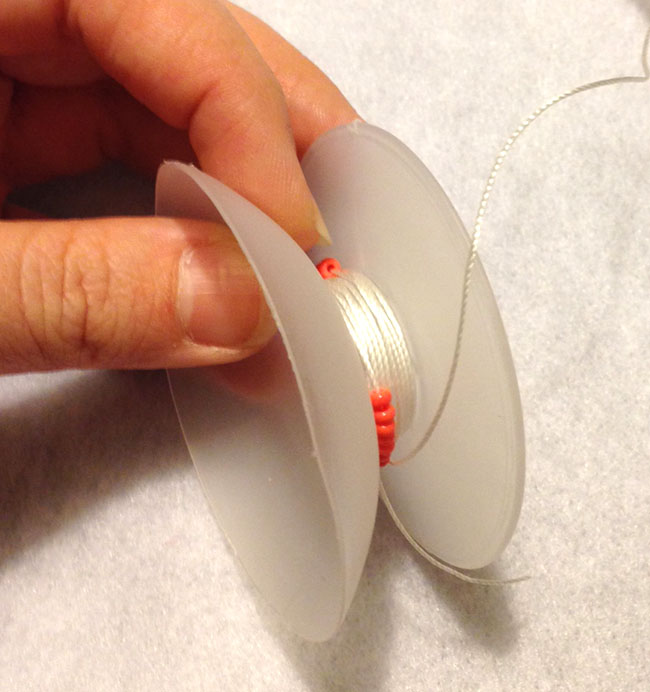
 Step 2: String 40 seed beads onto each strand. For mine, I have four strands with white beads, one with coral, one with tangerine, one with aqua and one with plum beads. Once all 40 beads are on the strand, wind the strand onto a plastic bobbin and close, leaving about 8-10 beads on the outside. This will help your cords stay untangled when you begin your braiding.
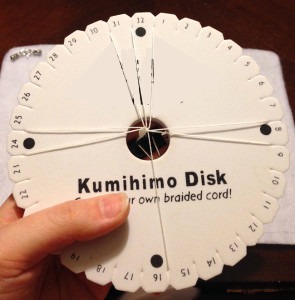
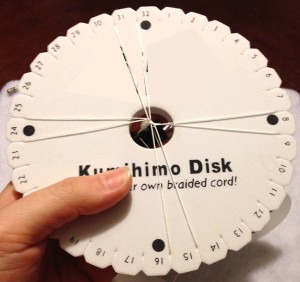
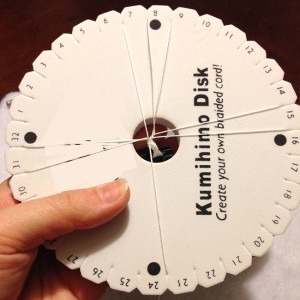
 Step 3: Set your strands up on the kumihimo disc. You’ll want to start with a strand on the left and right side of the #8, #16, #24 and #32. You can see in the photo below what colors of beads I placed in each slot to get the look of the bracelet above. Looking for a different pattern? Check out my Pinterest board for tons of ideas.
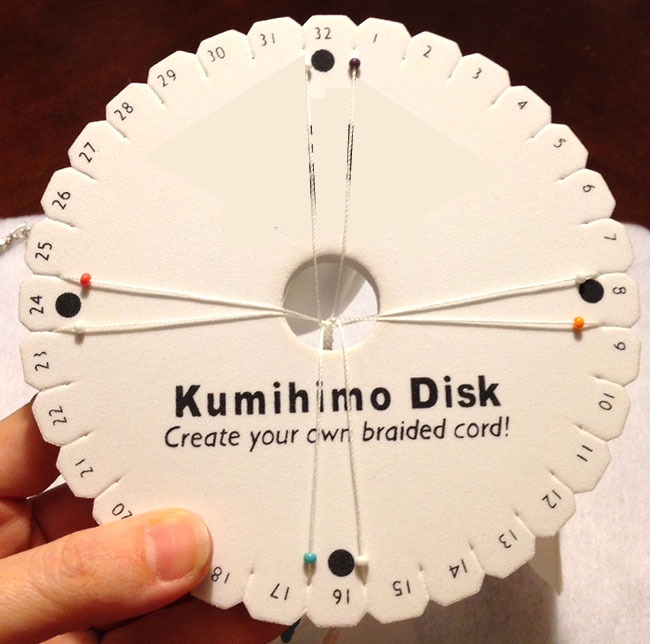 Once your strands are set, flip the disc over and attach your kumihimo weight to the knot that comes through the center hole. This will keep the beading taut while you work.
 Step 4: Begin your braid (without beads). Start by moving the strand to the left of the #16 position up to the left of the #31 position. Finish this set by moving the strand to the right of the #32 position down to the right of the #15 position. Rotate the disc counterclockwise to the next set. Begin this set by moving the strand to the left of the #24 position up to the left of the #7 position. Finish this set by moving the strand to the right of the #8 position down to the right of the #23 position.
 Continue this step until you have about a 1/2″ braid coming out from the bottom.
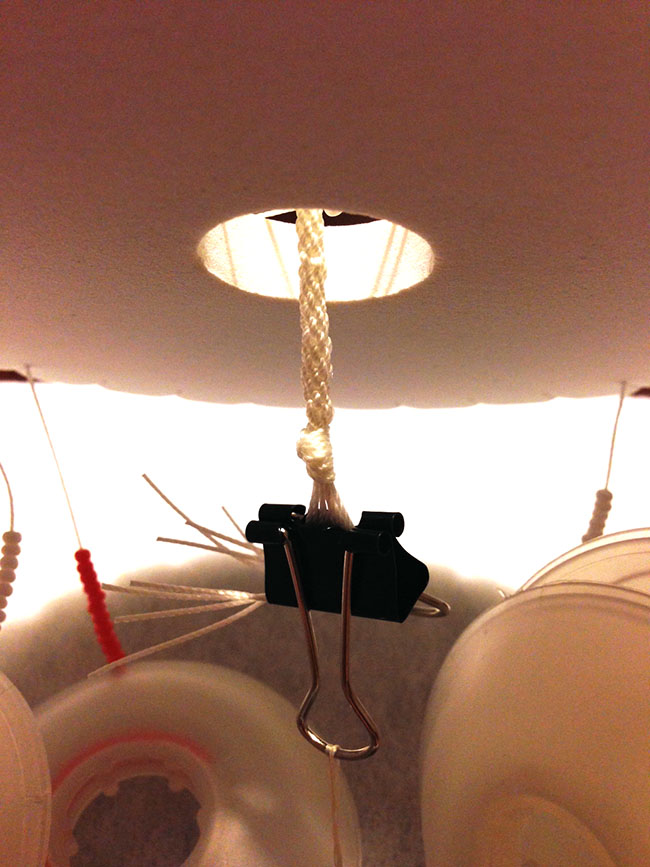 Step 5: Add beads to your braid. Continue braiding the same way you did in step 4, however, now on each strand, slide a bead down and lock under the previous strand. Be sure that you do not move on to the next strand until the bead is locked in place under the previous strand. Continue this step until your beading is long enough for your wrist. For my 7.5″ bracelet, my beading needed to be 6″ (my cord ends and clasp measure about 1.5″).
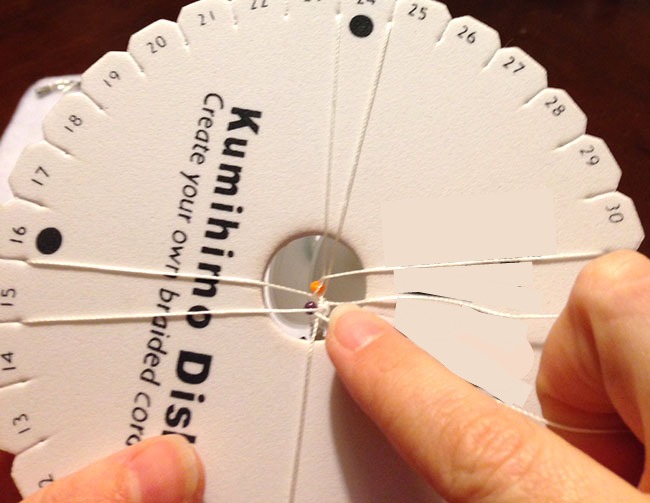 Step 6: Continue braiding without beads until you have about a 1/2″ tail on the end. Remove the strands from the board and tie a knot in the end to keep your braid from unraveling. Remove the weight, remove the bobbins and trim the excess cord.
 Step 7: Coat both braided ends with G-S Hypo Cement. Let dry.
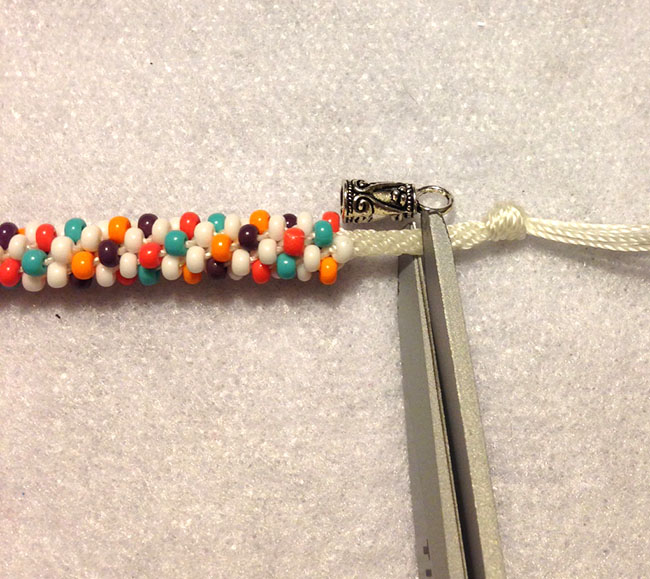
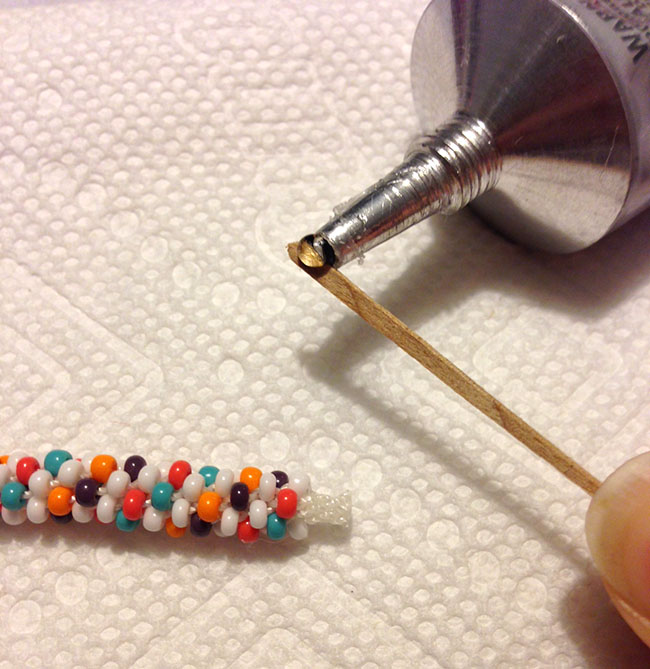
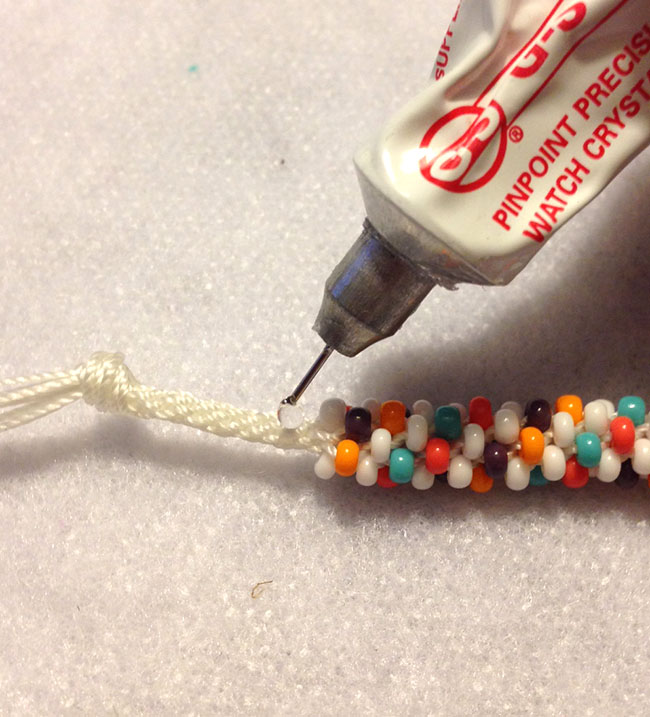 Step 8: Once the cement is completely dry, line up your cord end and trim the braid to fit inside. Using a toothpick, coat the braid with E6000 adhesive (this stuff is AWESOME!) and insert the end into the cord end. Repeat for the other side. Let the E6000 set up for about 24 hours.
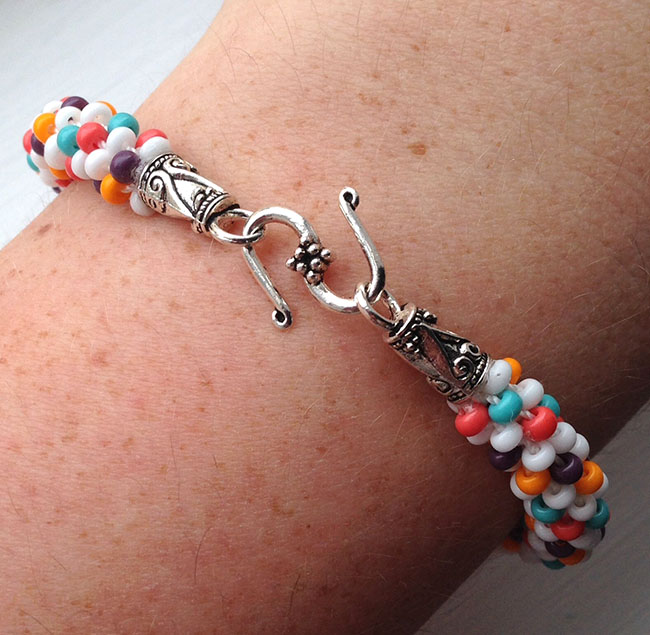
Step 9: Finish the bracelet by attaching your clasp…mine, easy enough, is just an S-hook.
And that’s it…pretty easy right? This whole project from start to finish only takes about three hours and can easily be done the day before Easter…so if you’re stressing about finding the perfect accessory to compliment your perfect dress…stress no more…create your own!
Hope you had as much fun as I did…thanks again, Candie!!
Happy Beading!

 Hi, I’m Candie. I design jewelry and crafts, author books, teach classes and host television programs. I thrive on simple ideas that anyone can achieve. I also love projects made from unexpected materials that stand the test of time. Join me as I lead a creative life!


Perfect DIY for absolute beginners like me 🙂 thank you so much!
You’re so welcome!! Glad you liked it!
Cute bracelet, thanks for sharing. FYI: To hold something under tension is to hold it taut, not taught. 🙂
Thanks Annie!! 🙂
I am a beginner. I really like the look of the caps you put on either end to finish off the bracelet project. What do you call this cap? I have never seem this before. Can I get it most anywhere or is this something hard to find? What about the S closure?
Those are bead caps–check out Tierra Cast and their findings on Shipwreck Beads. An “S” clousure is the S shaped hook/clasp. Let me know if you have trouble finding components. 🙂
I use a trick that makes starting this a little easier. In step #1 – use 4 cords that are twice the length and fold in half. Put 1 on 2 disk slots. Put the second through the first and in 2 more slots. Continue with the remaining cords. All the cords should be connected at the center hole. I use this with kumihimo patterns that have an even number of cords. Hope this helps.
Dave
I really like this bracelet but what color beads go on what string? What is the pattern ?
Where can I find the braiding disc?
That one is made by BeadSmith–I would try ArtBeads.com or I think the craft store sells them now in the jewelry section! 🙂
Hi Candie,
I love this, thank you for posting it – is it possible to have the pattern as a printable version, to save me on paper please?
Thank you 🙂
Hi Dorothy– I know 🙁 Unfortunately, I don’t have a printable version. I’m so sorry.