First off, special thanks to Craft Attitude for sponsoring this post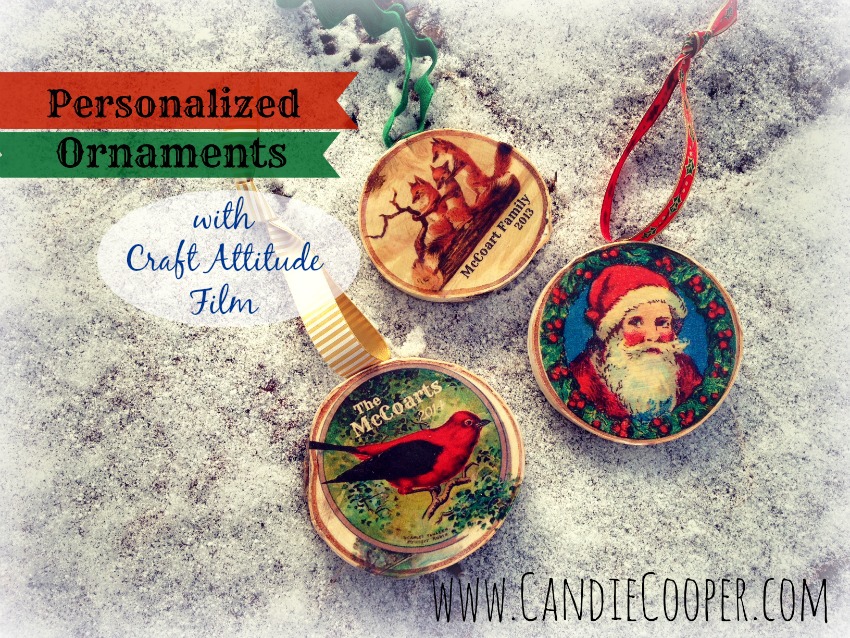 No doubt about it, Christmas ornaments are my favorite holiday craft. Throughout the years, my mom and I have made them and given them. They are sweet little treasures that add an enormous amount of character to a family tree. Paint. Glitter. Mod Podge. Needle felted. Photographs. Yarn. Cross Stitch. Hand prints. Ornaments can be made from anything! Ain’t life grand? Here is a little tutorial I made for these birch wood ornaments using that incredible crafty film, Craft Attitude and images from the most lovely Graphics Fairy.
 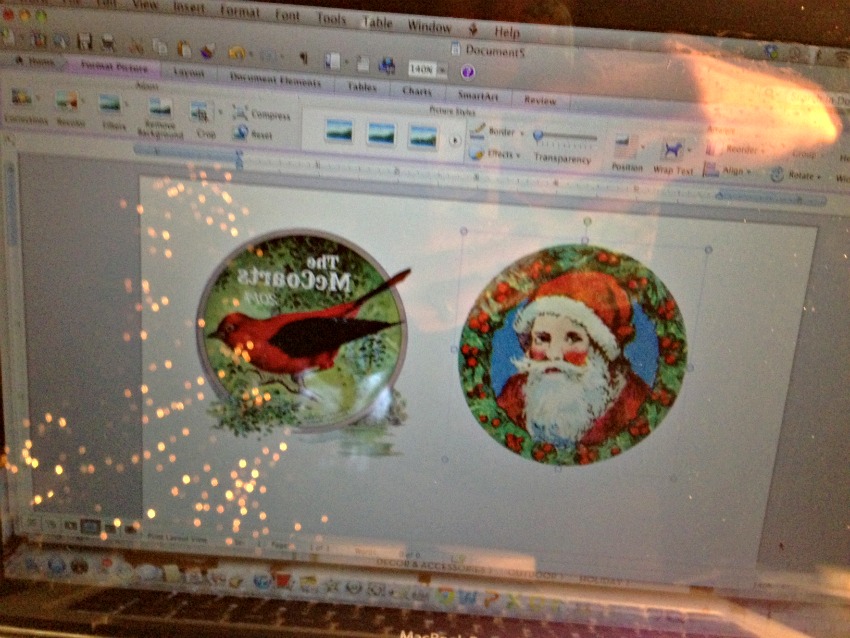 The first thing to do is find your images. Turn on the Christmas tree lights, make yourself a hot beverage and head to the Graphics Fairy site to surf for images. There are so many fantastic images to choose from (might want to check those ink levels now). I used a red bird, Santa, and these hilarious sledding foxes. Thanks Graphics Fairy! By the way, if there’s one gal that’s going to Heaven, I’m positive it will be Karen of the Graphics Fairy. Save your selected images and open up a word processing program. Insert your images into the document.
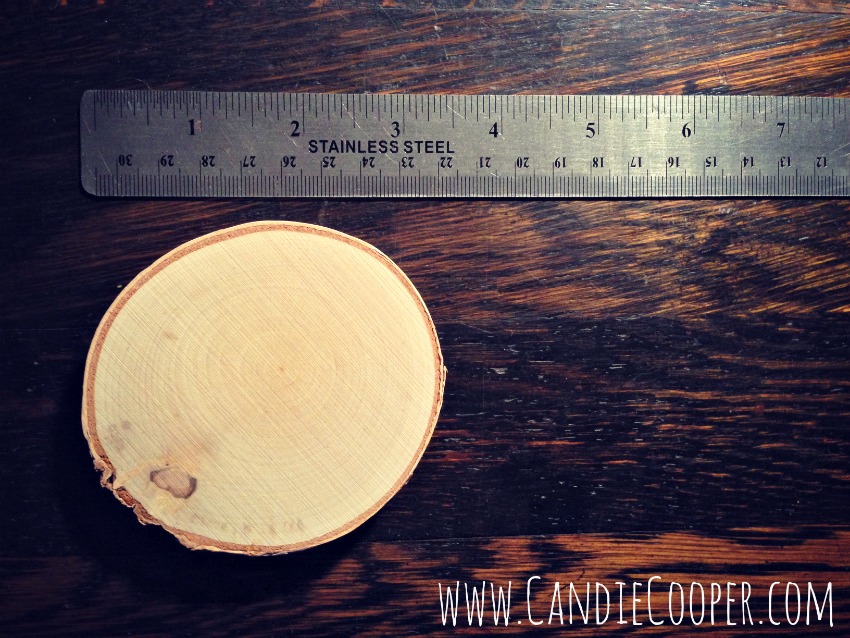 Michael’s Craft store is selling birch wood surfaces. These were marked as coasters. They are on an end cap in the floral area. Grab a rough diameter measurement of the birch wood coaster-soon-to-be-ornament.
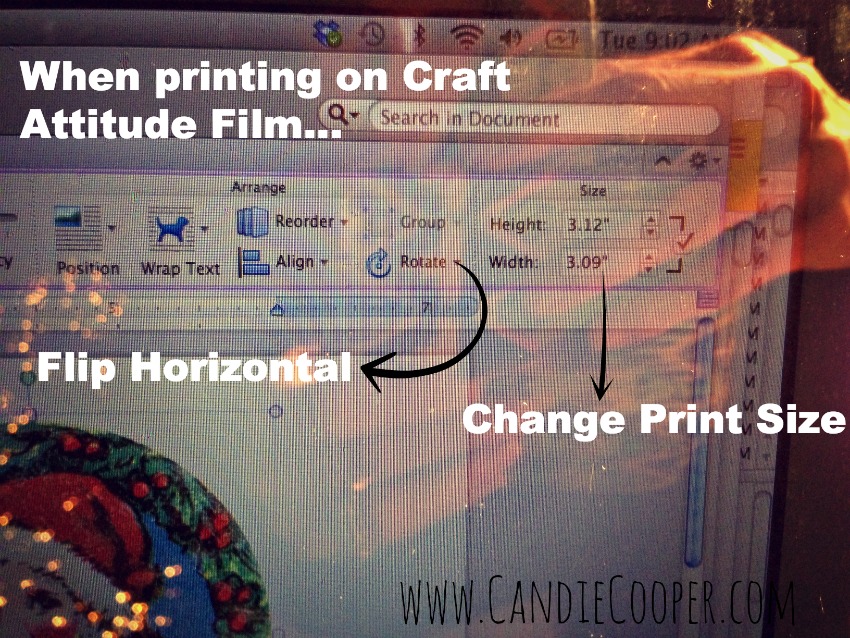 Two key things to do when printing on Craft Attitude film:
- Change the size of the image to match your wood disc
- Hit the arrow next to the “rotate” tab and select “flip horizontally.” This is key when images have words on them.
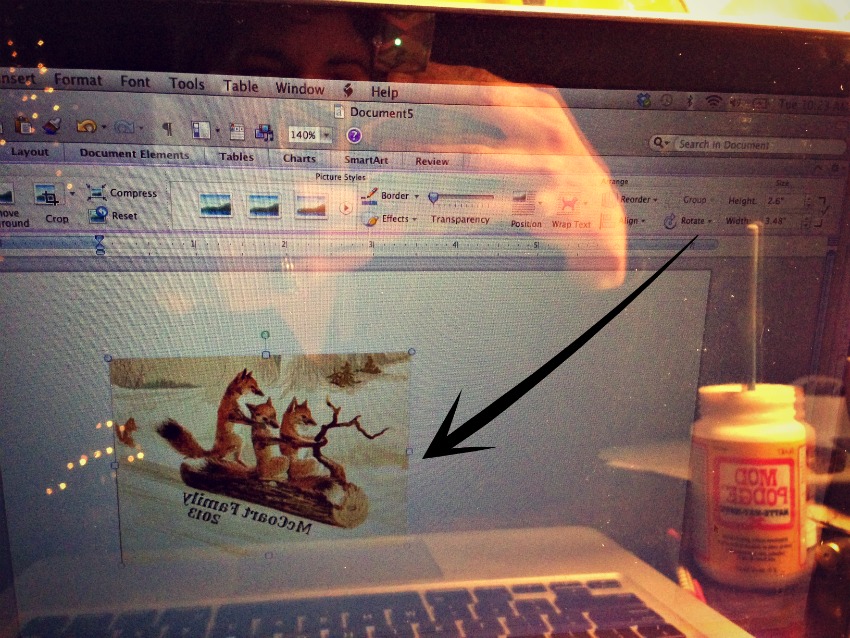
Did I mention how important it is that you flip the images horizontally before printing? Oh! I did? Ok, let’s move on.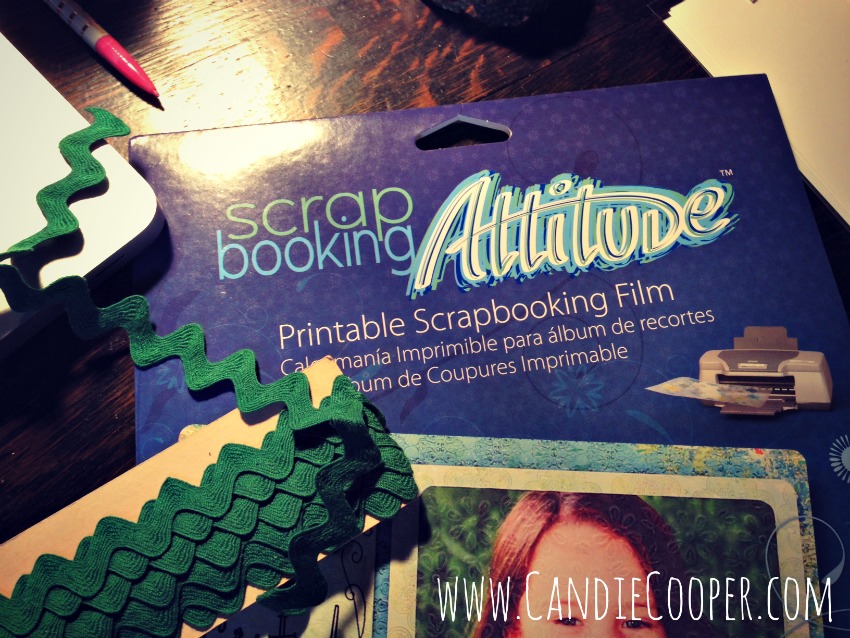 Crack open a package of Craft Attitude film. Insert a sheet into your printer so it prints on the SHINY side. For some reason, every time I explain that with Craft Attitude you have to print on the shiny side, this song pops into my head (and will stick for the rest of the day). Those Carter gals were so fierce. I want to play the guitar.
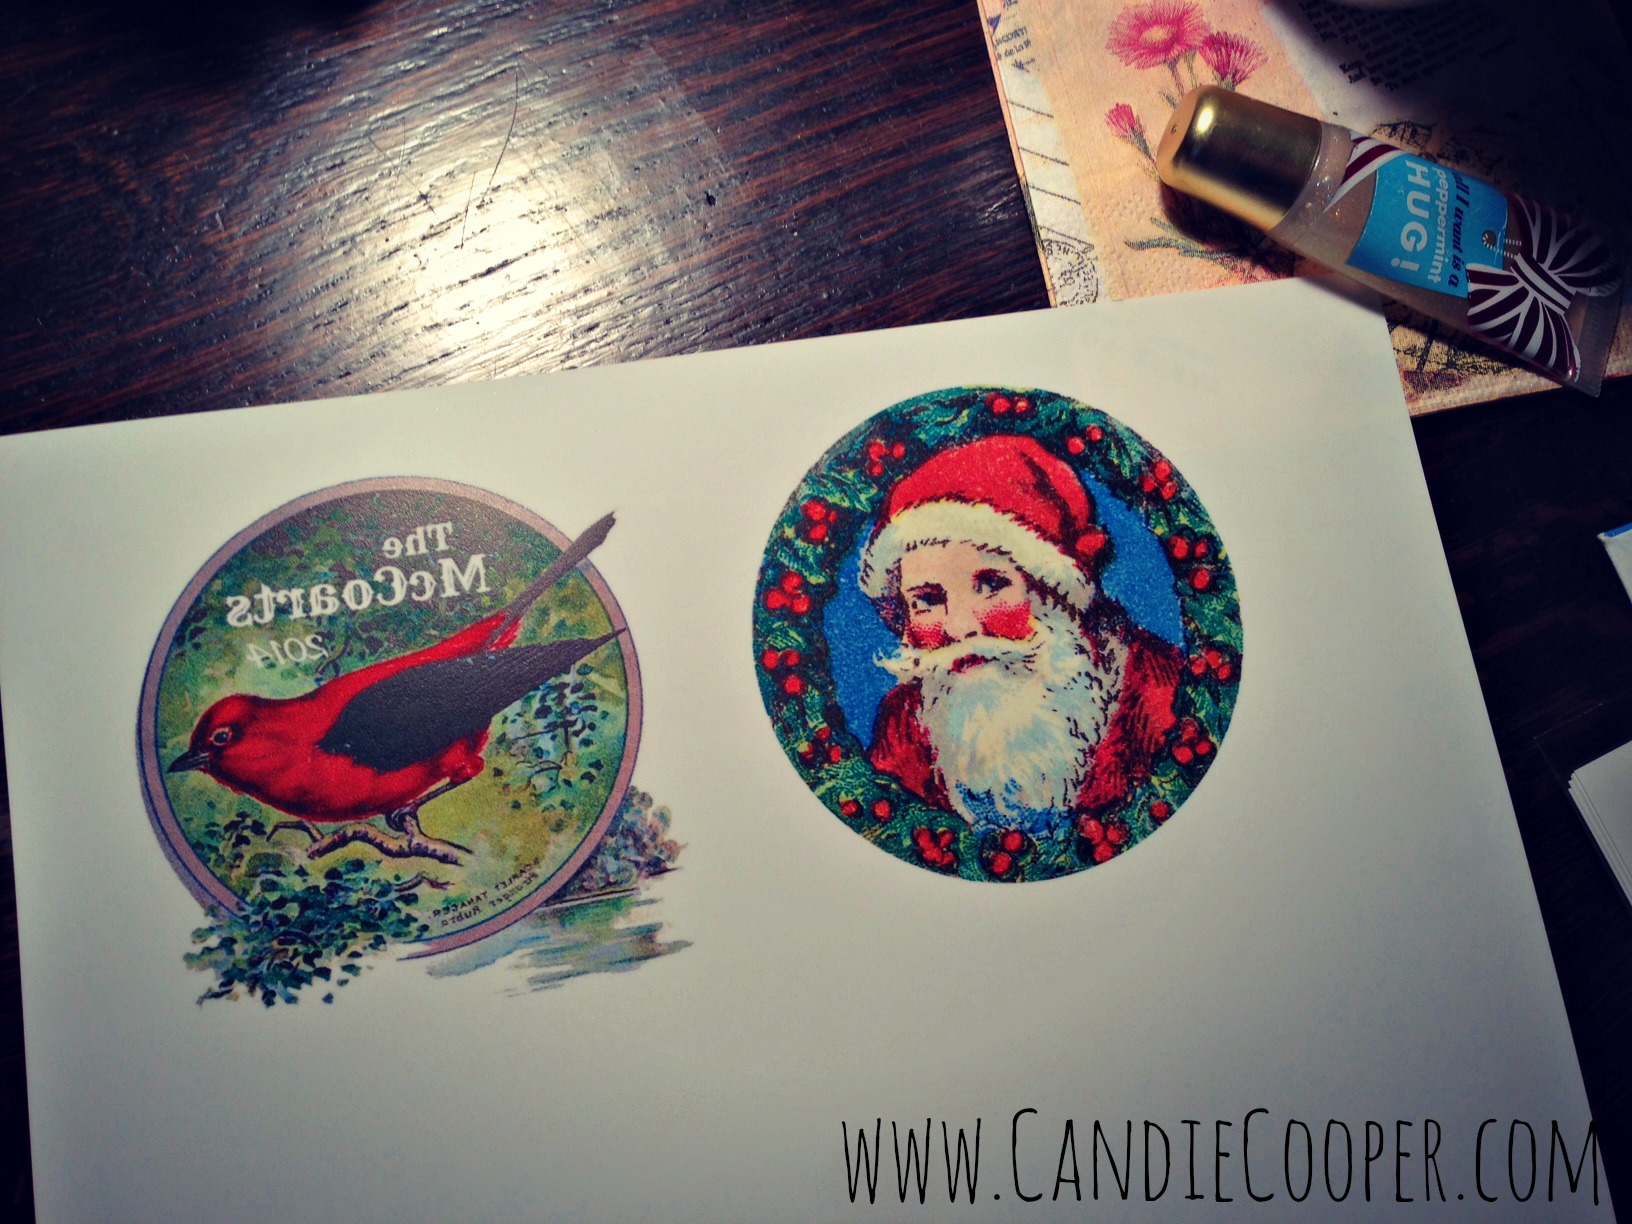 Nice, right? Happy. Moving right along….blissfully….until you see that you’ve put the year is 2014!!!! (breaks screech to a halt) WHAT was I thinking?! I’m too cheap to re-print so we’re moving on, people. One step ahead for next year’s ornament. That’s how I roll.
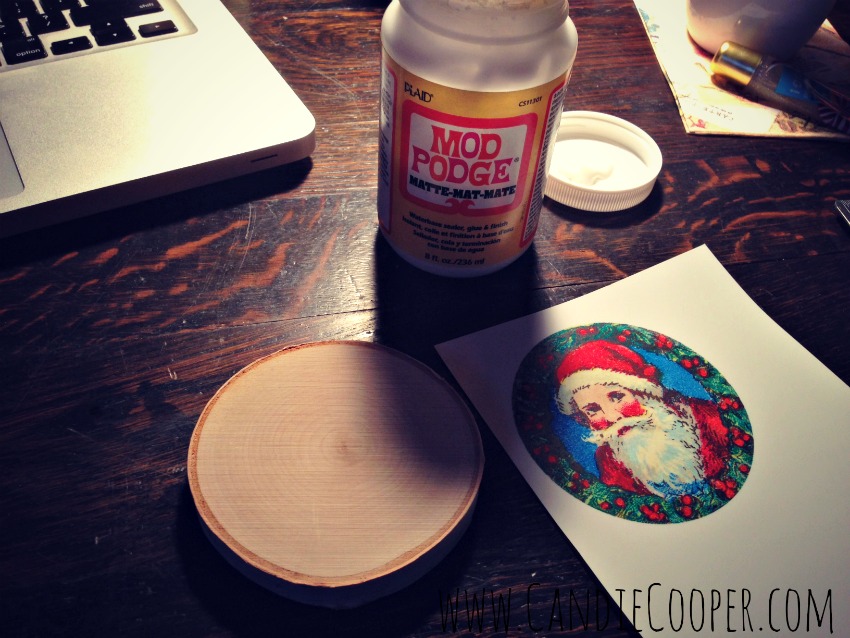 Trim around your image leaving a little border. Bust open the Mod Podge Matte and get ready to podge! If you’re hanging out around here, you were probably born ready to podge, right? Yeah.
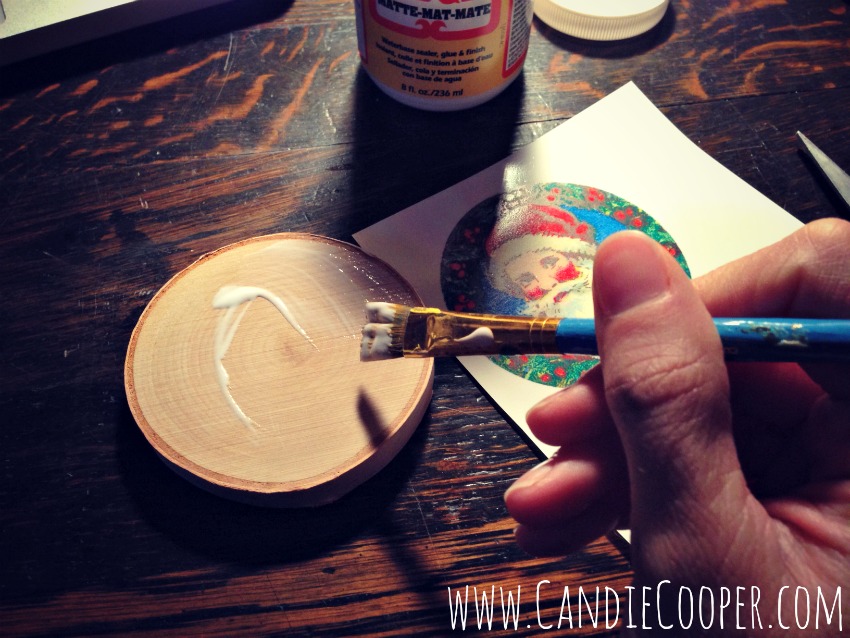 Paint a coat of Mod Podge Matte onto the wood disc. Put your image ink side down onto the Mod Podge and smooth out.
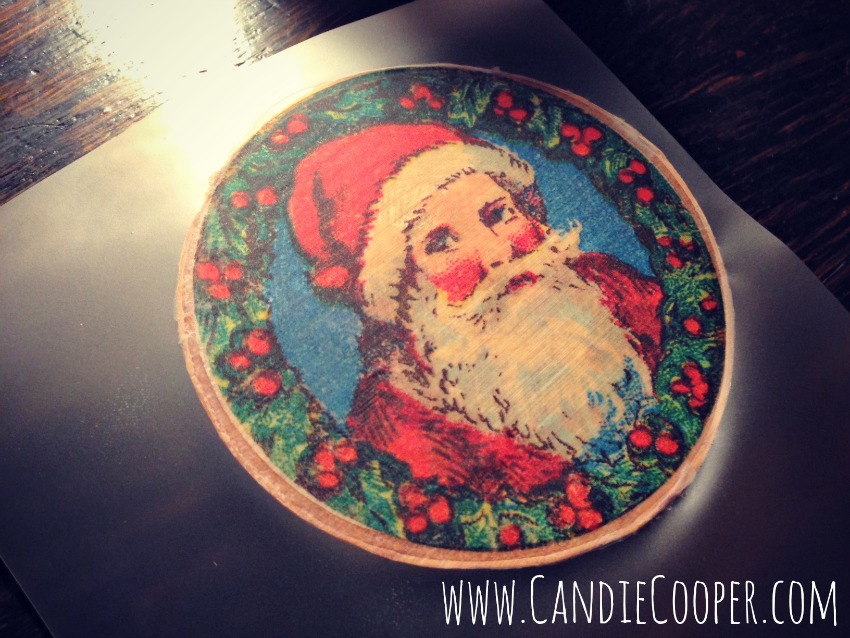 Use sharp scissors to trim away the excess film. Do not use the kitchen scissors that you use to cut the duck jerky treats in half for your dogs because you couldn’t find your crafty scissors like I did.
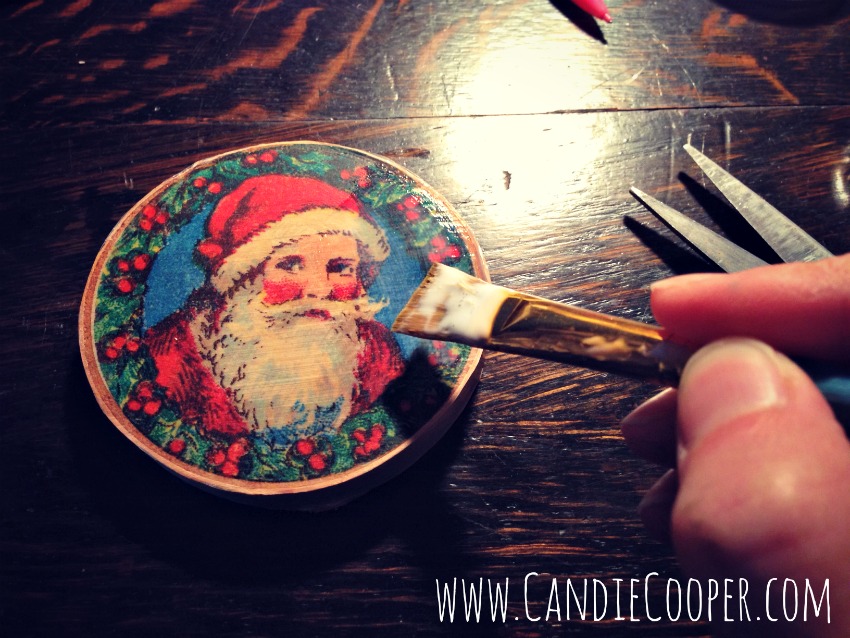 Seal the entire ornament with Mod Podge Matte to make it nice and smooth.
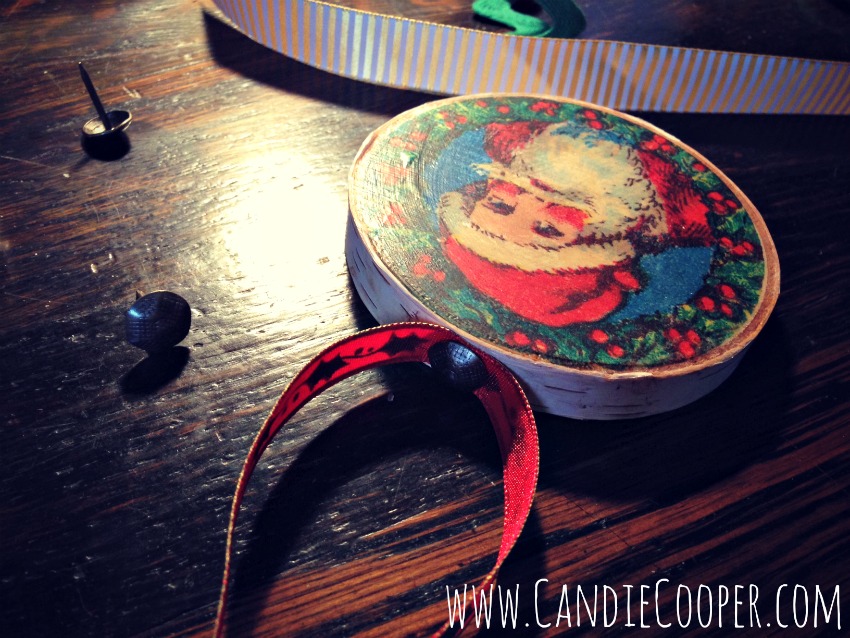 Attach a ribbon with an upholstery tack. I’d love to tell you that birch wood is soft as butter, but I found out it’s just the opposite. I thought I was going to tap the tack in with a hammer, but this wood is tough. Try a bigger hammer. Real tough. One bent-to-pieces tack later, I drilled a tiny hole and then hot glued the ribbon/tack in.
 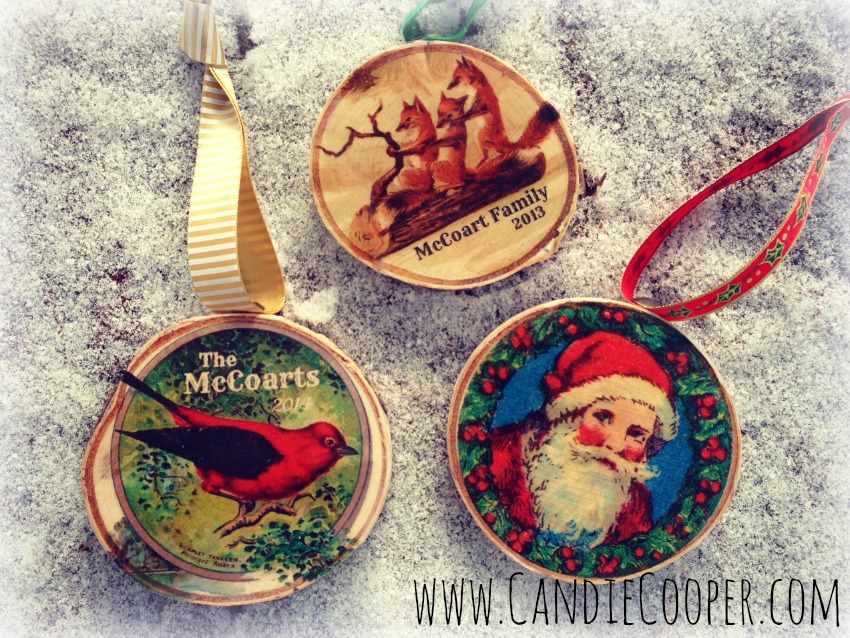 And here they are! I could have fiddled around and made a dozen more, but I have bills that need paid.
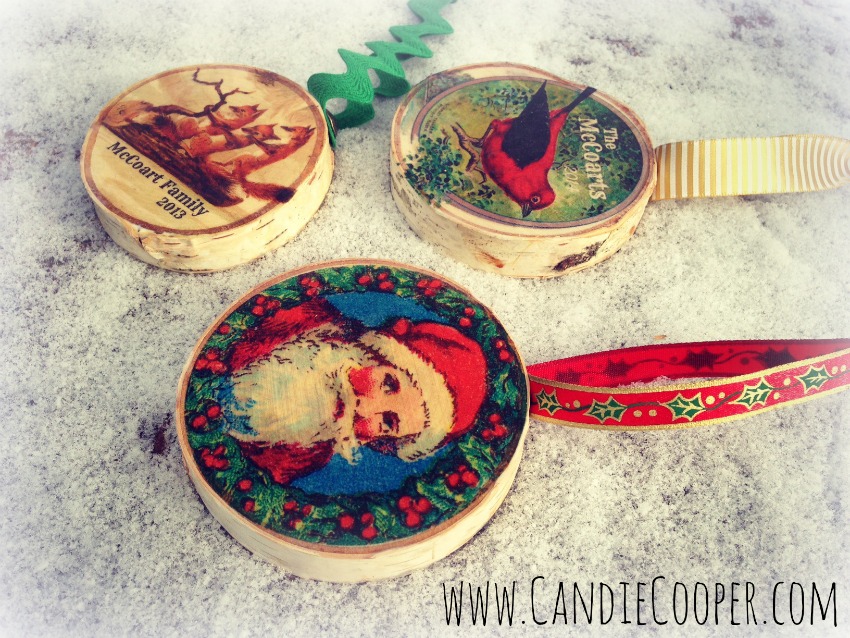 The edge of the birch wood frames the vintage images beautifully. I like woodland crafts. And the idea of playing the guitar.
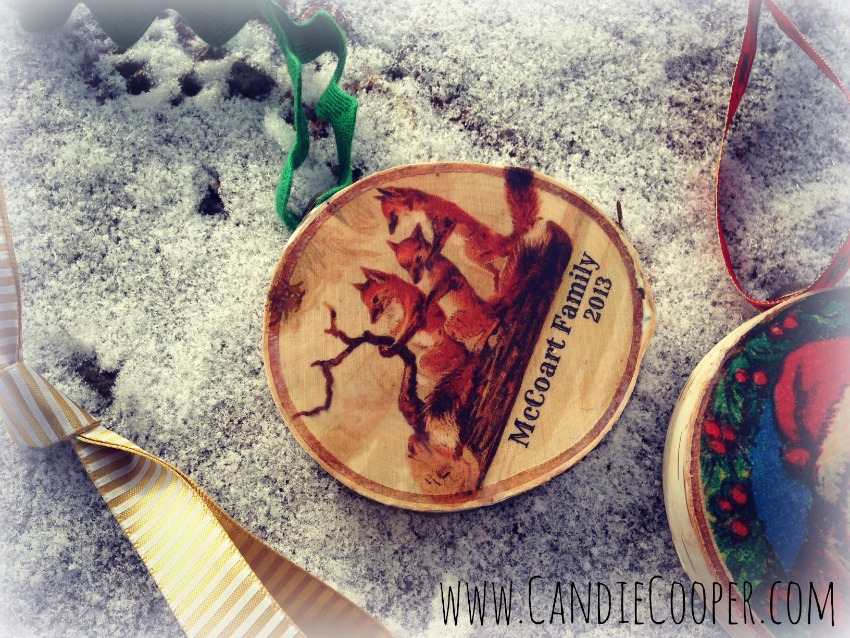 What does the Fox Family say? Sorry, couldn’t resist.
 The McCoarts 2014! New Year’s ornament anyone?
 Check out more Craft Attitude Holiday projects on their site as well as Craft Attitude on Facebook and Pinterest. Fellow Craft Attitude designers, Trudi Sissons and Jonathan Fong also have some fun projects up on their blogs. Here’s to a happy holiday season!
 Hi, I’m Candie. I design jewelry and crafts, author books, teach classes and host television programs. I thrive on simple ideas that anyone can achieve. I also love projects made from unexpected materials that stand the test of time. Join me as I lead a creative life!


Oh wow, I love these Candie!! So cute!! Off to Pin this now!
OMG I love these Candie—-so beautiful! Thanks for the awesome tutorial
Thank you girls!! XO.
Thank you for the wonderful tutorial. This is my first visit to your blog and it certainly has been a pleasure. I’ll be visiting again.
Smiles,
Kelly
Hi!
Love your tutorial and overall style of writing/blogging. Can you help the helpless when it comes to adding the name and date on the actual photo??? I have been struggling and have been playing around with it for way too long now.
Thank you!
Susan