This post brought to you by Beadalon.com. 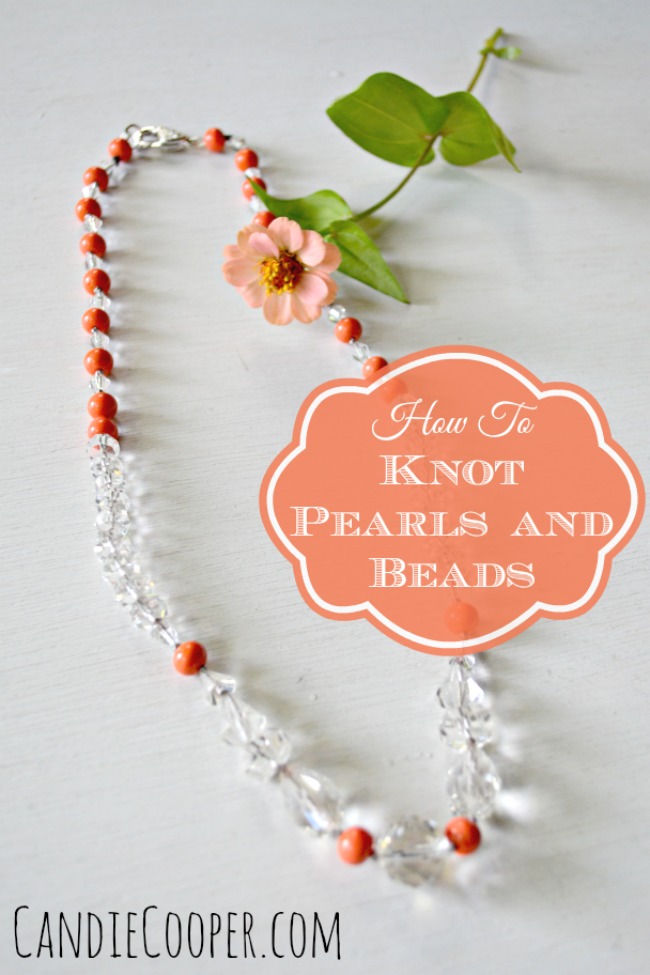 Confession: I have a hoard of old necklaces with great intentions of re-doing each and every one of them. Tell me, I’m not alone.
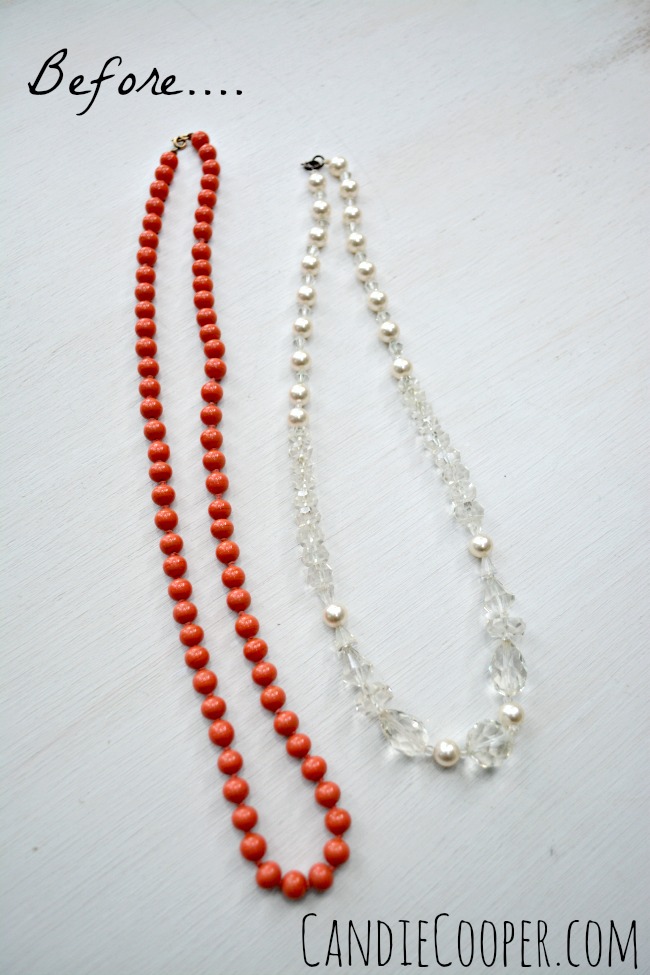 Here are two prime examples. Stunning, heavy glass and crystal beads topped off with a tired clasp that is about to fall off because the original stringing job has done it’s time and then some. Here is one idea for making over vintage jewelry and giving it new life!
Before I forget, I like to clean beads like this with a soft toothbrush and Dawn dish soap. I’m always amazed at how shiny and pretty they look after a good bath.
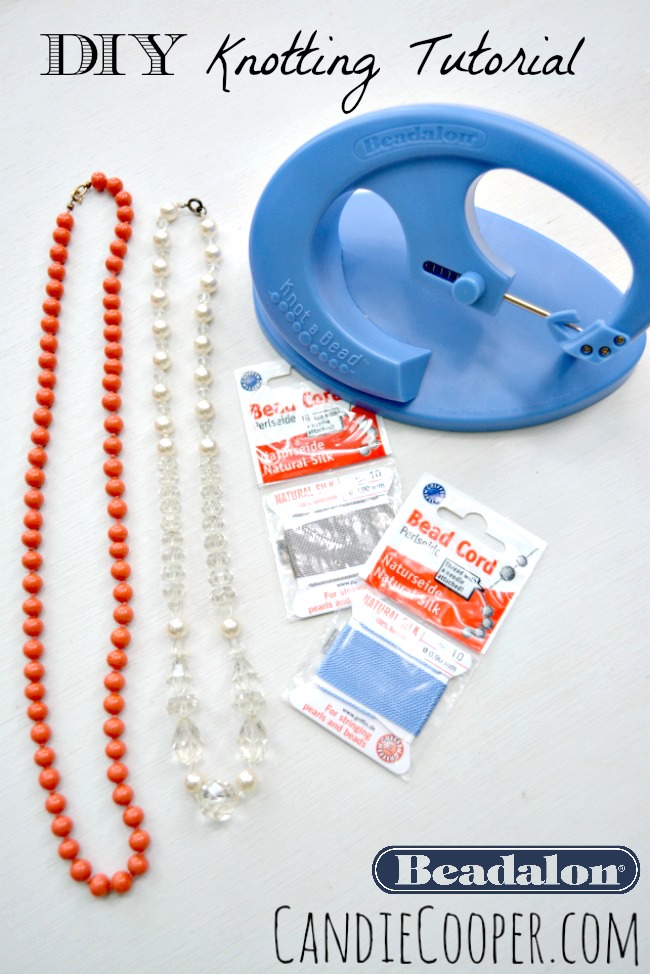 For this makeover, I’m using Beadalon’s Knot-A-Bead tool. In the past, I’ve tried knotting with the traditional wooden hand knotter tool. My first attempts with hand knotting were scary and disgusting with big spaces between the knots and beads. I put the hand knotter in a box and haven’t played with it since. However, after gaining some confidence with this tool, I may give it a go again.
My first attempts with the Knot-A-Bead came out awesome on the other hand and now I’m a believer and am ready to knot every bead in sight!!
I’m also using a sparkly Upper Clasp from Beadalon and #10 Griffin Silk. These beads have larger holes, so I can get away with using this heavier silk.
So, here’s how it goes…
Unwind your silk from the card and pull to remove kinks and tighten the silk. I opted to keep the pattern on the crystal strand, removing the plastic pearls and replacing them with the salmon colored glass beads. The gray silk made for a perfectly vintage and modern fusion which I found to be super appealing.
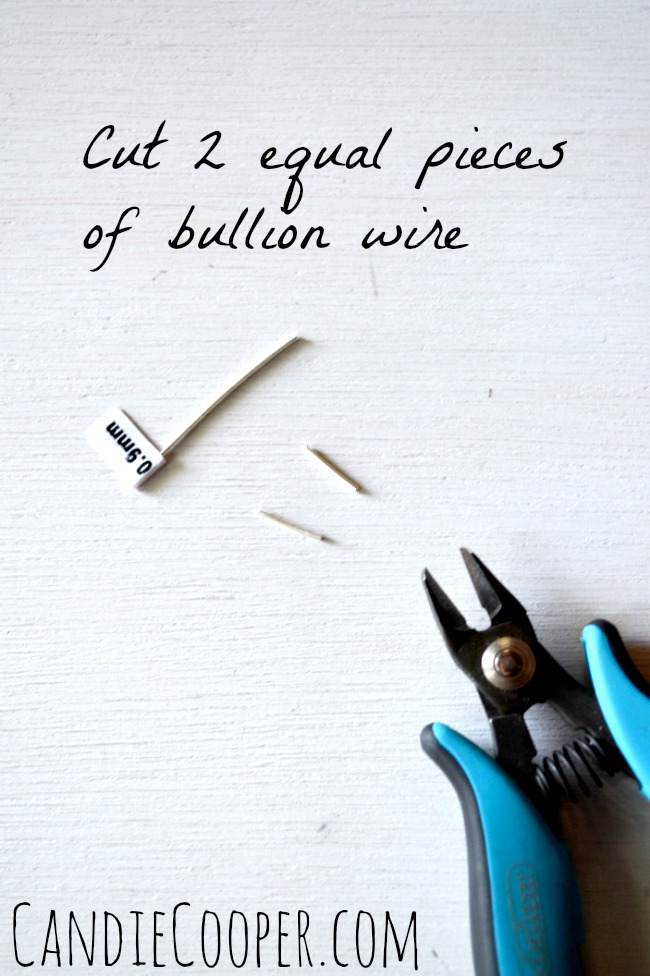 Cut two pieces of French bullion wire. This is essentially a tiny, tiny, tiny coil of wire that protects your silk where the clasp will rub. Make sure to get the corresponding bullion wire to your silk size.
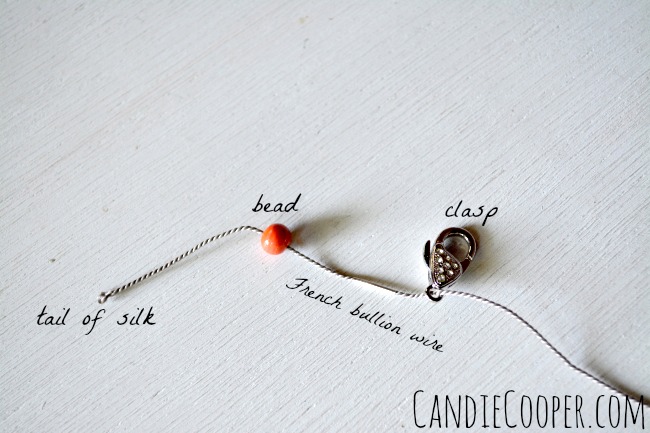 String one bead, bullion wire, and clasp end onto the silk. The silk has a needle pre-attached to it so stringing is extra easy!
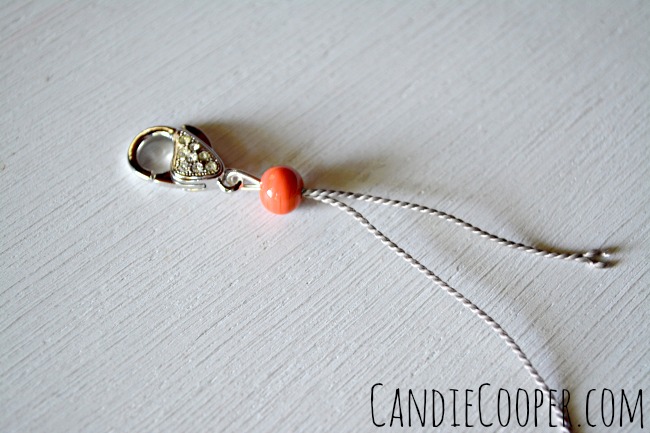 Thread the needle end of silk back through the first bead so the bullion wire makes a loop and the clasp sits in the middle.
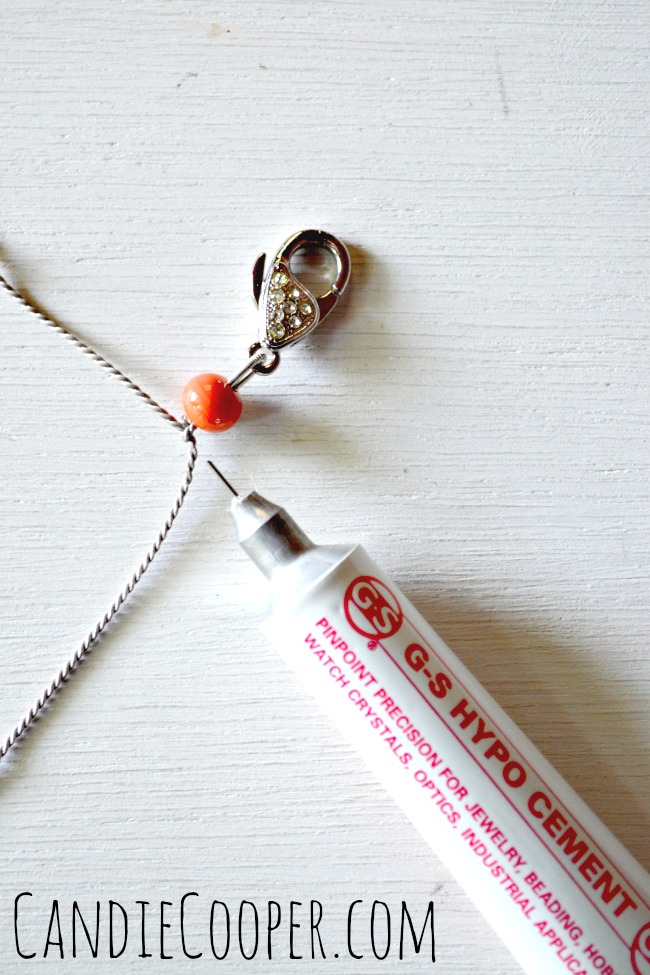 Knot the silk just below the orange bead and dot with G-S Hypo-cement. Leave the tail long until you are done knotting.
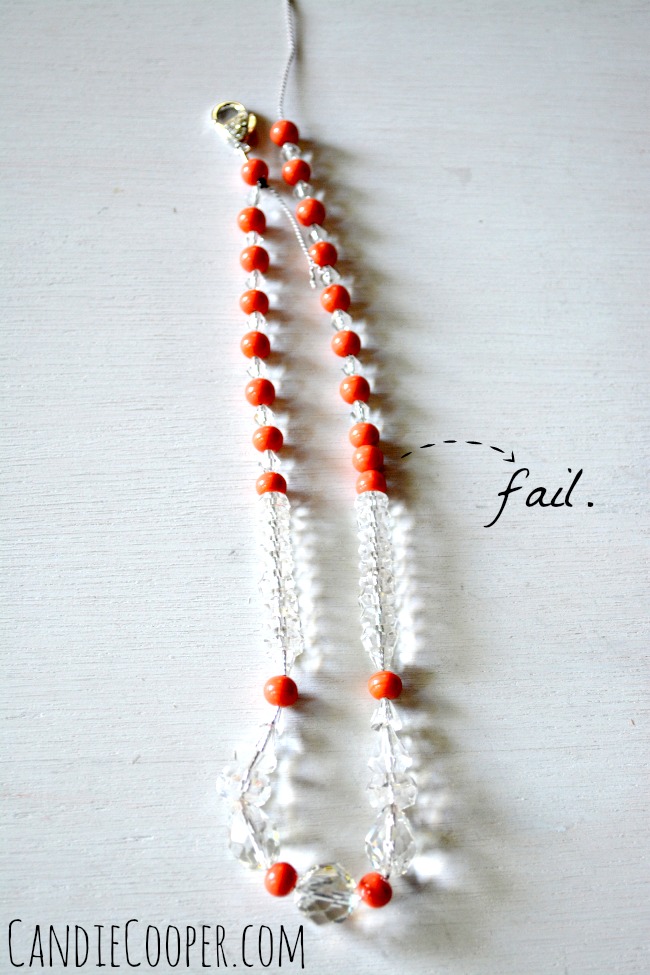 Now string the rest of your beads in the desired order onto the silk. Can I just tell you it took me THREE times to get these beads right?! I first knotted the whole strand and realized I missed a bead. Cut, cut, cut. Ain’t no way those knots were budging! Made me sick to cut it apart, but I did. SIGH. Restrung them. Fail. See my next mistake? Three orange beads in a row!?!
Third time was a charm!
Sanity is not overrated.
Before I forget, put a tiny jump ring (which will serve as a marker) before the last bead at the end of the strand–you will not knot between these two beads.
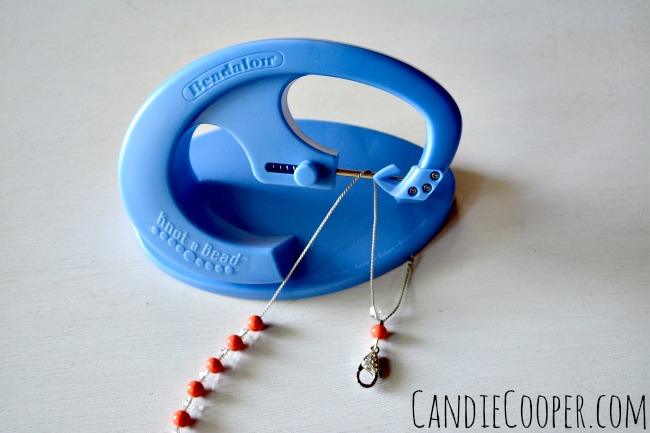 Lay the clasp end over the awl so it drops behind.
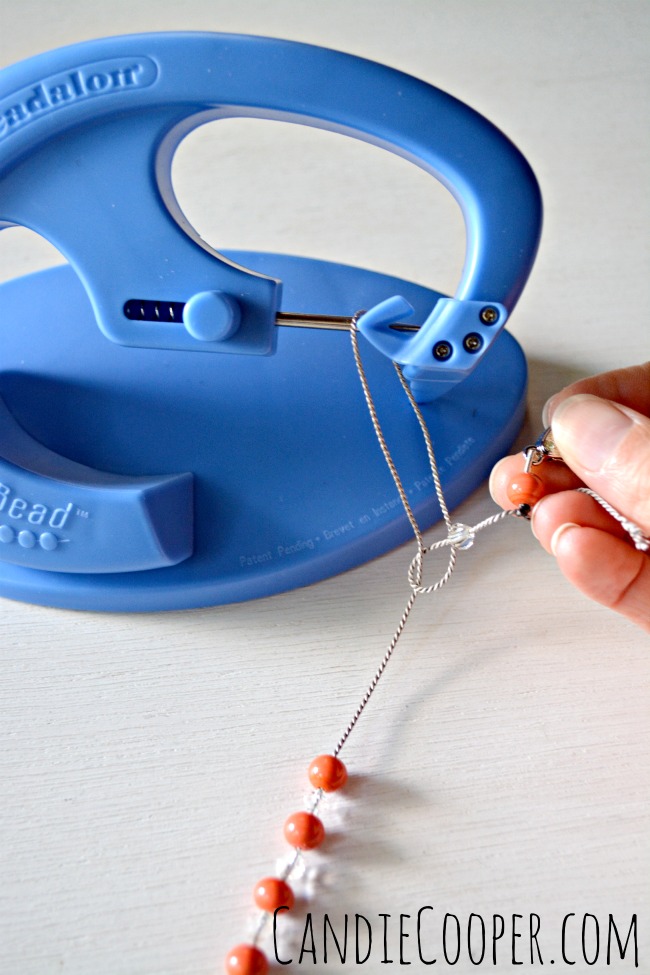 Cross the clasp in front of the long tail/string of beads and through the loop.
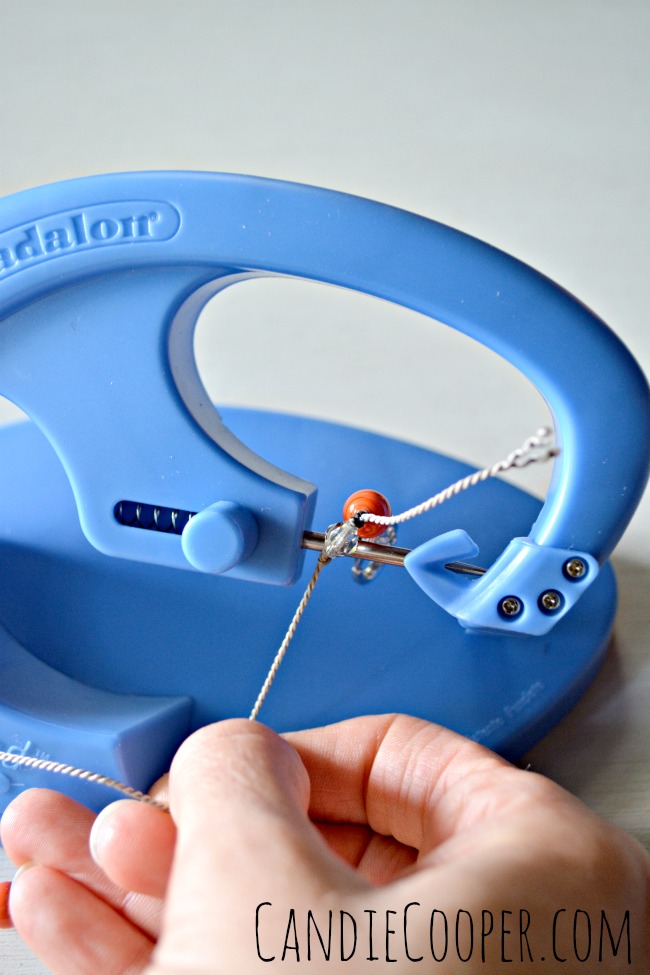 Pull the strung end tight and push the short clasp end back over the top of the awl.
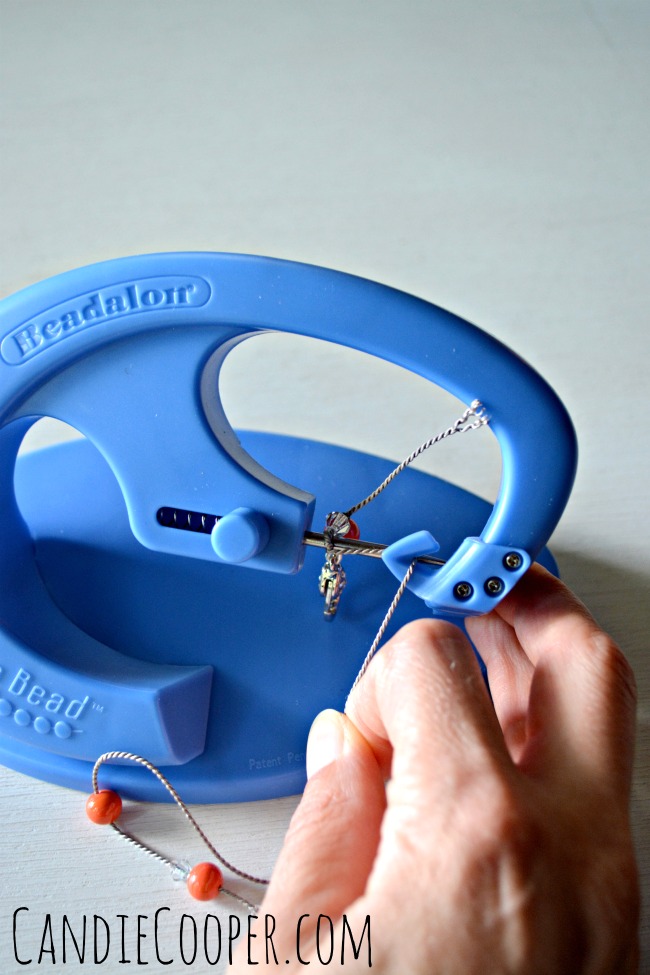 Place the long tail into the yoke/hook and pull snug.
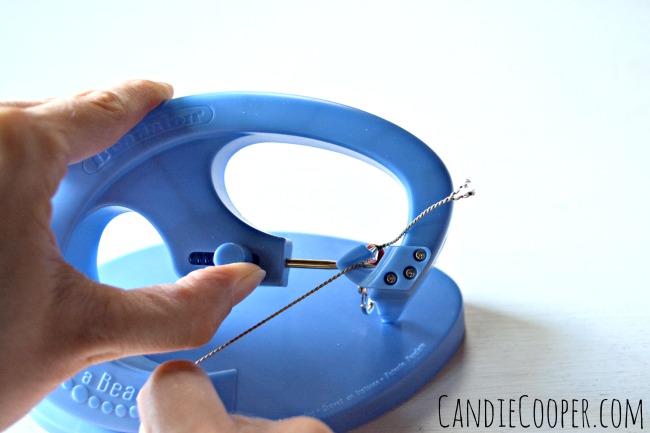 Continue to pull snug while sliding the lever on the left to the left. The awl tapers down the knot and slides it up next to the last bead perfectly.
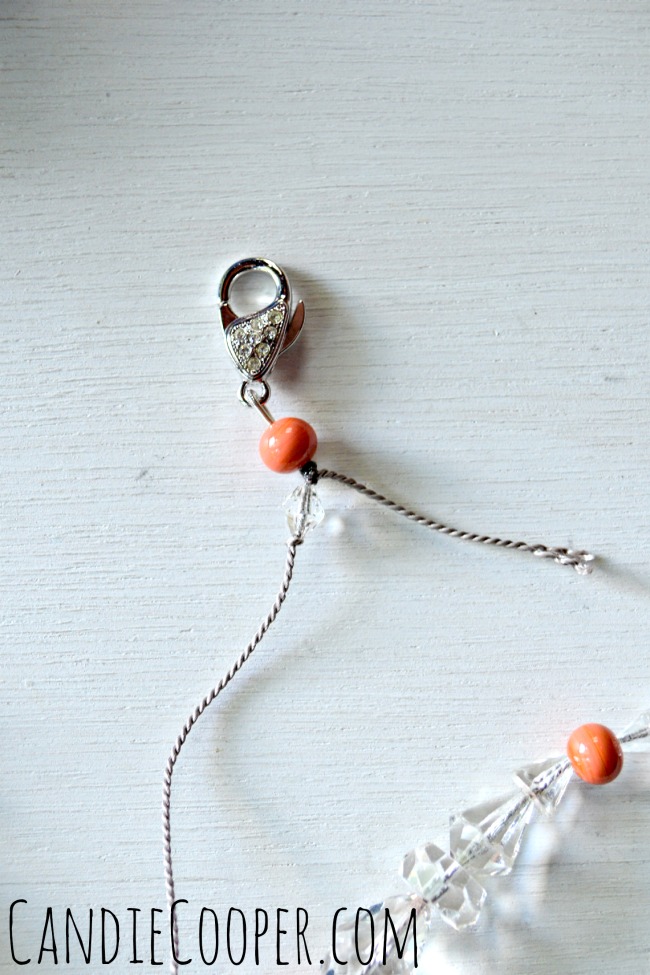 Like this! Now, go into Zen mode and repeat, repeat, repeat. I actually found myself day dreaming about chocolate (which I’m trying to back off of) and enjoying the crisp air. I’ve also watched a lot of movies while working on the Knot-A-Bead in my Lazy Girl chair.
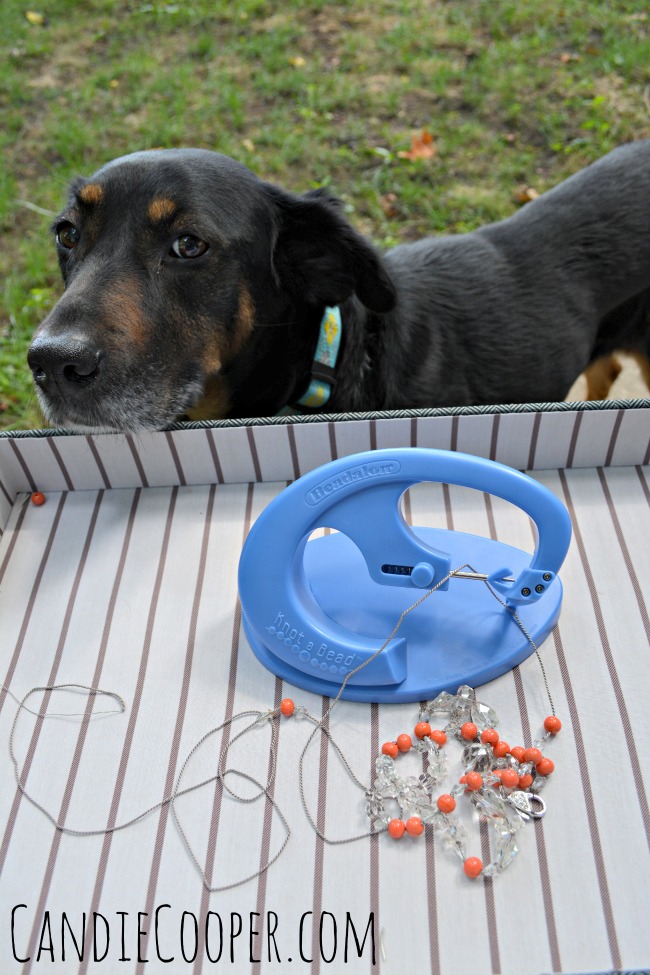 If you are working on your lap (I usually do!), find a tray and put a beading mat down. Just remember–DO NOT knot between the last two beads or you’ll be in a world of hurt trying to undo one of those knots.
P.S. It’s very hard to explain to your dog that no, she hasn’t been replaced by the Knot-A-Bead and that you’ll pet her when you’re finished with this tutorial. She stayed by my side through this whole tutorial. Good girl. Treats to come.
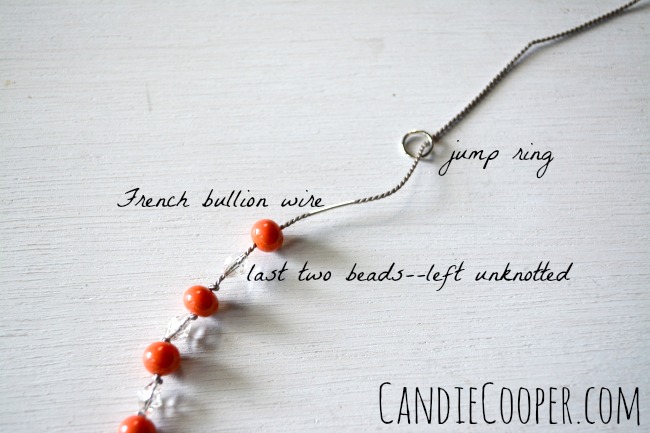 When you come to final two beads, string another piece of bullion wire and the opposite end of the clasp.
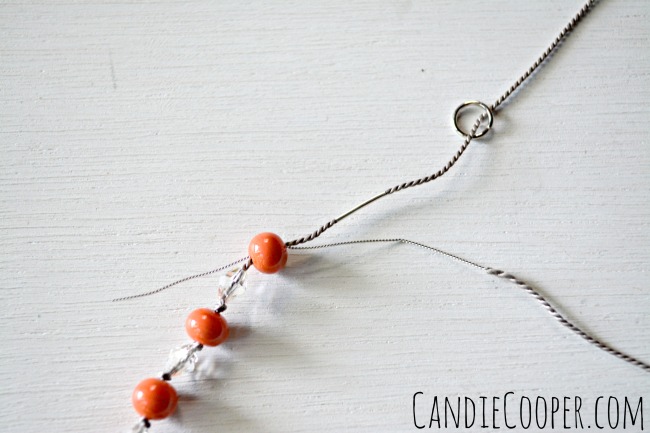 Thread the tail of wire back through the orange bead.
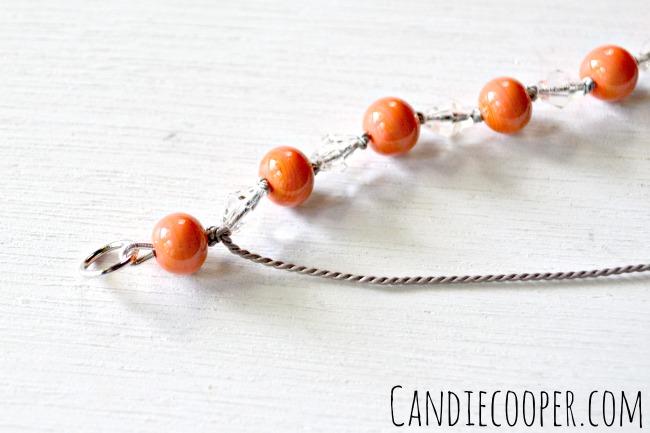 This cinches up the bullion wire and makes it ready to knot again between the last two beads. Dot the knot with G-S Hypo cement and leave to dry. Trim the ends.
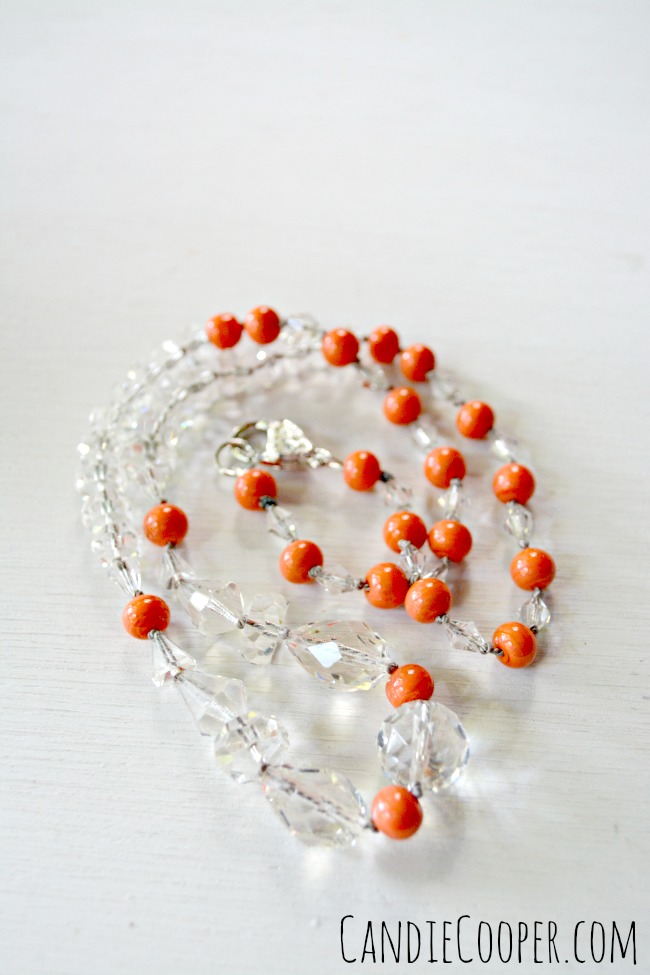 The thing I love most about knotted strands is how flexible they are! Just beautiful! I love this combo so much!
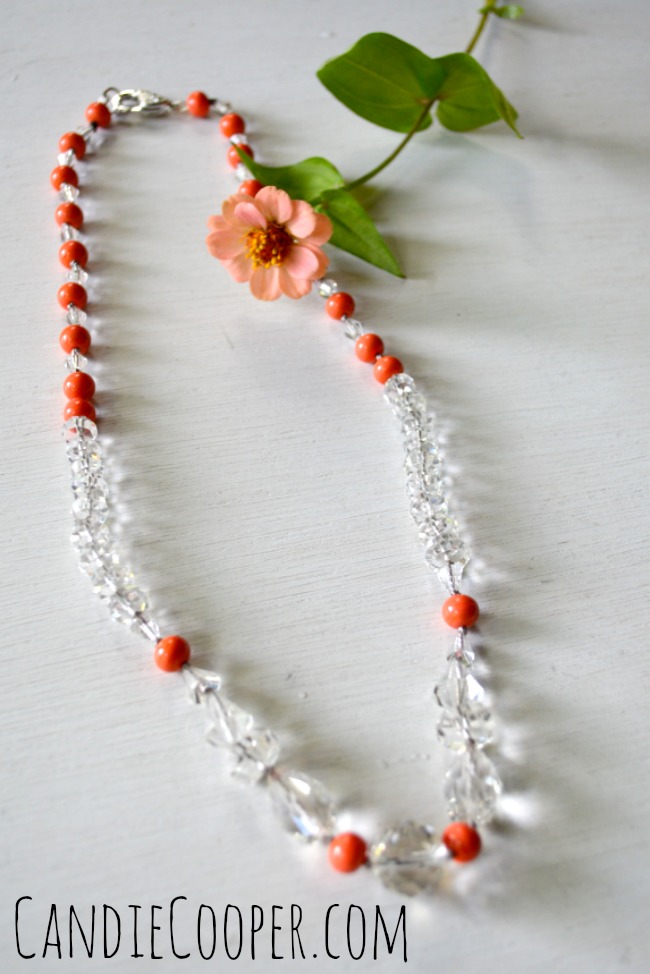 Have a stash of your grandmother’s jewelry that’s been waiting for you? Go forth and knot your heart out!
 Hi, I’m Candie. I design jewelry and crafts, author books, teach classes and host television programs. I thrive on simple ideas that anyone can achieve. I also love projects made from unexpected materials that stand the test of time. Join me as I lead a creative life!


Amazing tutorial! Adorable dog!
I love this tutorial. I have a string of vintage amethyst beads that need to be strung. The question is: where do I find the Knot a Bead tool, the silk string you recommend, the special glue, the bullion wire, etc? I’ve never seen anything that professional at my local crafts shop(s).
Hi Sharon! Good point! Amazon.com has the Knot A Bead tool as well as the other items. You can also get the other findings from Rio Grande, a catalog company with all sorts of jewelry making findings. Thanks for the note!! 🙂 Candie
Thank you for the tutorials and especially for beautifying them with the dog picture. Great stuff!
Aww, thanks!!